Flames of War German Armour

Last year at Tank Fest I purchased the Flames of War Open Fire Starter box.

For those who don’t know, flames of war is like a real war (mainly ww2) table top game like Warhammer.

Even if I never play the actual game I thought it would be nice to make the models in it.

wpid-wp-1405408657166.jpeg

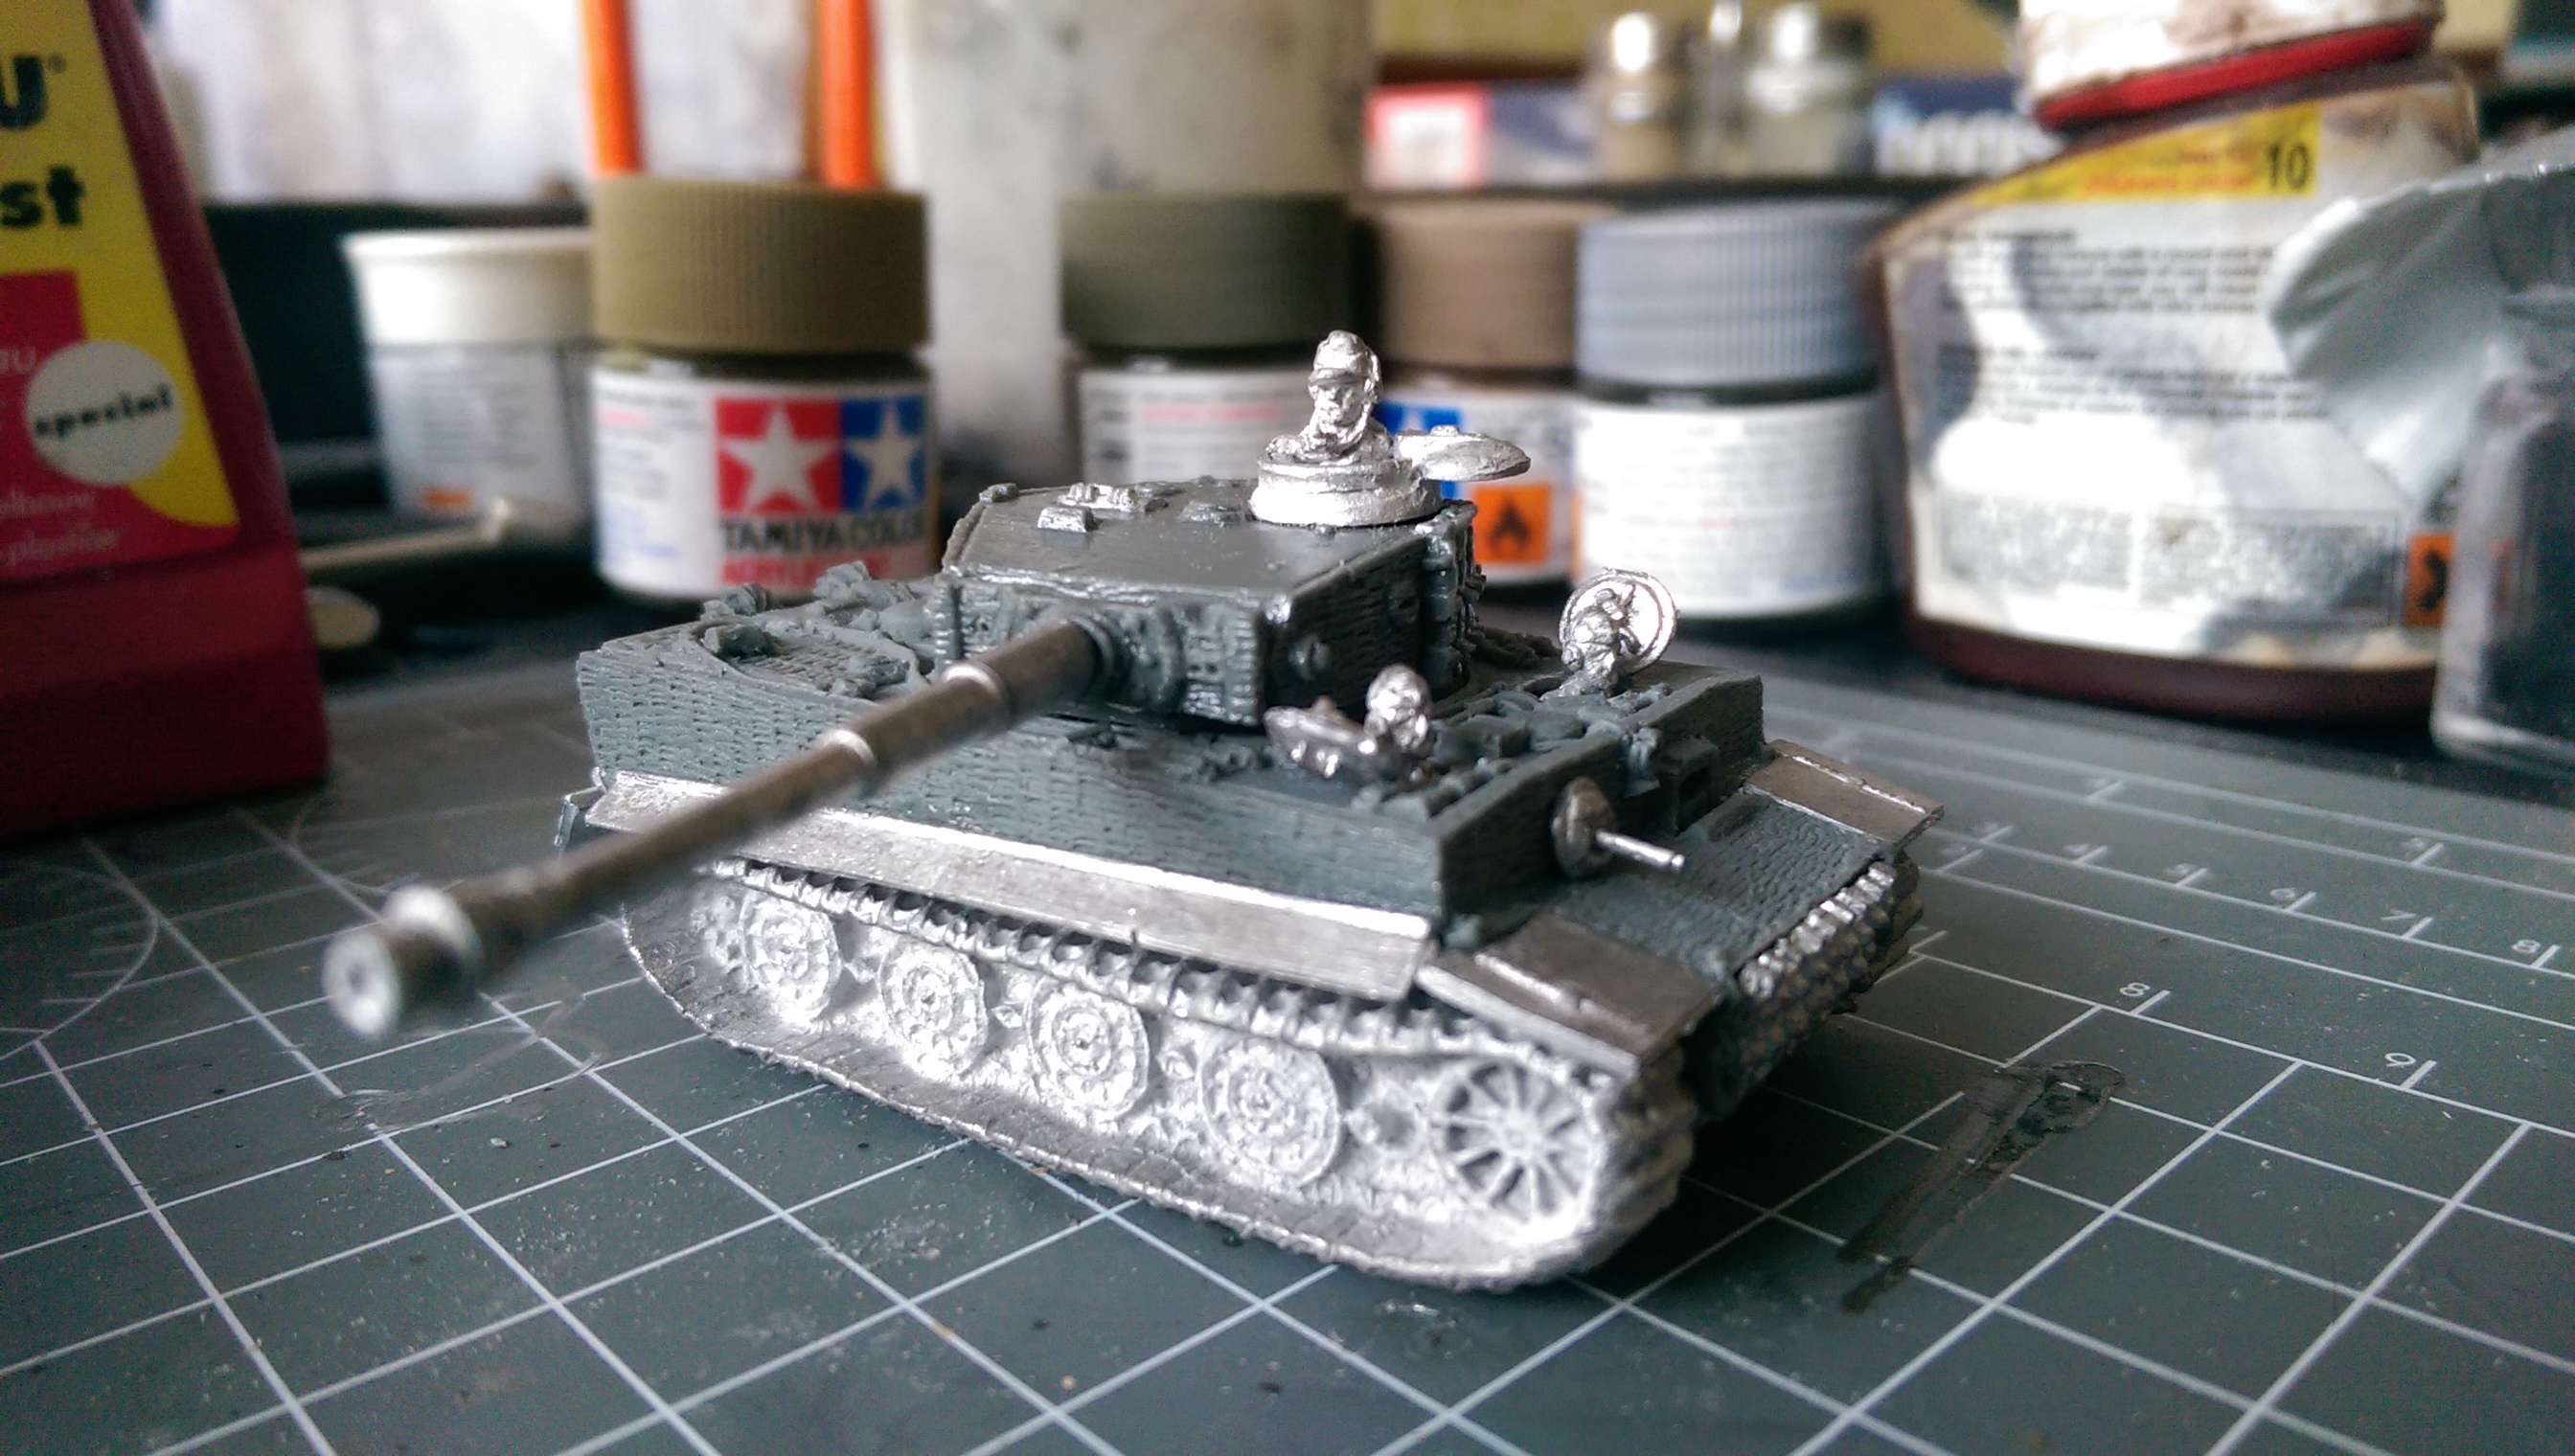
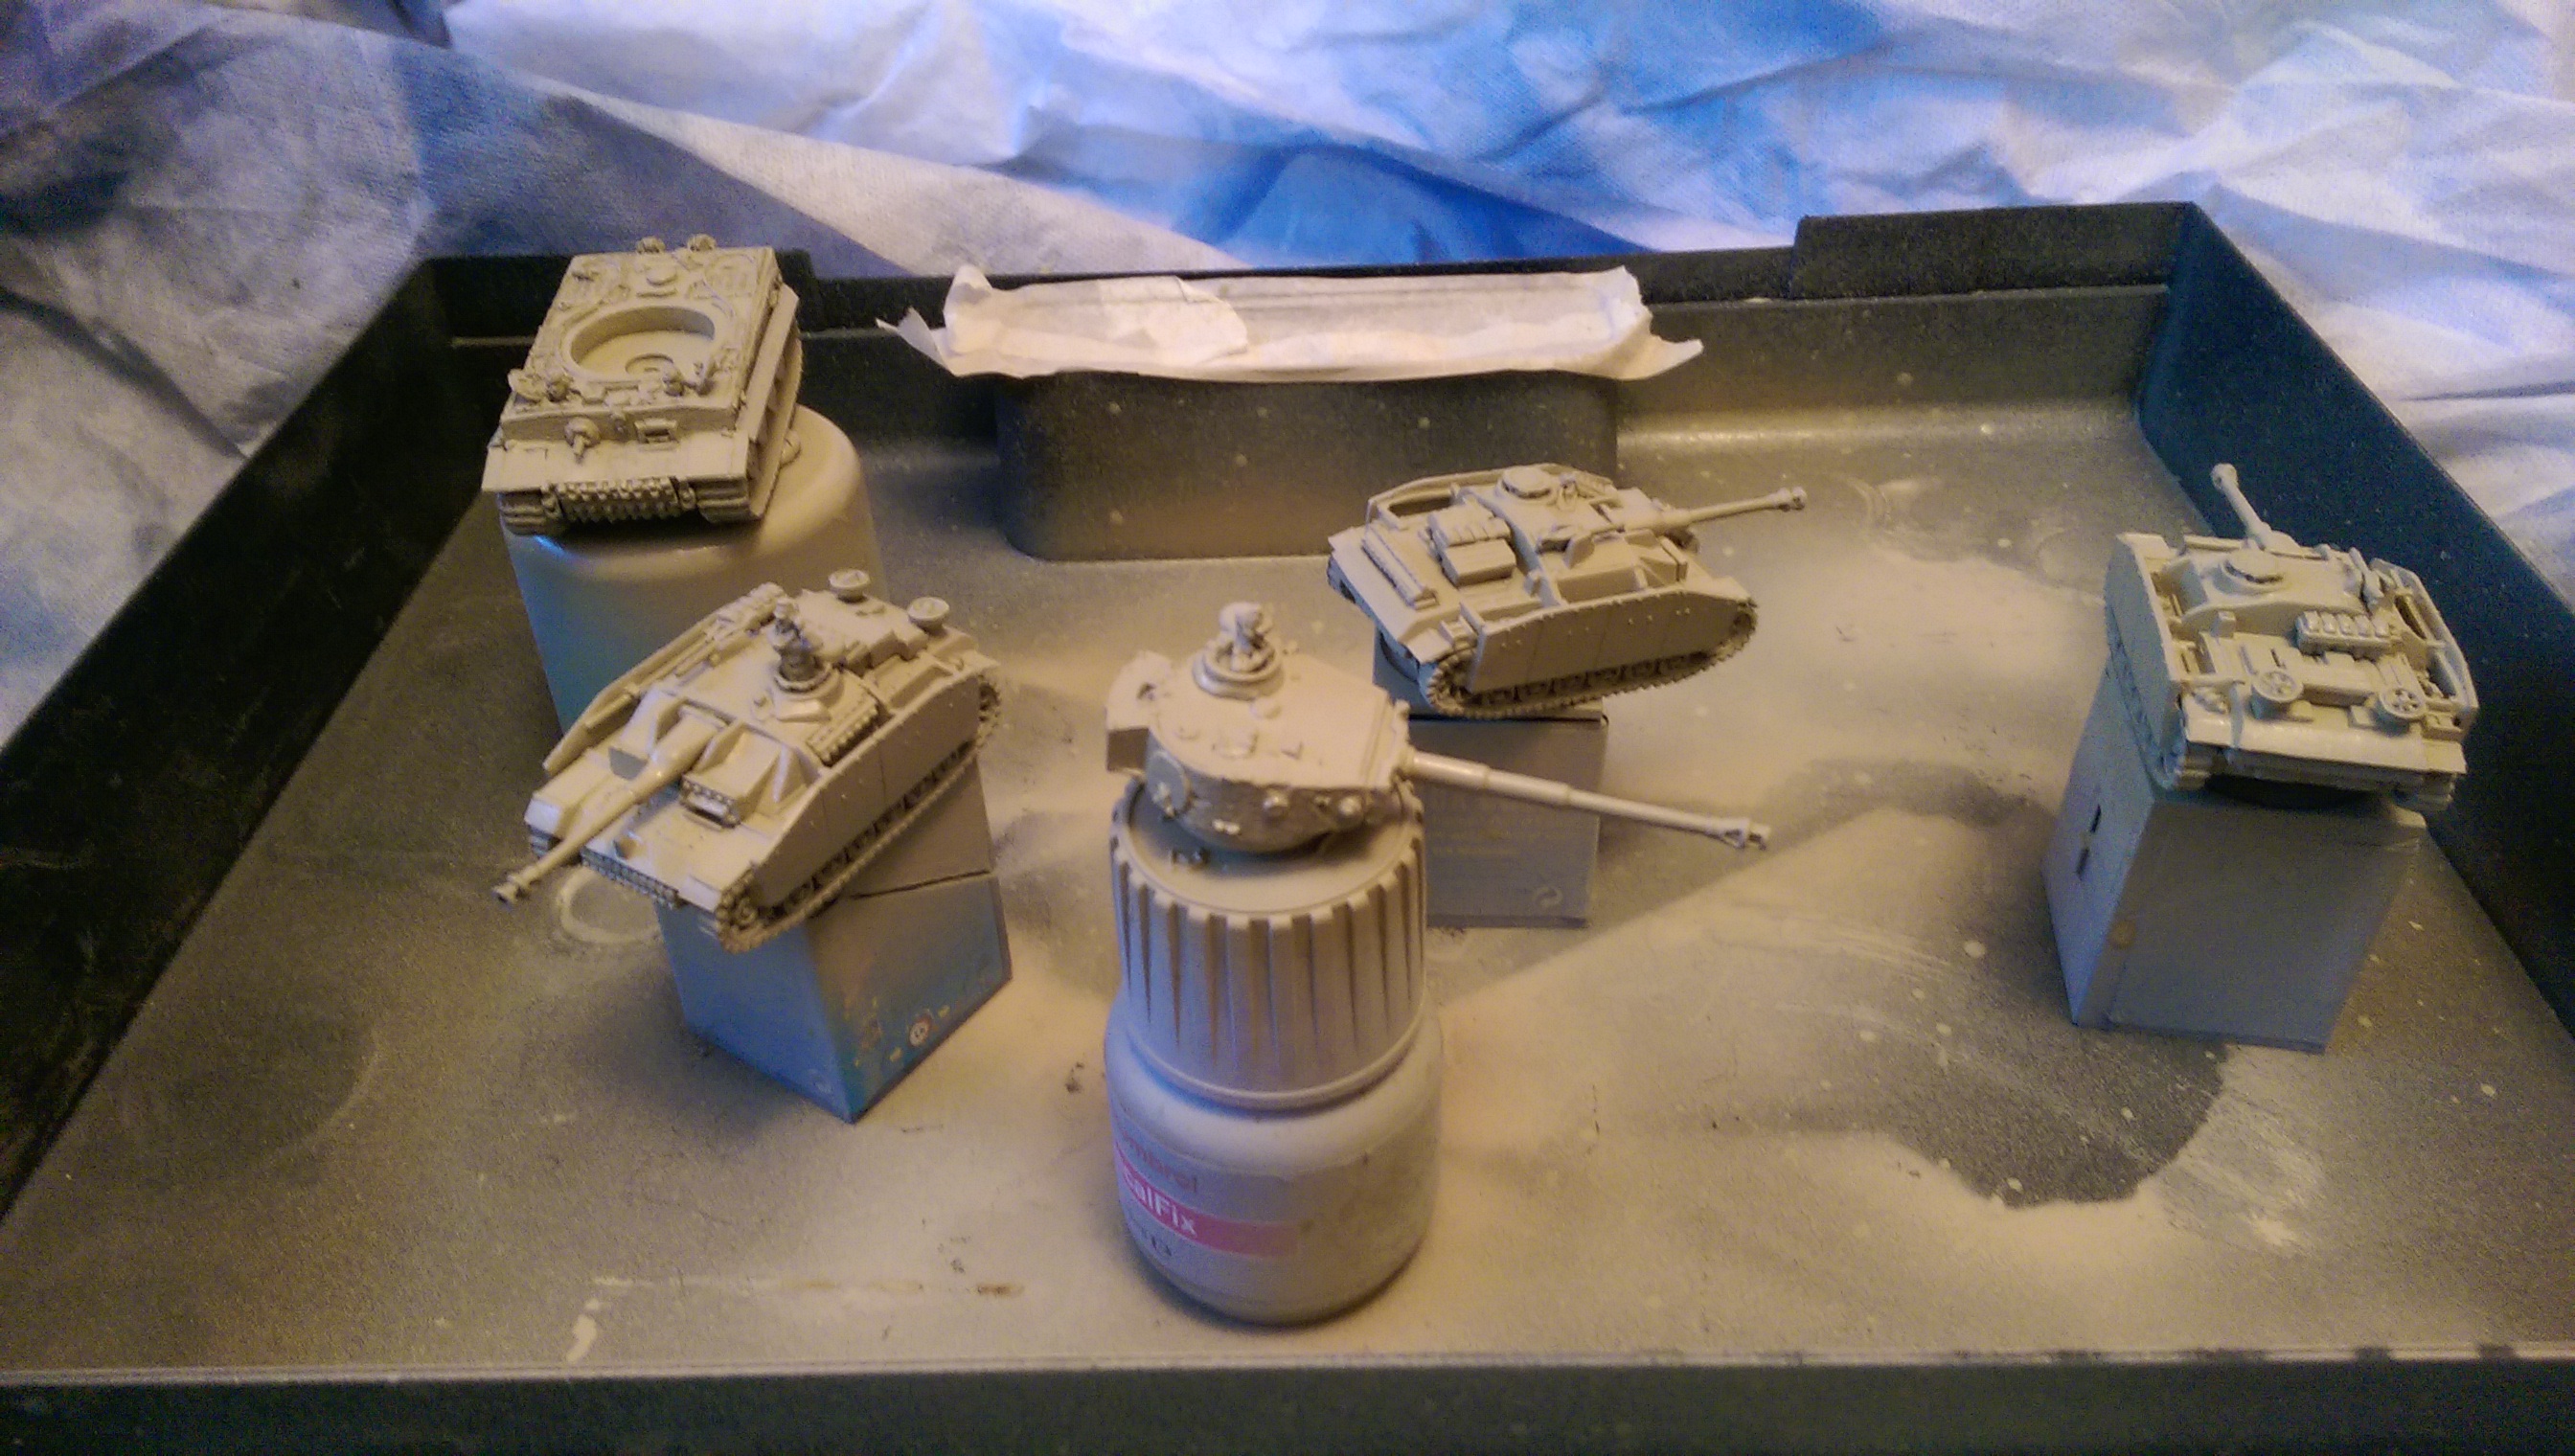
I have recently built the Stug G tanks from the set as well as a Wittmans Tiger Tank I found on eBay. The Tiger kit was new and good fun to build. It has a resin hull with any additional parts to add being metal.

wpid-wp-1405408679009.jpeg

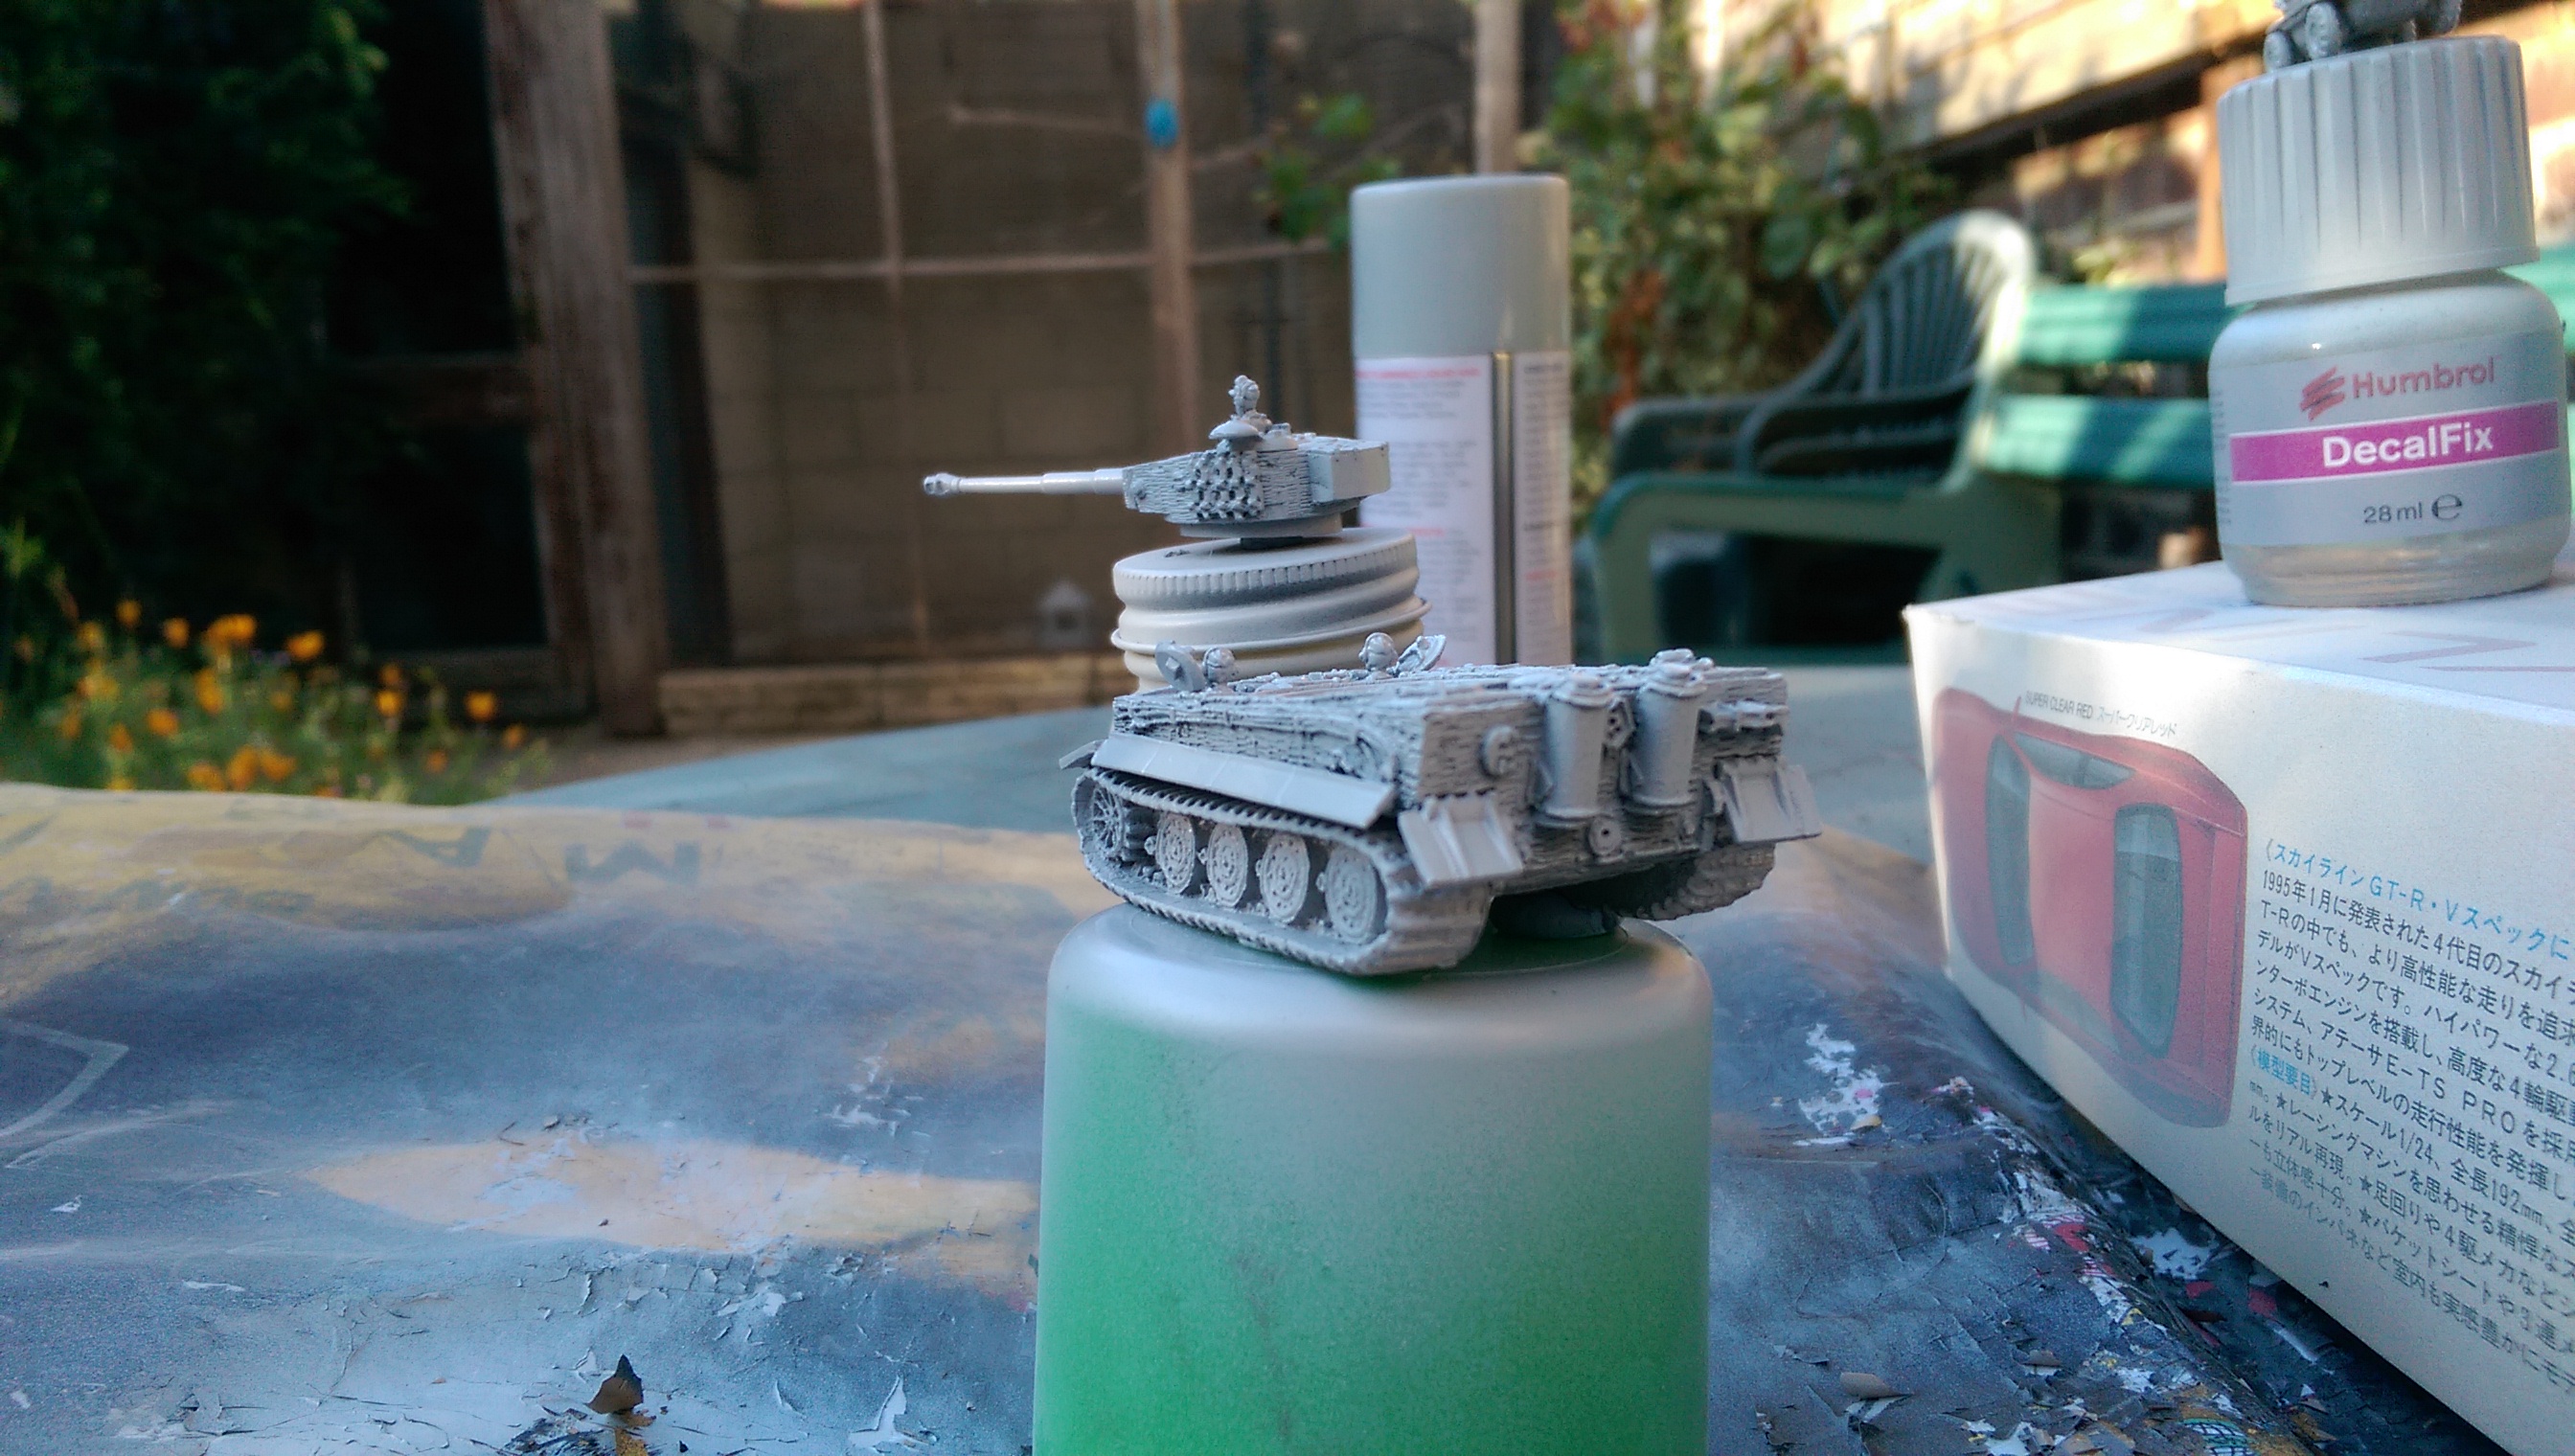
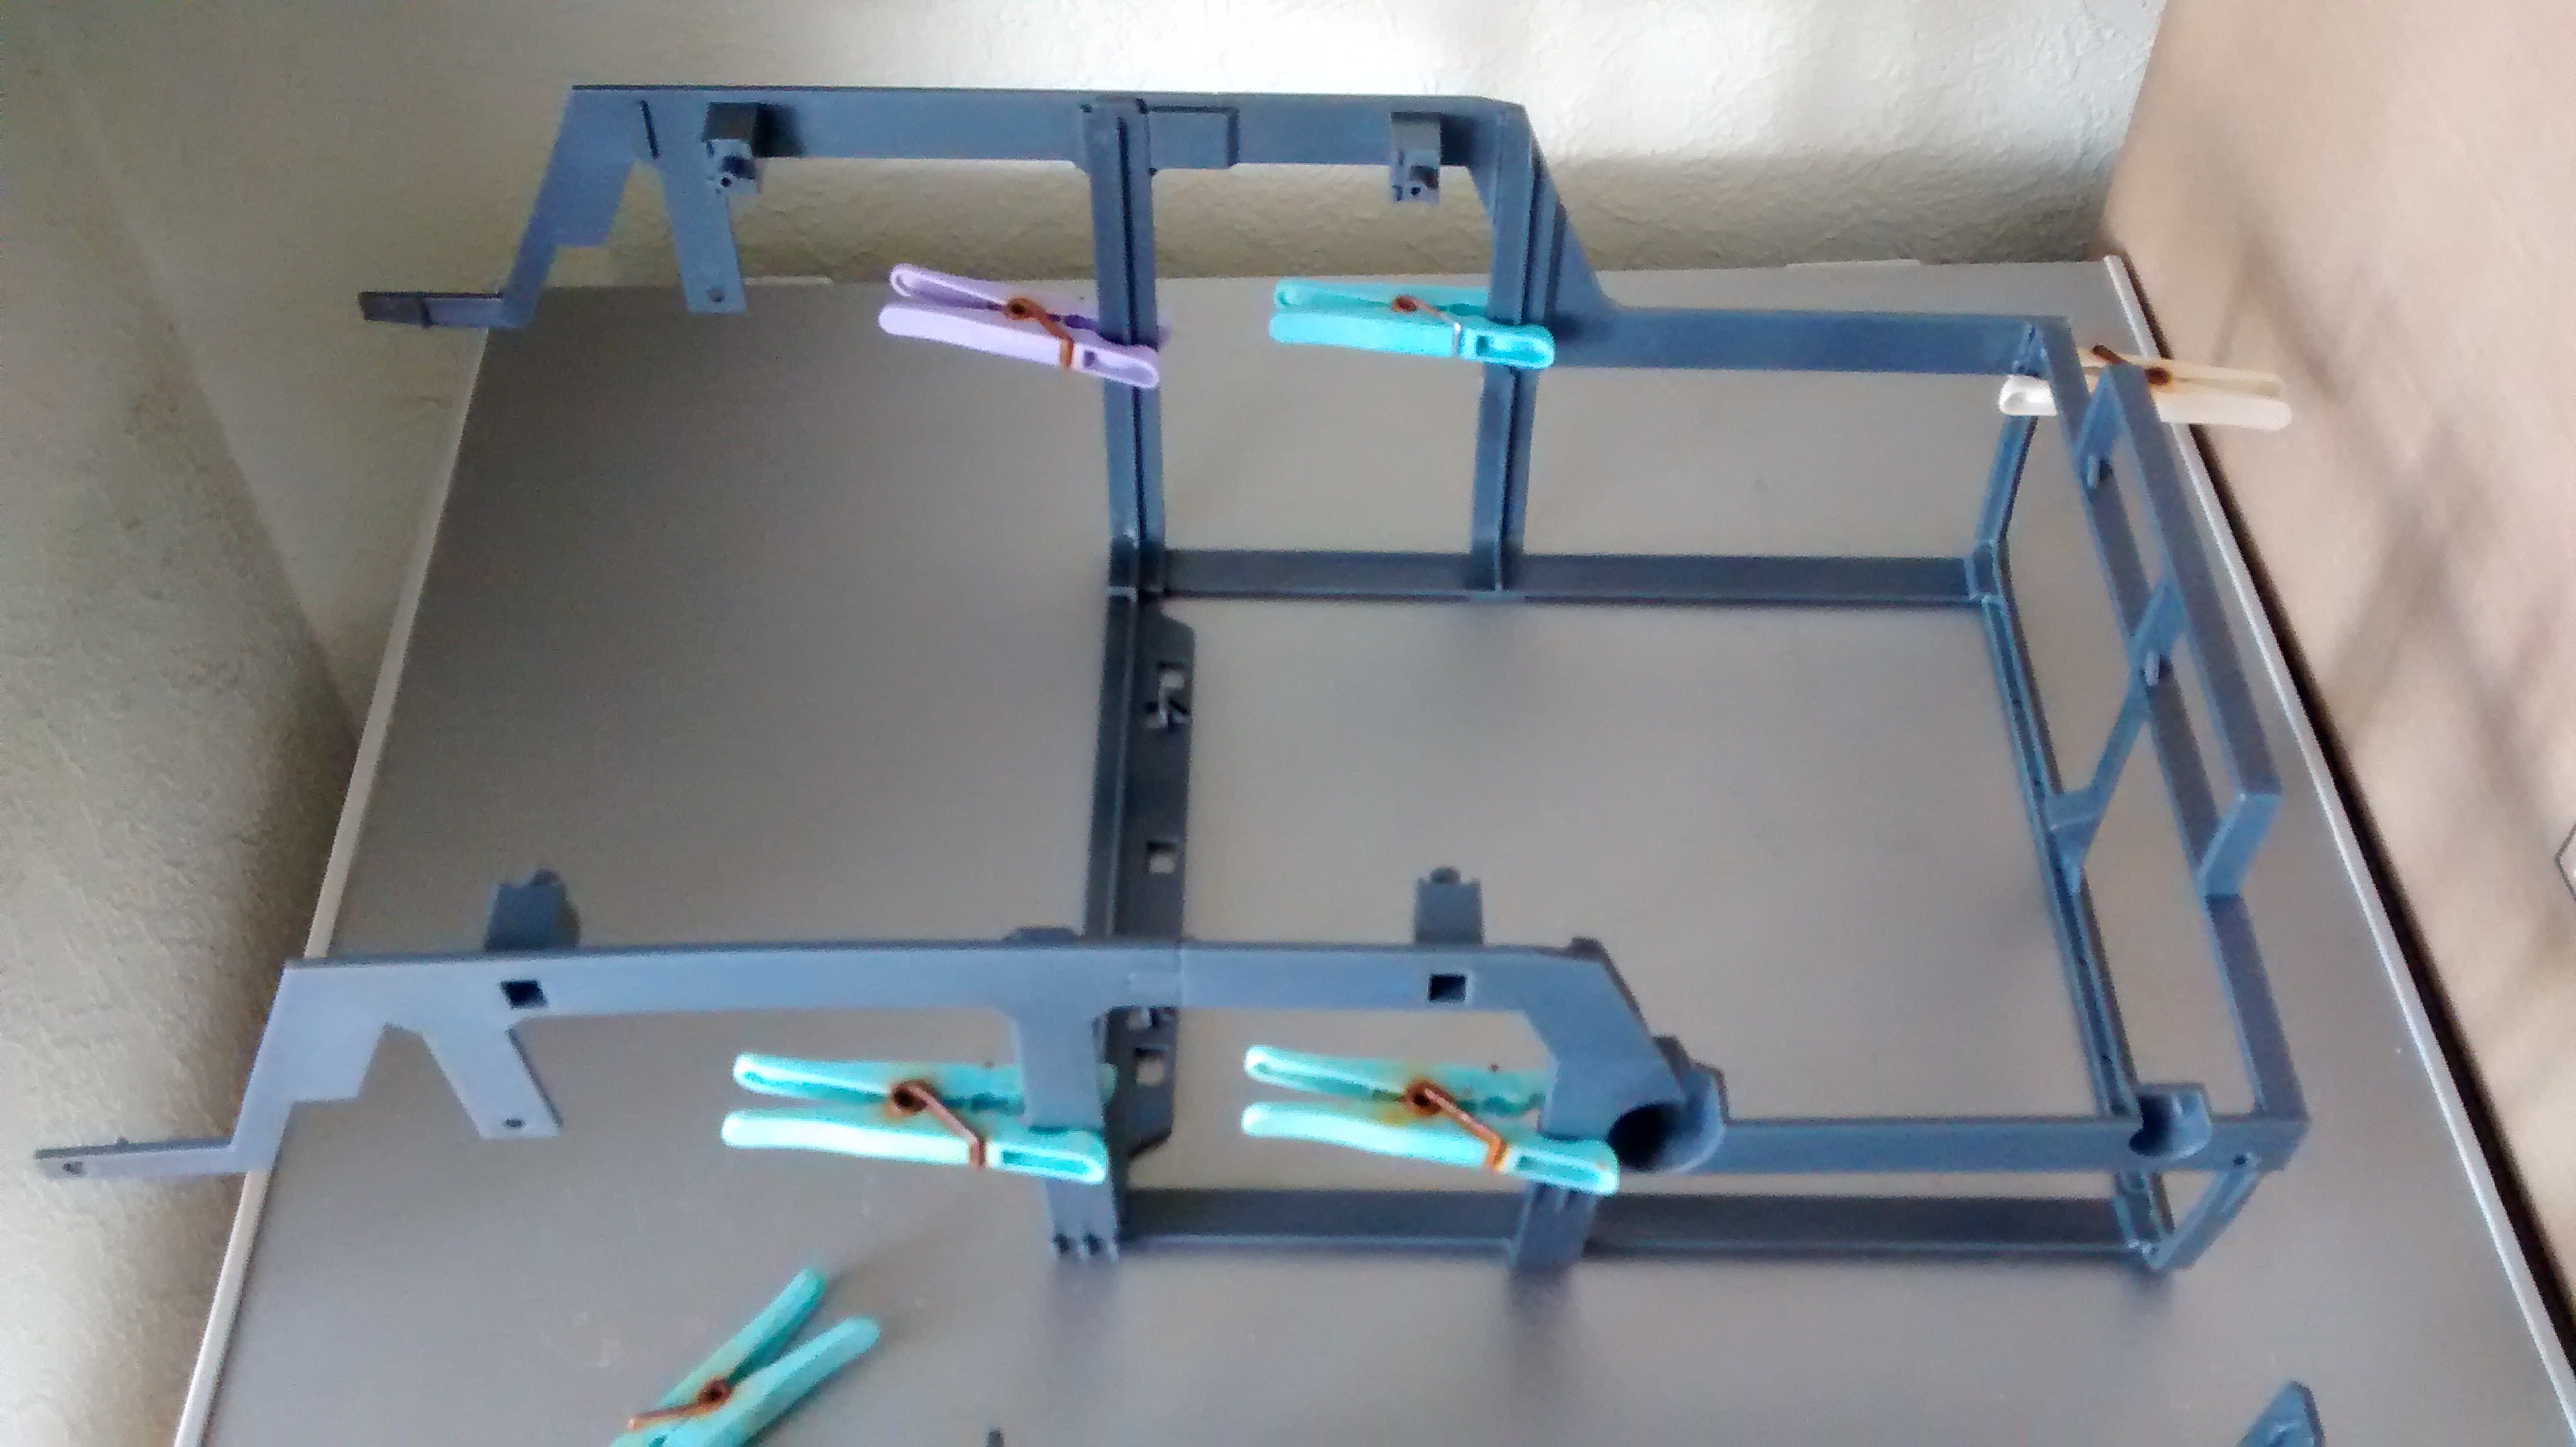
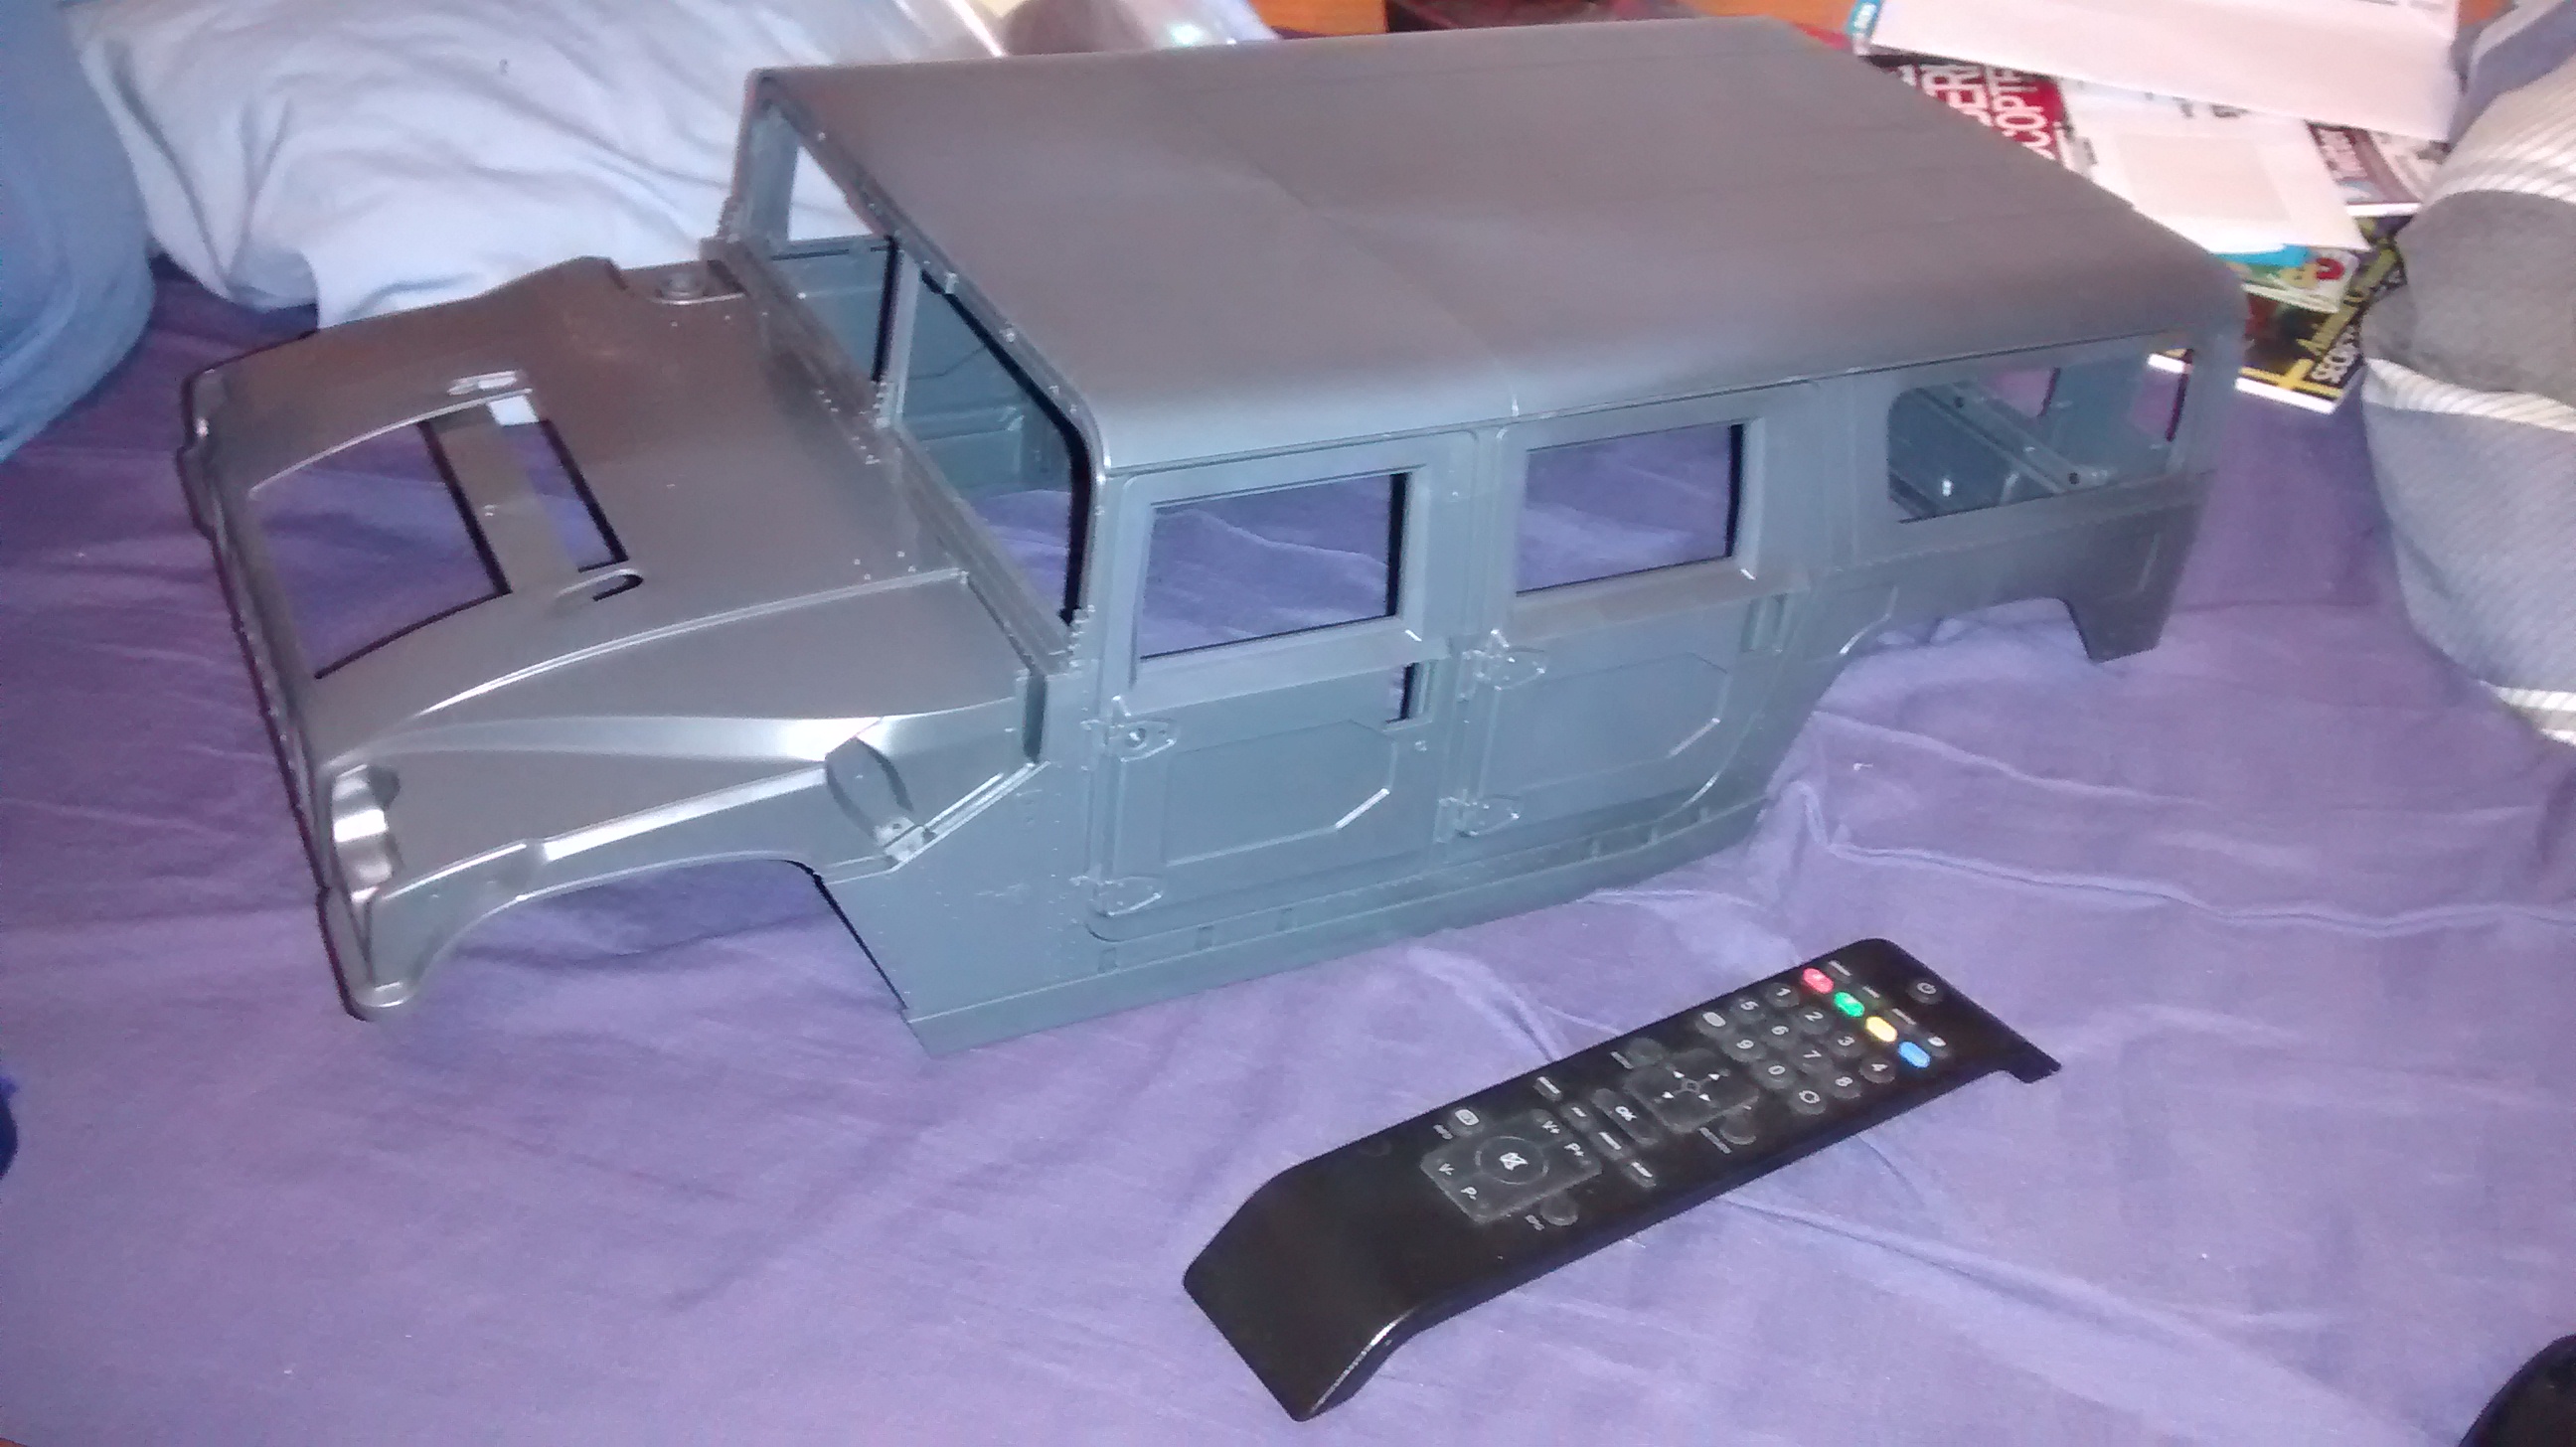
Here I have started the process of painting the models by giving them a coat of grey primer.

wpid-wp-1405408623829.jpeg

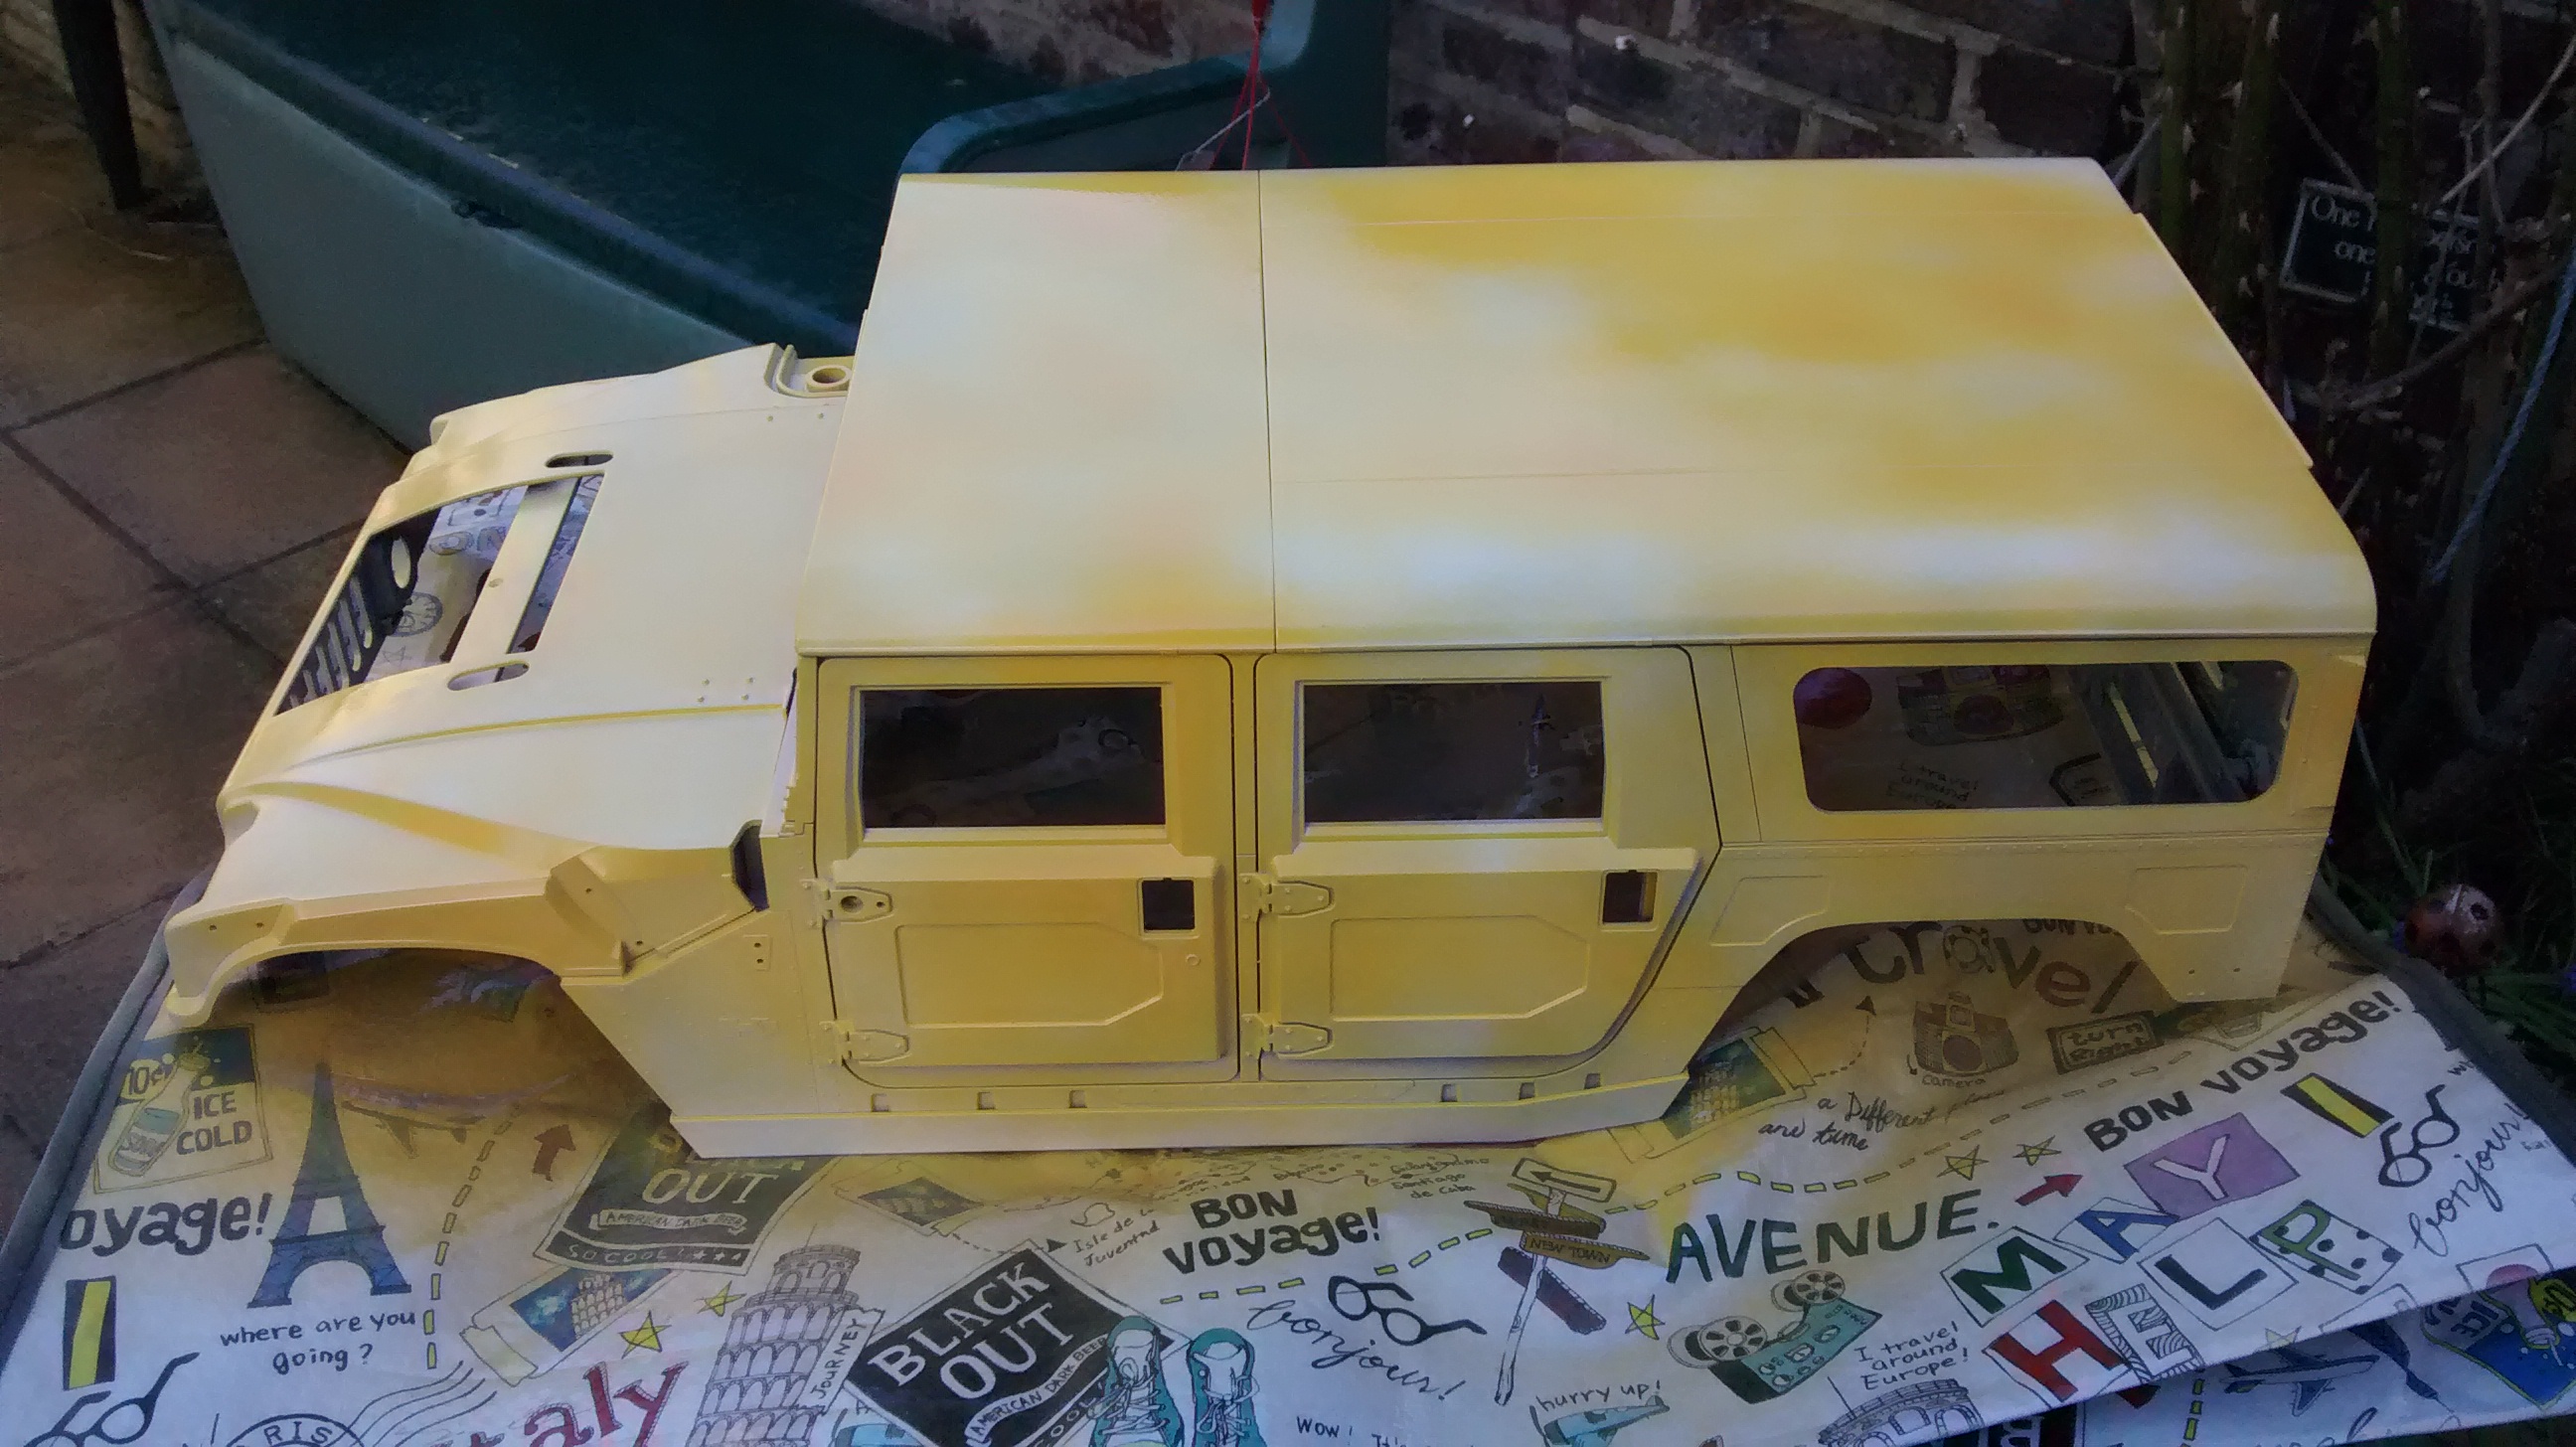
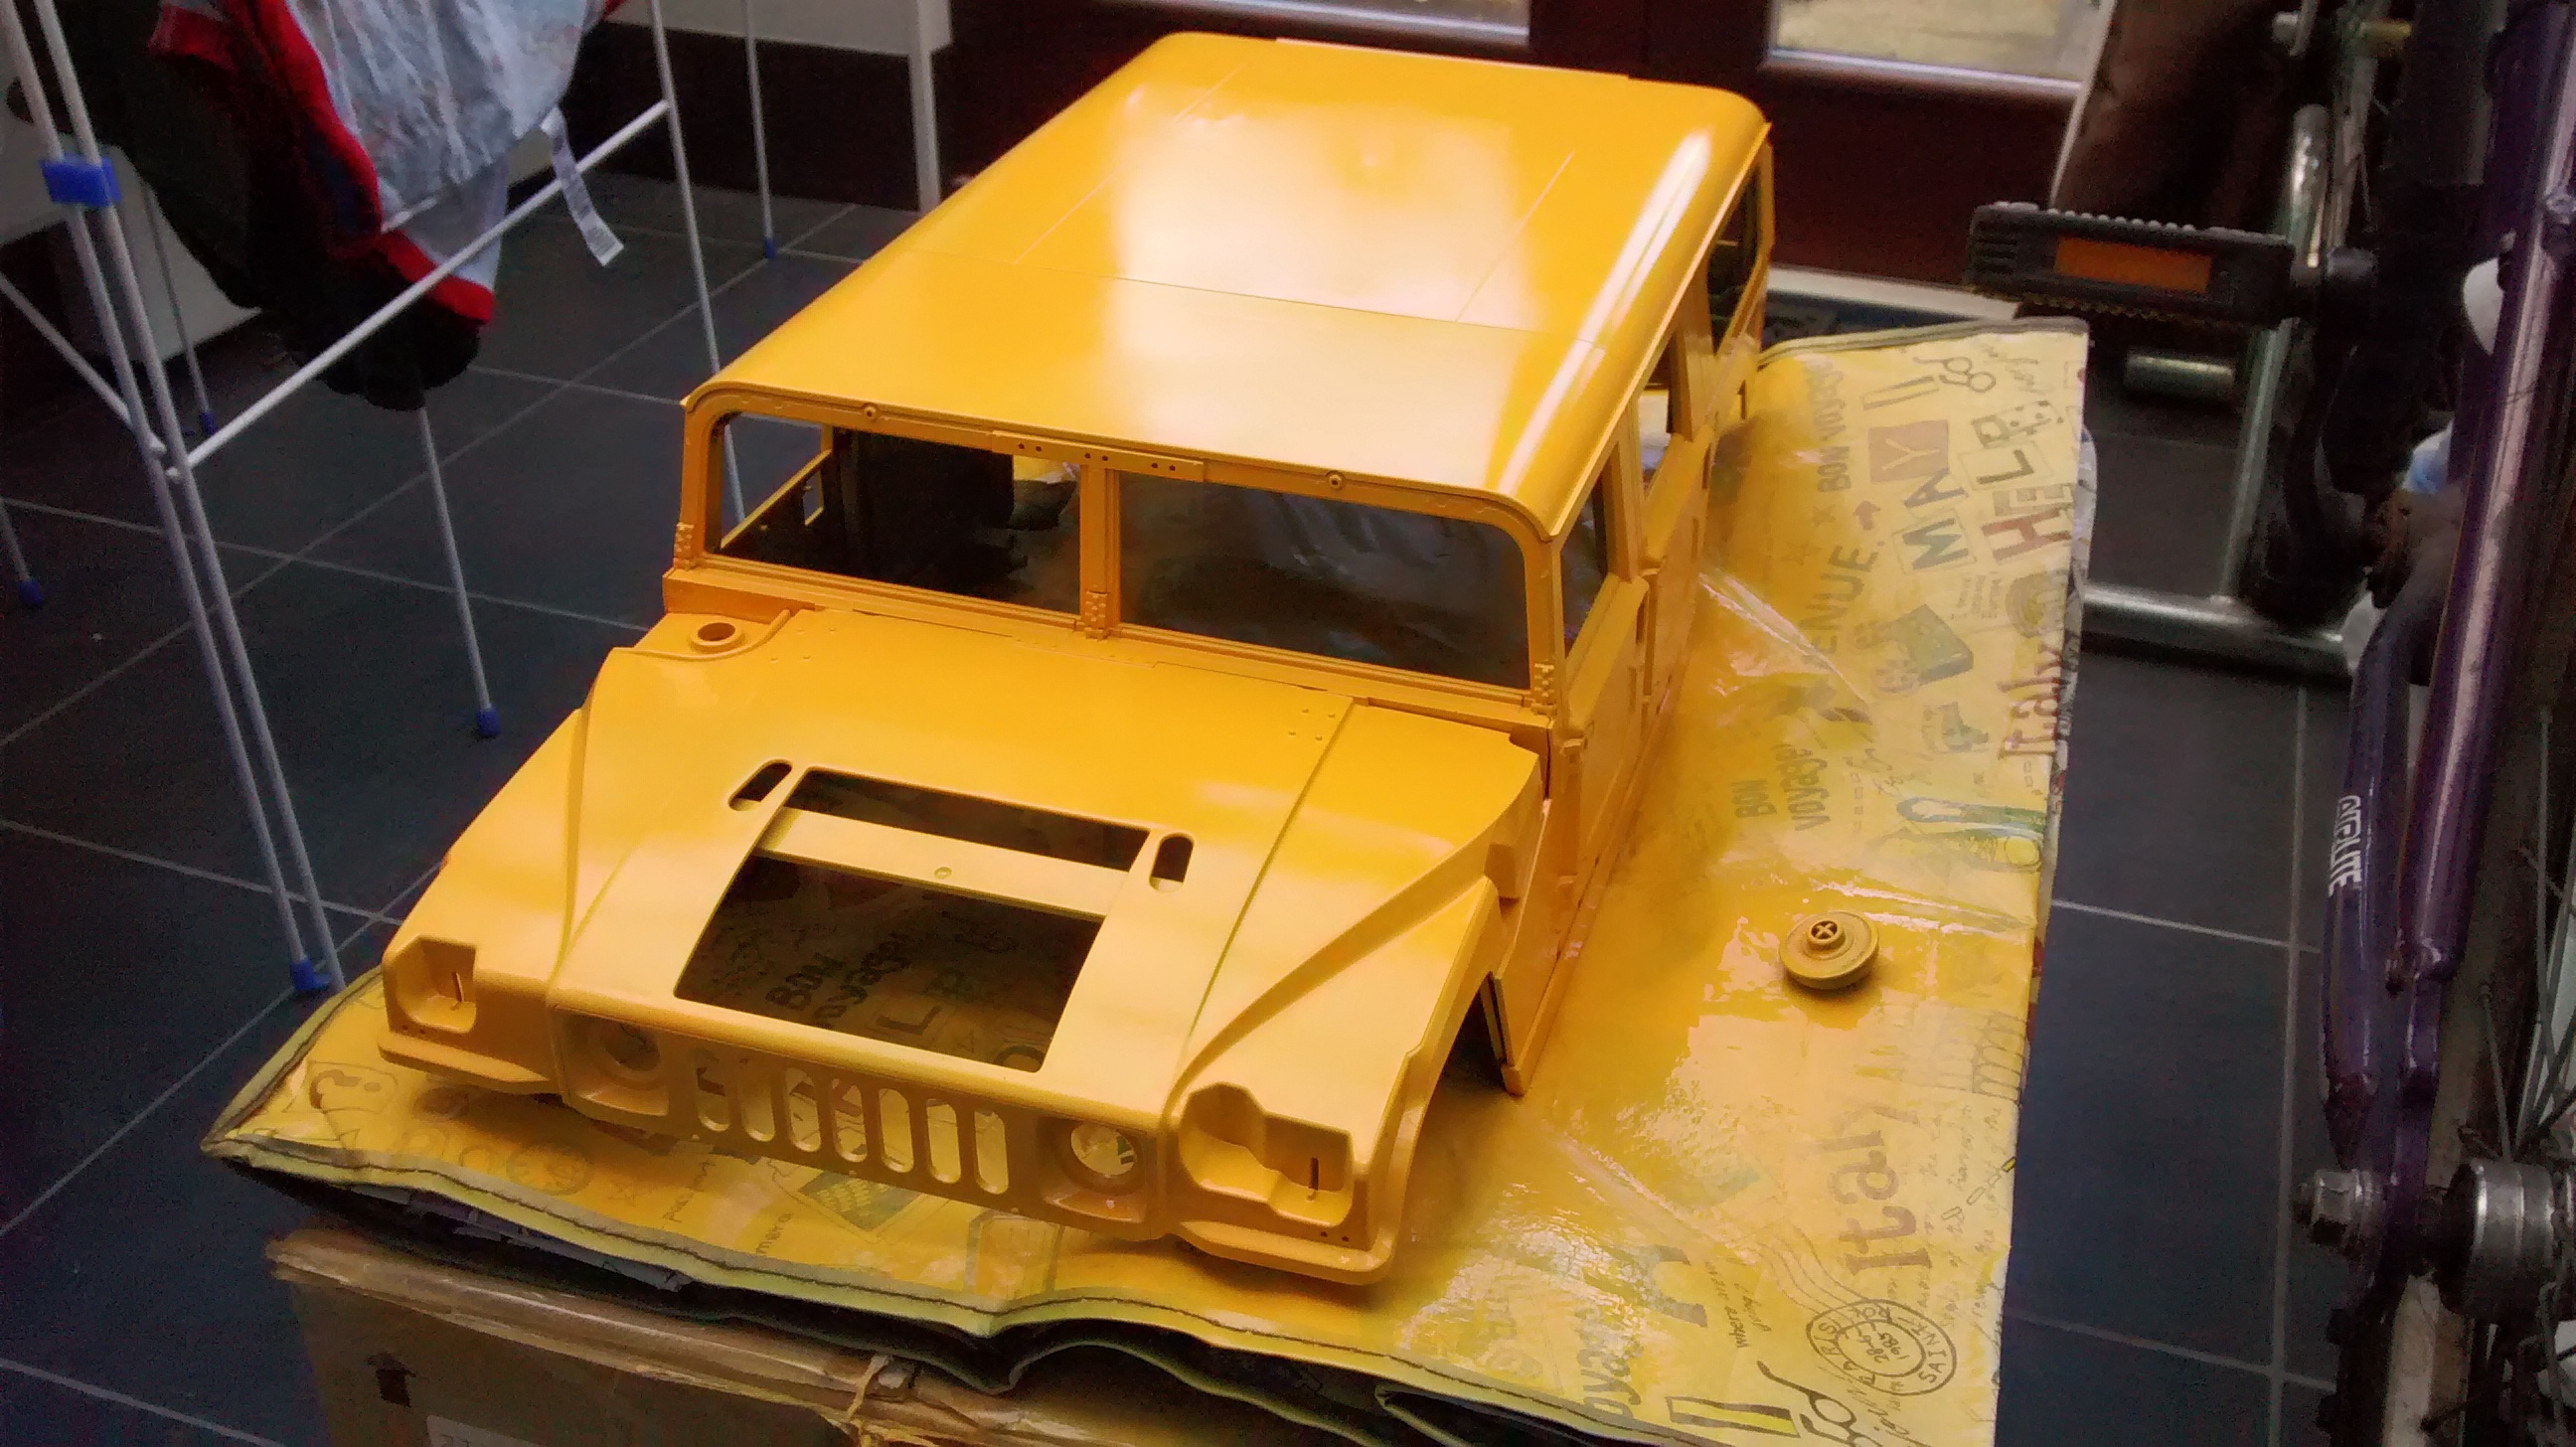
I then airbrushed the base coat for the models using lifecolor RAL 7028 DunkelGelb.

wpid-wp-1405408589543.jpeg

Yes DunkelGelb is that infamous colour of German armour that people will argue about till the end of time. Being basically dark yellow in German I guess its open to a lot of interpretation. I have used a variety of different shades of dark yellow on German Armour and find lifecolor’s one to be the best.

Hummer H1 Body

I finally got started on my 1:8 Kyosho Hummer H1 Subscription.

IMG_20140505_174039482

At the moment I have ignored that actual components of the car itself and worked on the body.

IMG_20140316_143547518

Making the side frames

IMG_20140316_152000047

Pegs are useful for holding the part in place whilst the plastic cement sets.


IMG_20140316_160432110

The frame is now ready for the panels to be attached.

IMG_20140320_213401866

Panels attached and ready for painting.

IMG_20140323_152559515

I started by spraying some mist coats

IMG_20140323_154743841


I decided to paint the Hummer the classic yellow they are often seen in.

IMG_20140505_174052280

Side view


Red Bull 7 Progress

IMG_20140309_202626098

I have fitted the rear wheel hubs and dog bones to the car.

The rear wing has also been fitted although this is the display wing. A separate (more durable?) wing is provided for driving around with.

Meet My New Robot

I finished building my robot today. It was a comparatively quick build compared to RC and model kits I am used to making.

I will make a full post of the build and the technology behind it later but for now here is a video of me calibrating the servos that control the robots head.

I needed to find the right values in order to make sure the robot looks where I want it to.

The robot uses a Seeeduino which is an Arduino compatible controller board and has ultra sonic sensors for eyes.

E Gemini Hovercraft Progress

I have started working on my E Gemini hovercraft.

Deciding where things should go

Most of the plastic pieces have been trimmed and the electronics tray has been mounted into the hull with silicon.

I have soldered the my connectors for the esc and battery pack replacing the Tamiya connector on the battery with a deans one.

I chose to use a specktrum receiver in the hovercraft as it means I can use the same transmitter as I use on my cars. I have tested the electronics and everything is working perfectly.

Next I need to trim down the lower hull and start working on the rear of the craft.

Tamiya 1:35 British Universal Carrier Progress

The Bren Gun Carrier is one of my favorite vehicles and its about time I got round to building one.

This is a nice kit as you get lots of accessories with it so you can customise the model to your liking. I have also been using this kit to practice improving the look of my figures.

There is still a lot of work to do here but its been an enjoyable build so far!

IMG_5471 IMG_5481

After loosing my main detail brush I decided to try out a pack of these.

I should have some Infantry painted and ready to add to a Diorama soon. I will let you know what I think of the brushes too.

Build your own Red Bull 7 (first batch of parts)

My first batch of parts for the Red Bull 7 kit arrived today.

The parts include bits of the front wing, rear wing, a wheel and an oil filled shock to build.

The front wing had some small parts that were pretty annoying to fit but I got there in the end.

You can see the oil filled shock balanced between paint pots in the photo.

This is to let the oil spread around the shock assembly and remove pockets of air.

First batch of RB7 parts

wmik land rover

This is my Airfix WMIK Land Rover.

20130117_205138
Wmik land rover side

The model was painted with the suggested humbrol paints and washed using mig productions brown wash.

It was highlighted and weathered using a tamiya weathering kit.

I plan to use it in a diorama I am working on.