I recently picked up the Pimoroni Garden hat and some sensors to play with as it looked like a neat way of swapping breakout boards around without wiring or soldering.
Soon after I thought why not upgrade my rover with the hat so it can drive around measuring air quality, temperature etc… Then I remembered I had my phat stack board lying around and the project turned into lets see how many hats I can stack on the rover.
So first I added the phat stack with the breakout garden hat, explorer (motor) phat, four letter phat and a scroll phat HD. For convenience I also attached USB hub / Ethernet adapter. This makes it easier to work on the PI if there are any Wifi issues.
I tested everything worked and whilst being blinded by the scroll phat I had the idea of using it as lighting for the front mounted camera. Continue reading Raspberry PI Rover Upgrades
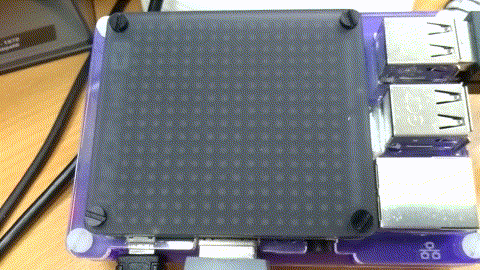
A while back I brought a new hat for the Raspberry PI called the unicorn hat HD. Its a 16 x 16 led matrix (256 LEDs) which I managed to get cheap while it was discounted.
I started playing with it recently and at first tried to use it as an over head minimap in mine craft. This kind of worked but the mine craft API was too slow to feed it data quick enough. All well and good if you only stood in one place but useless otherwise.
Next I thought I would try building some pixel games and have been working on a little space invaders clone.
The game is written in python and uses the pygame package for keyboard input but if it were to use something else for input like GPIO pins then pygame could be ditched.
I need to get my head round drawing text to it so I can make a game over screen etc…
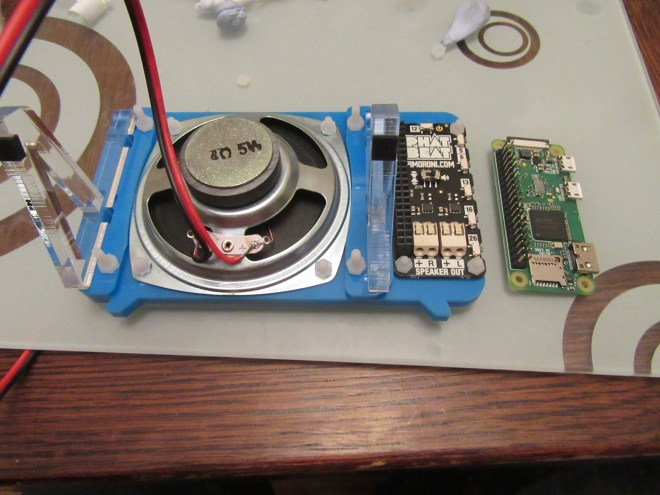
Last year I built the Pimoroni Pirate Radio which I have been listening to whilst building stuff ever since. The board the powers the audio on the radio supports two speakers but the radio as standard only has one.
Pimoroni recently released an additional matching speaker that can be attached to the other channel on the radio. It was reasonably priced so I decided to pick it up and upgrade my radio to stereo. Continue reading Stereo Pirate Radio
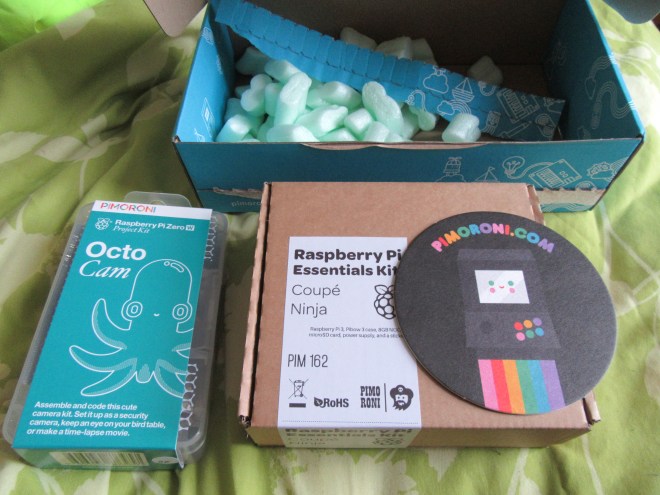
This is another little project from Pimoroni. This ones really simple, its just a Pi Zero W with a tiny camera housed within a cute octopus frame. The octopus has tentacles (suction cups) so that you can attach it to a window.
With the Octocam kit I also received a PI 3 which I will be using with the Google AIY project that came with the latest edition of the Mag Pi magazine but I will save that for another post. There was also a neat little coaster in the parcel.
Its been a fair while since I have posted anything here. This is largely because of a change of tactic when it comes to building things.
I came to the conclusion that the subscription based models did not represent good value for money and the level of support received considering the cost was very poor. There was also the problem of a long drawn out build due to the subscription model that was also exacerbated by delays and replacement parts being required.
So I started thinking about what I could build for the same price as a single model subscription and realised I could getting much more. This has started with some expert Lego models and Raspberry PI projects.
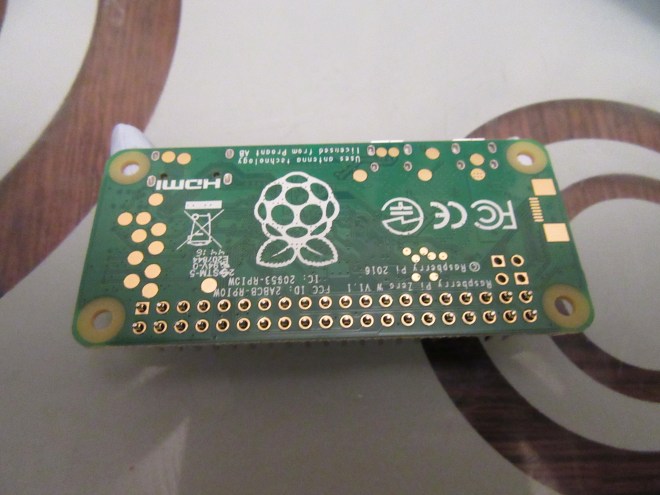
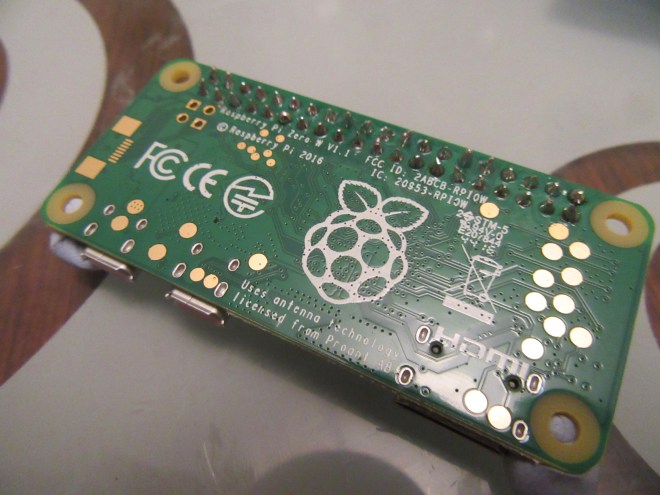
I have made a fair few things between my last post and now but I am going to start with a little PI project using the brand new PI Zero W. The PI zero is a smaller raspberry PI that is tiny compared to the standard size raspberry PI but not as powerful as the PI 3. The W version which has just been released adds WiFi and Bluetooth. Previously a PI Zero would have required a dongle or pHat* to use these technologies. This adds size to the computer and would require a hub considering it only has a single USB port.
*A pHat is a hat made for the PI zero (An extension board to provide additional functionality).
PI Zero W with headers soldered on
The project I am posting today is a fairly small PI project and my most recent one. There are a few I need to post about that I build before this one. This project is the Pimoroni pirate radio kit. The first noticeable thing about this kit compare to previous Pimoroni projects is its packaging. It comes in a nice project box and looks much more like something you would find on a shop shelve.
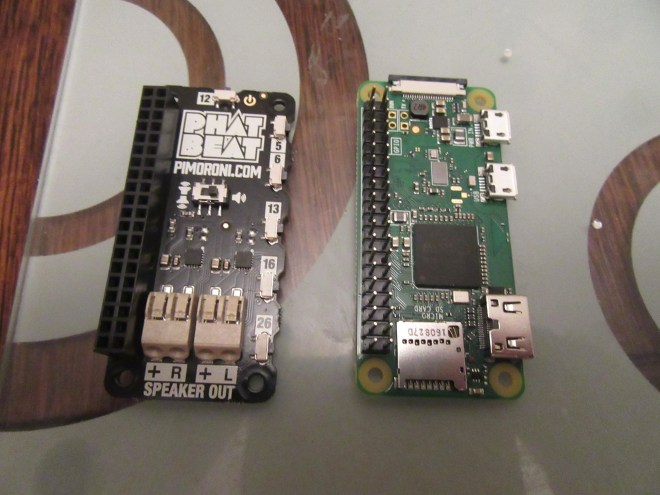
Inside the box we have the acrylic pieces / screws to build the case, a 5w speaker, the PI zero w and the pHat beat hat to provide audio, buttons and VU meter to the radio.
Opening the kit
Those are the core components need to build the radio but it also comes with the hdmi and usb adapters the PI zero needs to connect to standard size usb and hdmi cables. I usually connect a pi zero up to my monitor to setup SSH and WiFi but this can also be done by editing the sd card image before booting it. Finally the kit comes with some nice Pimoroni stickers to decorate the radio.
When building a kit that uses a hat the first thing I usually do is solder the headers onto the PI / hat. Headers can be soldered which ever way you want to suite your needs but the norm is to solder the male headers onto the PI and female onto the hat. This will enable you to switch hats easily.
I always use blue tak to push the board firmly onto the surface when soldering a header. This stops me knocking the board and moving it with my soldering iron.The pins soldered. My soldering is slowly getting better.The PI zero side by side with the pHat beat hat. Both have their headers soldered and are ready to go.
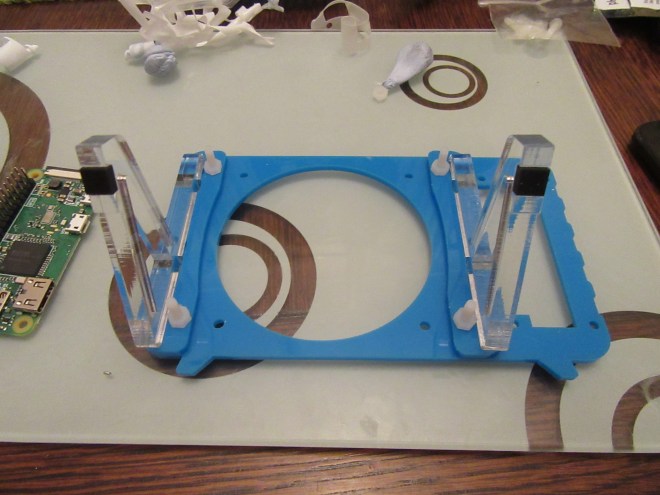
That’s all of the soldering done for the kit. Now all that needs to be done is the construction of the radio structure itself and connecting everything together.
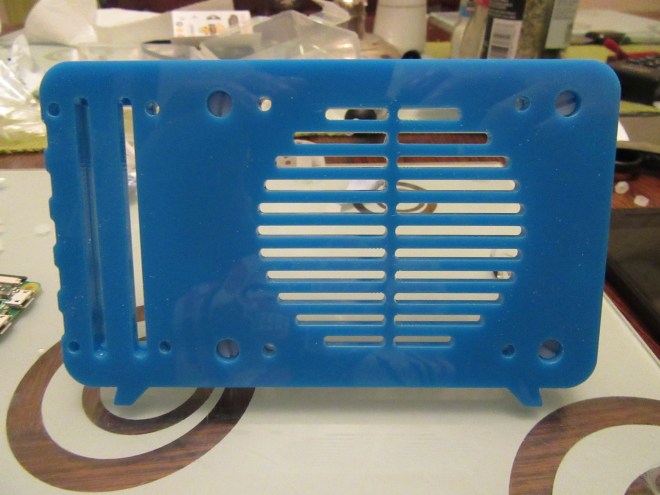
First the legs get attached to the radio.Then the middle piece containing the speaker grill.Lastly the frosty clear front panel completes the radio structure.The speaker and pHat beat is then attached to the back of the radio.Lastly the speaker is wired up to one of the channels and the pi zero is slotted into the pHat.
There is a switch on the back of the pHat that must be set to single speaker mode.
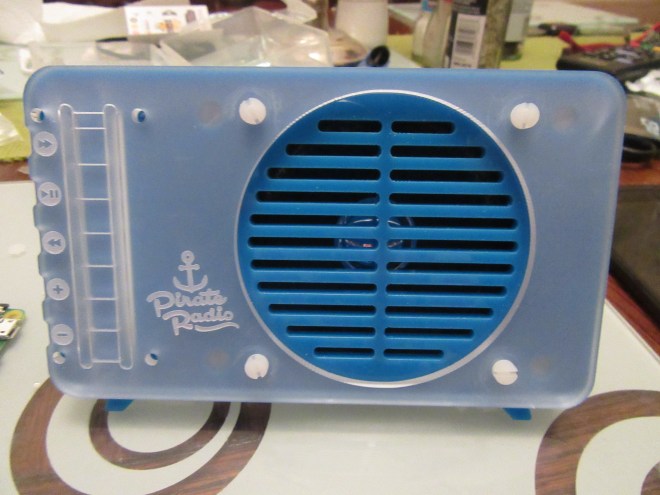
The final and most important part of the build was adding the stickers. Its easy to get carried away so I only put two on.
The build took around 30 minutes and I had it up and running about 10 minutes after by following a guide on the Pimoroni forums.
It is currently using VLC to run a playlist of stations and the Pimoroni guys have made some python scripts to handle the buttons being pressed to switch station / volume etc…
I am more than happy with this setup at the moment as I only have to SSH into the pi to change the radio station list at the moment.

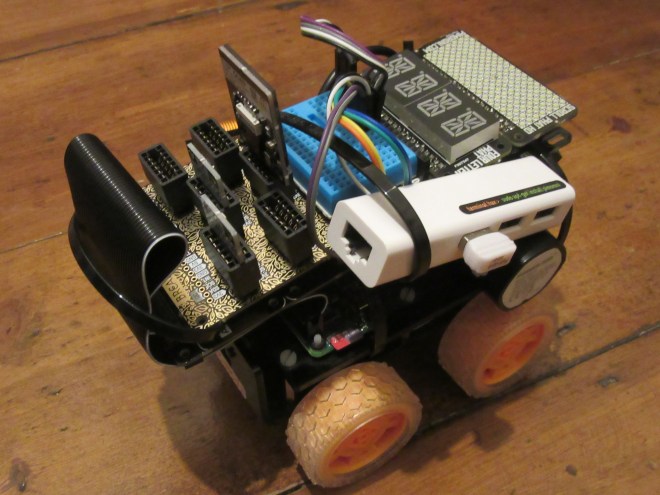 So first I added the phat stack with the breakout garden hat, explorer (motor) phat, four letter phat and a scroll phat HD. For convenience I also attached USB hub / Ethernet adapter. This makes it easier to work on the PI if there are any Wifi issues.