Metal Earth T34 Tank

When building my first metal earth model I soon realised the hard part of these models is when you need to create circular shapes. This put me off of tackling the rest of my t34 model for a while.

I decided to get on a finish this model so it was time to tackle the road wheels on this kit.

IMAG1415

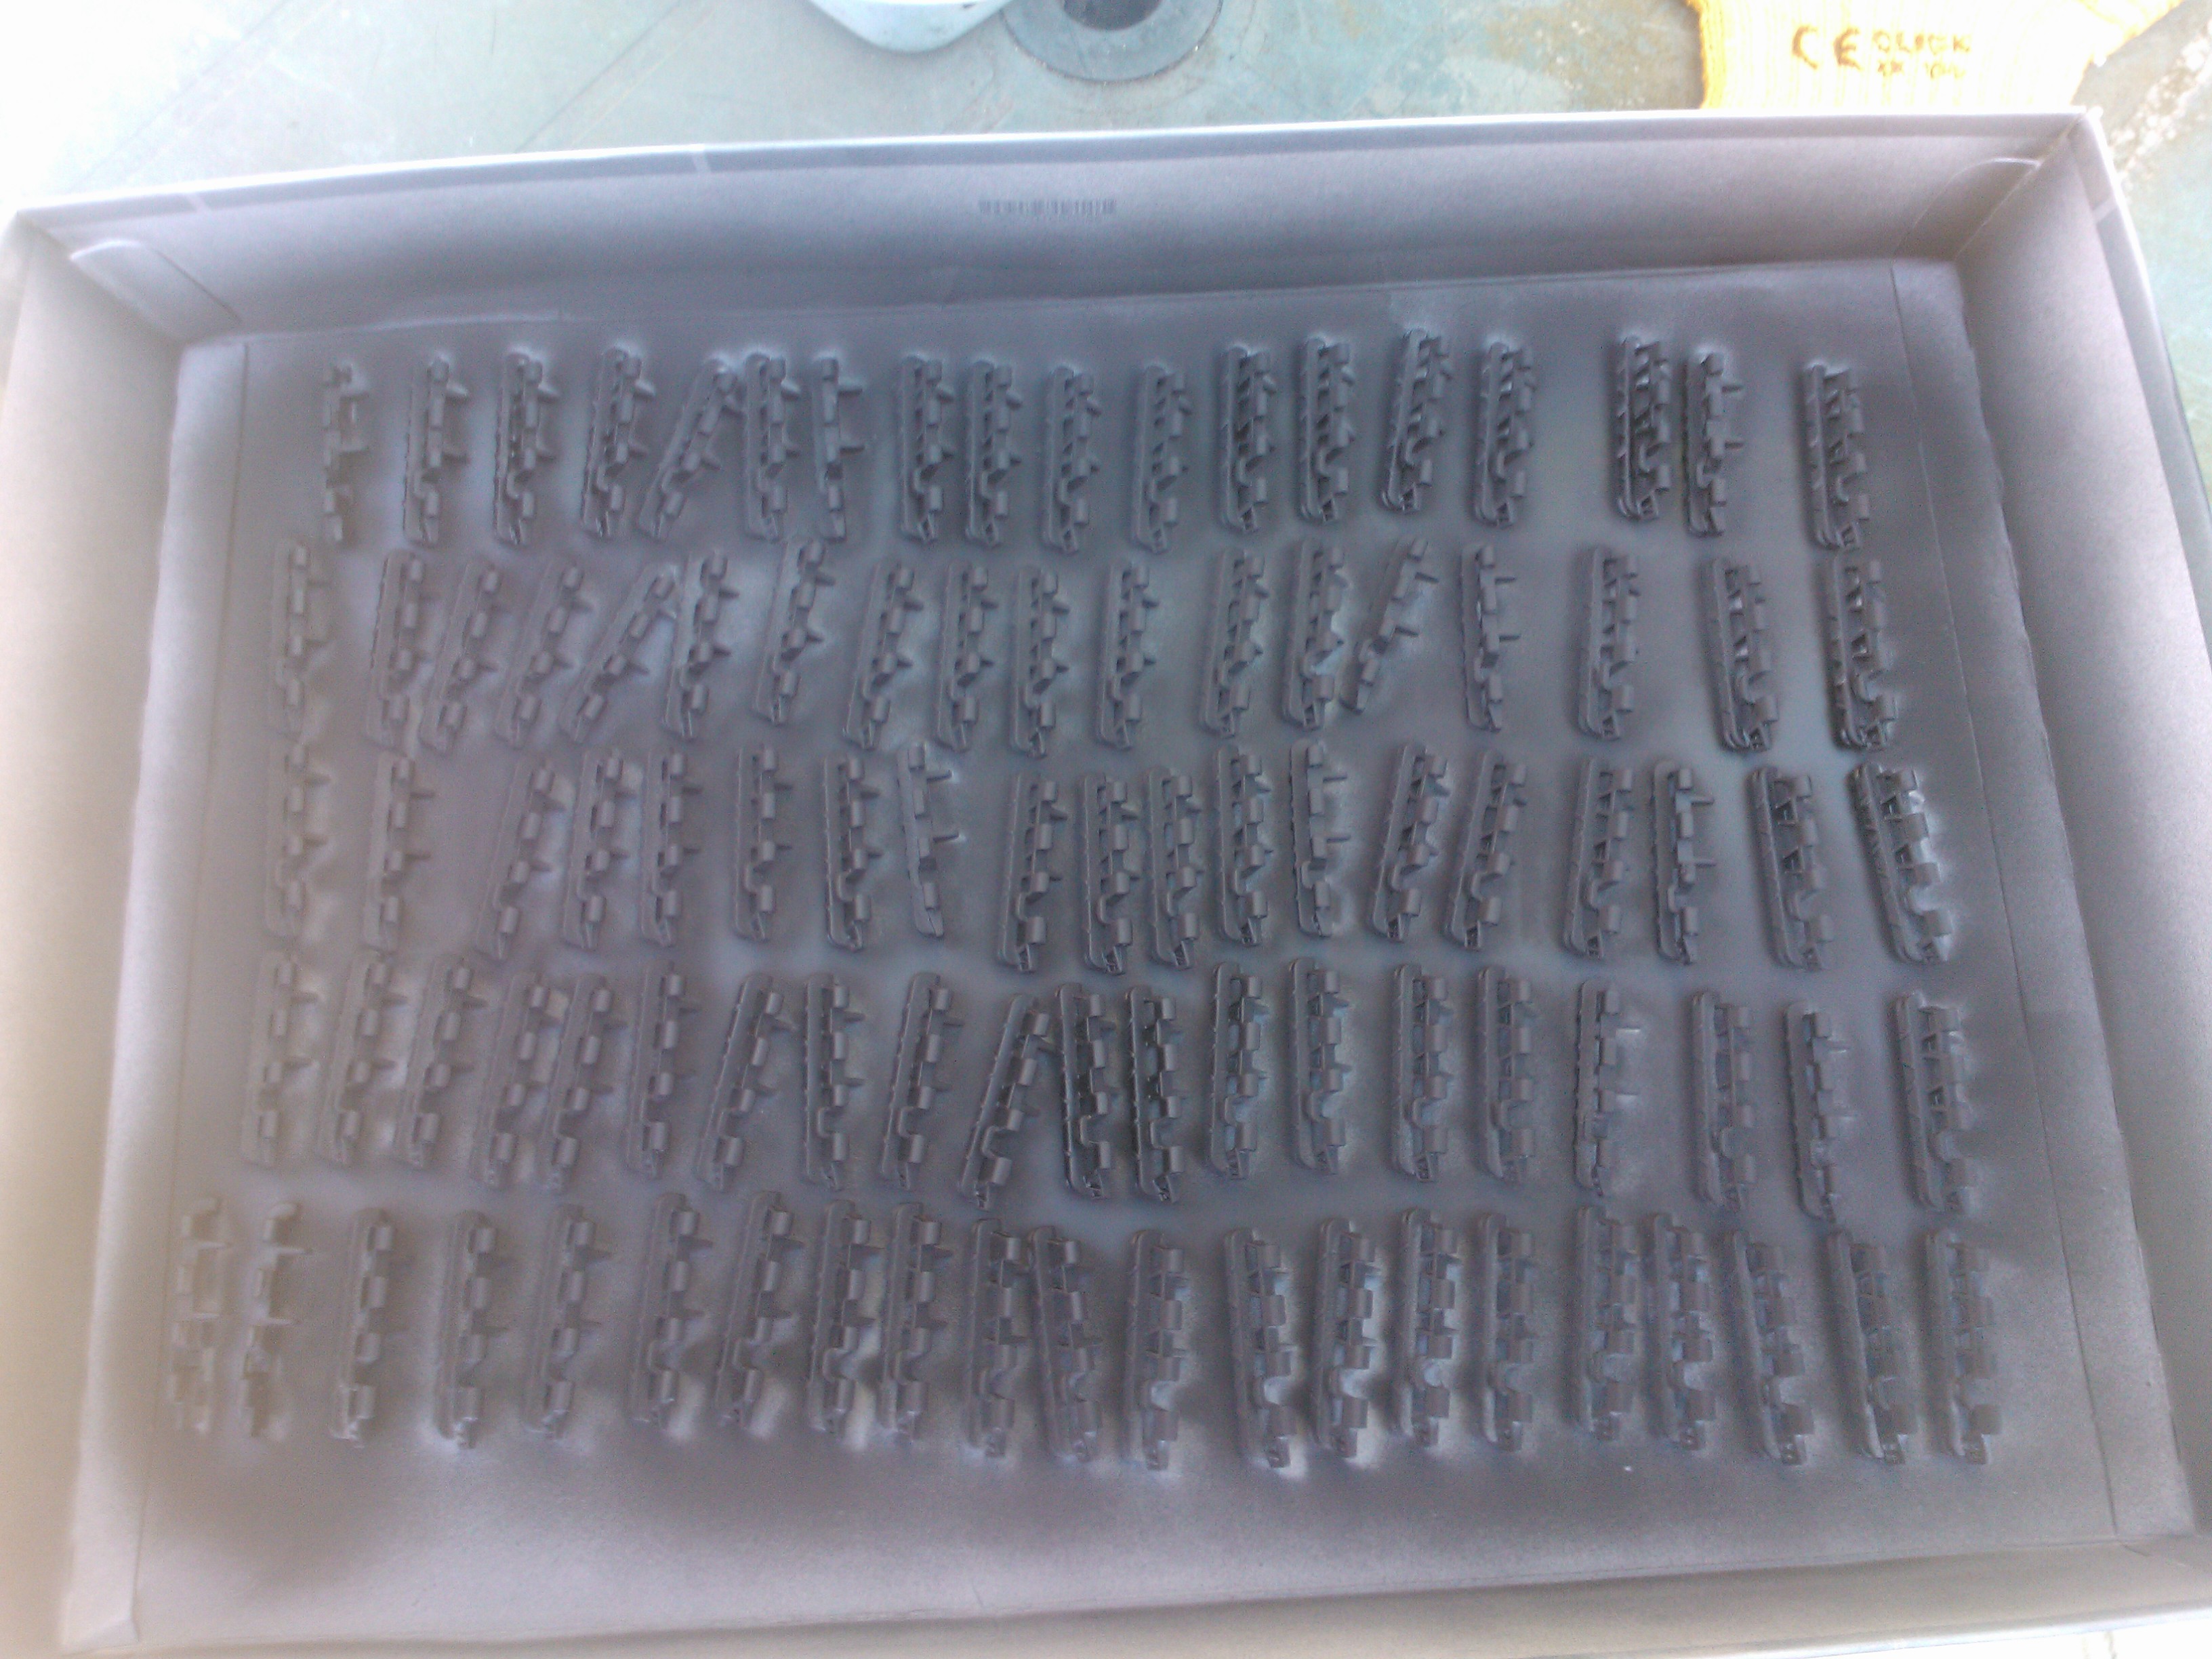
The road wheels consist of a metal sheet rolled into a tube with a circular cap attached to the front of them. A final metal piece goes on top to hold it all together. These were very fiddly and some took several attempts to put together.

IMAG1417

Although smaller the gears at each end of the tank were easier to attach as these were only made of two pieces.

IMAG1422

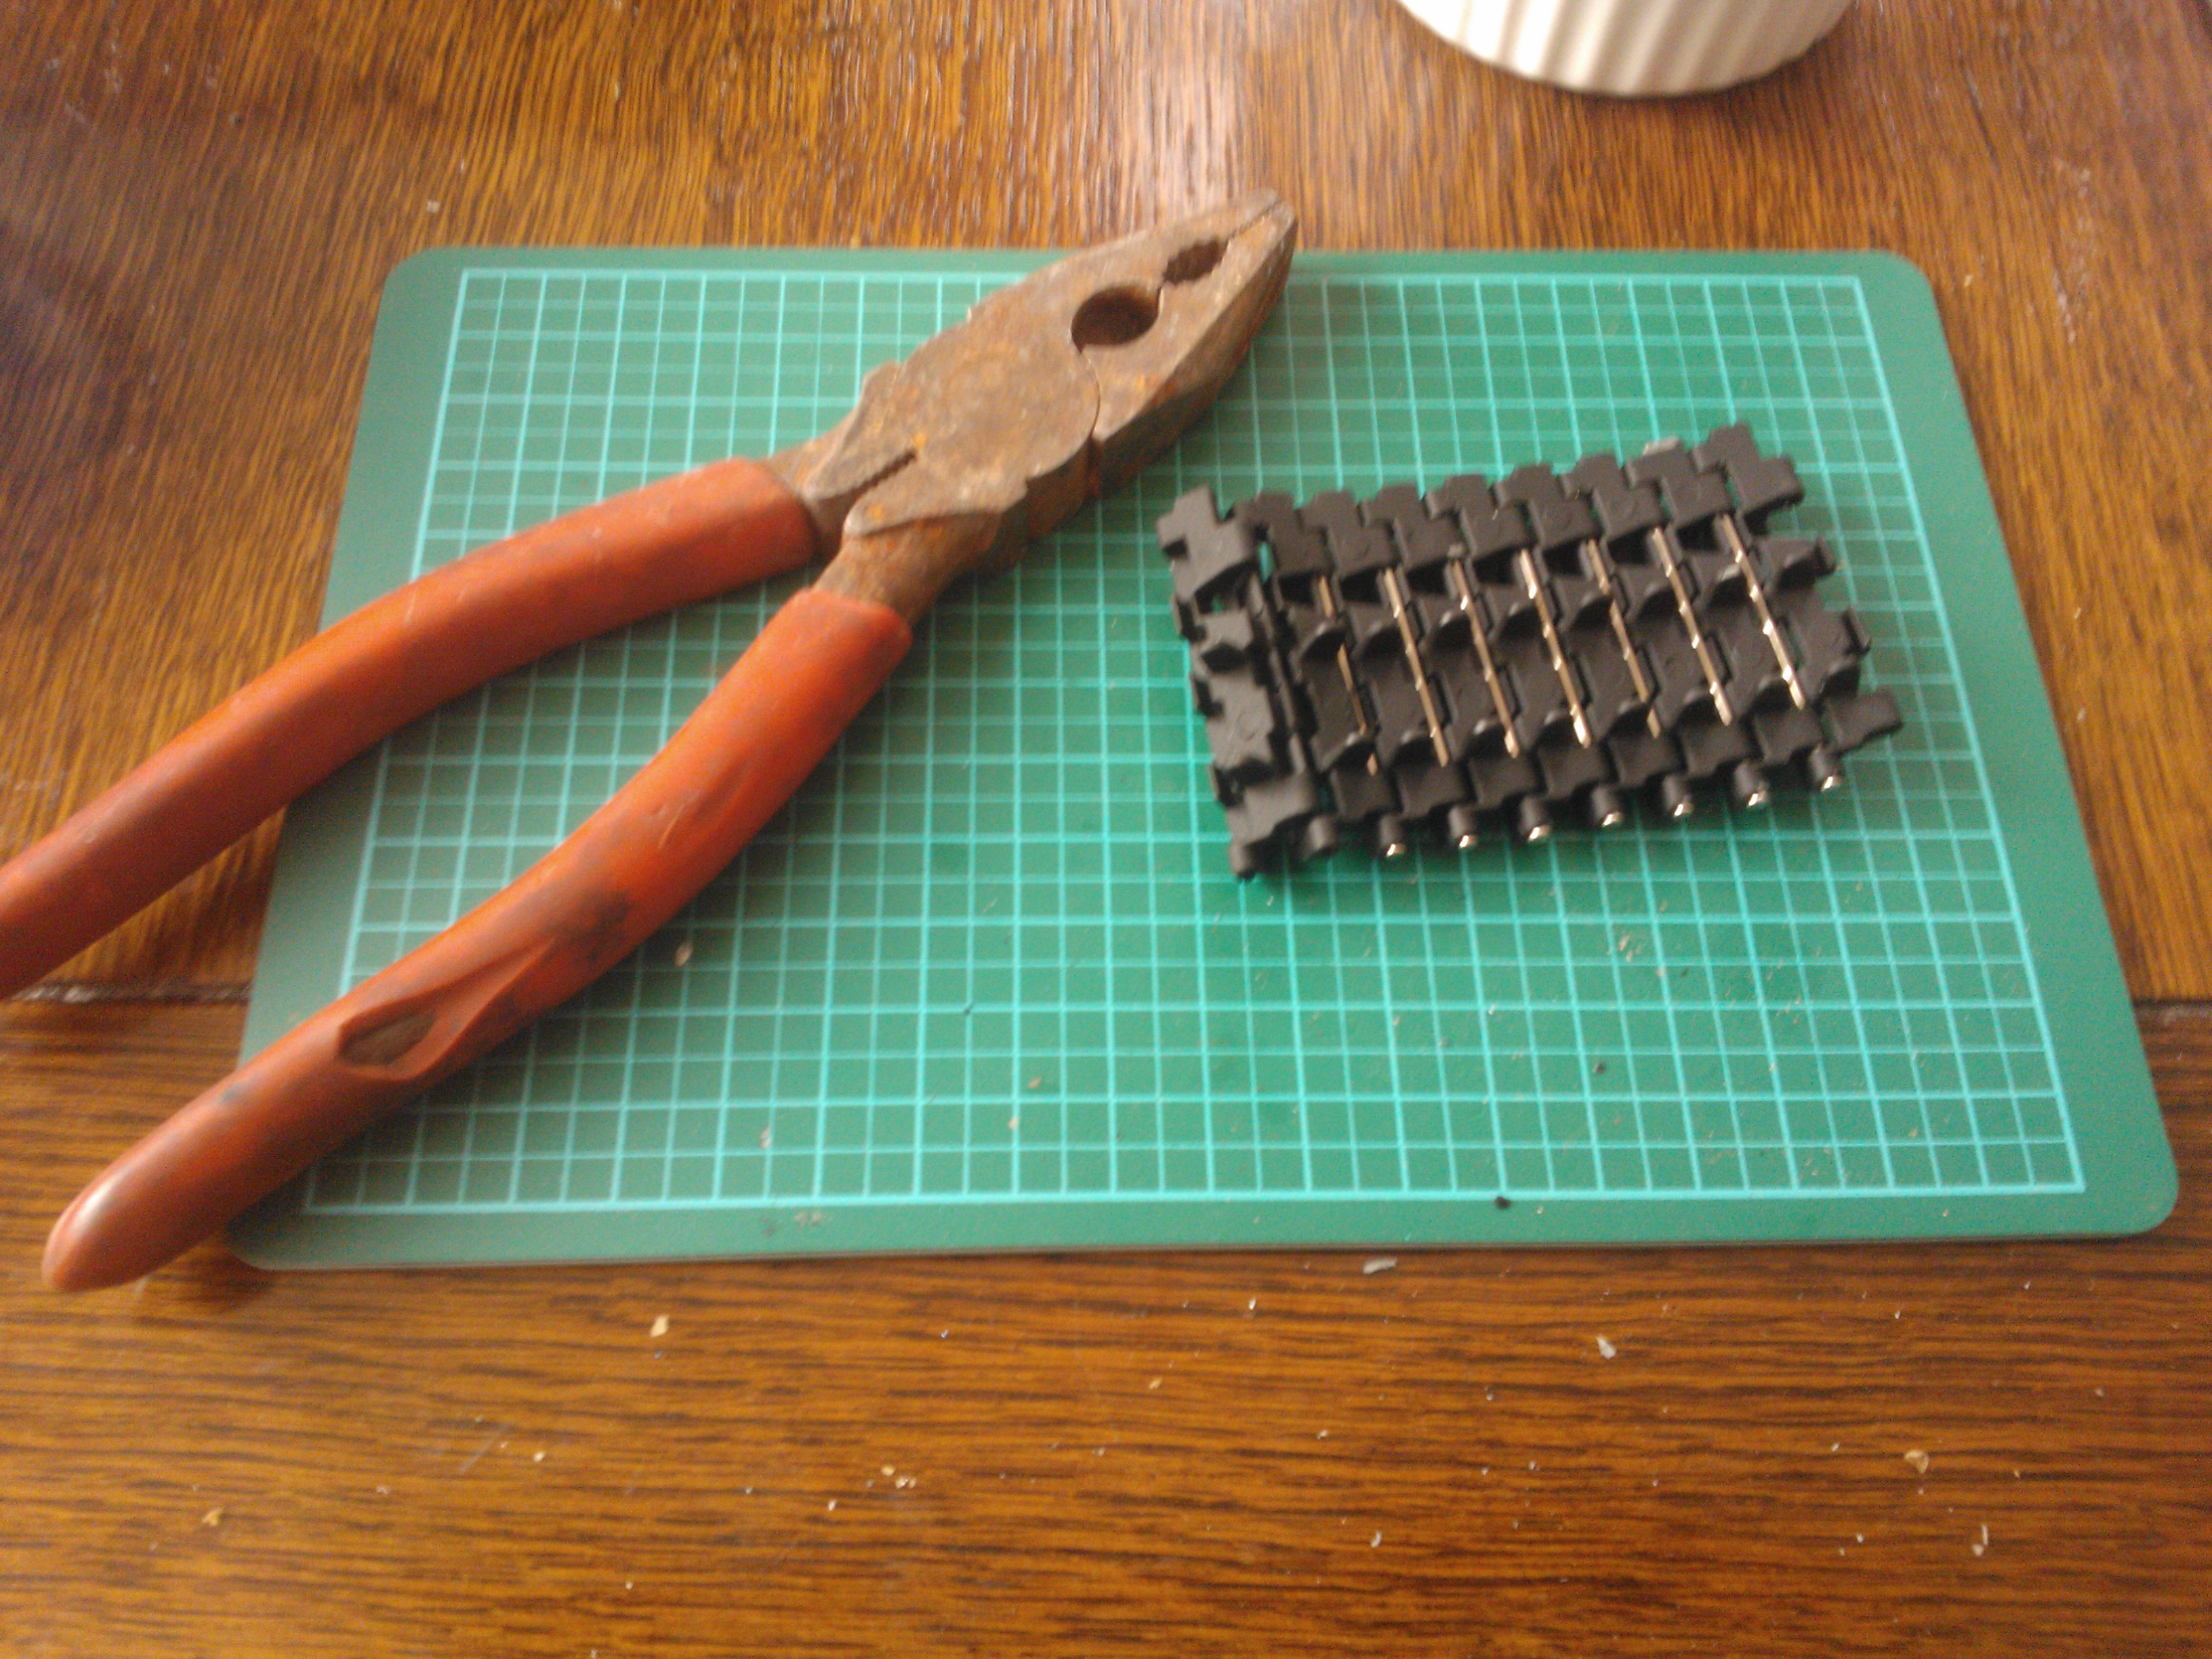
The tracks went on pretty easy as these were just wrapped around the wheels and held onto the back plate that the wheels are attached to.  The complete set of wheels with tracks were then attached to each side of the hull.

One thing I could of got better was the road wheels. They do not sit on the track properly because of the metal tabs sticking out of the bottom of them.

IMAG1420

Given that this kit only cost around £6 I am very impressed with the outcome and detail. These are a nice alternative to plastic models as they require a different skill set and can be built pretty quickly.

IMAG1423

Next up I am building the himeji castle for my girlfriend.

Some more Metal Earth building

I have finished my first Metal Earth kit and all things considered it turned out well.

IMAG1140

I learned a lot from this first kit which will improve my future builds.

IMAG1139

The main thing I learned was that using screw drivers of different diameters is a great way of creating the cylinder Continue reading Some more Metal Earth building

My Introduction To Metal Earth Model Kits

I recently stumbled across one of these kits and decided to give one a go.

They come as flat packed steel sheets with parts you bend and lock into place using metal tabs.

I thought it was a great idea so I decided to give the X wing kit a go from the Star Wars series.

IMAG1124

Being a bit eager to get started I did not get a shot of the packaging but here are the steel sheets.

IMAG1120

As this is my first metal earth build I knew it would not be perfect. There is a lot I have learned already which will help me on the next one. The hull of the ship was pretty easy to put together.

IMAG1128

It started to become challenging when I started working on the cylindrical engine parts. I tried to wrap the sheets around a few things to get a nice curve but could not find something the right size. I later annoyingly found out screwdrivers were ideal so have used these for the next part. (Adding the lasers)

IMAG1129

Although not perfect the engines still look OK. There is an impressive amount of detail on these laser cut kits I especially like the droid. All that there is left to do as add the lasers.

IMAG1126

I already have my second kit ready to build!


Tiger Tank Update: First Set of Tracks Fitted

WP_000340

I finally got around to doing some more of my tiger tank build at the weekend. Last week I received the final parts of the series so I thought it was time to get back into it. In this session I fitted the exhaust stacks to the back of the tank and added the left track. The track is made of 96 metal links held together with pins.

WP_000338

I did encounter some badly cast track links, but these were overcome with a bit of filing and brute force.

WP_000324
The tracks fresh out of the packaging.
WP_000325
Spraying the track links black.
WP_000334
Joining the links.
WP_000335
The complete left track.

Checking out my new action cam on an rc tank

In this video i am testing a new miniture camera on my Heng Long Panzer IV. The quality is not great as its indoors and in low lighting. The camera comes with about 4 ways of attaching it to things but I just used blutack. Am certainly going to get the HD version of this camera.

1/16 Tiger Tank Progress

I finally got round to doing some more work on my Tiger Tank. The parts I have been working on are the lower hull and front plate.

The brass etched mud flaps were a pain as you had to bend all the tiny parts into shape.
It is proving to be an expensive model to paint, I used two cans of spray paint on the hull and road wheels alone.

A tank needing a little TLC

At this year’s tankfest I picked up a new rc tank from the market.

It’s a Heng Long Panzer IV with metal gearbox and tracks.

The metal upgrades are what attracted me to the model. I have an all plastic Heng Long Pershing but it would cost more to upgrade it than the asking price of the Panzer.

I haggled the price down further so it was a real bargain. Unfortunately when I tried to get it going it was dead.

imageIt started working intermittently when playing about with the channel select switch so it seemed like there was a loose connection somewhere. After some googling I found Heng Long’s soldering skills were not highly rated. Eventually I found out that the component next to the switch was causing the problem. The component was re-soldered and the tanks now working fine.

Below is a video of the repaired tank in action.