
I was not expecting the beetle to be able to wheelie but it does quite well!
Tag: buggy

Finishing the Blitzer Beetle

I had some trouble with the brush-less motor when testing the car where accelerating or reversing would cut out the electronics. I managed to sort this by Continue reading Finishing the Blitzer Beetle

Tamiya Blitzer Beetle Part 2

I have started spraying the main body of my blitzer beetle. Continue reading Tamiya Blitzer Beetle Part 2

Tamiya Blitzer Beetle Build 1:10

I have a new RC car to build, this is an Volkswagen Beetle off road buggy.
I did not realise until recently that there are a fair few hard body kits available. I prefer these as you can add much more detail than you can with Continue reading Tamiya Blitzer Beetle Build 1:10
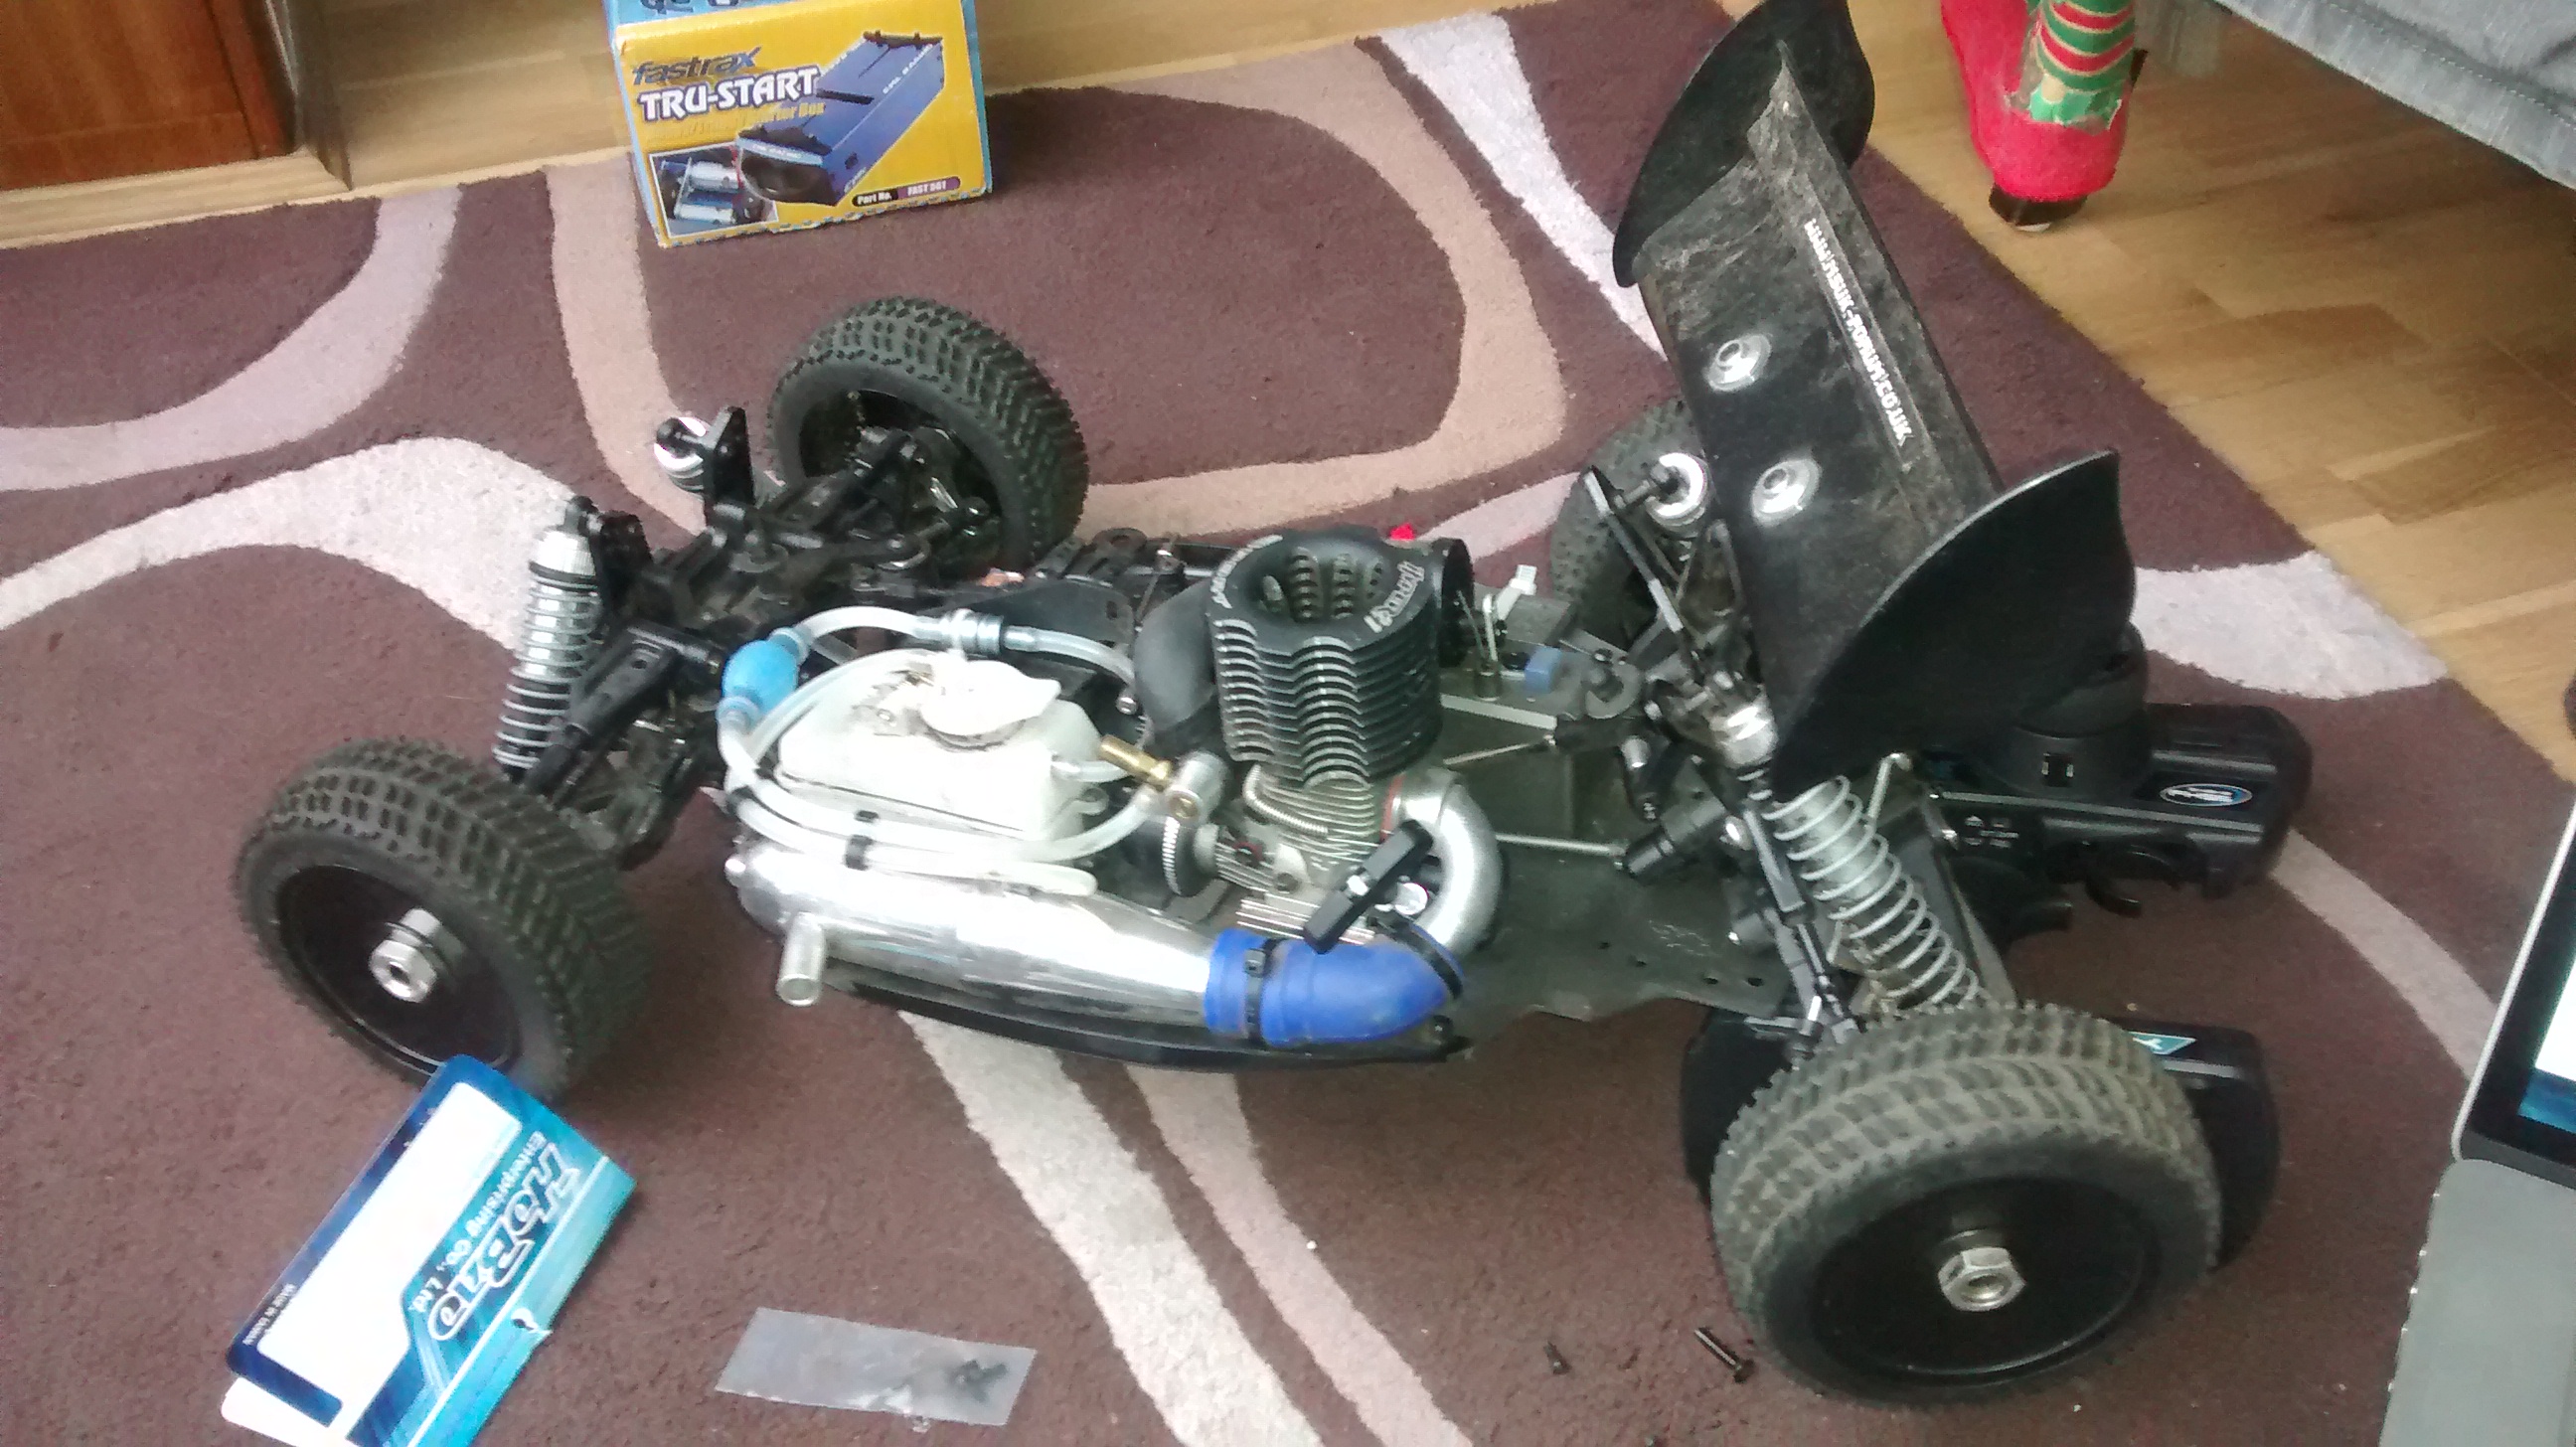
New pull start on Hyper 7 Black Edition
I just got round to bringing my Hyper 7 back into action. The pull starter stopped working a couple of months back so I have fitted a new one.

I checked the condition of the old start when I removed it as sometimes you can repair them but in this case it had snapped.

Usually pull starters can be a bit of a pain to replace because it either means removing a lot of parts to get to it or removing the engine itself. I managed to cheat a bit and just remove the rear diff and wheels.
I had a bit of trouble testing my car after as it didn’t want to start in the cold but the hair dryer trick solved the problem.

I recorded a short video while driving with one hand of the buggy back in action.
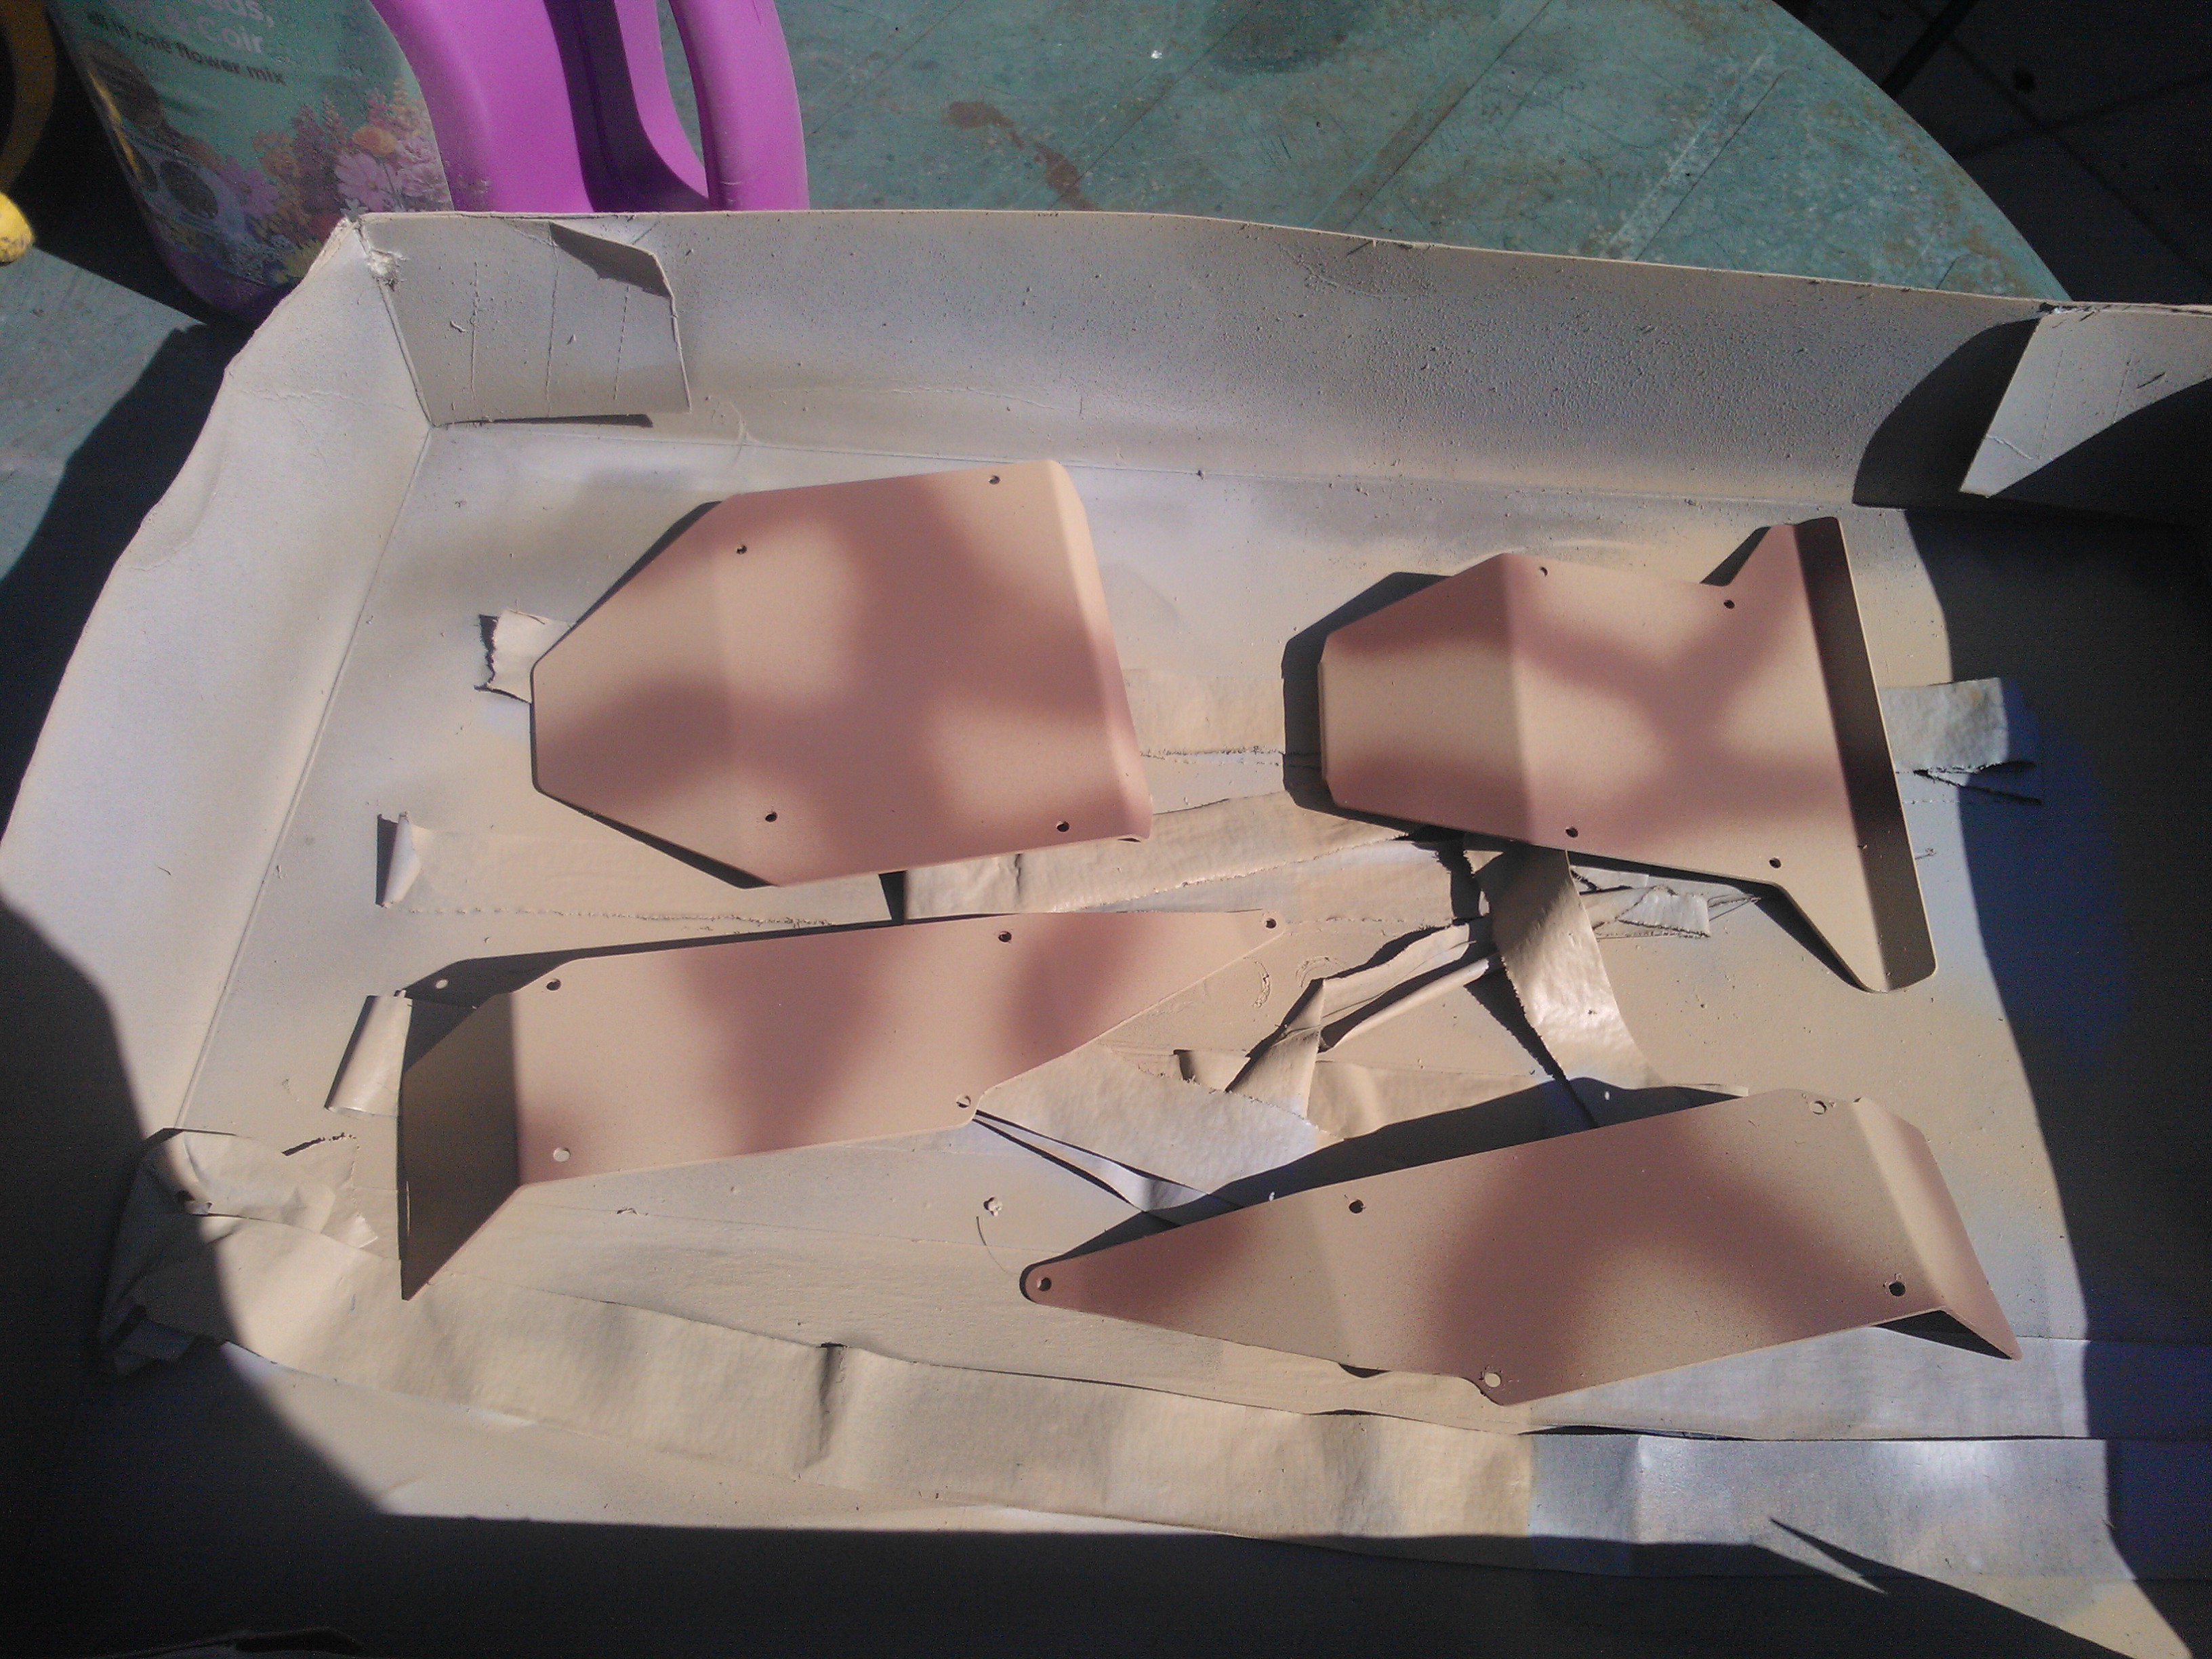
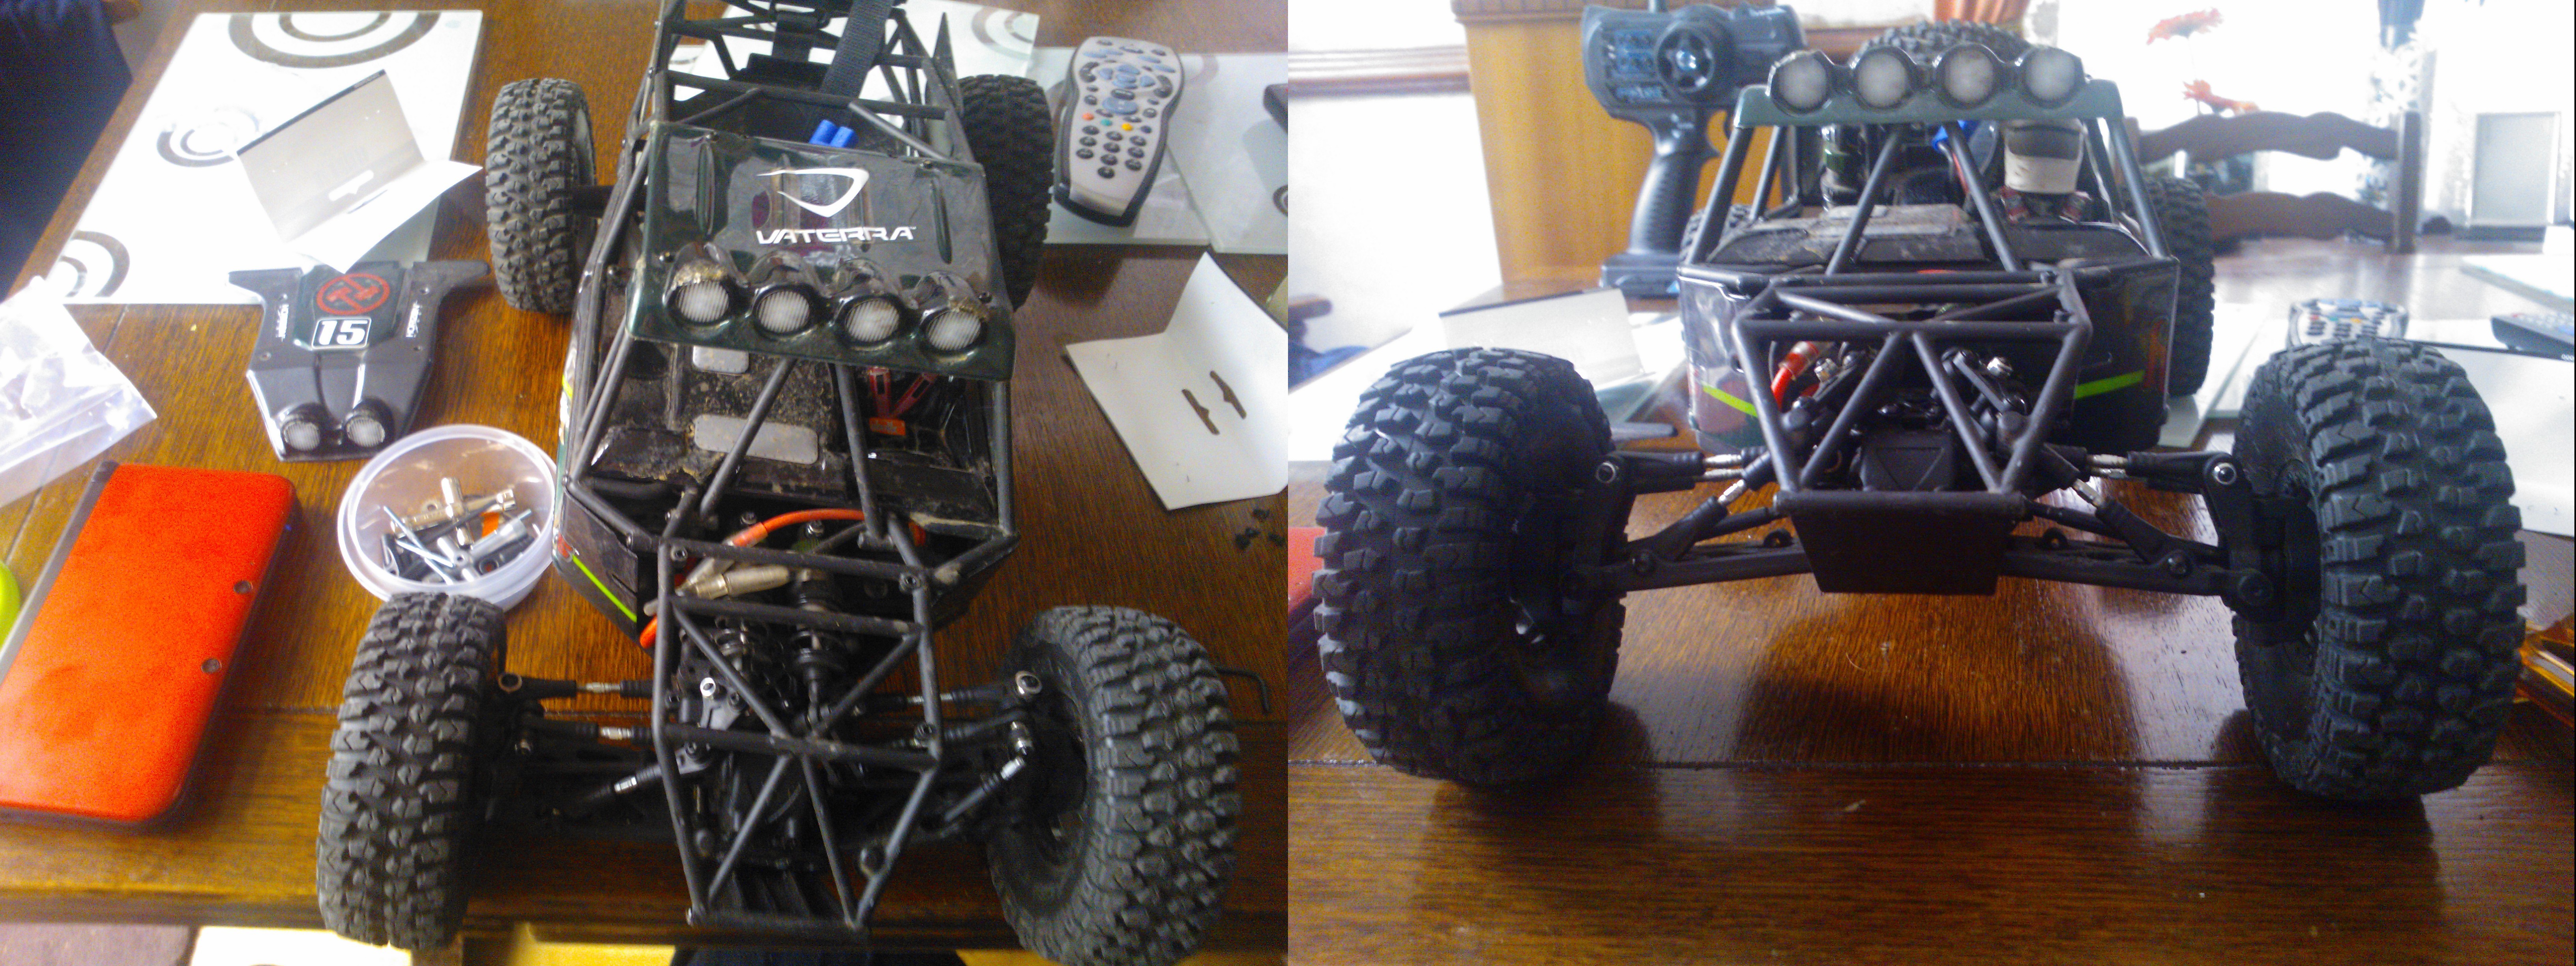
Twin Hammers new body and accessories

I wanted to make my Twin Hammers more unique so I started by replacing the standard plastic body with a set of aluminium body panels.

I decided to paint the panels in a basic desert camo scheme of sand and earth.
Some decals were applied to the side panels to add a bit of detail.
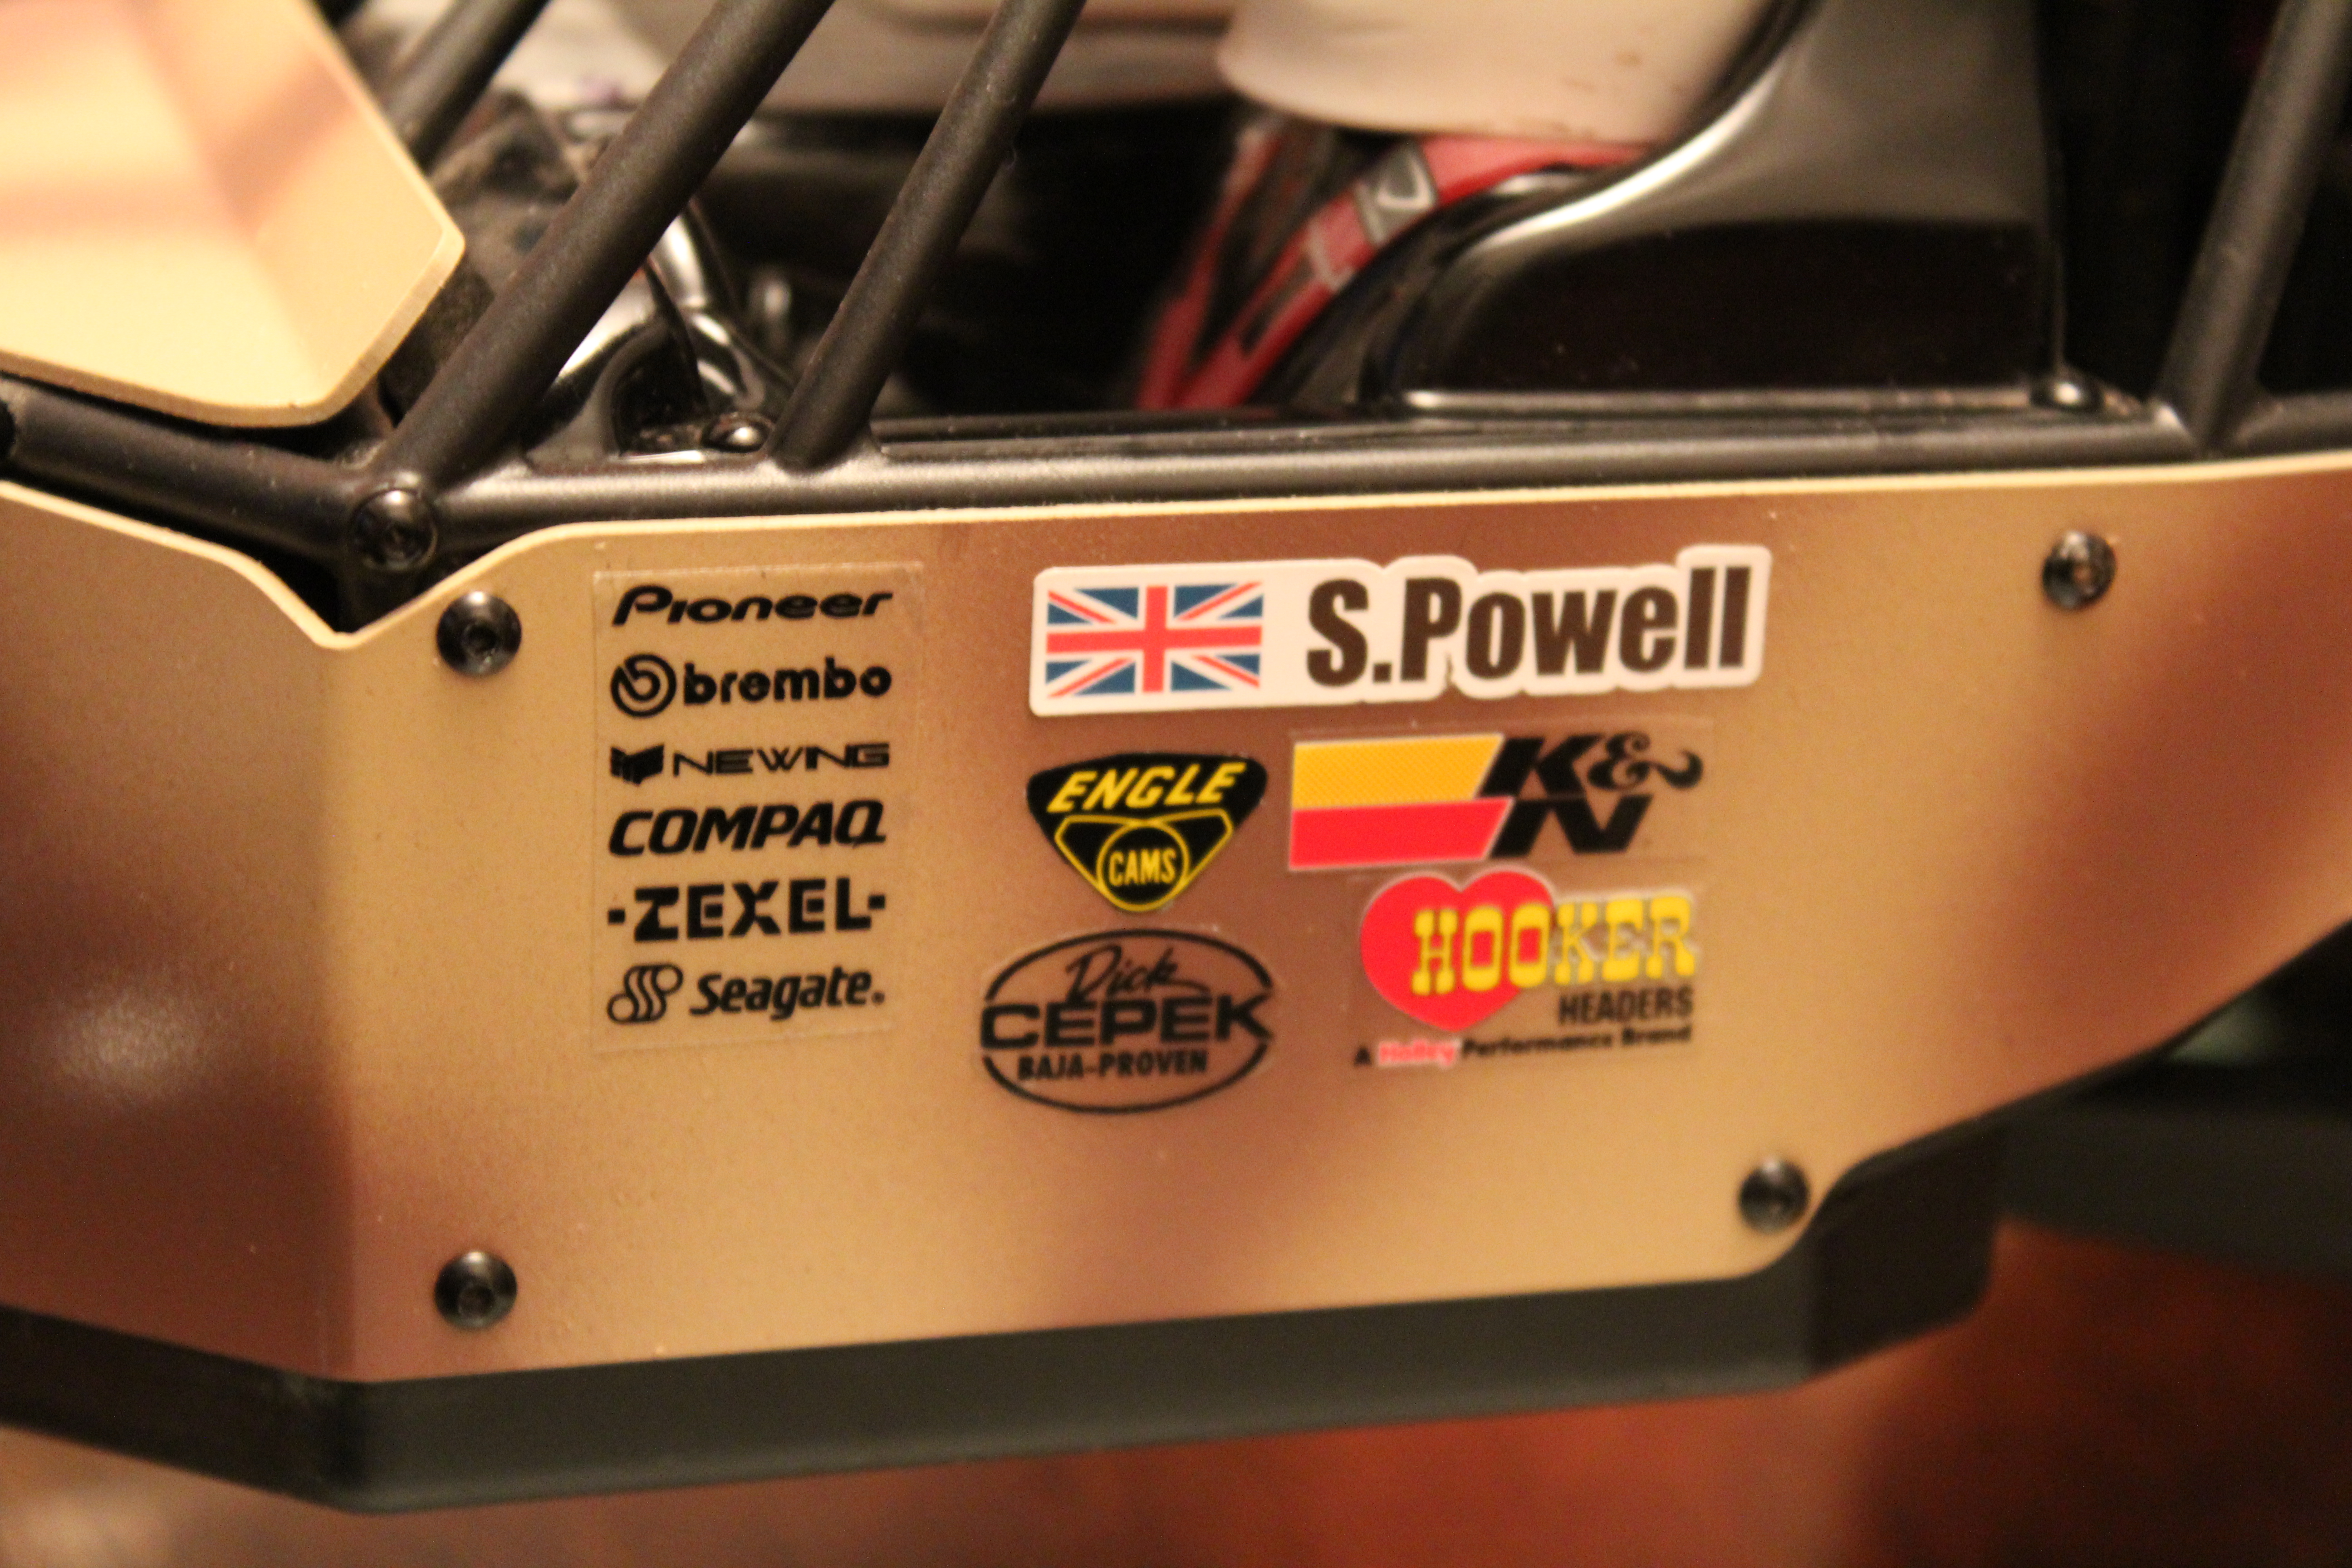
I also replaced the vehicle race number plates on the back of the vehicle with recovery boards. These are also aluminium and were painted desert yellow.

To complete the new look I ordered a pack of rock crawler accessories from eBay and strapped some gear to the roof and recovery boards with bungee chords .

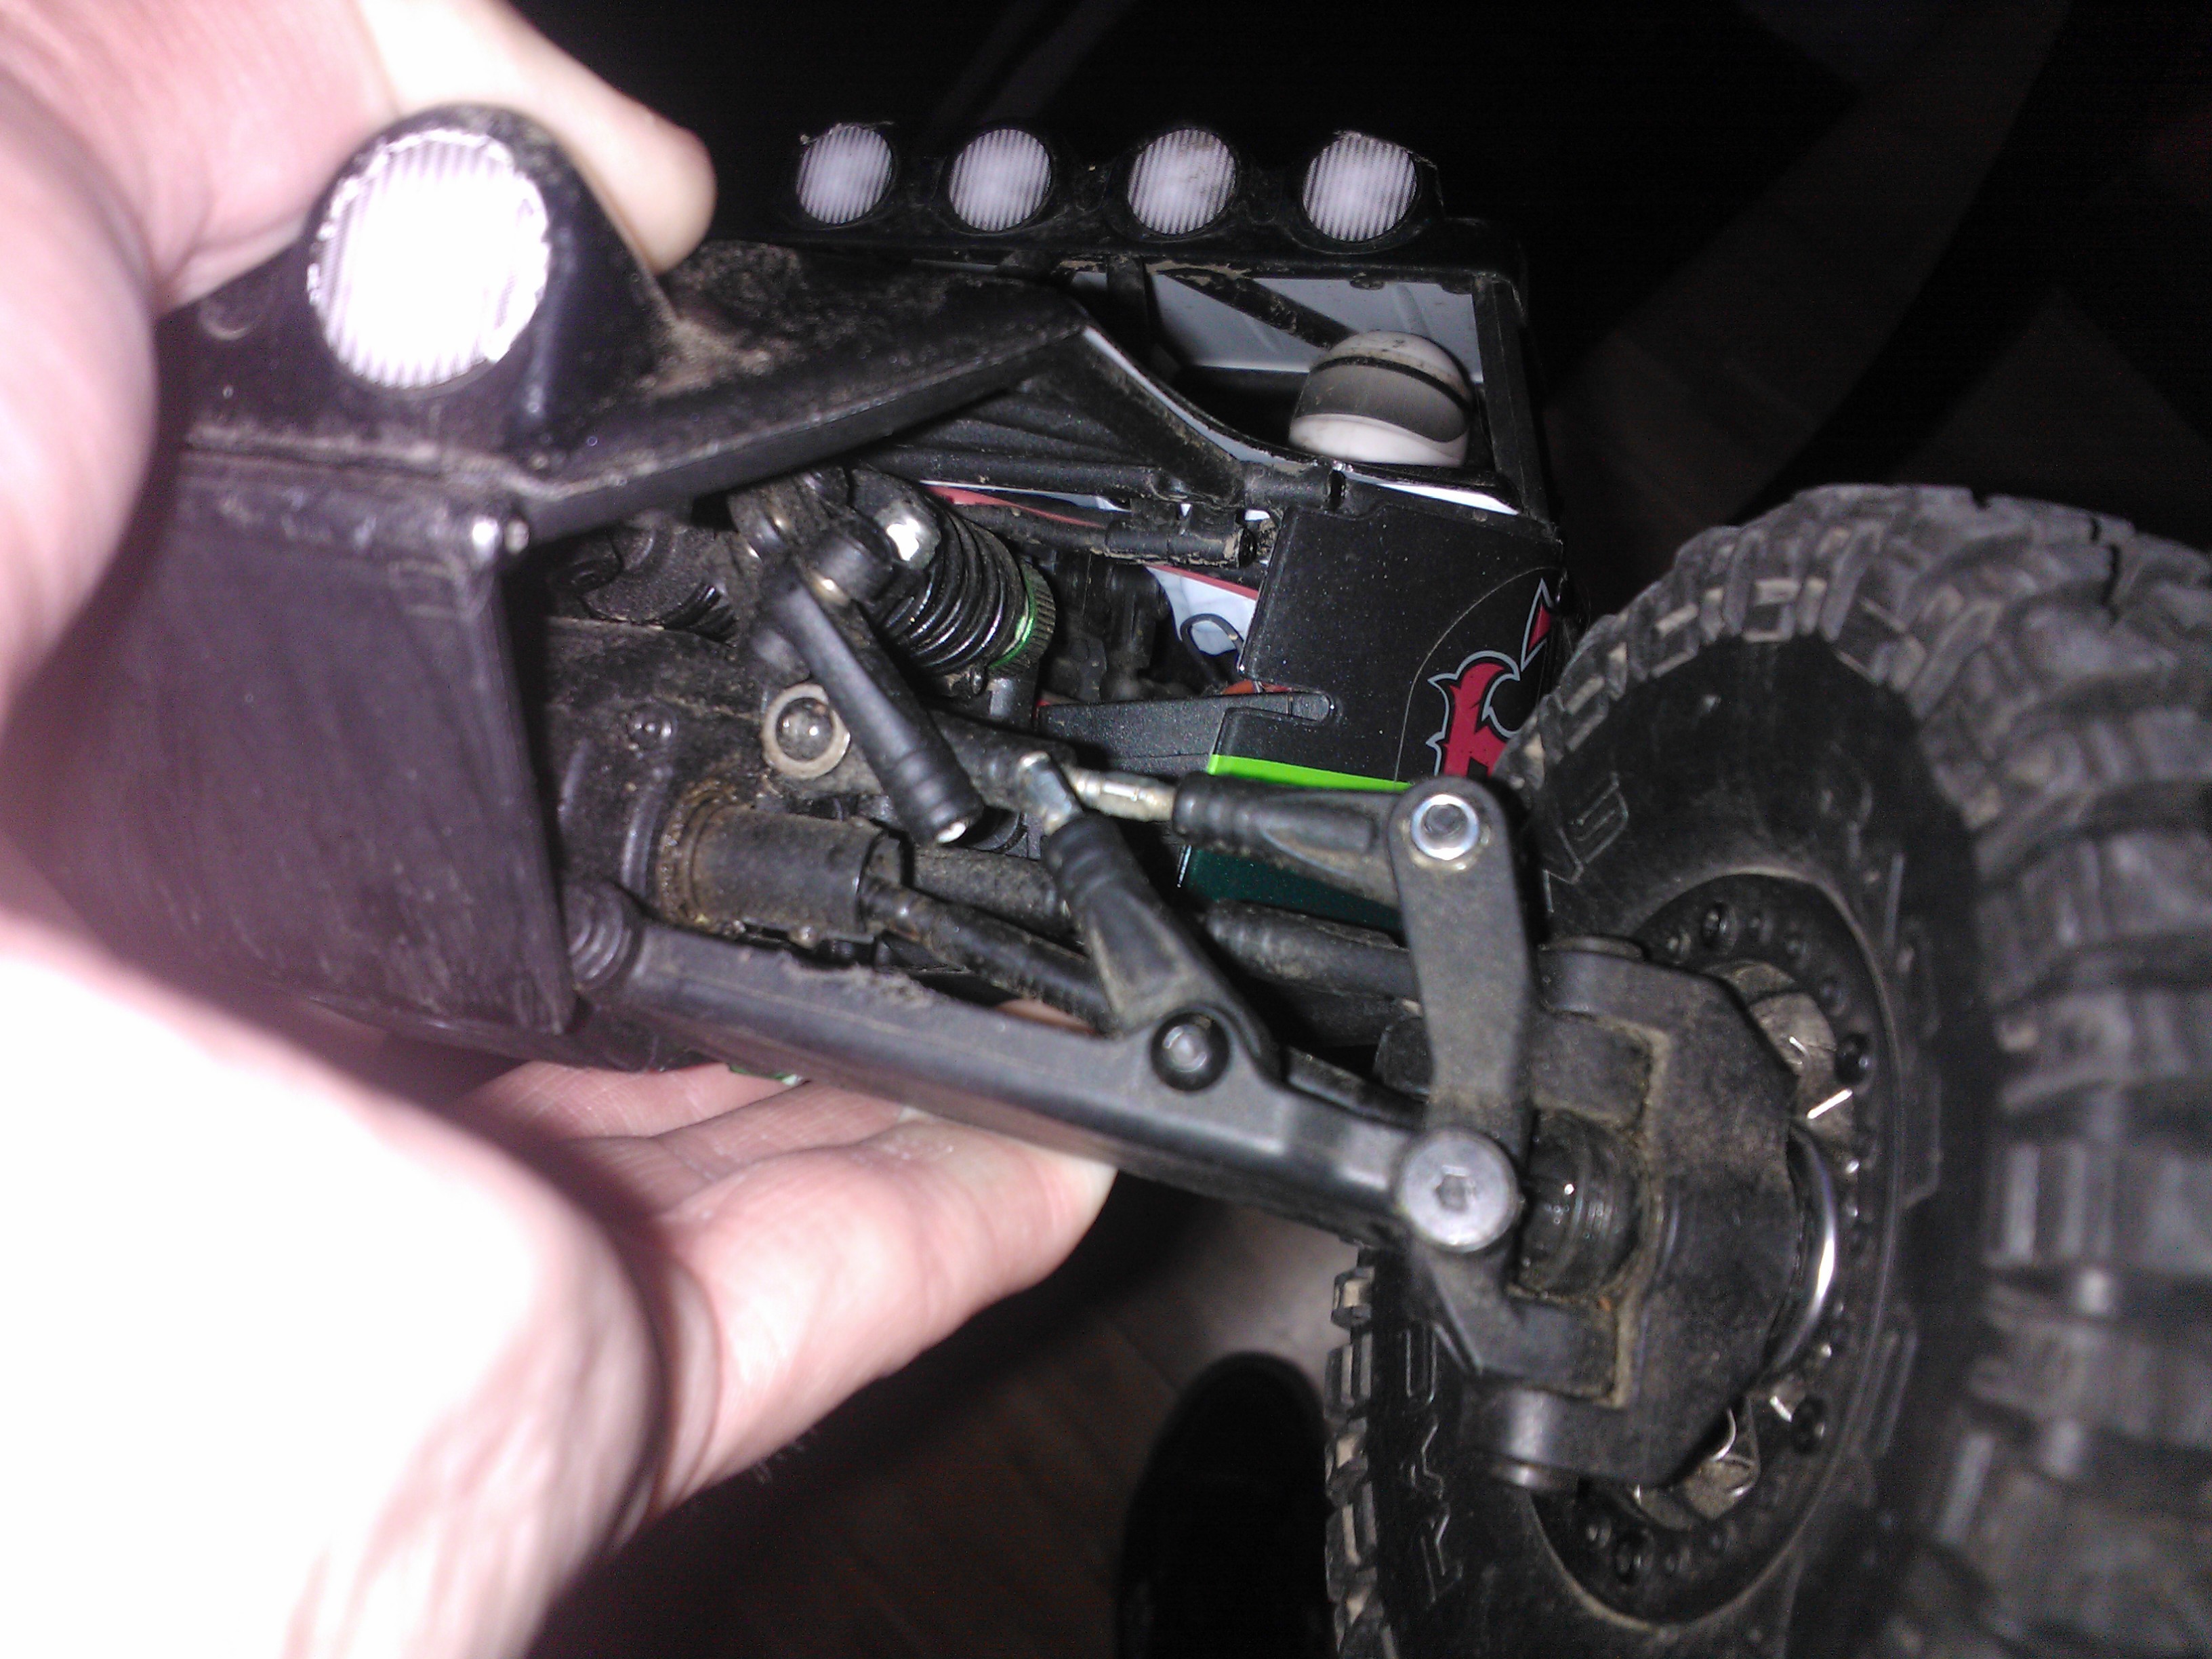
Twin Hammers Crash And Repair
My Twin Hammers had a head on crash with a monster truck. This shattered the monster truck chassis (my blackfoot) and snapped a metal tie rod on my Twin Hammers. I am not too fussed about the Blackfoot which still runs but its gearbox kinda just floats between the wheels. The Twin Hammers however being my flagship electric car I wanted up and running ASAP.
This was a nice test for me to see how easy it is to back order Vaterra parts. As a brand new company they have already shown they can make good cars but I had no idea how good their parts support would be.
I ordered a set of tie rods and rod ends from modelsport and had them in under a week. I needed the rod ends because the rod had actually snapped inside one of the current ones making it impossible to remove.
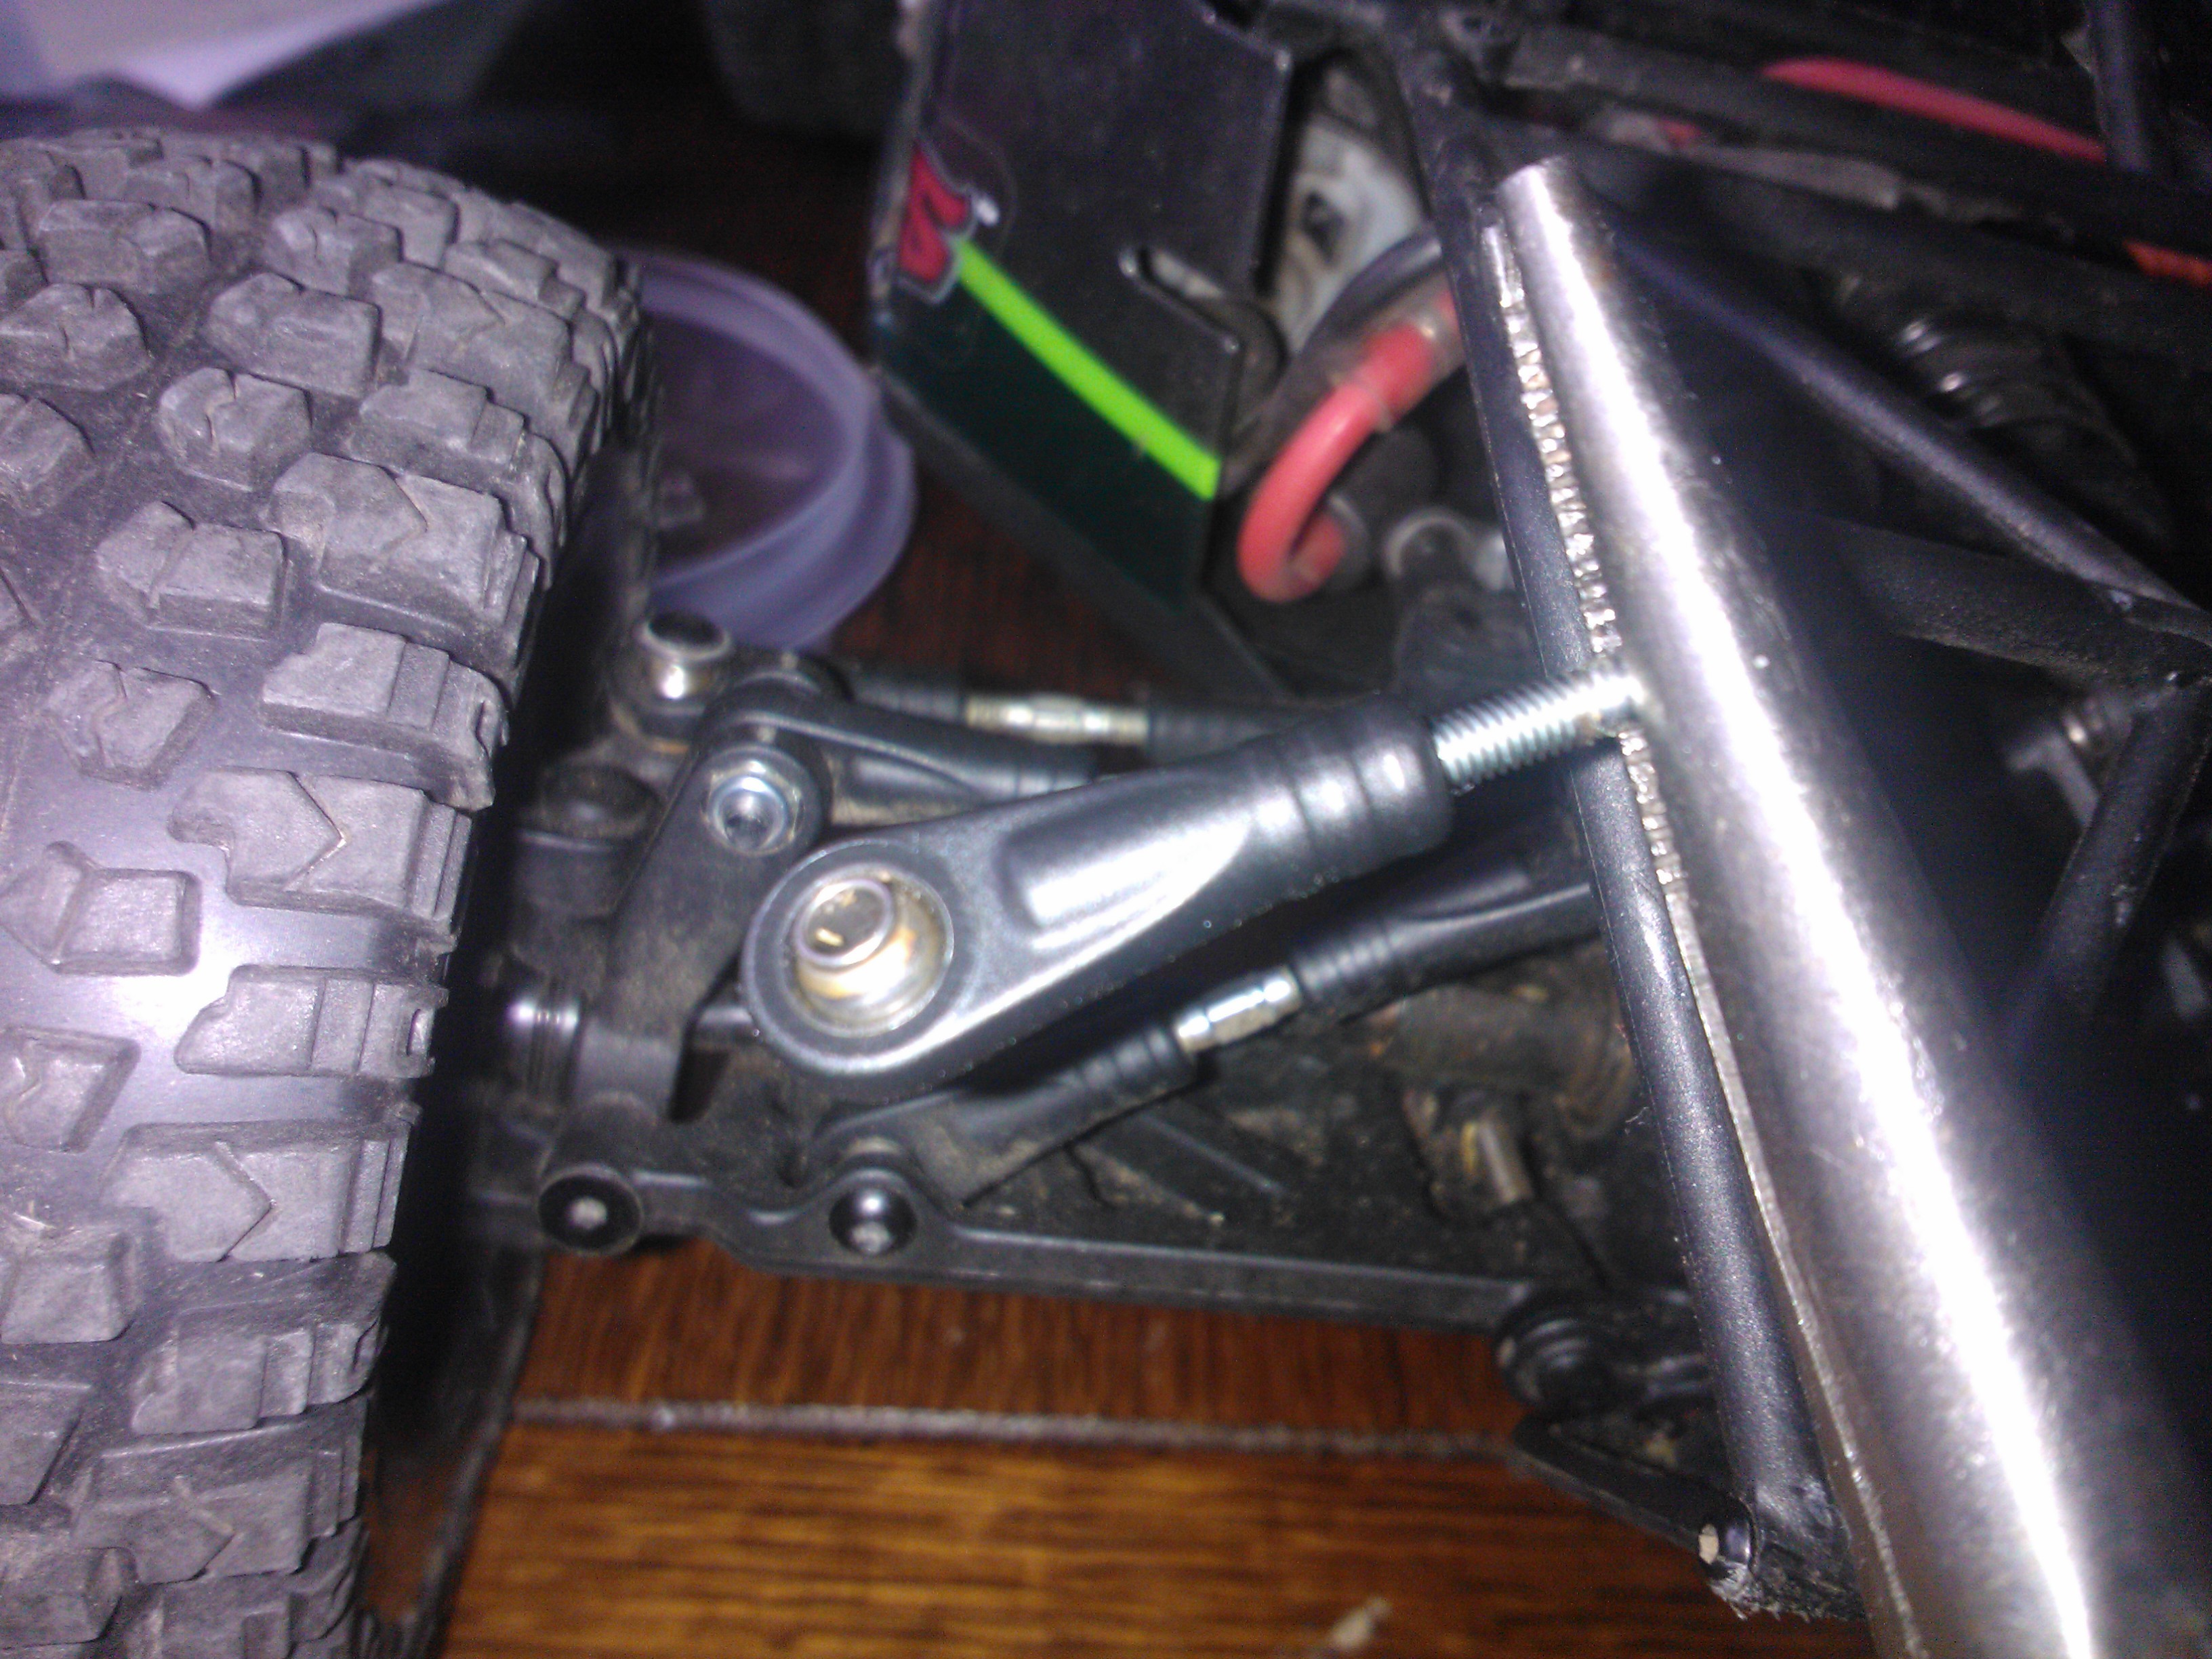
The repair was easy. All I had to do was remove the body, cut out the old tie rod ends and snap the new ones into place.
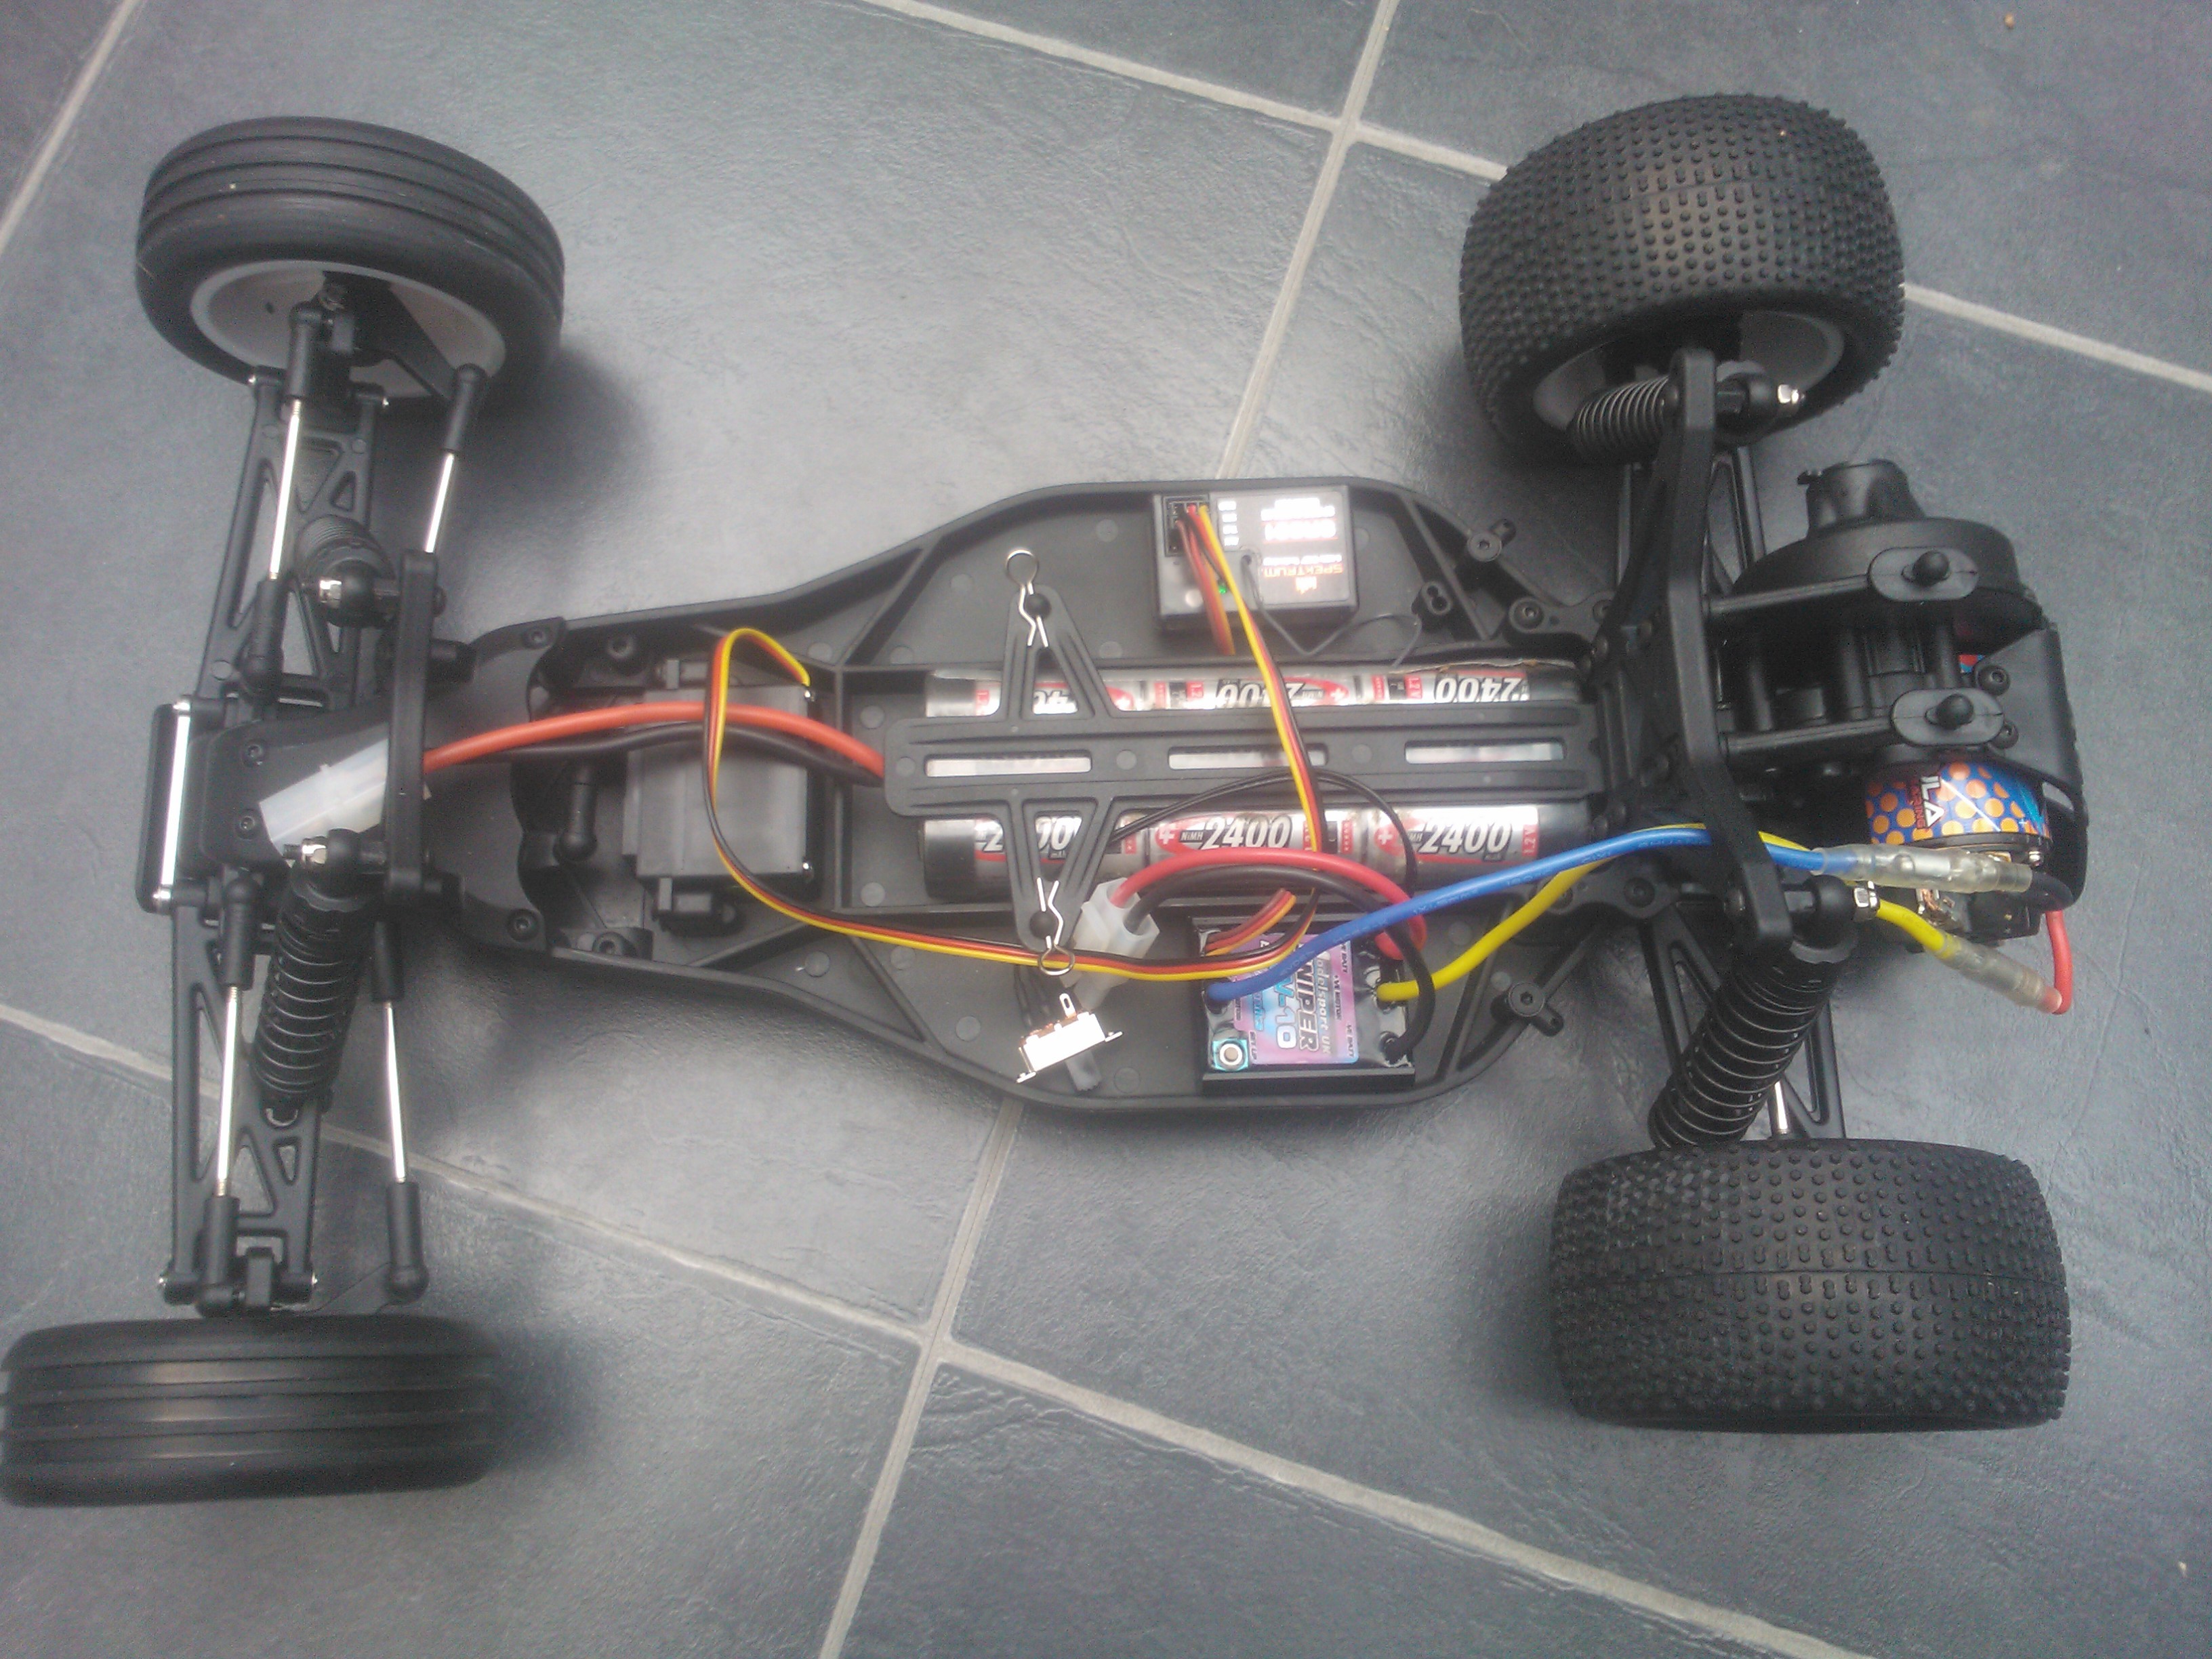
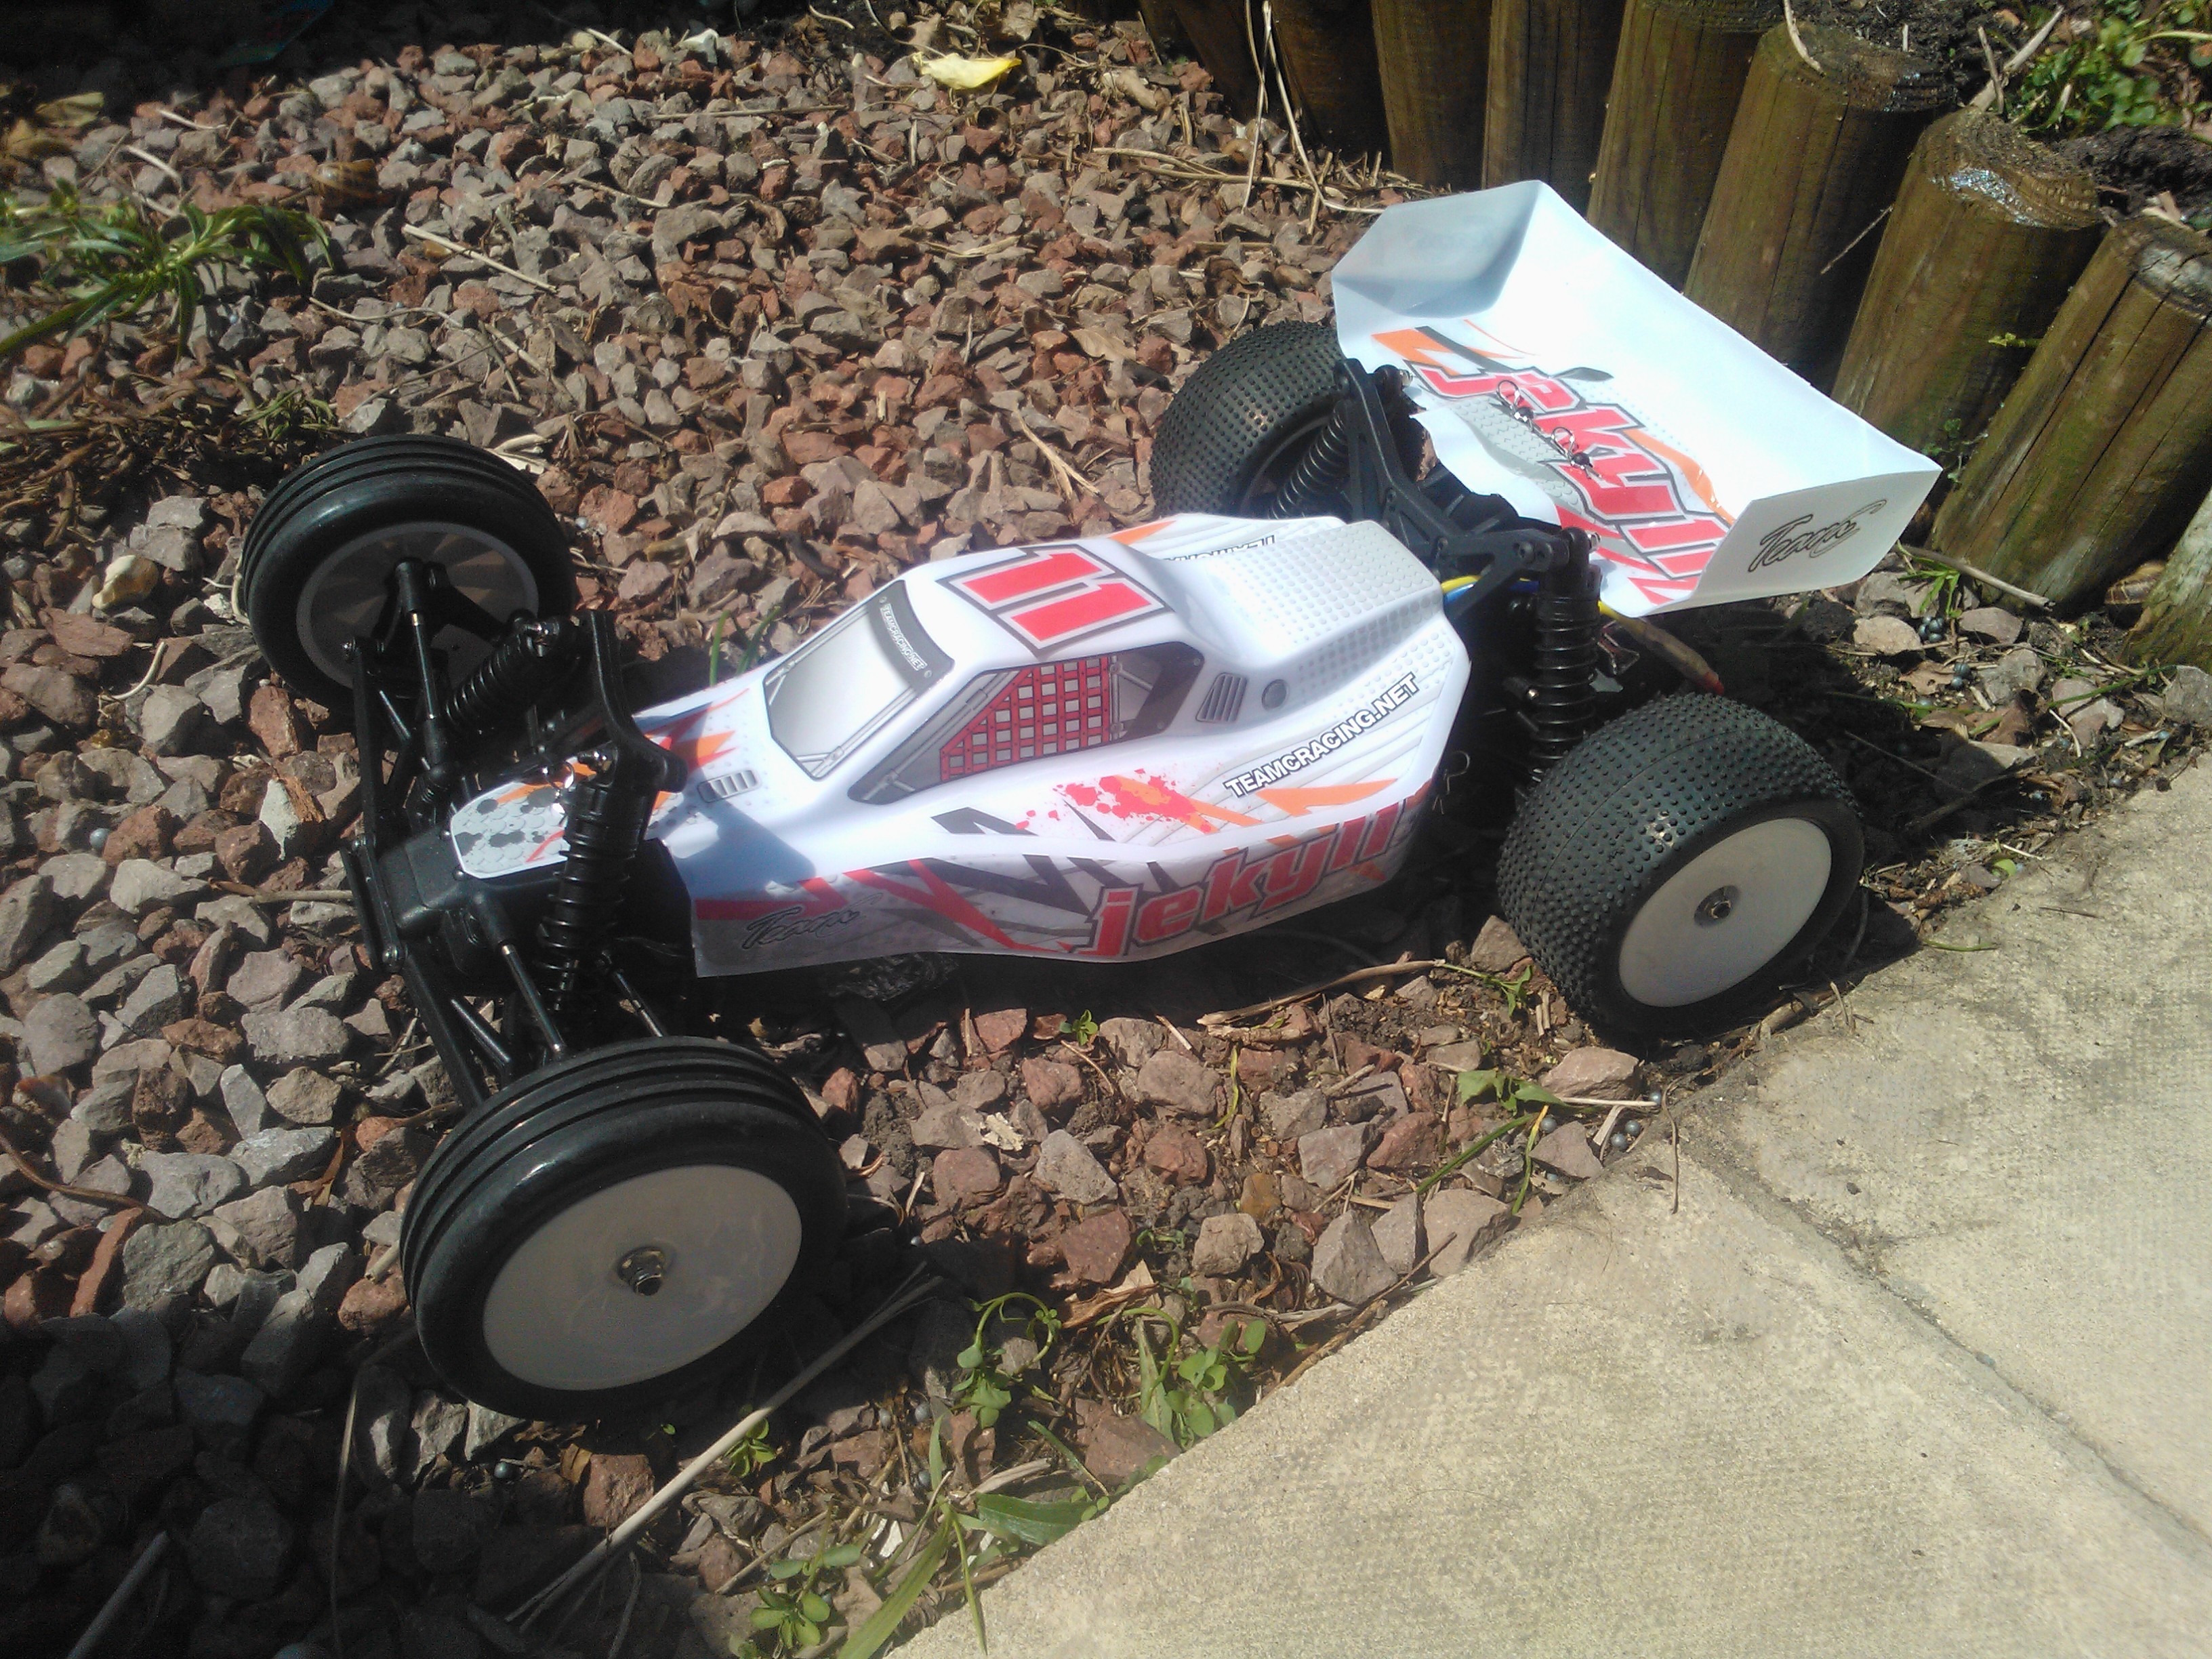
Team C Jekyll Kit 13×3 Motor 8.4v Battery Ball-Raced
Testing my team C Jekyll buggy. I am impressed with the performance but it is overheating my esc so I need to sort that out.
13×3 Orion Motor.
Mtroniks 10t limit sniper esc
8.4v 5100 Orion Rocket Pack Nimh
Spektrum DSM radio.
Jekyll Wallride
Here you can see the Jekyll doing a little wall riding. This is with a 7.2v battery pack.
Team C Racing Jekyll build
When I first saw this kit on modelsport I was intrigued. It was only £39 and I wanted to know just how good a car you would get for the price. You have to supply your own Electronic Speed Controller, Servo, Receiver and Motor bringing the total minimum build price to around £70- £80. I spent a bit more as I wanted to but some more decent bits in it.
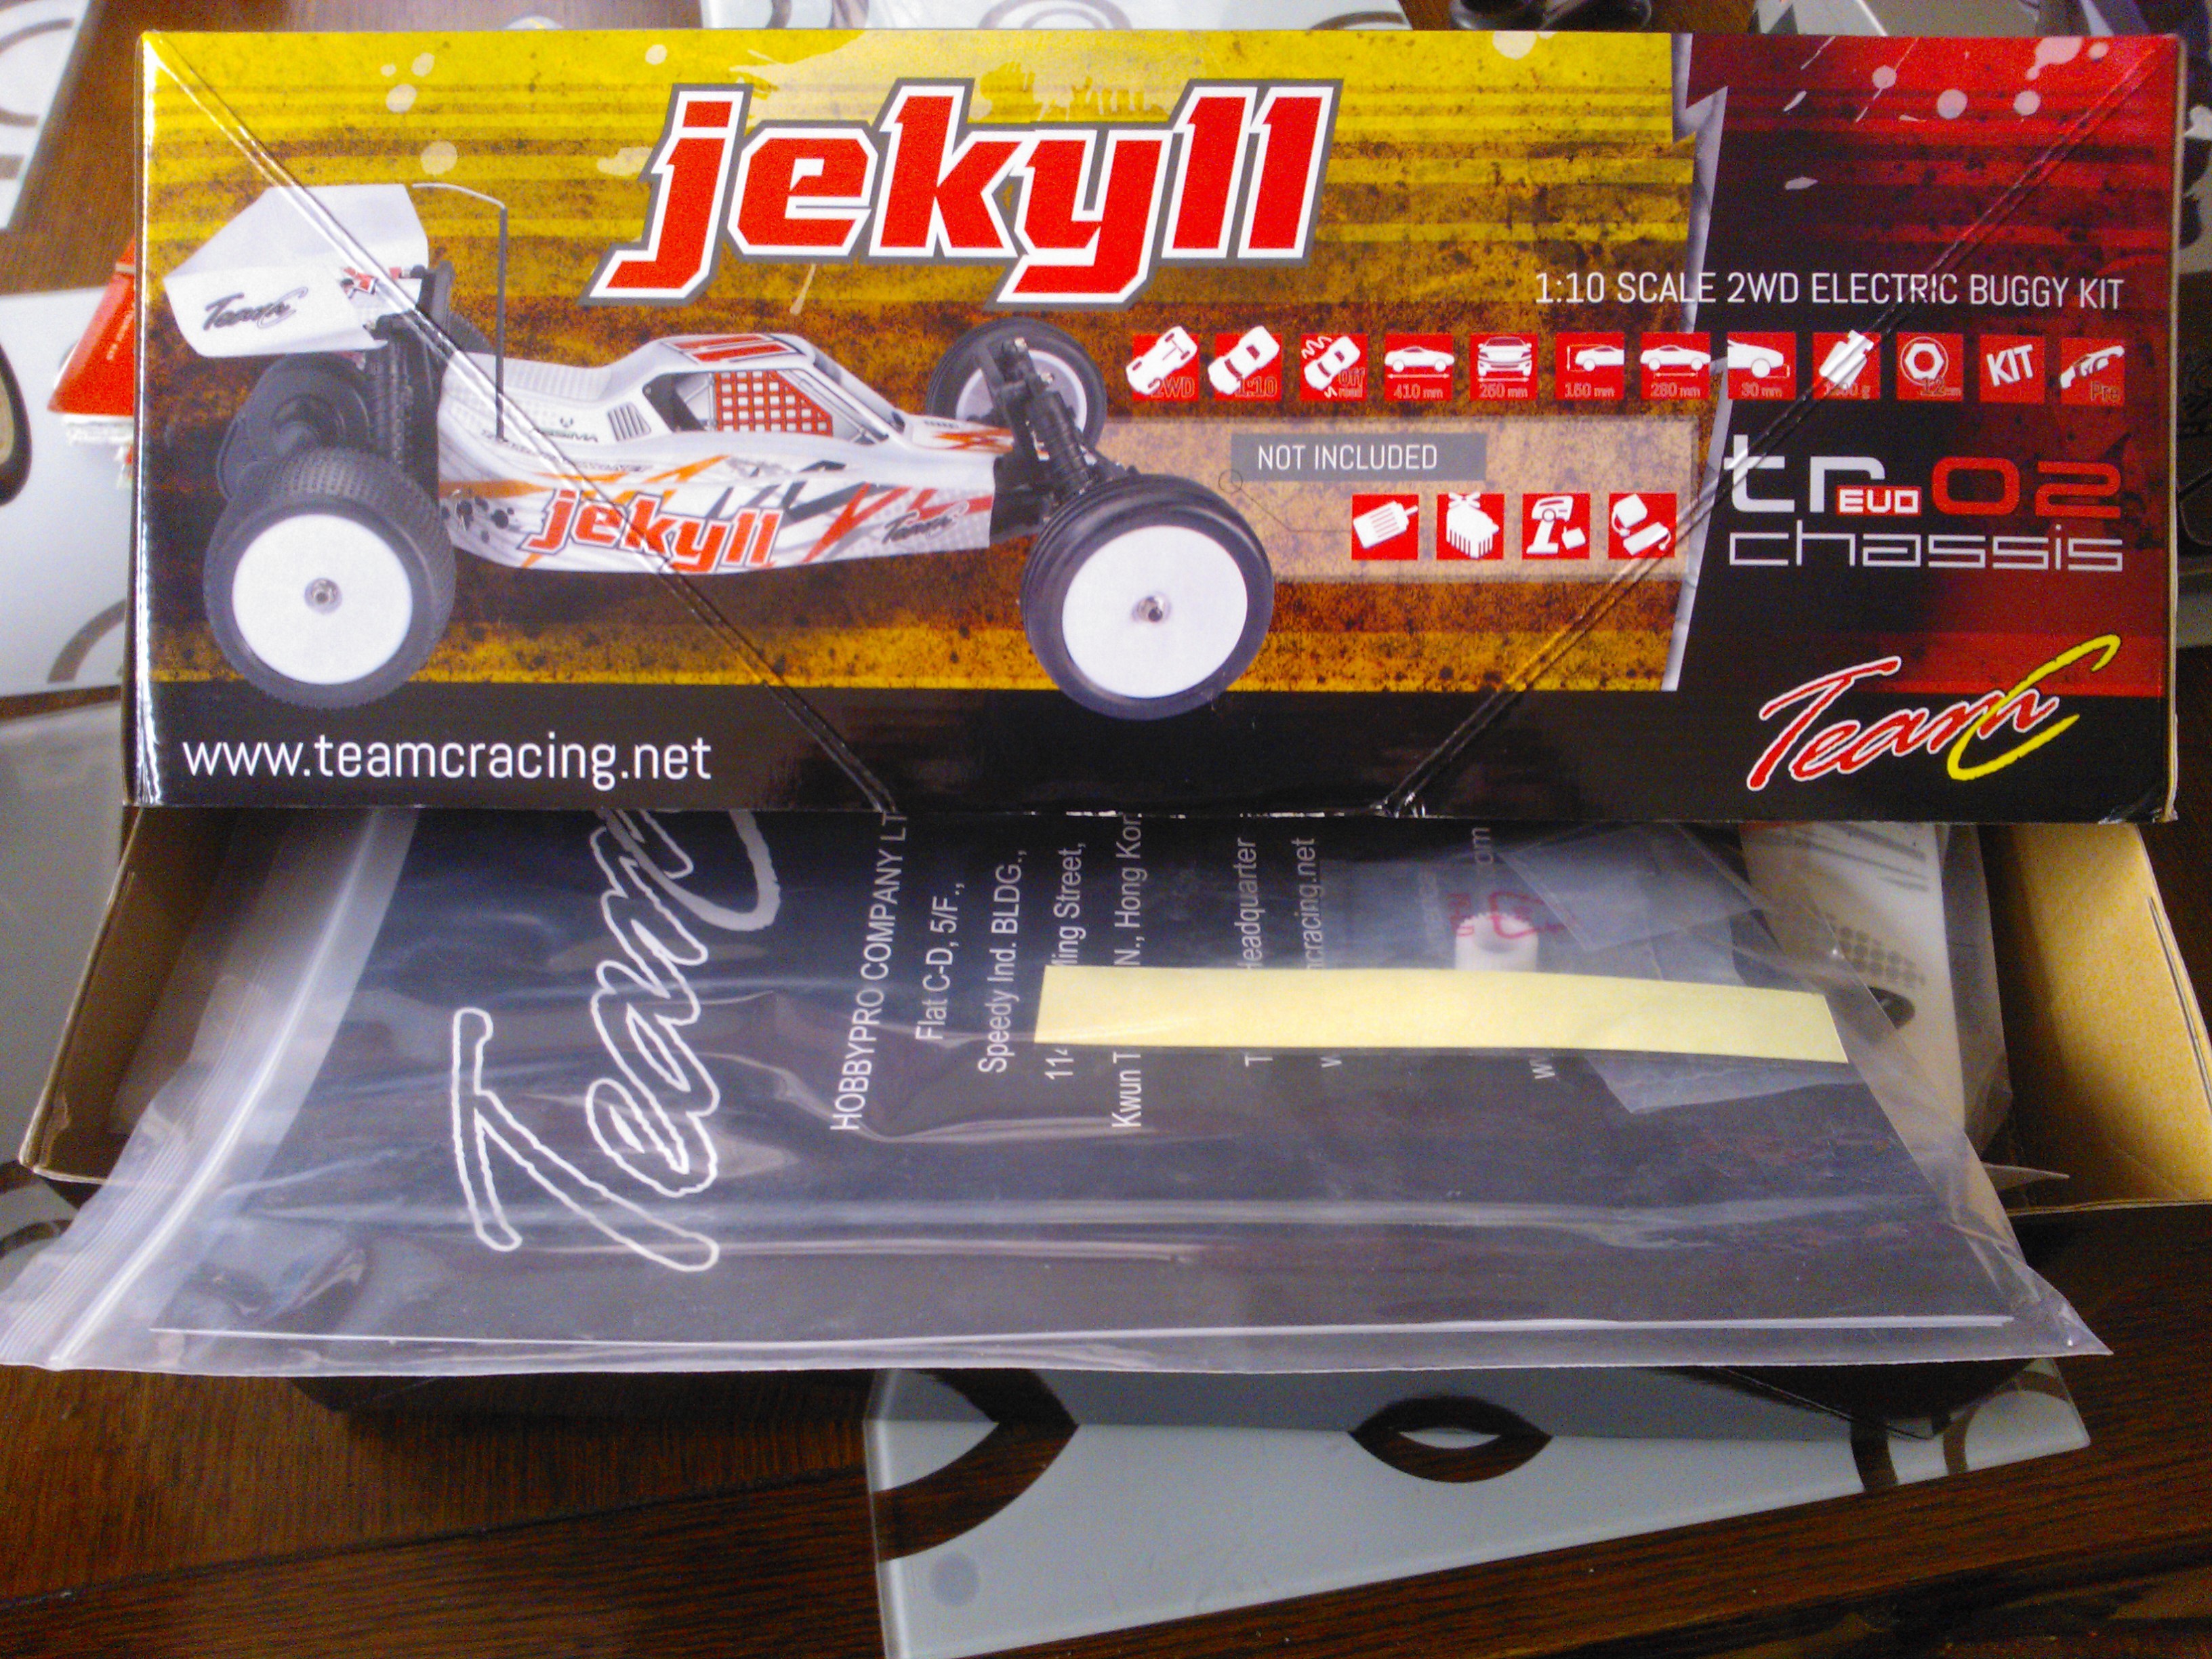
The packaging and parts were a decent quality considering the price and the manual was easy to follow. This would make a nice inexpensive first kit.
Things I used to complete the build:
- hitec servo £6
- 10 turn limit mtroniks sniper esc around £25
- 13×3 Orion Motor £18
- Spektrum 301 DSM coated reciever £23
It seems I made a bad choice with the esc as the 13×3 motor seems to overheat it very easily, I am looking into a solution for that. On top of this I melted a battery connector to the esc so I ordered some traxxas connectors to deal with the current.
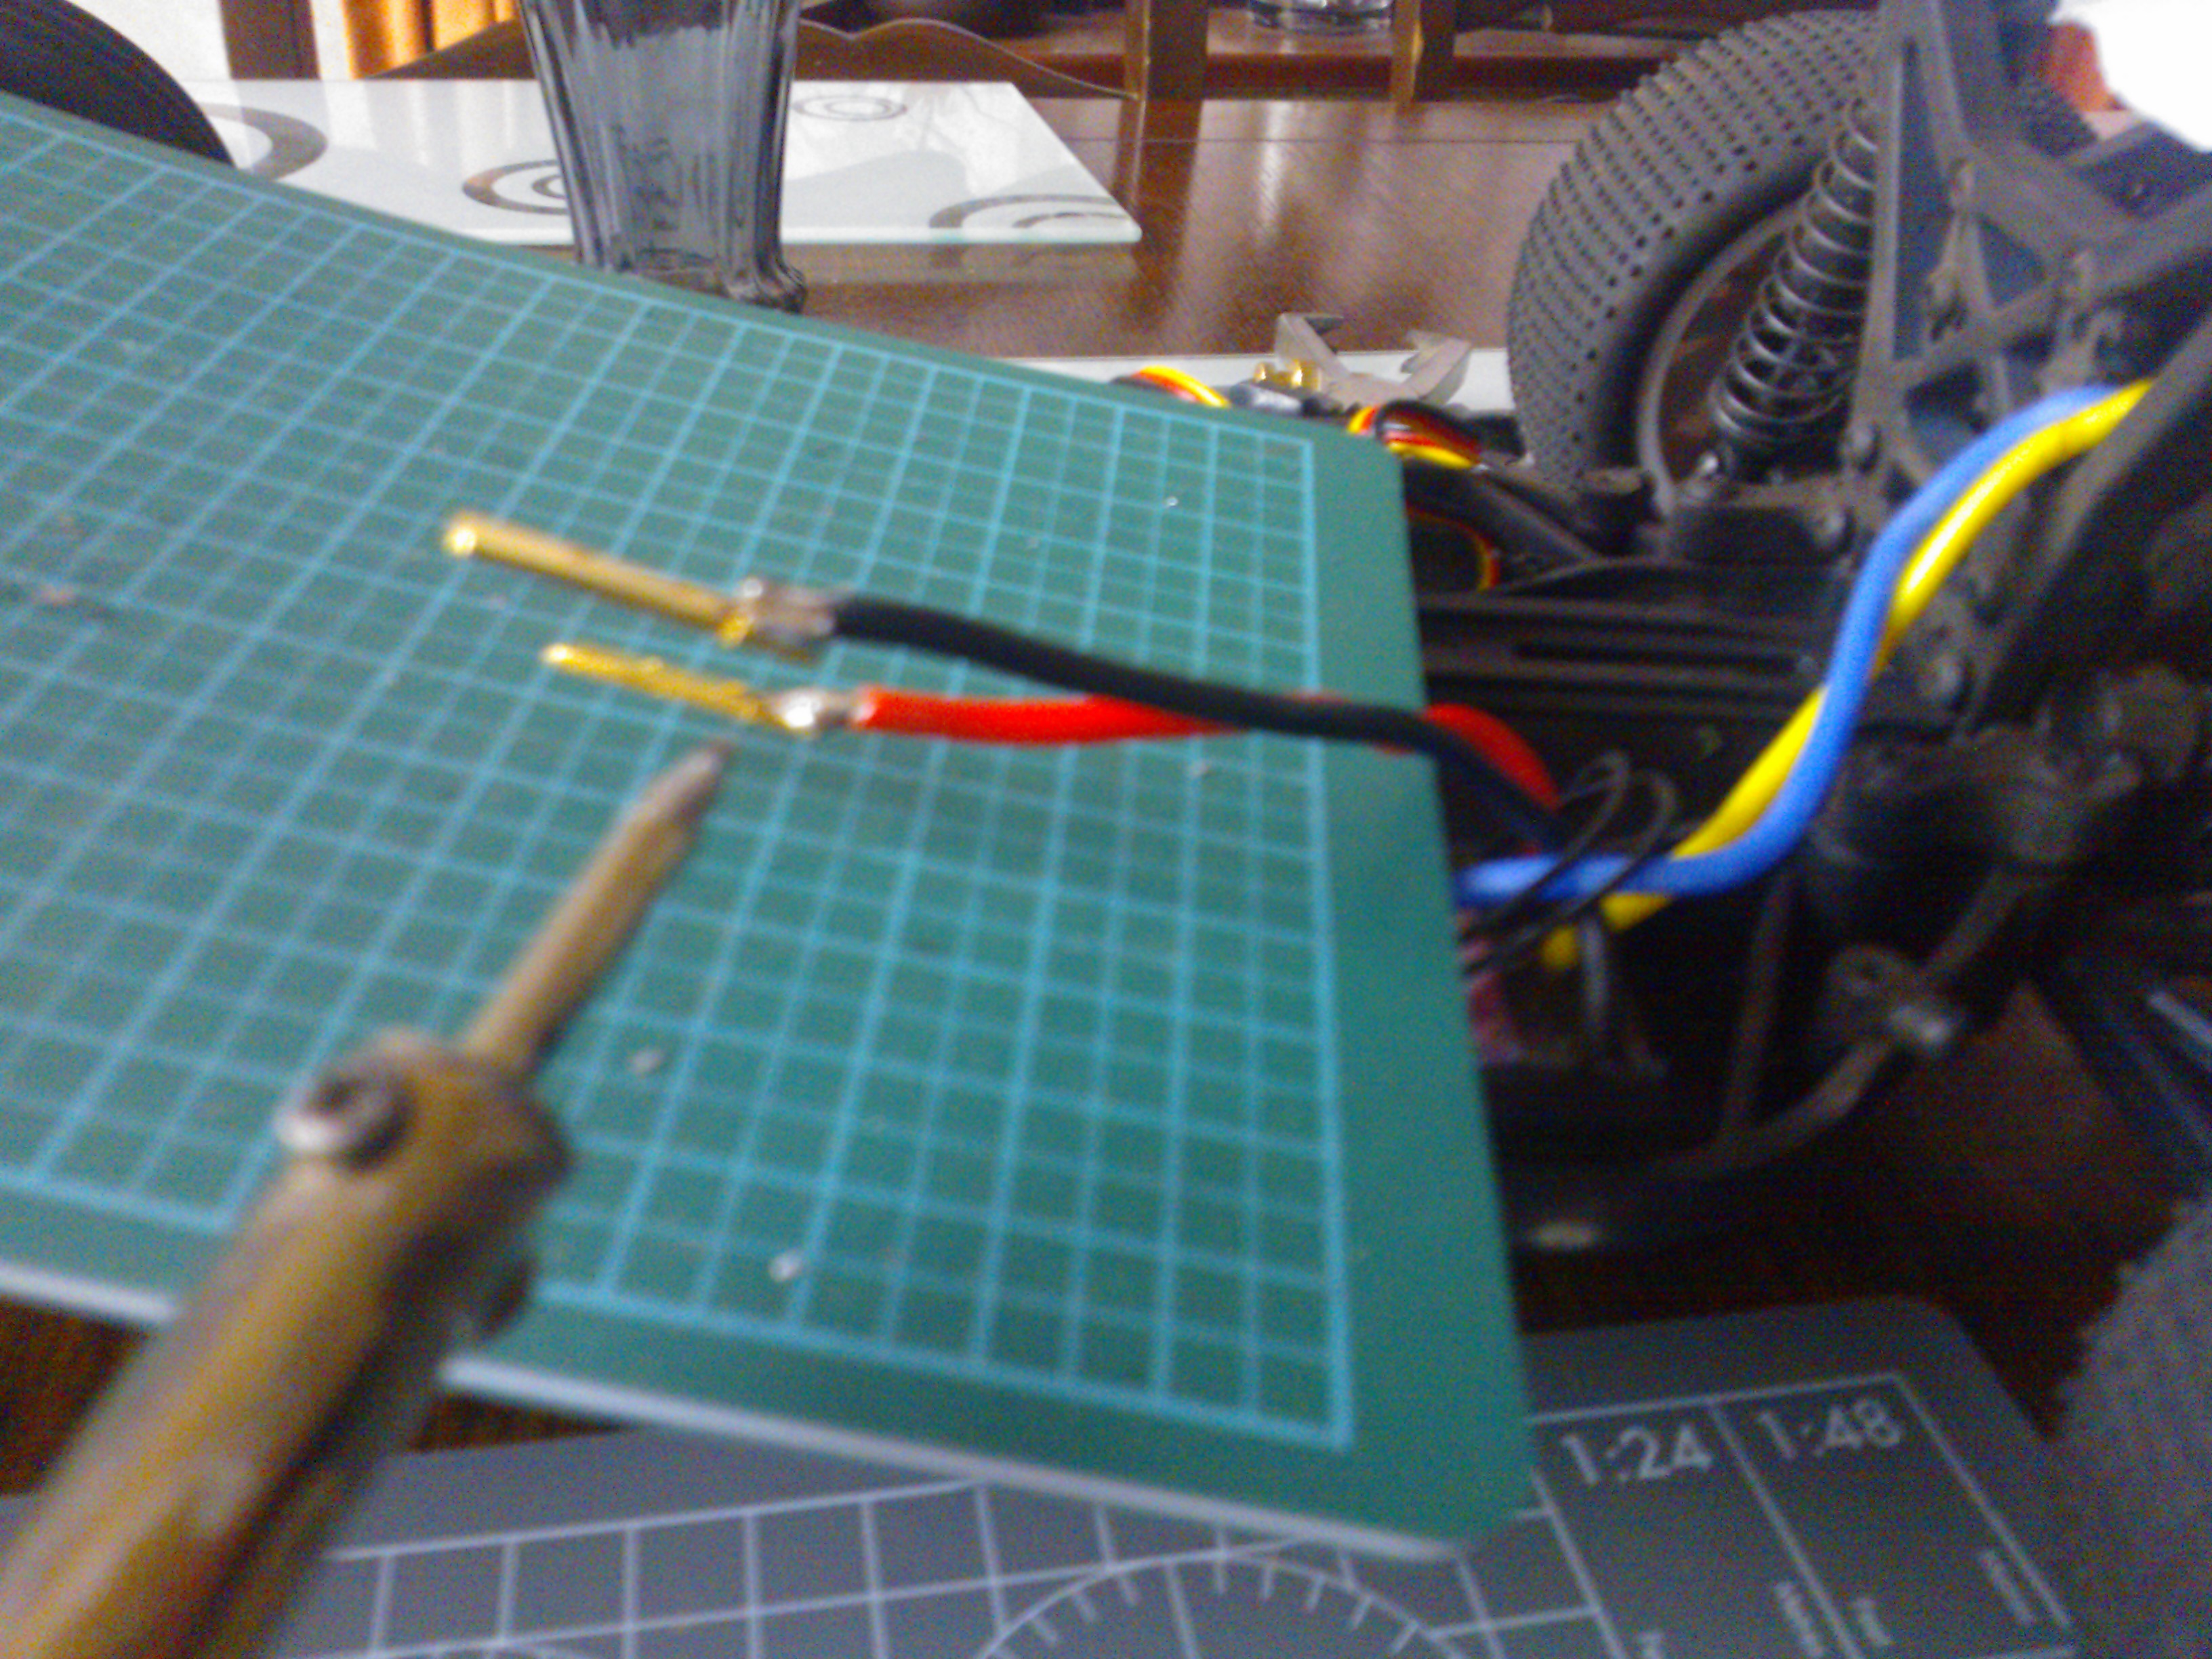 Soldering the new connectors

I also ordered a set of UK buggy bearings to ball race the kit. These replaced the bronze bushings that come as standard.

I do intend to replace my battery connectors with deans but the reason I went with a traxxas in this instance is I got this rocket pack battery in a sale. Its a 5100Mah 8.4 V Orion Rocket pack and really makes the thing go.
The bad thing is its too big for the battery compartment so I have to tape it in each time!
In summary this kit is easy to build, robust and well its cheap enough to buy a second one for a complete set of spare parts. I will upload some videos of it in action soon!
