Airfix SR-N1 (1973)

Here I am building the Airfix SR-N1 hovercraft.

According to the box I have and the internet this is the 1973 release making it by far the oldest kit I have ever brought and made. The kit itself does not have many parts but due to its age and condition it was not the easiest build.

IMG_20181020_132755
The kit came from eBay and cost a lot more than £15 it seems to be pretty hard to get hold of one now

IMG_20181021_144733

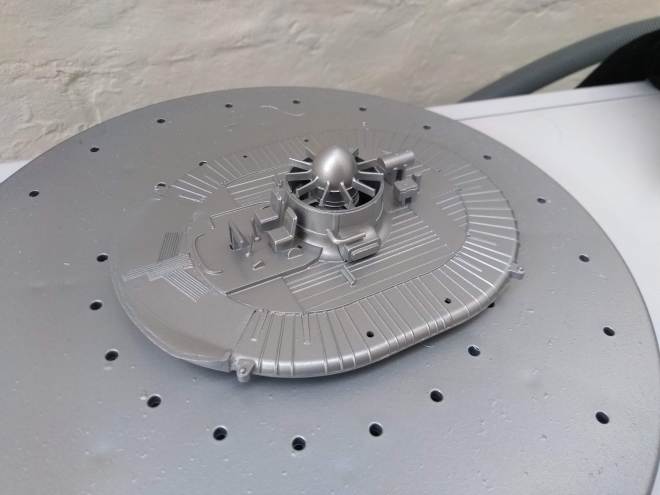
I started by putting the chassis together and the associated parts that were all to be painted aluminium. I had to use a fair amount of model filler to fill the gaps between the bottom and top of the chassis. This was then spray painted.

IMG_20181022_195146

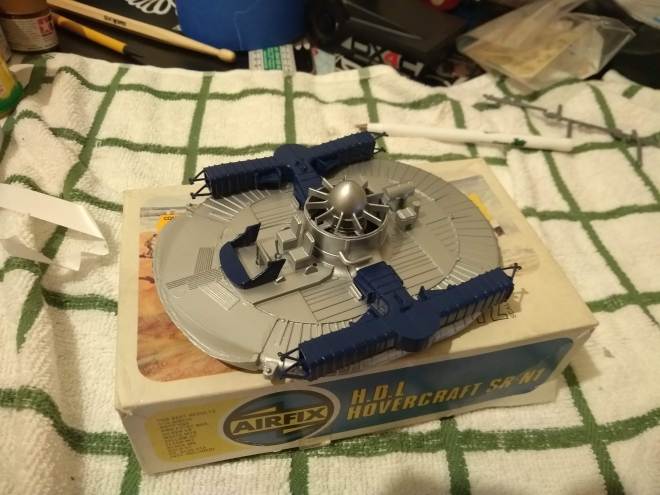
The parts to be painted blue were sprayed and test fitted to the model.

IMG_20190827_203639667

The window screen is glued onto the cockpit and parts of it are hand painted blue. This was the worst part of the kit. Neither part lined up and the cockpit was damaged. I had to use a mixture of cutting, filling and sanding to get these parts to glue nicely together.

The duct is painted white and attached to the top of the lift chamber.

IMG_20190830_081210694

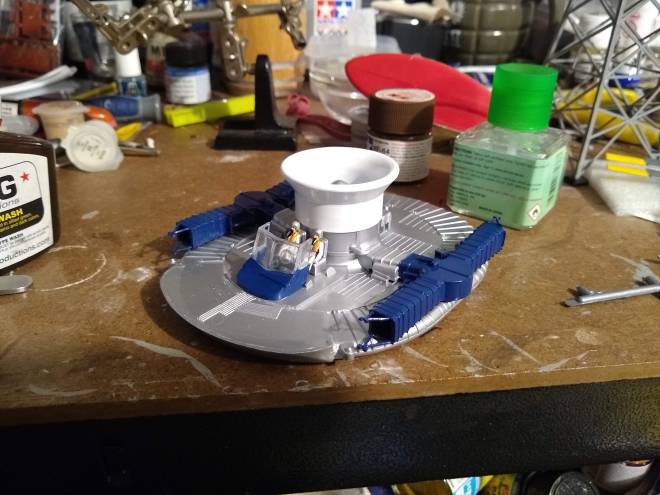
The crew are painted and added glued to their seats. They both have life jackets, helmets and masks.

IMG_20190830_120146949

The supporting posts and roof are glued into place completing the cockpit.

IMG_20190827_212104309

The decals were very yellow so I used the old trick of leaving them on by a window for a few days so that the light whitens them.

IMG_20190902_174931990

This is how they looked after a few days in the sun.

IMG_20190903_072719103

Next I started to apply the decals to the rudders, these were tricky as the decals were larger than the rudders meaning they either had to overlap of have the excess cut off.

IMG_20190903_182303756

The hovercraft with rudder decals and cockpit decal applied. The exhaust is painted black and the fire extinguishers are painted gold.

IMG_20190916_183905440

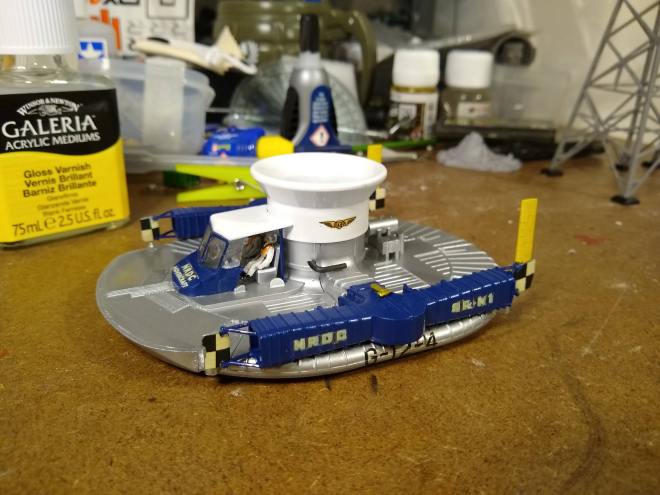
All decals have now been applied and the frame of the cockpit window has been hand painted blue.

IMG_20190907_195116733


x500 independent lift conversion

IMG_20190218_182334861

Back when I received my x500 kit from Palaform it arrived with a lift duct to play with. I decided not to use it at the time as I just wanted to build the kit as standard but I decided it was time to experiment with it.

IMG_20190218_201417860

I started by deciding on the location of the duct  and making it out with a compass. I cut Continue reading x500 independent lift conversion

Gemini 4 blade propeller

I recently received a 4 blade propeller in the post to try out on my Gemini craft. Going from my experiences with my smaller craft it should be quieter and more powerful. Well it certainly seems more powerful but its a lot louder! There’s also another issue where its drawing so many amps that the ESC seems to be getting too hot and cutting out. I am not surprised really and even the wires themselves are getting hot! I think I will switch back to the 2 blade for now.

e-Gemini on the water

After a major downpour on Friday I stumbled across a flooded car park which I thought would be perfect for testing my e-Gemini on water. The craft performs remarkably well, hovering gracefully and turning on six pence. As you can see I am still getting used to the handling. 🙂

e-Gemini on its first run

Here is my first go at piloting the craft. It feels a bit nicer to control compared to the smaller craft because of its extra weight and size. I have not used it enough yet to know whether or not I need to adjust the center of gravity. It may look a little twitchy in the video but I was trying to keep it in a small area away from any cars so did not give it a proper straight line test.

Something I forgot show in my previous post is the electronics under the hovercraft seat.

IMG_20180804_122304

Here we have a 5000mah 3 cell Lipo so plenty of speed and runtime. This connects to a brushless motor ESC which connects to the brushless motor and receiver. The receiver is an ar600 aircraft receiver. Aside from sending control inputs to the ESC it is also connected to a servo at the rear of the craft to control the rudders. A servo extension cable was required because of the distance and the fact the cable had to be run around the duct in order to make sure it was safely away from the propeller.

Getting back to the e-Gemini

Funnily enough the e-Gemini was the first hovercraft kit that I brought way back in 2013. Unfortunately because of the space required to build it and the fact it looked a little overwhelming back then I have put it off till now.

The kit requires a lot of manual Continue reading Getting back to the e-Gemini

Fusion 400 takes to water

I finally plucked up the courage to take one of my hovercraft out on a lake. The thought of sending something out with all those costly electronics is bad enough but when its a model you have built the thought of losing it is even worse.

My plan was to make sure the swan peddle boat hire was Continue reading Fusion 400 takes to water

Bringing the fusion 400 into line

After having success with the X500 build I decided to look back at my fusion 400 which was not running so well. As you can see from the video below it is leaning to one side and not fully inflating Continue reading Bringing the fusion 400 into line

X500 Hovercraft test run 6 blade prop

I took my X500 hovercraft out for its first run on land at the weekend. Before I took it out some 6 blade propellers arrived. (Scroll down for videos)

IMG_20180622_164543

I was expected the motor to choke on these or something Continue reading X500 Hovercraft test run 6 blade prop