
After cutting the body out with my lexan scissors I had some bits to tidy up that were tricky to get to with scissors.
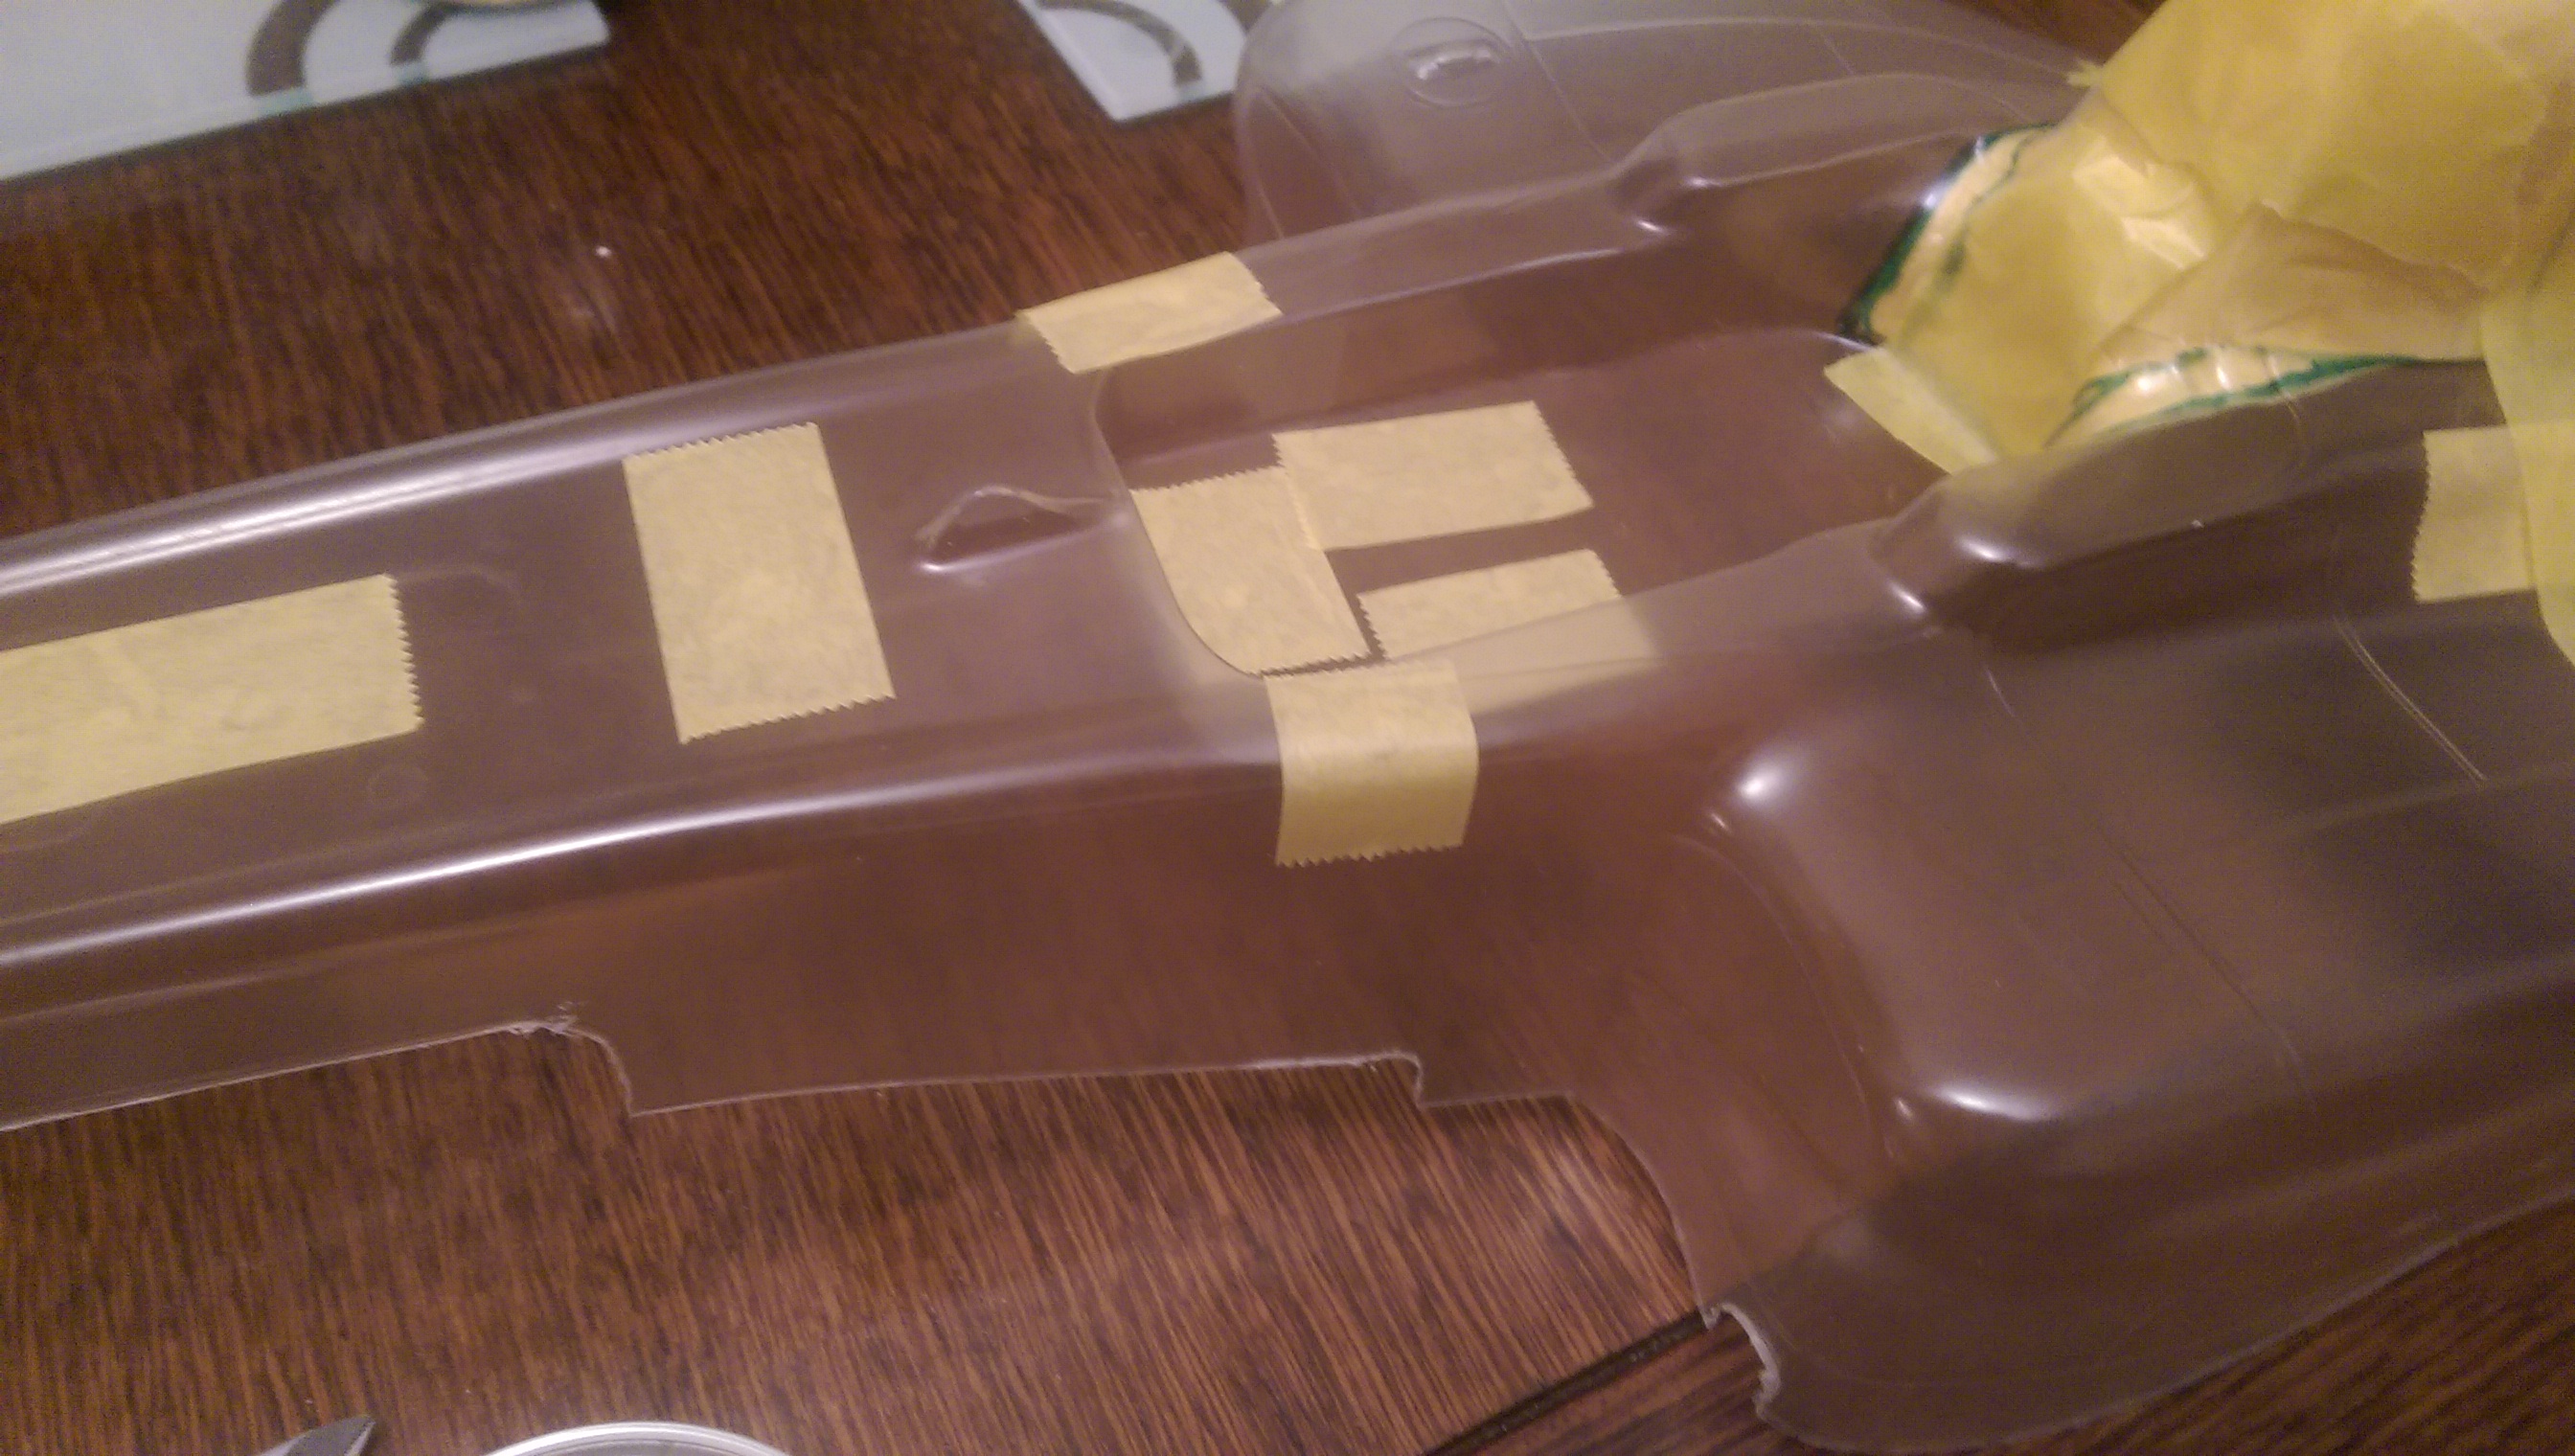
After cutting the body out with my lexan scissors I had some bits to tidy up that were tricky to get to with scissors.

I did not intend to do any actual work on the display body as it requires removing the engine head to fit. My plan was to just wait for the display body.
 The long awaited racing body arrived last week and was found in my local green Continue reading Red Bull 7 Preparing the Bodyshell
 In this section of the Red Bull build I have almost finished building the engine, its nearly ready to be fitted to the chassis.

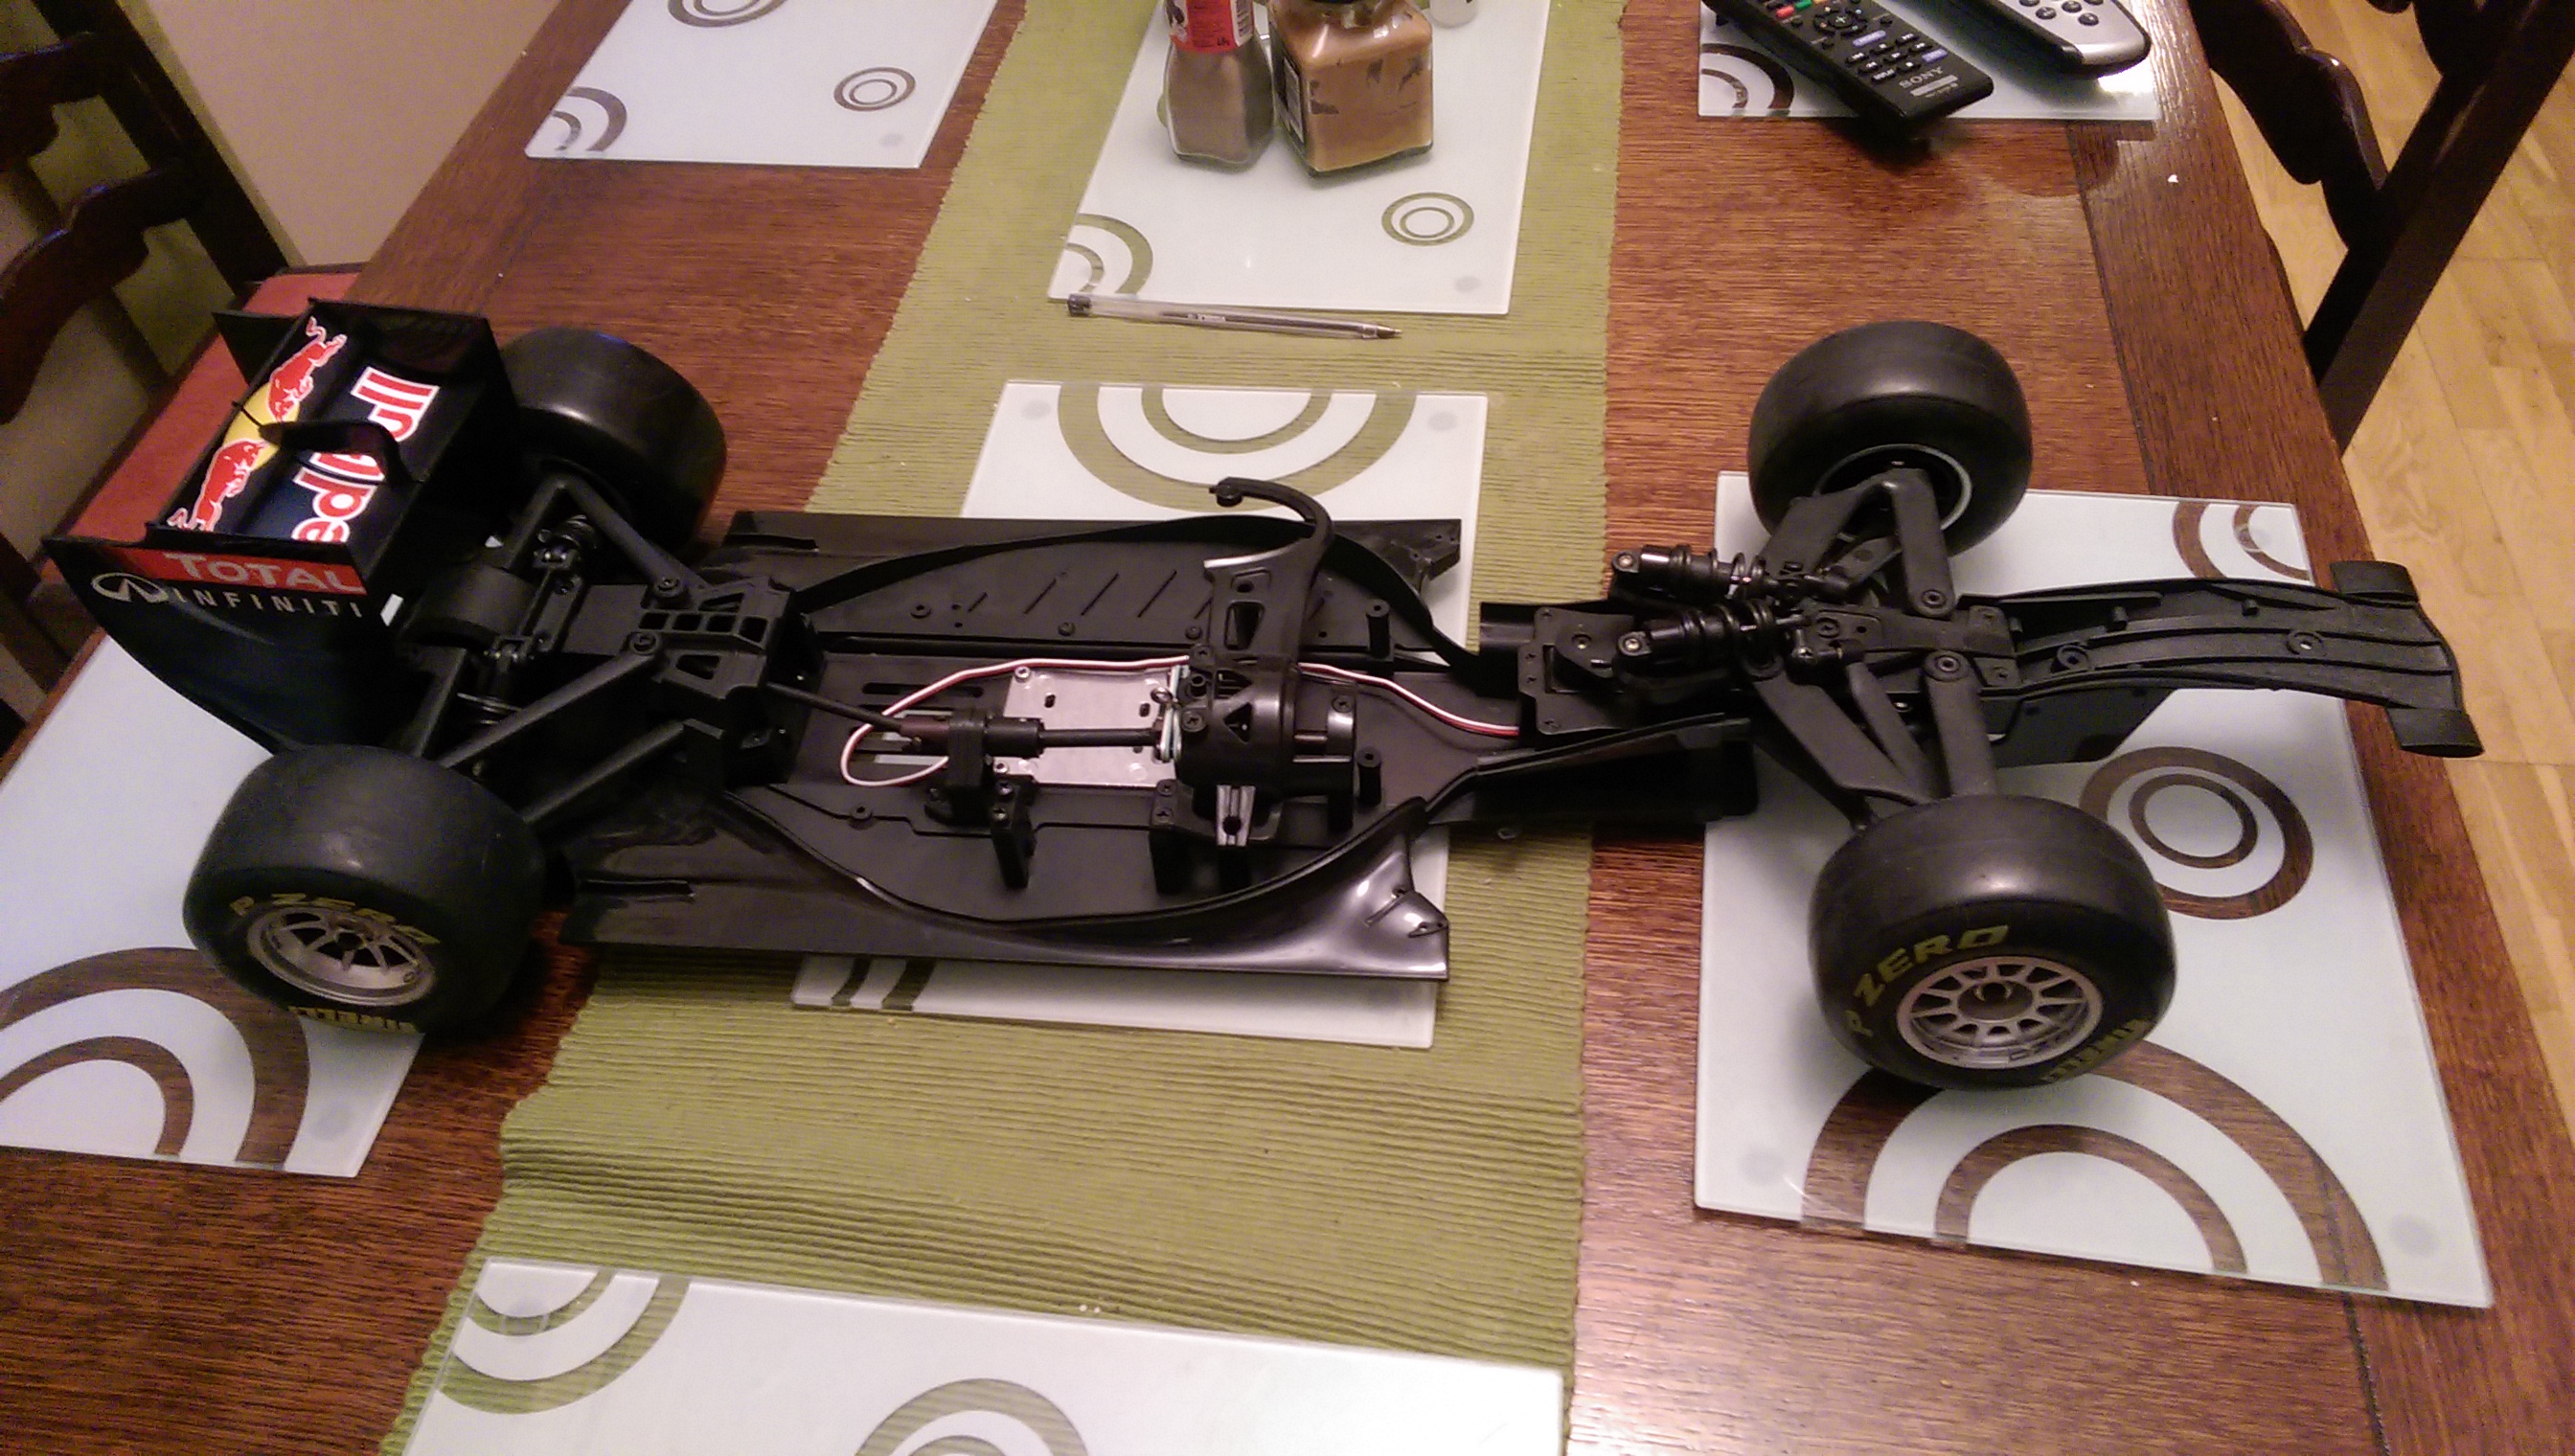
The final tyre has also been added to the car. This is great because I finally have all four wheels on the model but annoying because it has now out grown its old living space.
With this 1:7 model and the 1:8 Hummer I am building its getting hard to find space to store these models.


First up in this section is the gearbox.

The brake disc and pads are added to the gearbox.
The pin at the top will be attached to the throttle servo later which will apply the brakes when the throttle is released.
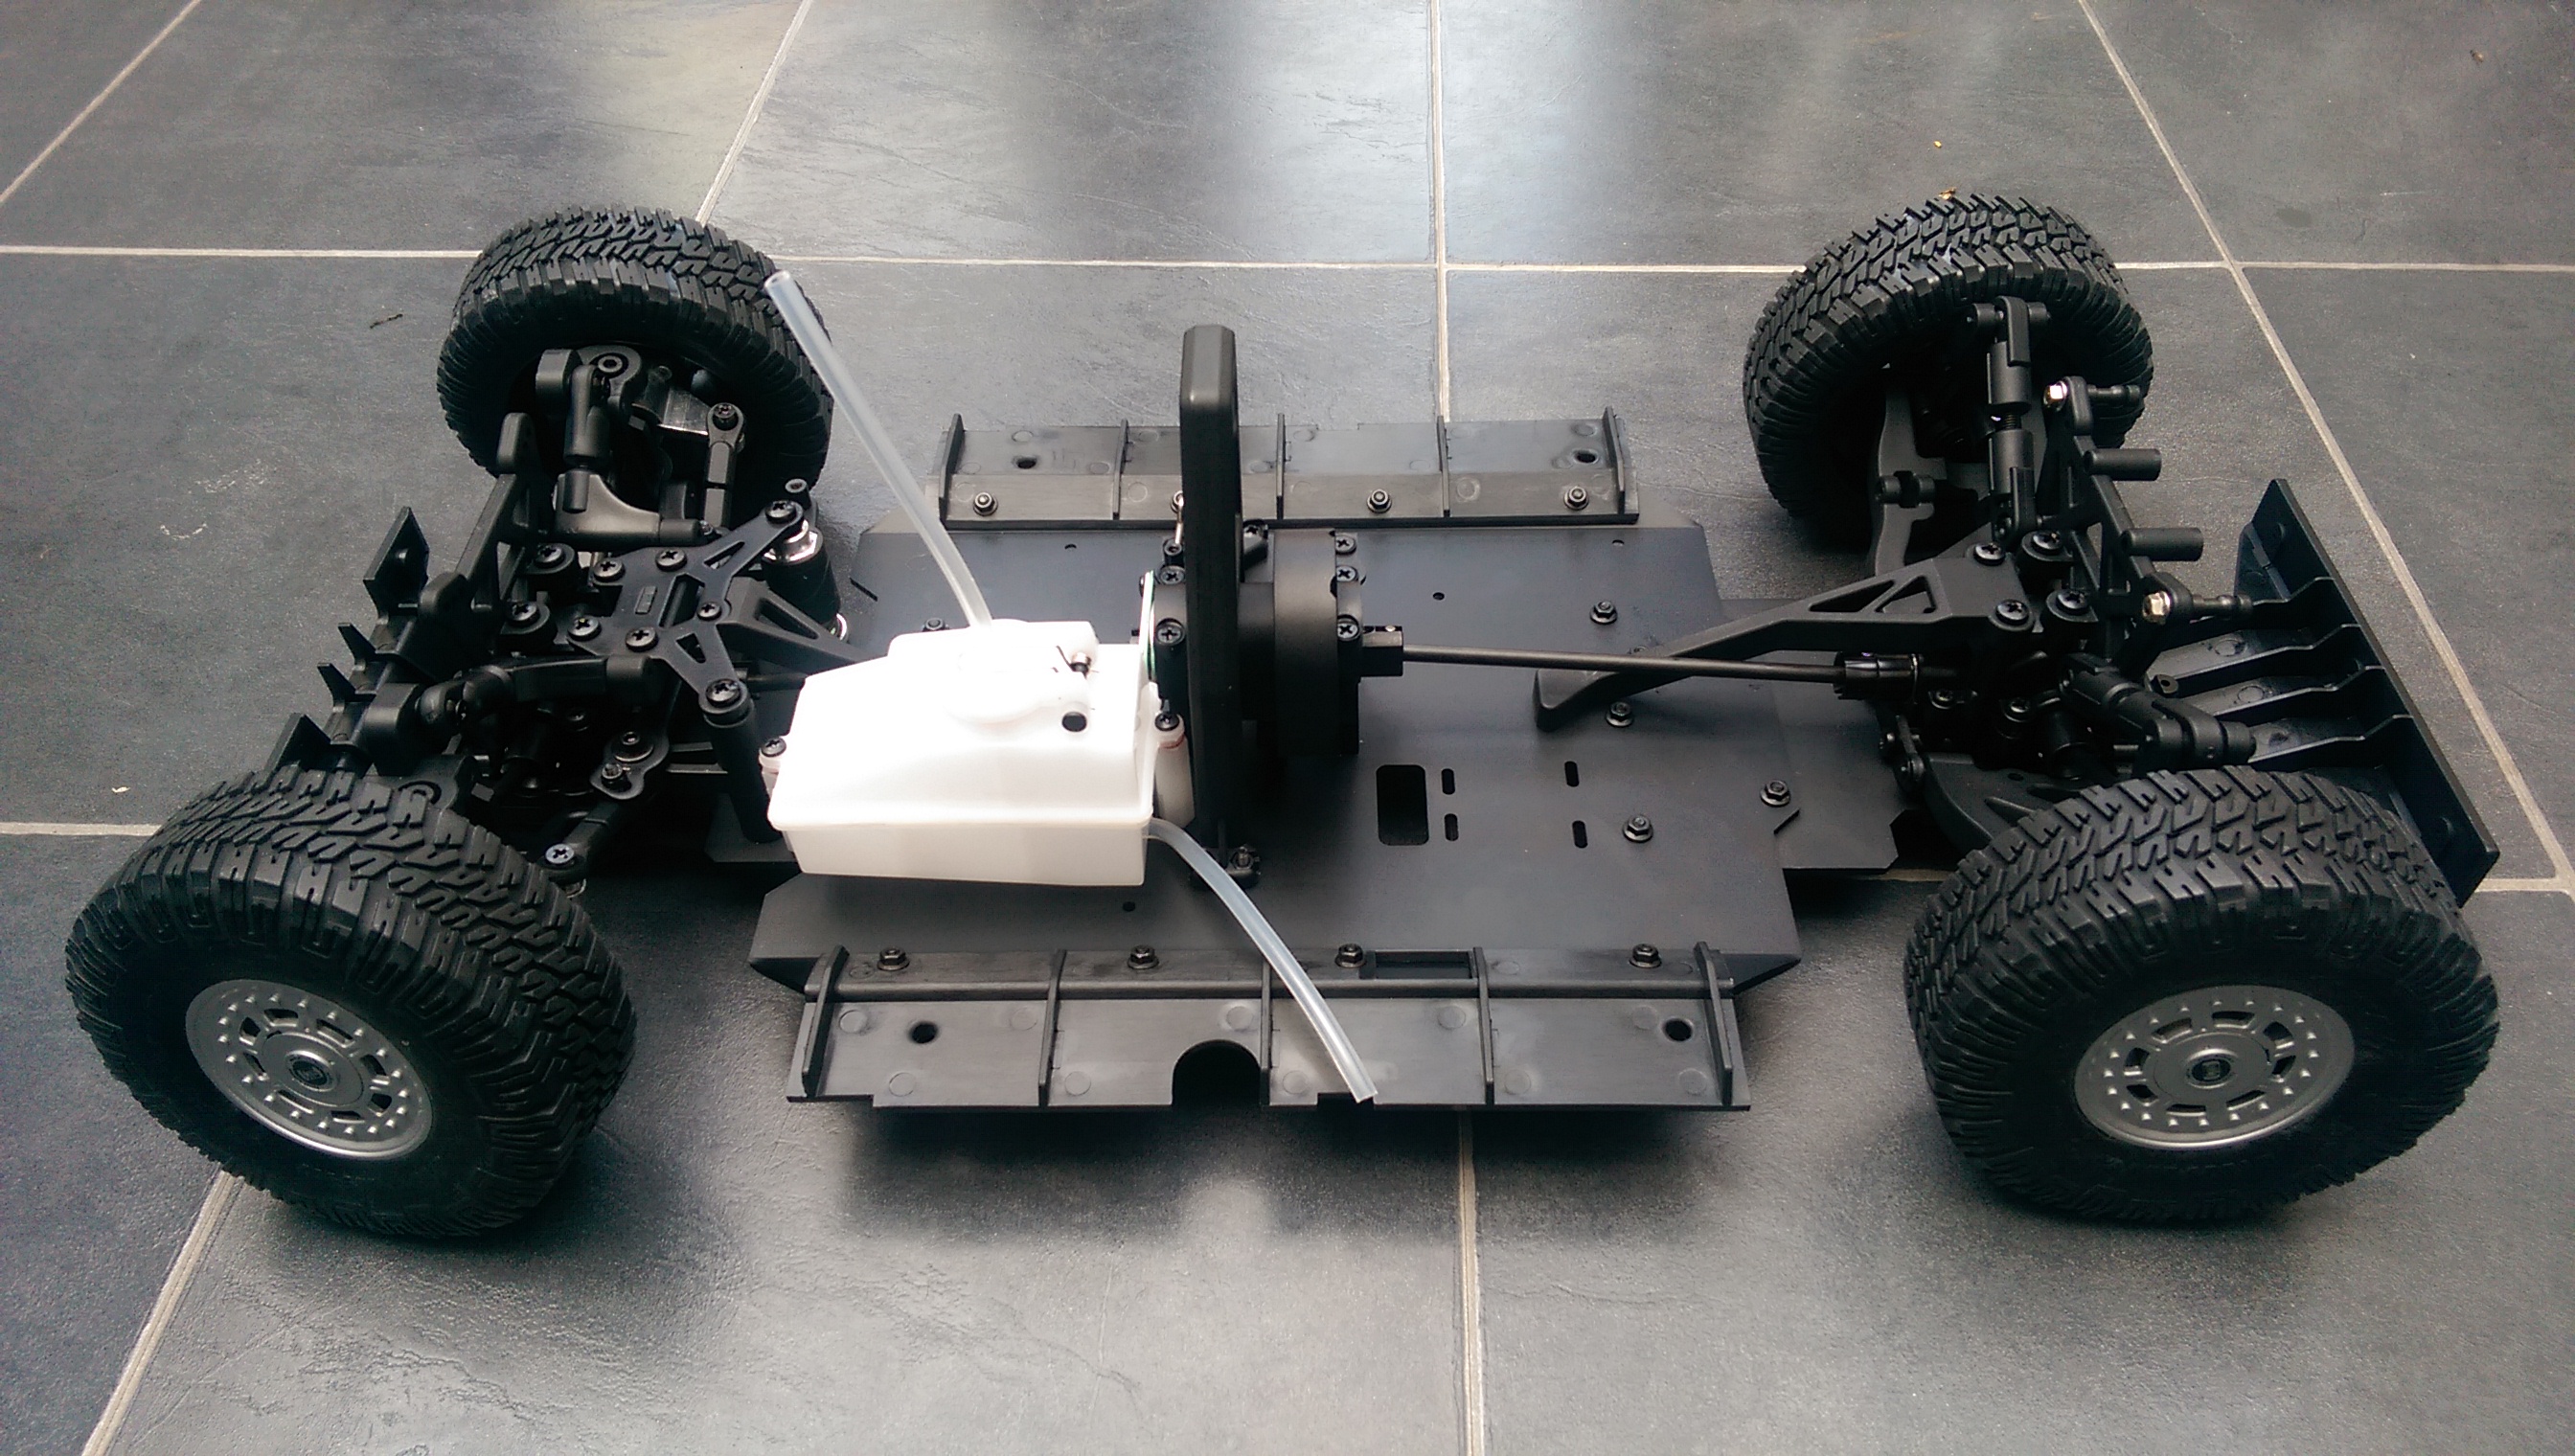
The gearbox is added to the chassis connecting to the the front and rear drives.
I have also added the fuel tank which is simply held in with two screws.
These are not fully screwed in to make sure the fuel tank can rock slightly.
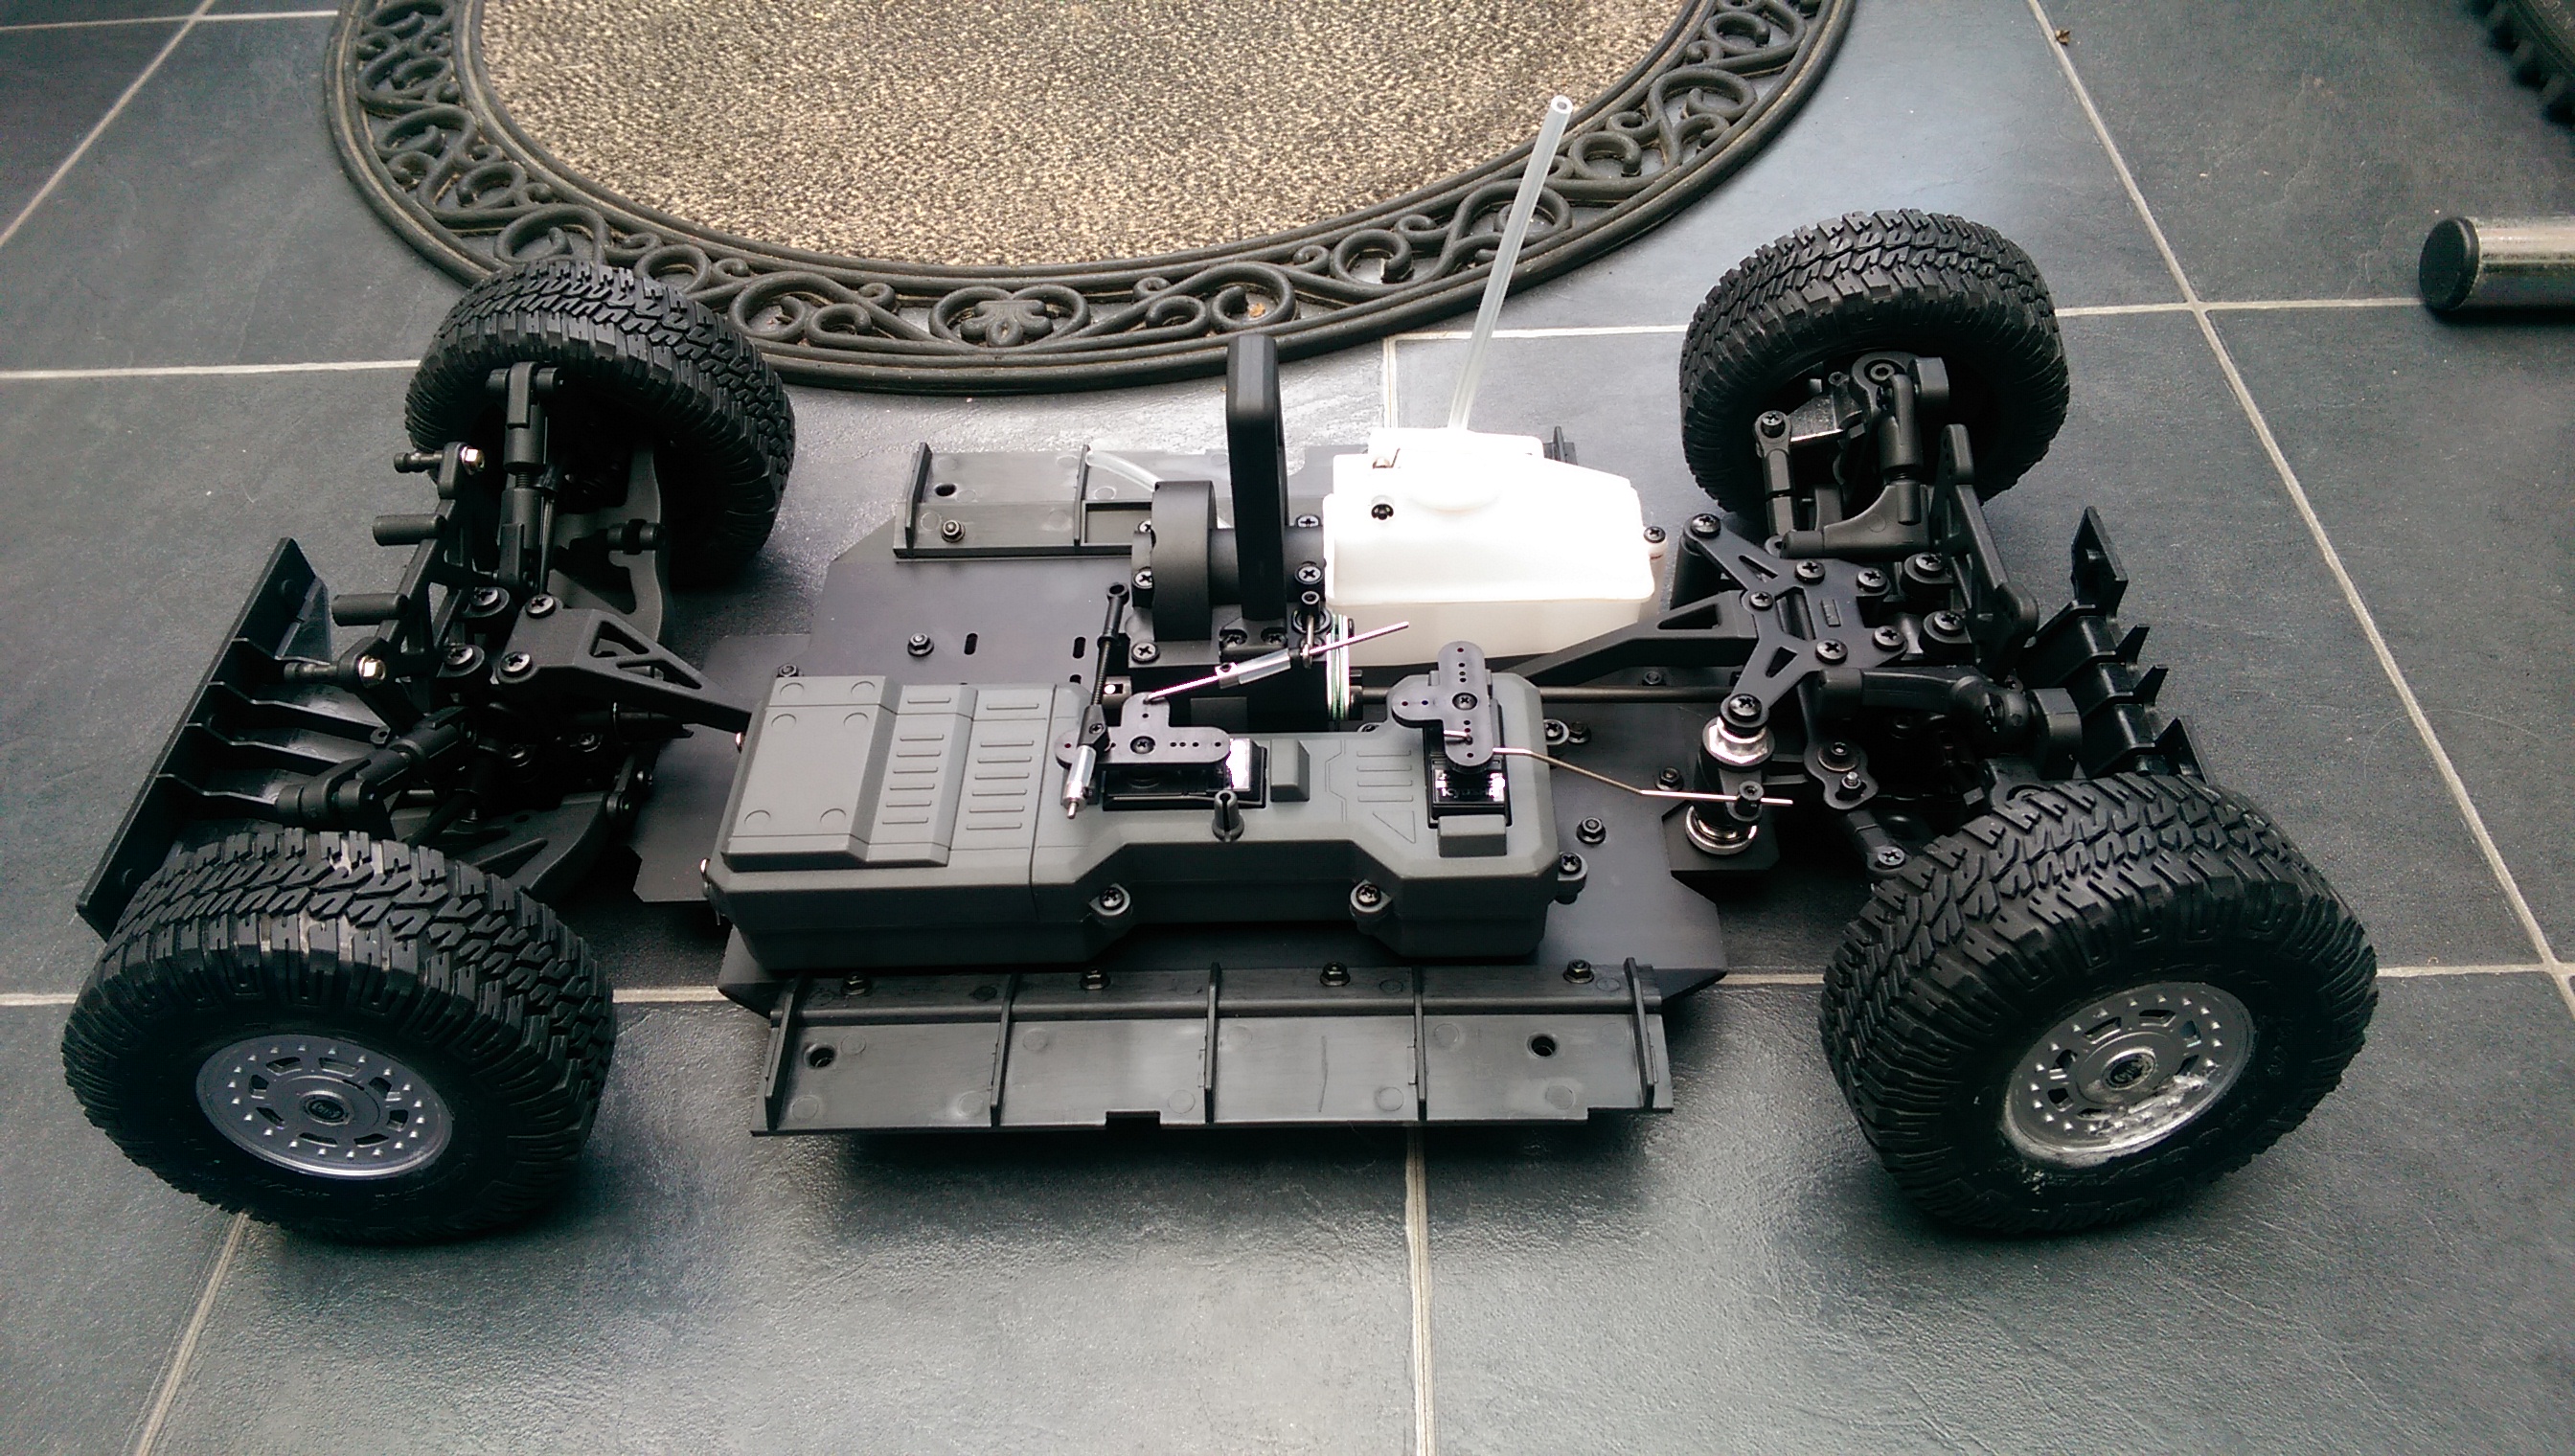
The electronics box is now added. This houses the battery box, steering servo and throttle servo.
The steering servo is connected to the steering rod.

Here you can see how the throttle servo also connects to the brake pin allowing it to both control the flow of fuel into the engine carb (when fitted) and the brakes.

In this post I start to build the engine for my Kyosho Red Bull 7 Formula One car.

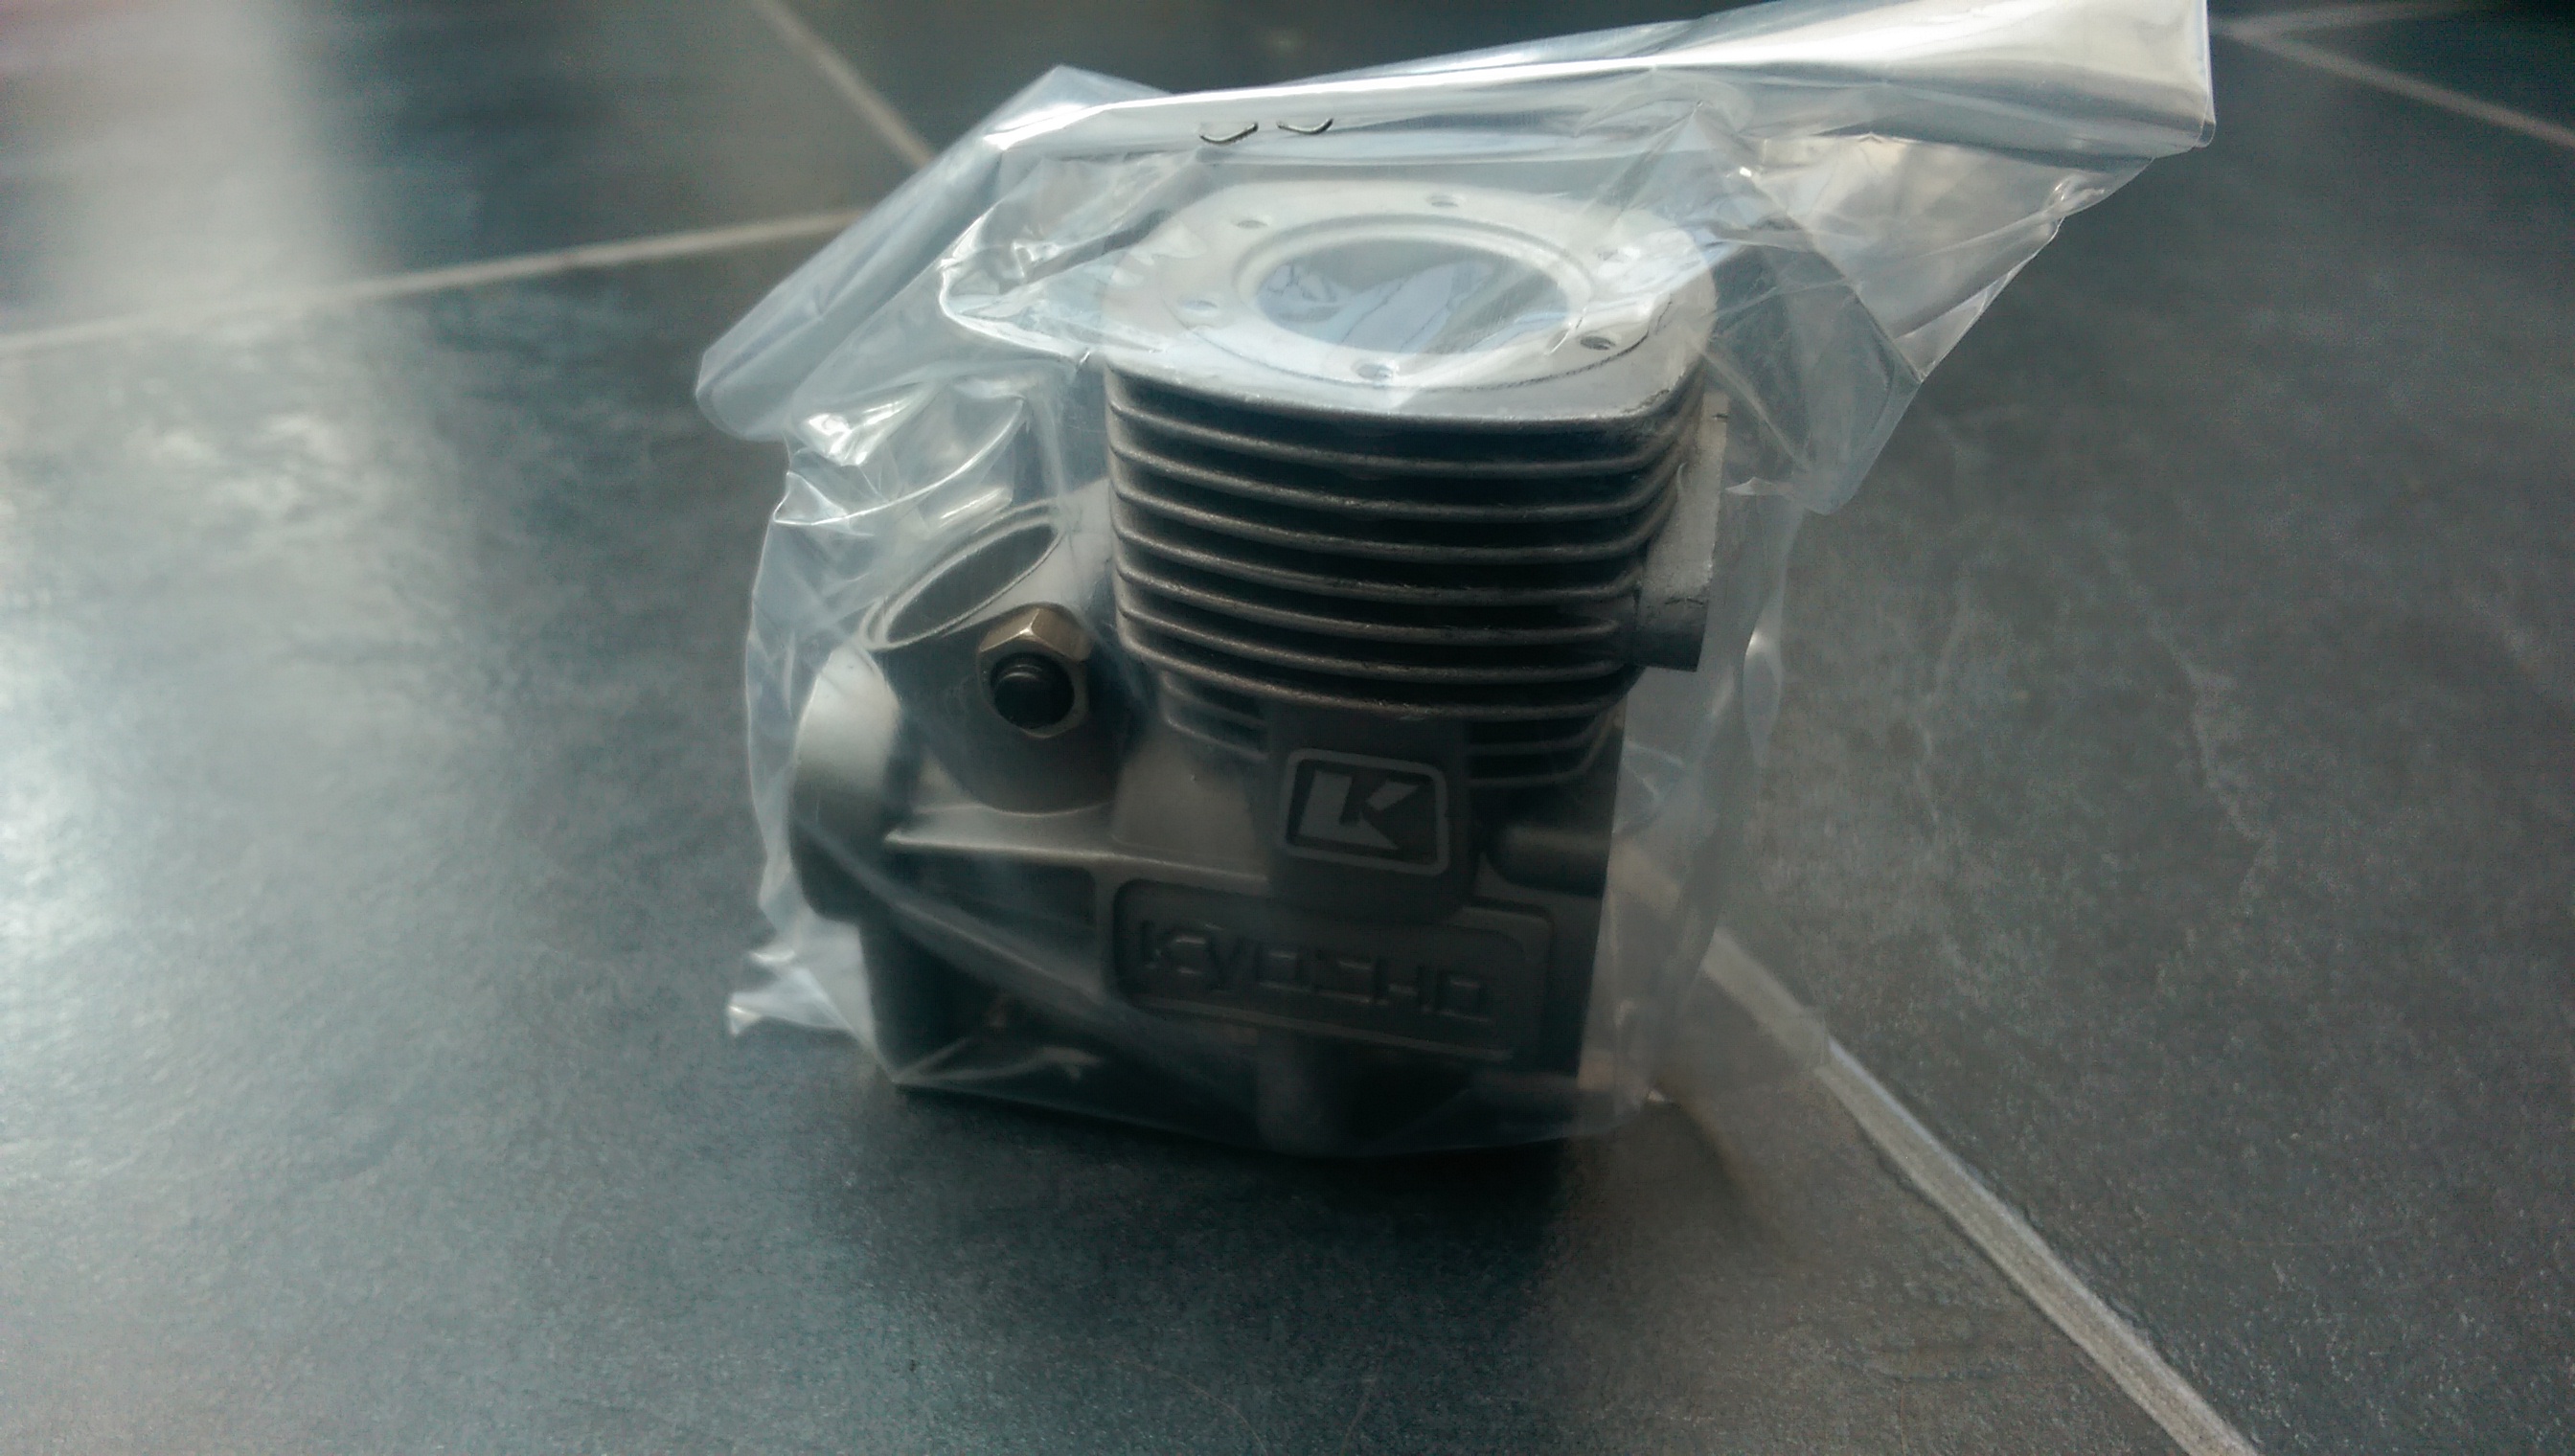
The first part of the engine to add to the crankcase is the crankshaft. This is first given a thin layer of after run oil and then slid into the crankcase.

I used HPI after run oil which I already had from maintaining my other models. Continue reading Red Bull 7 Engine Progress
The crankcase is the first part of the GX21 Nitro engine which will power my Red Bull 7 model. The GX21 is a 2 stroke engine capable of producing about 1.8bhp.
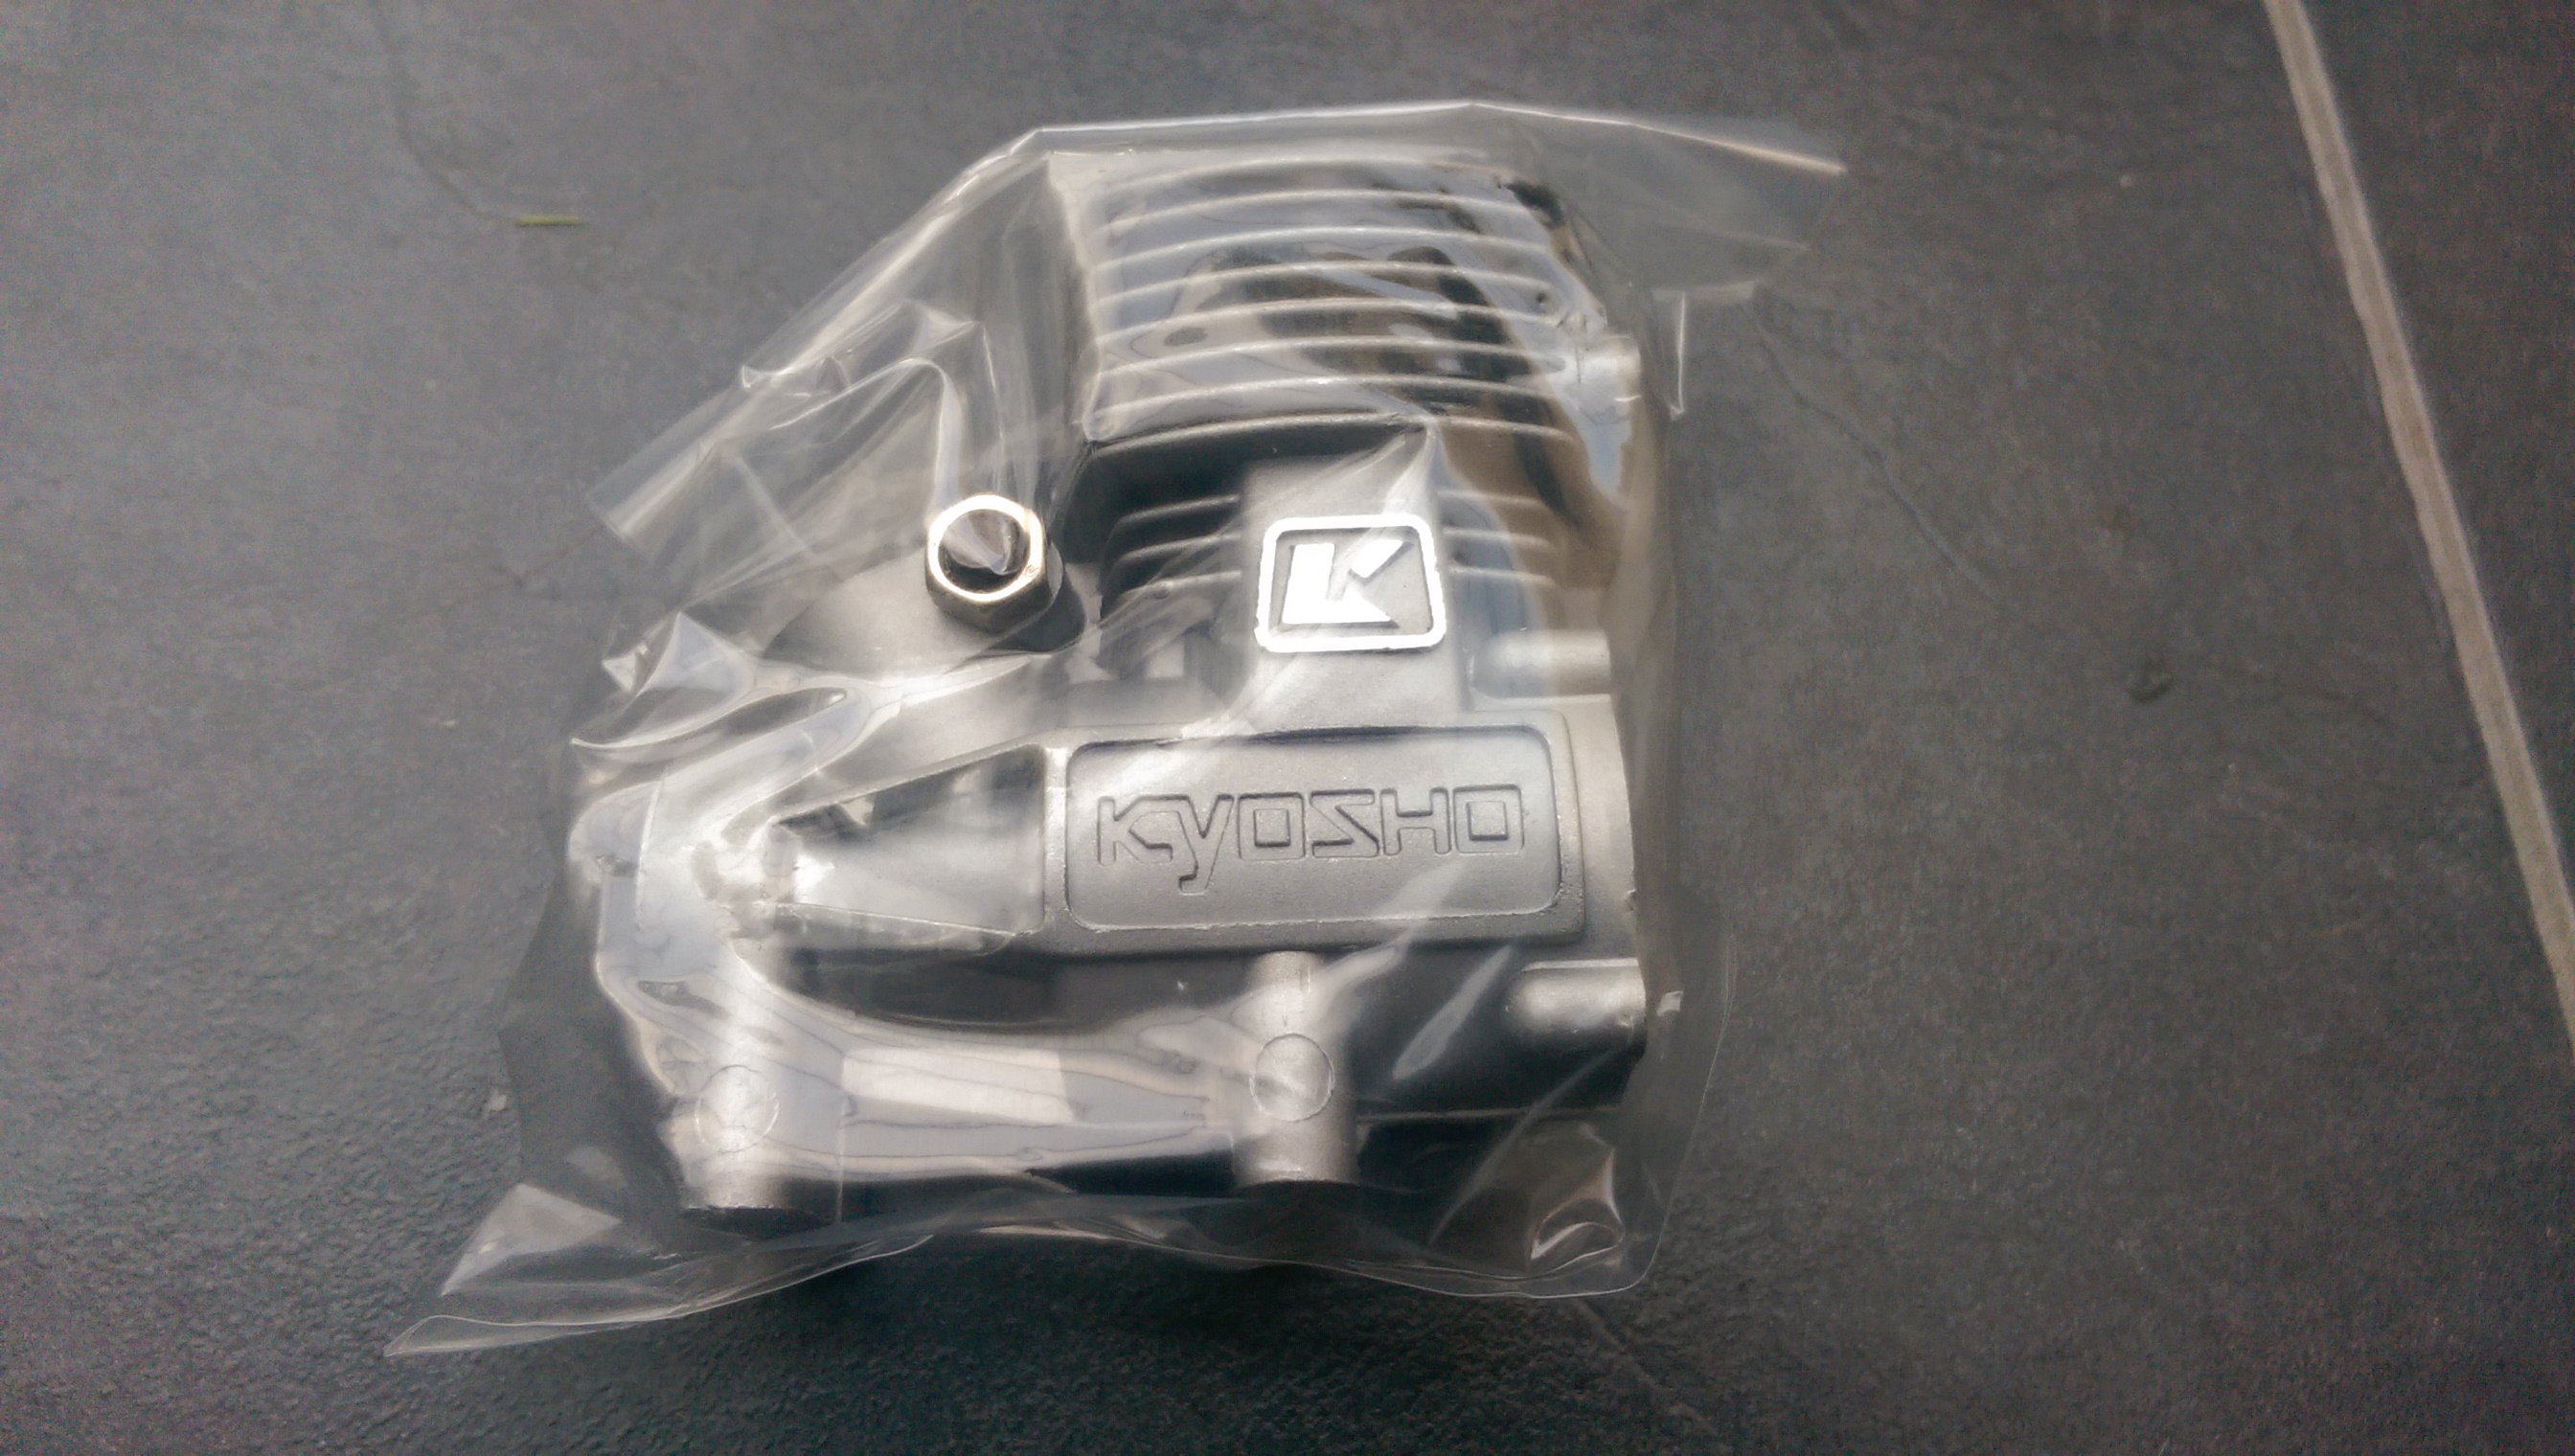
The crankcase currently contains the carburetor attaching screw and two ball bearings.

With the next batch of parts I get the crankshaft piston, cylinder head and rear engine plate.
You may have seen a long time ago I made a post with a load of blue aluminium upgrades for my tt01 car. Well I completely forgot about the oil filled shocks shown in that post and have just got round to building them and installing them.
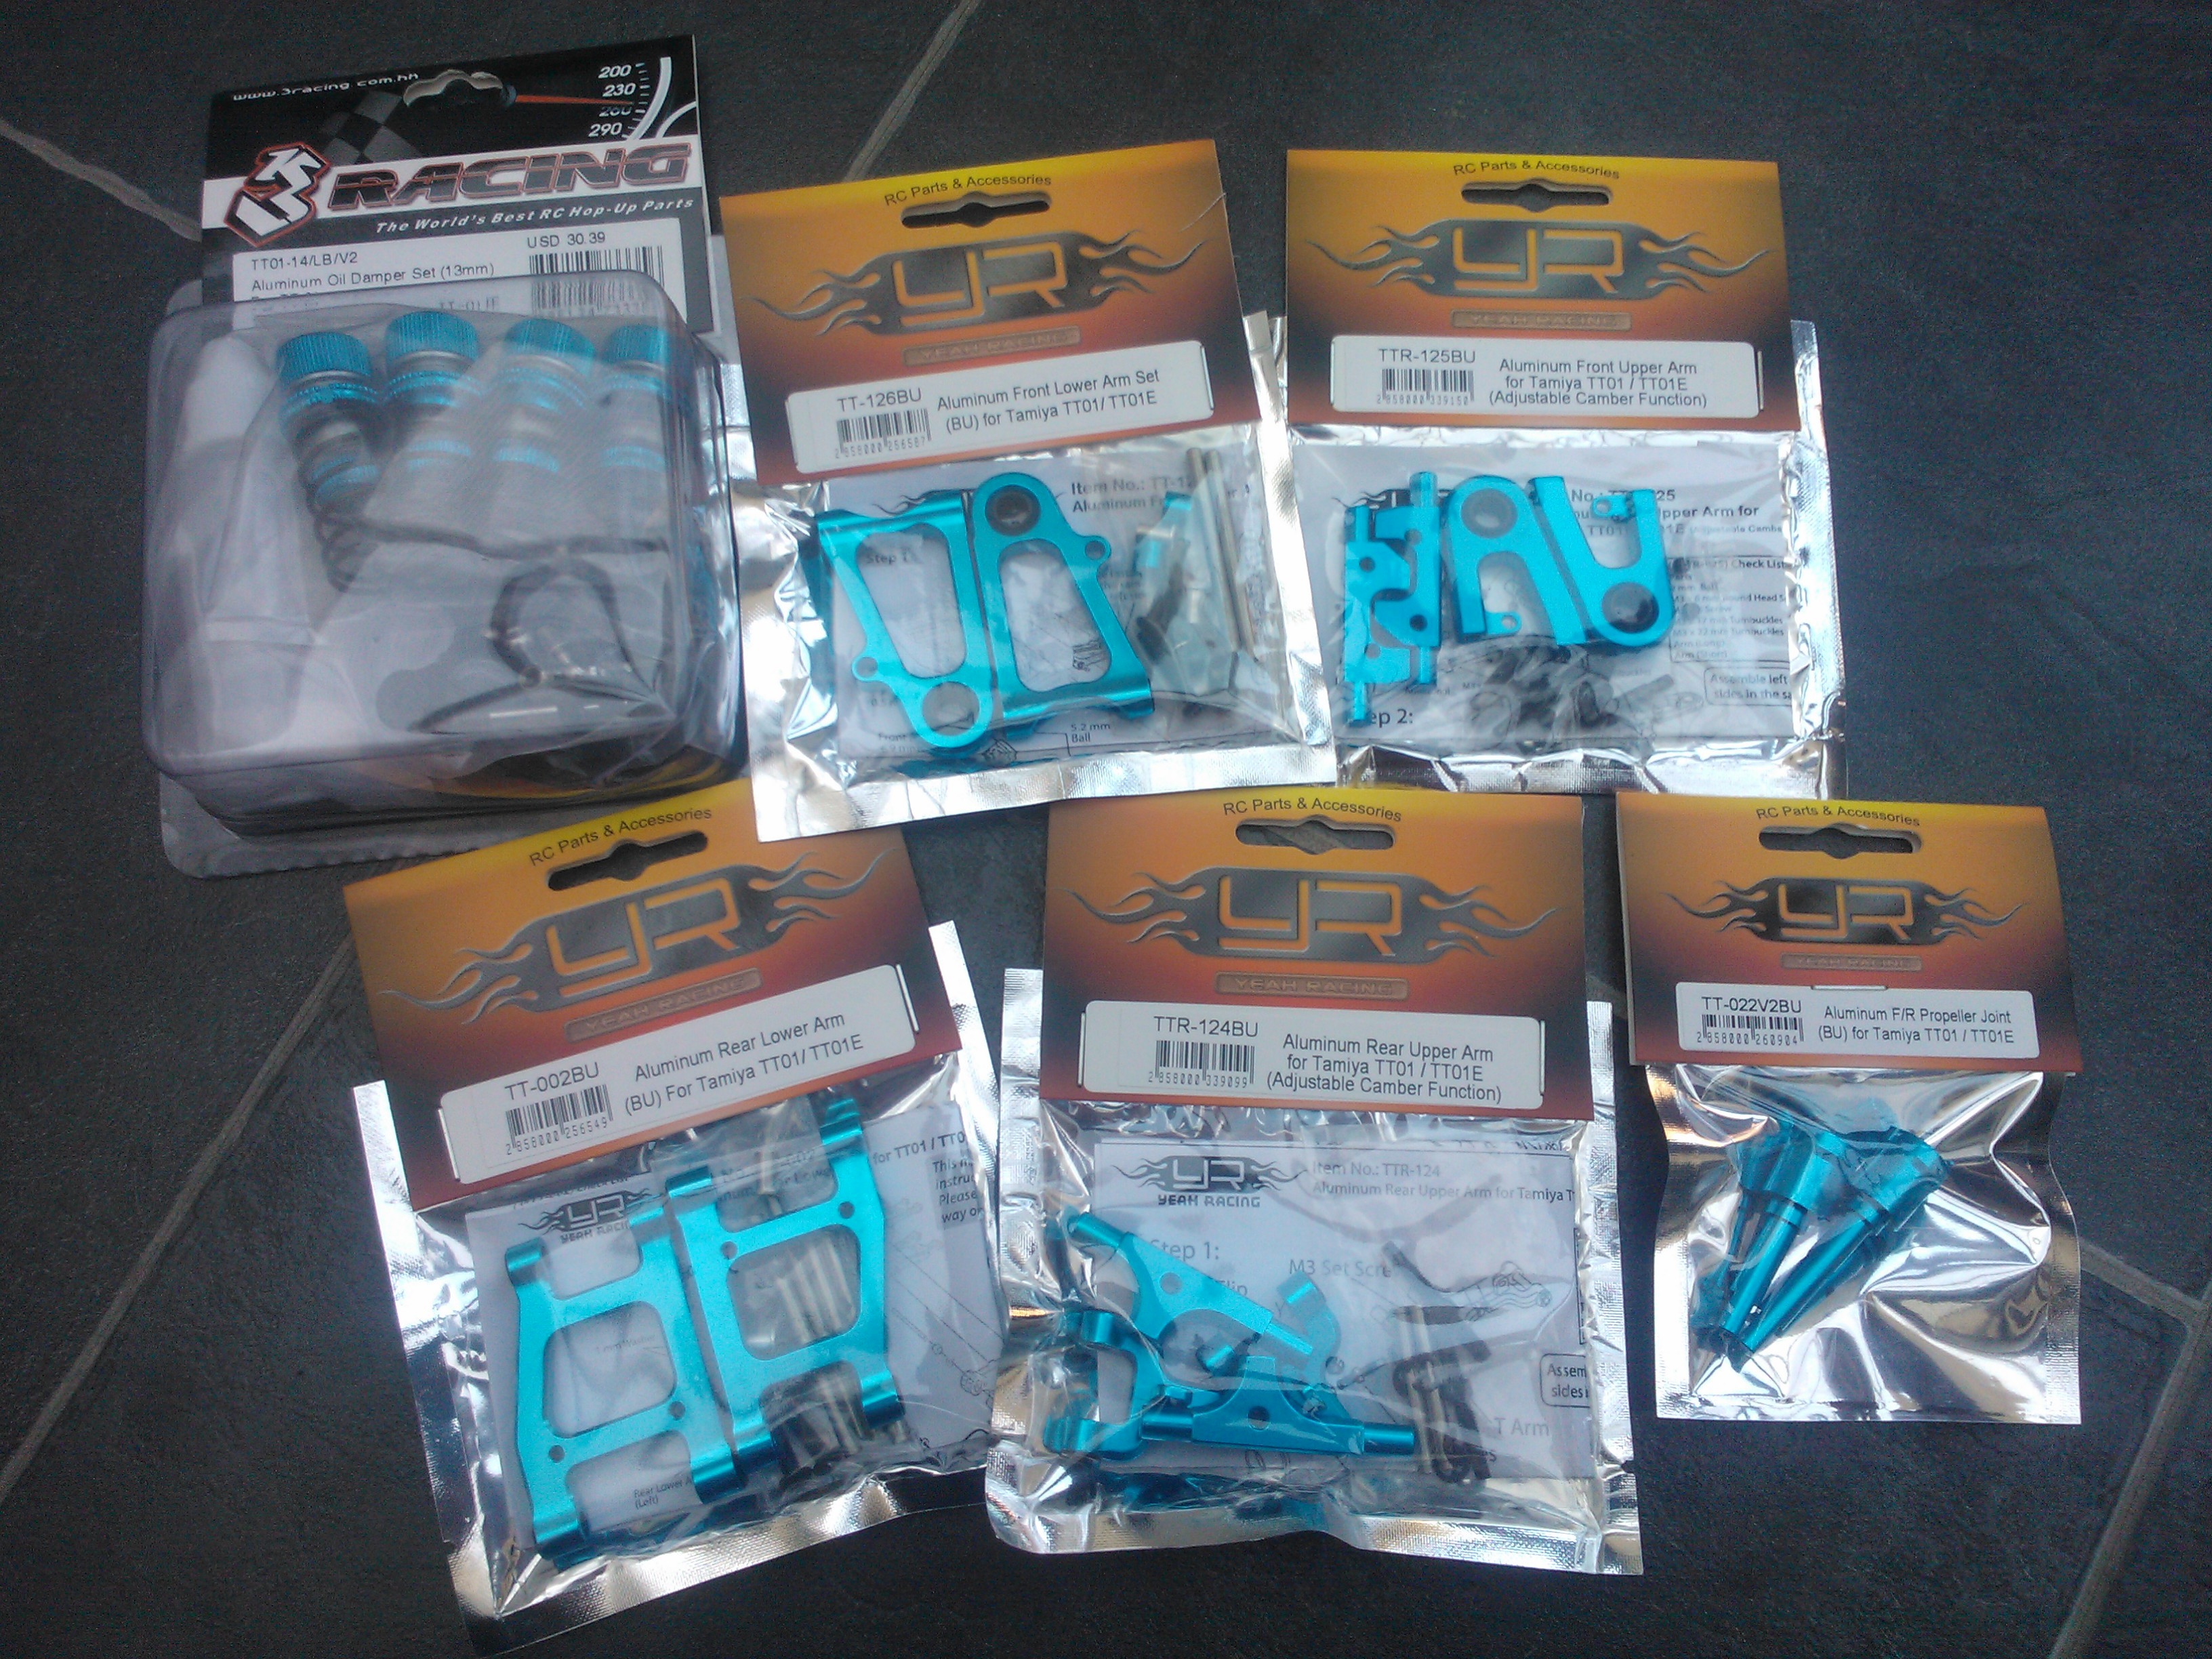
The process for building the 3Racing shocks is pretty standard to any others I have built and the parts were of good quality.

Even the spring was easy to fit which can be a right pain going by the ones I built for the Red Bull car.

These only took a few minutes to build. I think I spent longer waiting for the bubbles in the oil to disappear than anything else. They replace the standard friction dampers you get in most Tamiya kits.

One of the most important things to do when setting a car up for drifting is to lock the rear diff.
There are many mods around the internet detailing different ways of doing this (using glue etc) bit I decided to just buy a replacement part to do the job.
 This is a single part made to replace the differential gears in a tt01 forcing the wheels to spin at the same speed.

The differential gears are removed…

… and replaced with the part locking the differential.
Recently I have been doing some work on my tt01 to finish upgrading and repair it.
Here I have brought some work rims and fitted HPI super drift tyres to them to give the wheels a more customised look than the Tamiya ones that came with the model.

Fitting the tyres to rims is easier said than done. You can heat up the tyres in a saucepan to make them soft enough to snap right on but I have not been brave enough to attempt that yet.
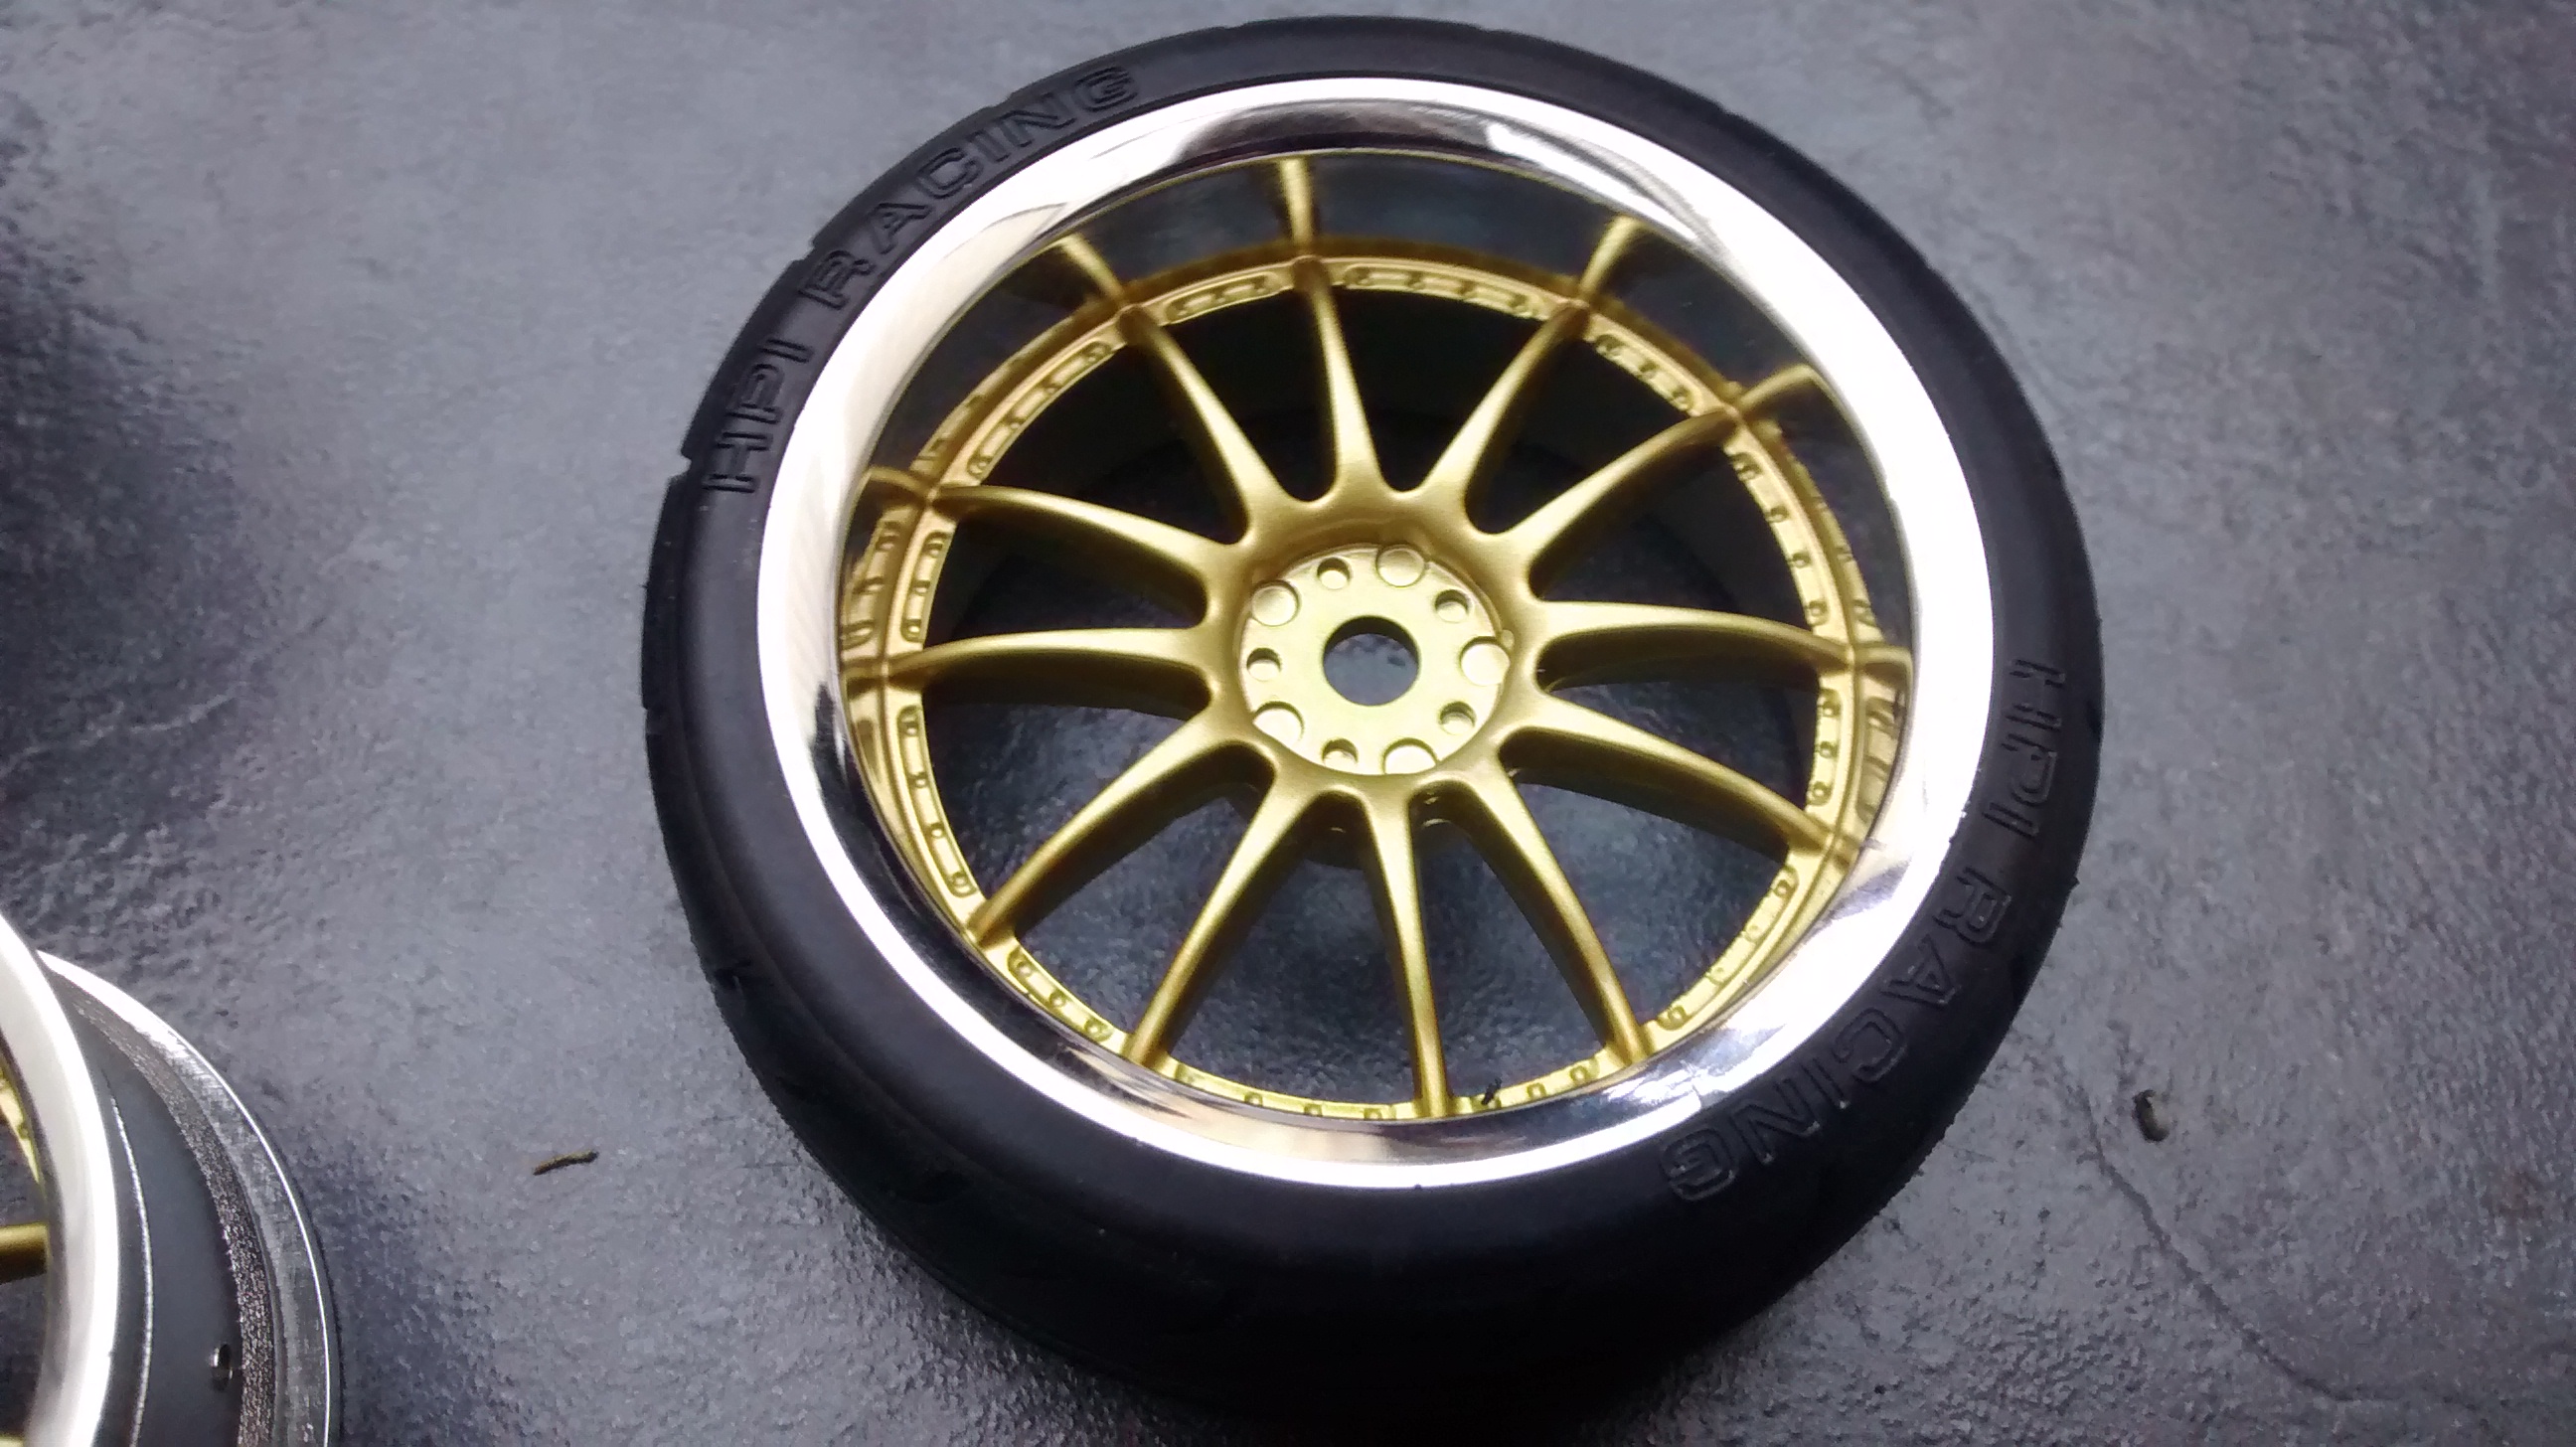
I use a screw driver to work my way round the wheel fitting it into the tyre a bit at a time.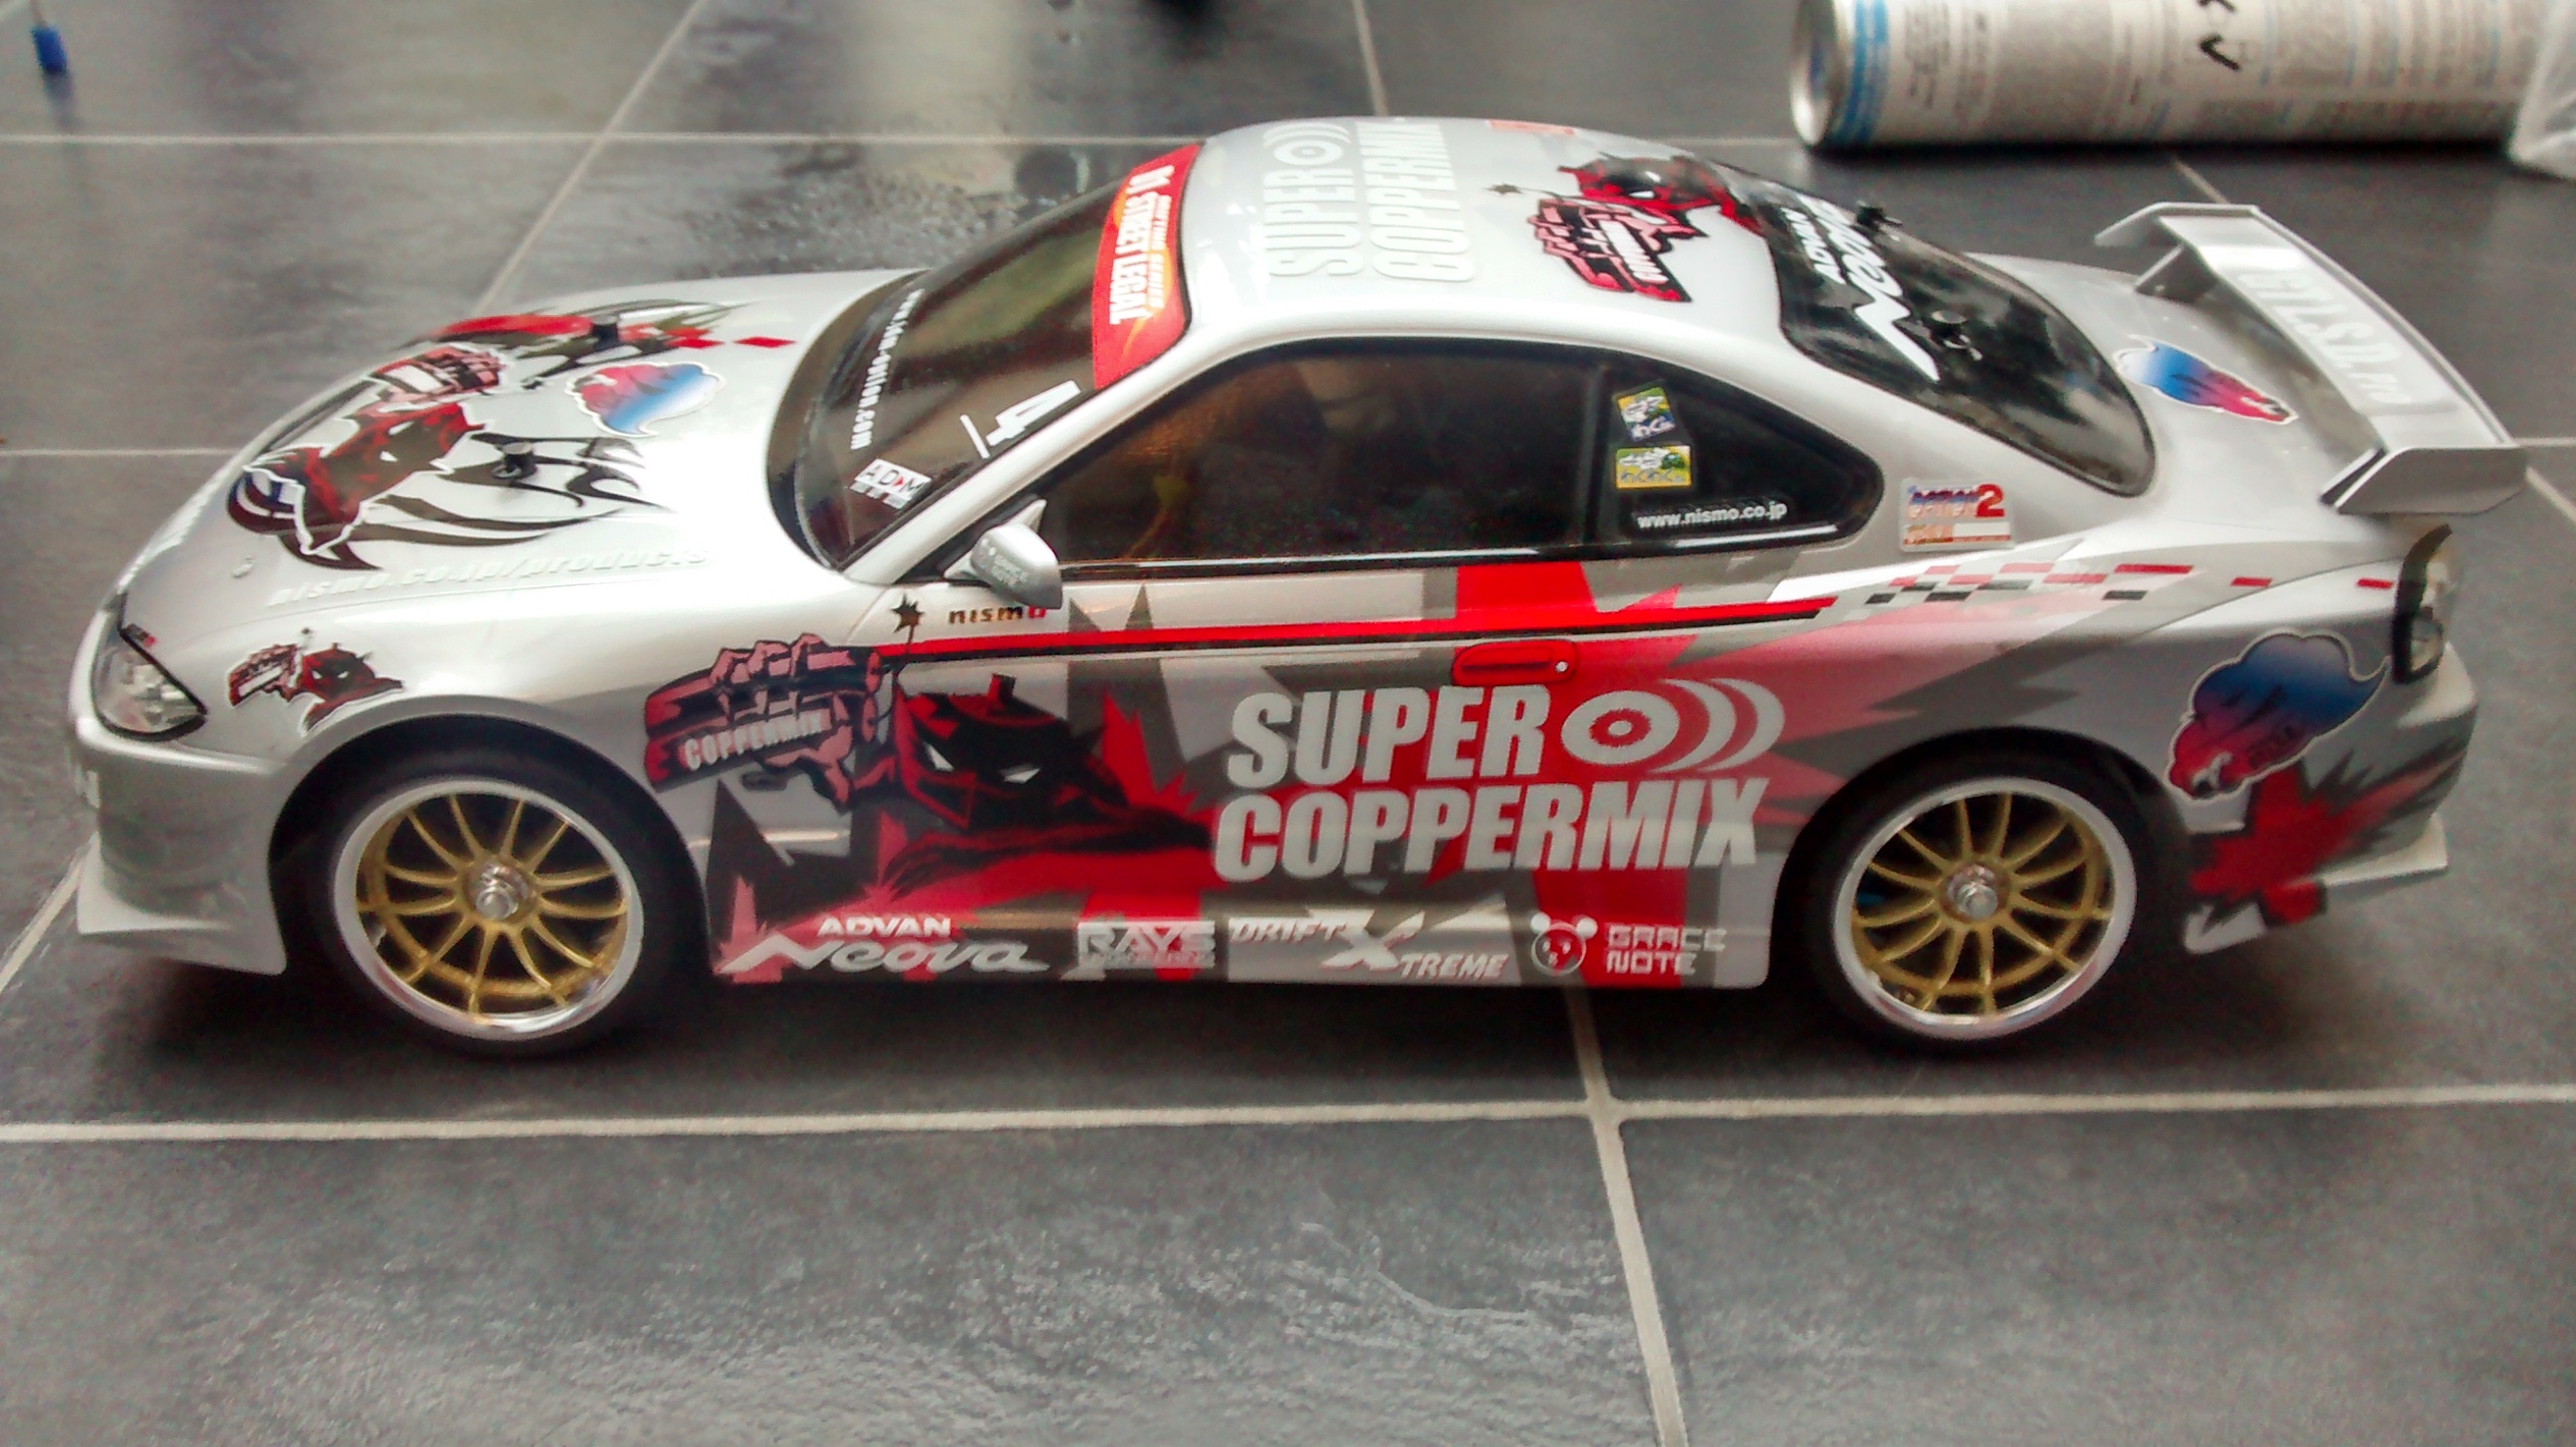
The wheels come with a sticker sheet but at the moment I think they look better as they are without the stickers.
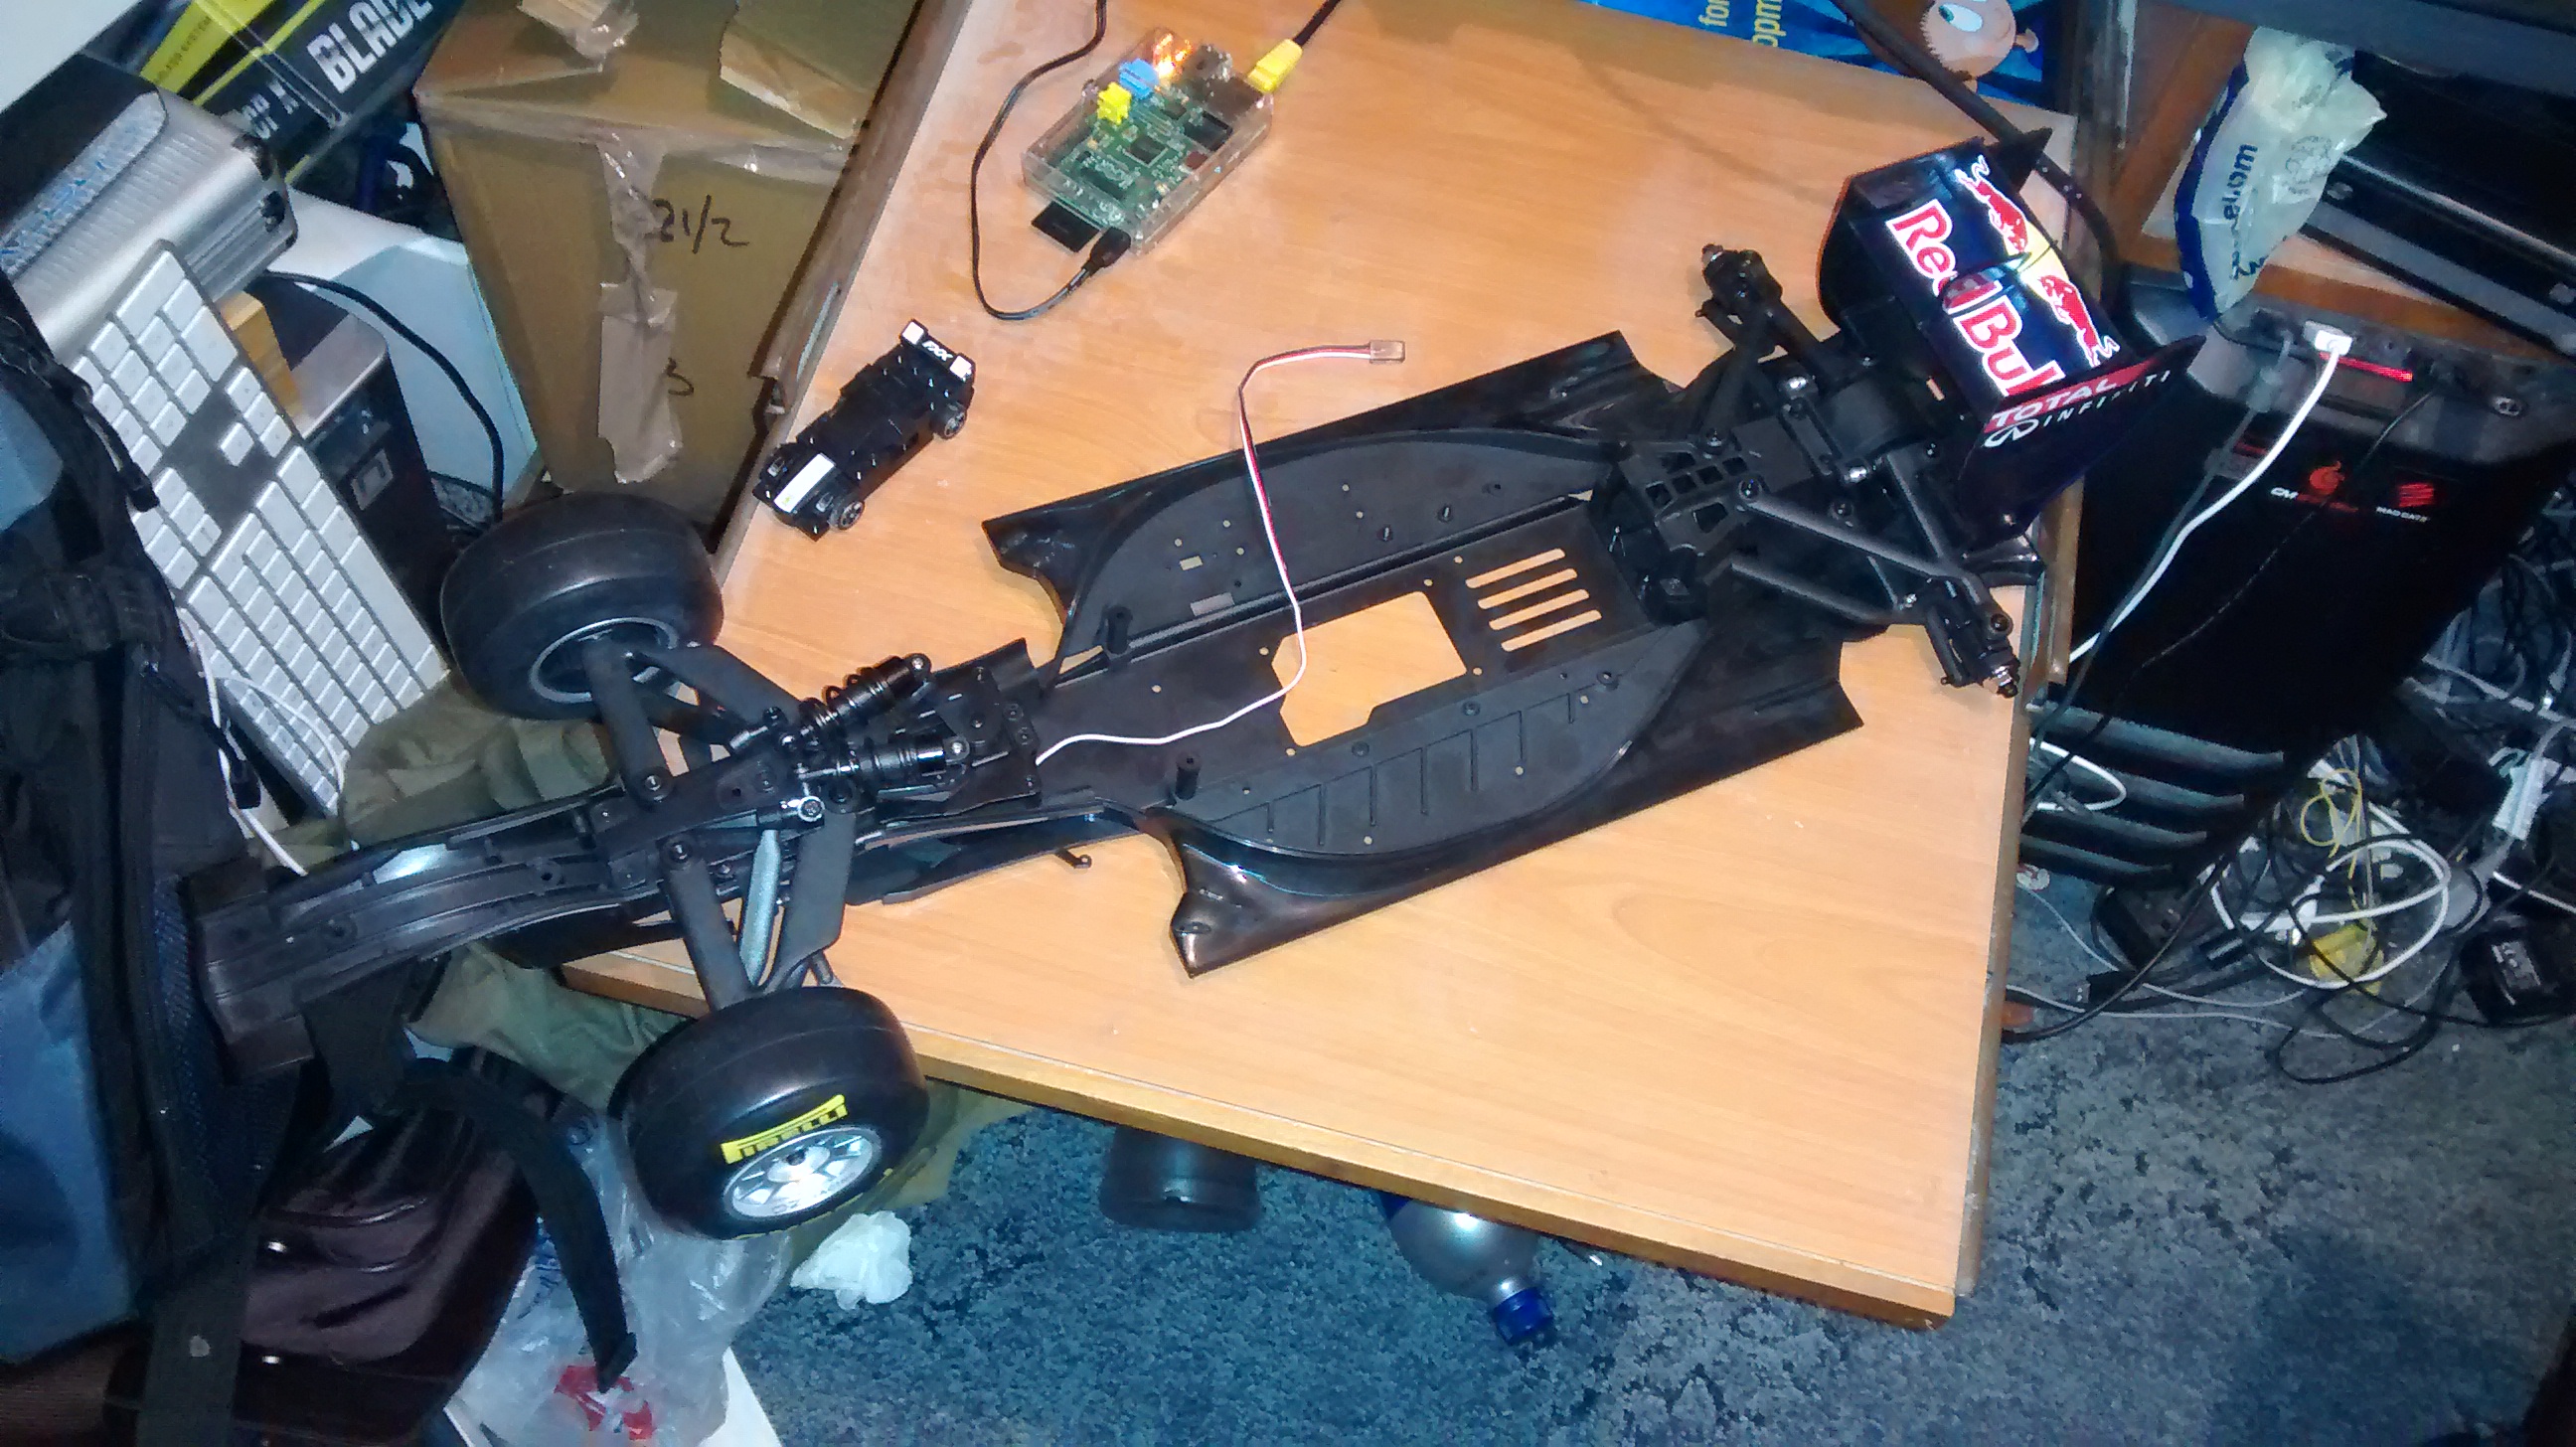
I have fitted the rear wheel hubs and dog bones to the car.
The rear wing has also been fitted although this is the display wing. A separate (more durable?) wing is provided for driving around with.

