Red Bull RB7 Progress

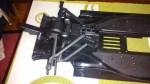
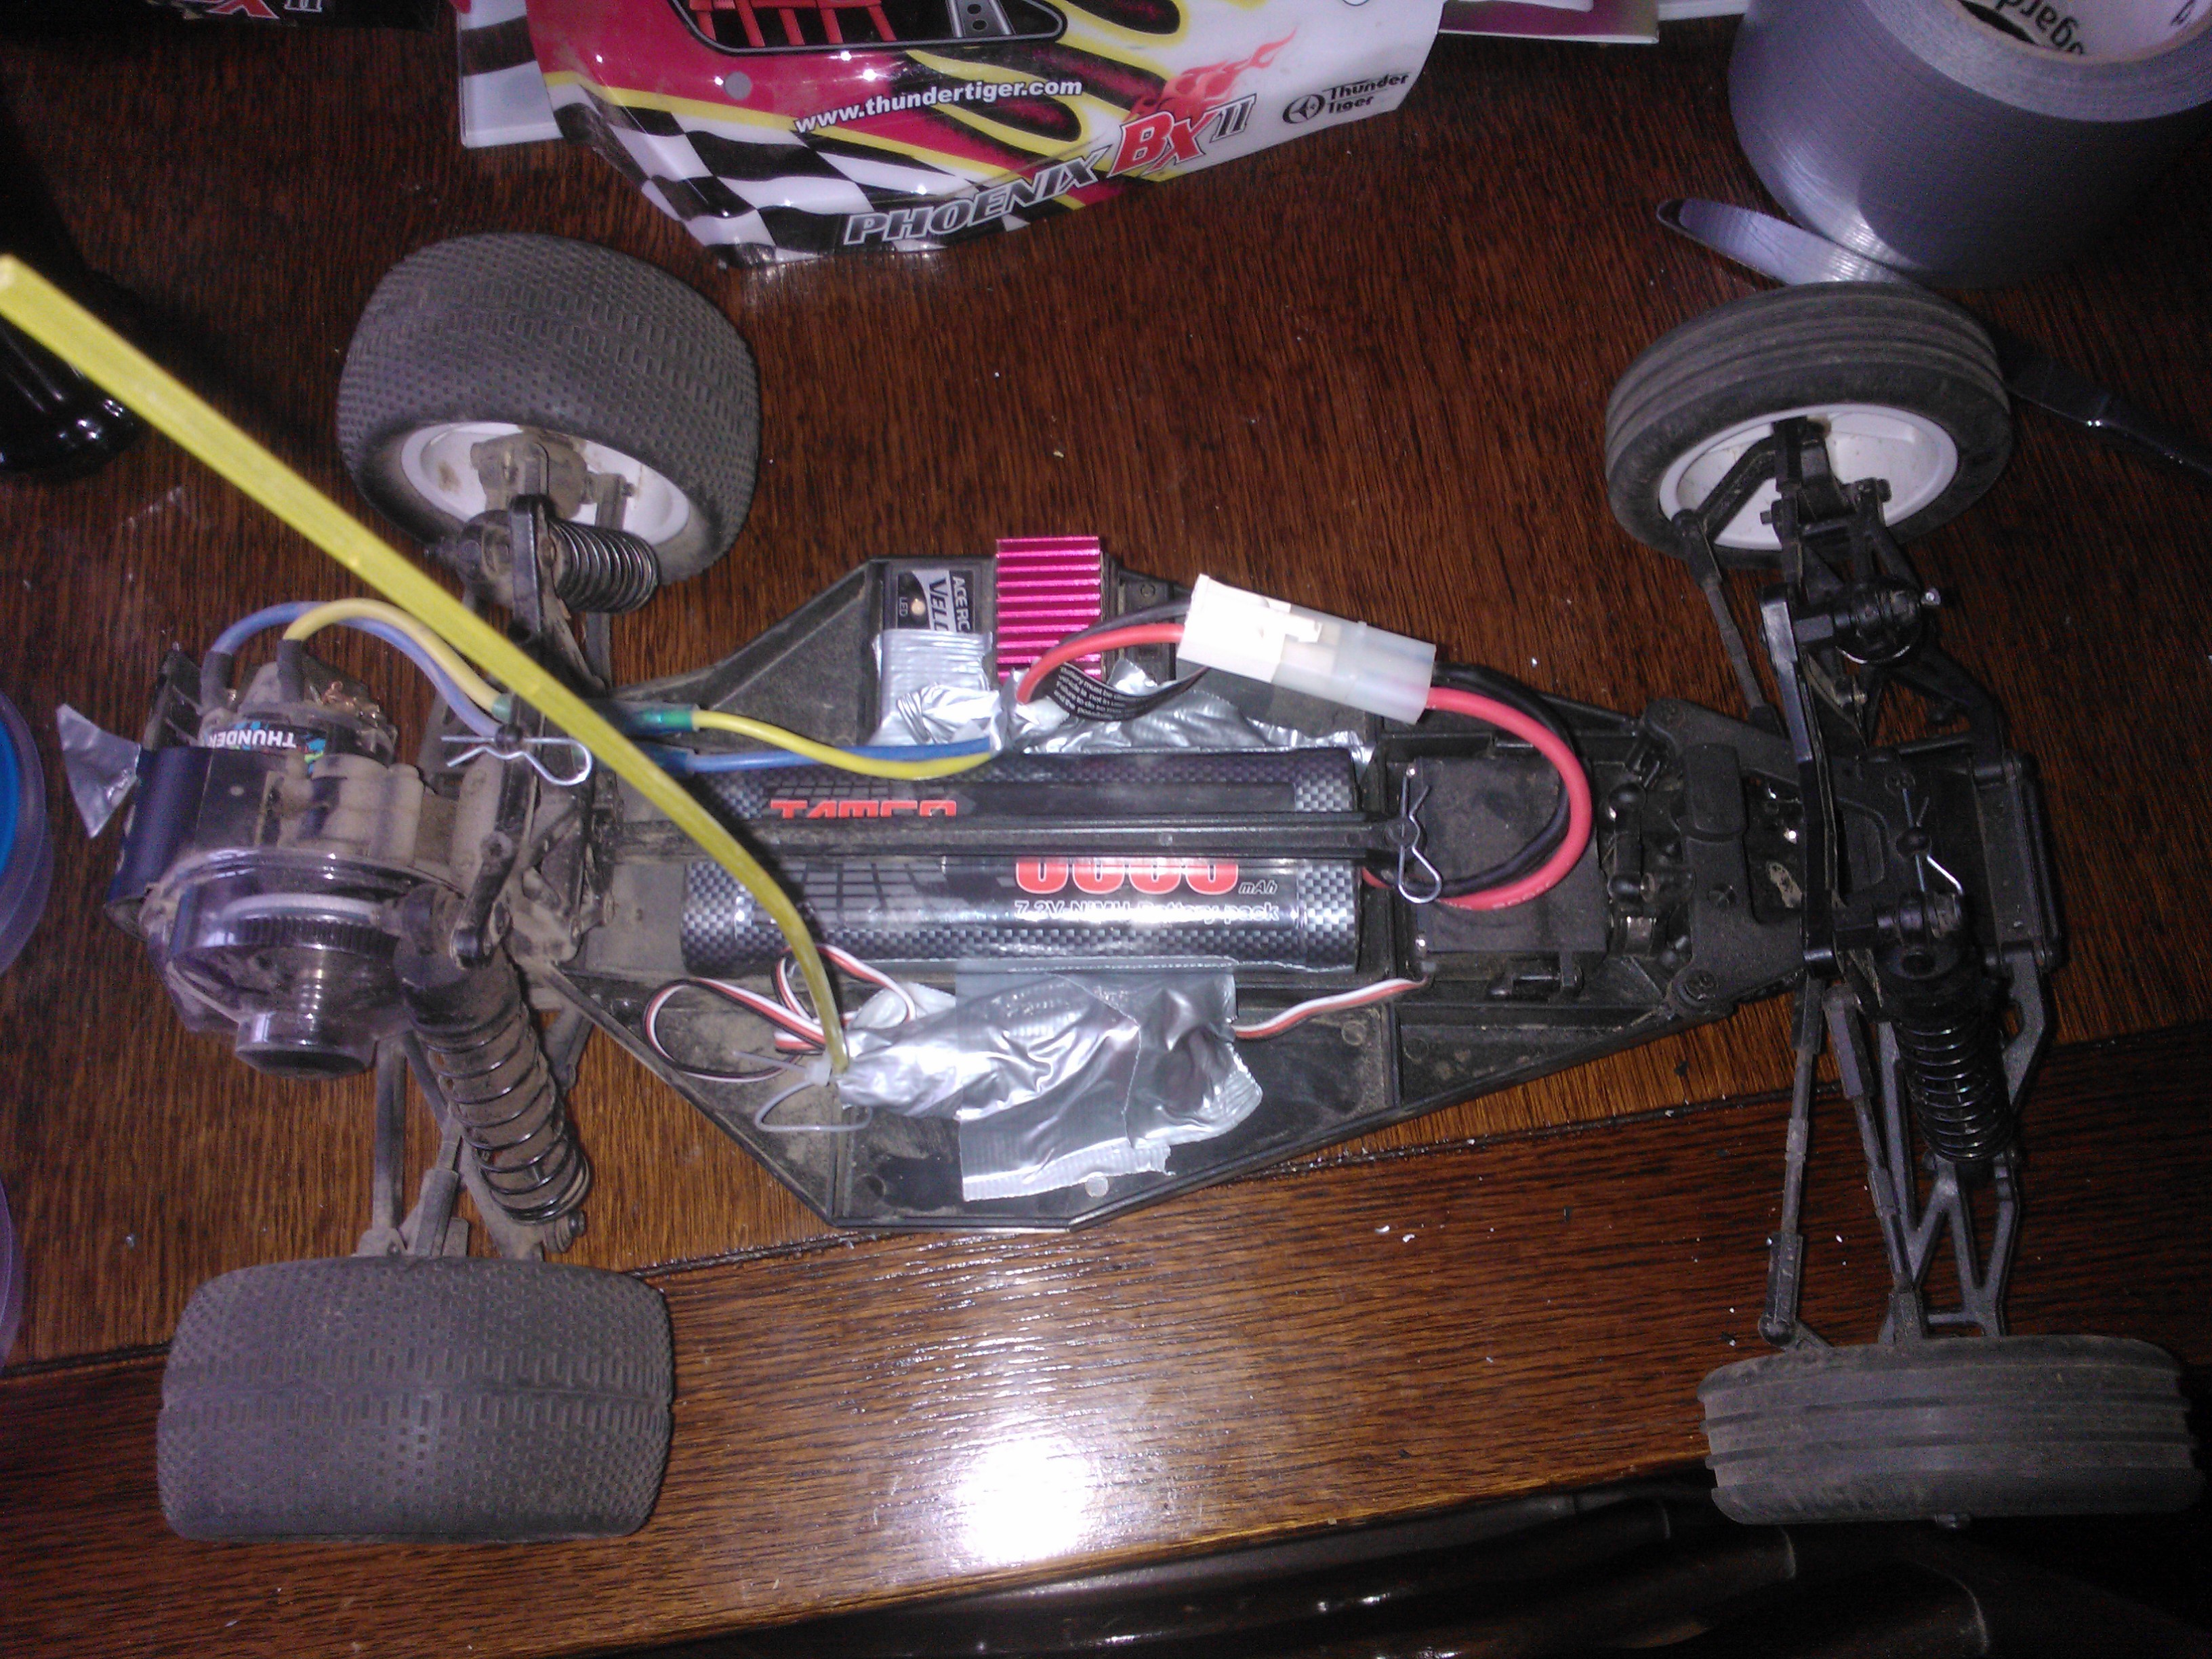
This section of build brings the engine closer to completion.

rb7engineclutch

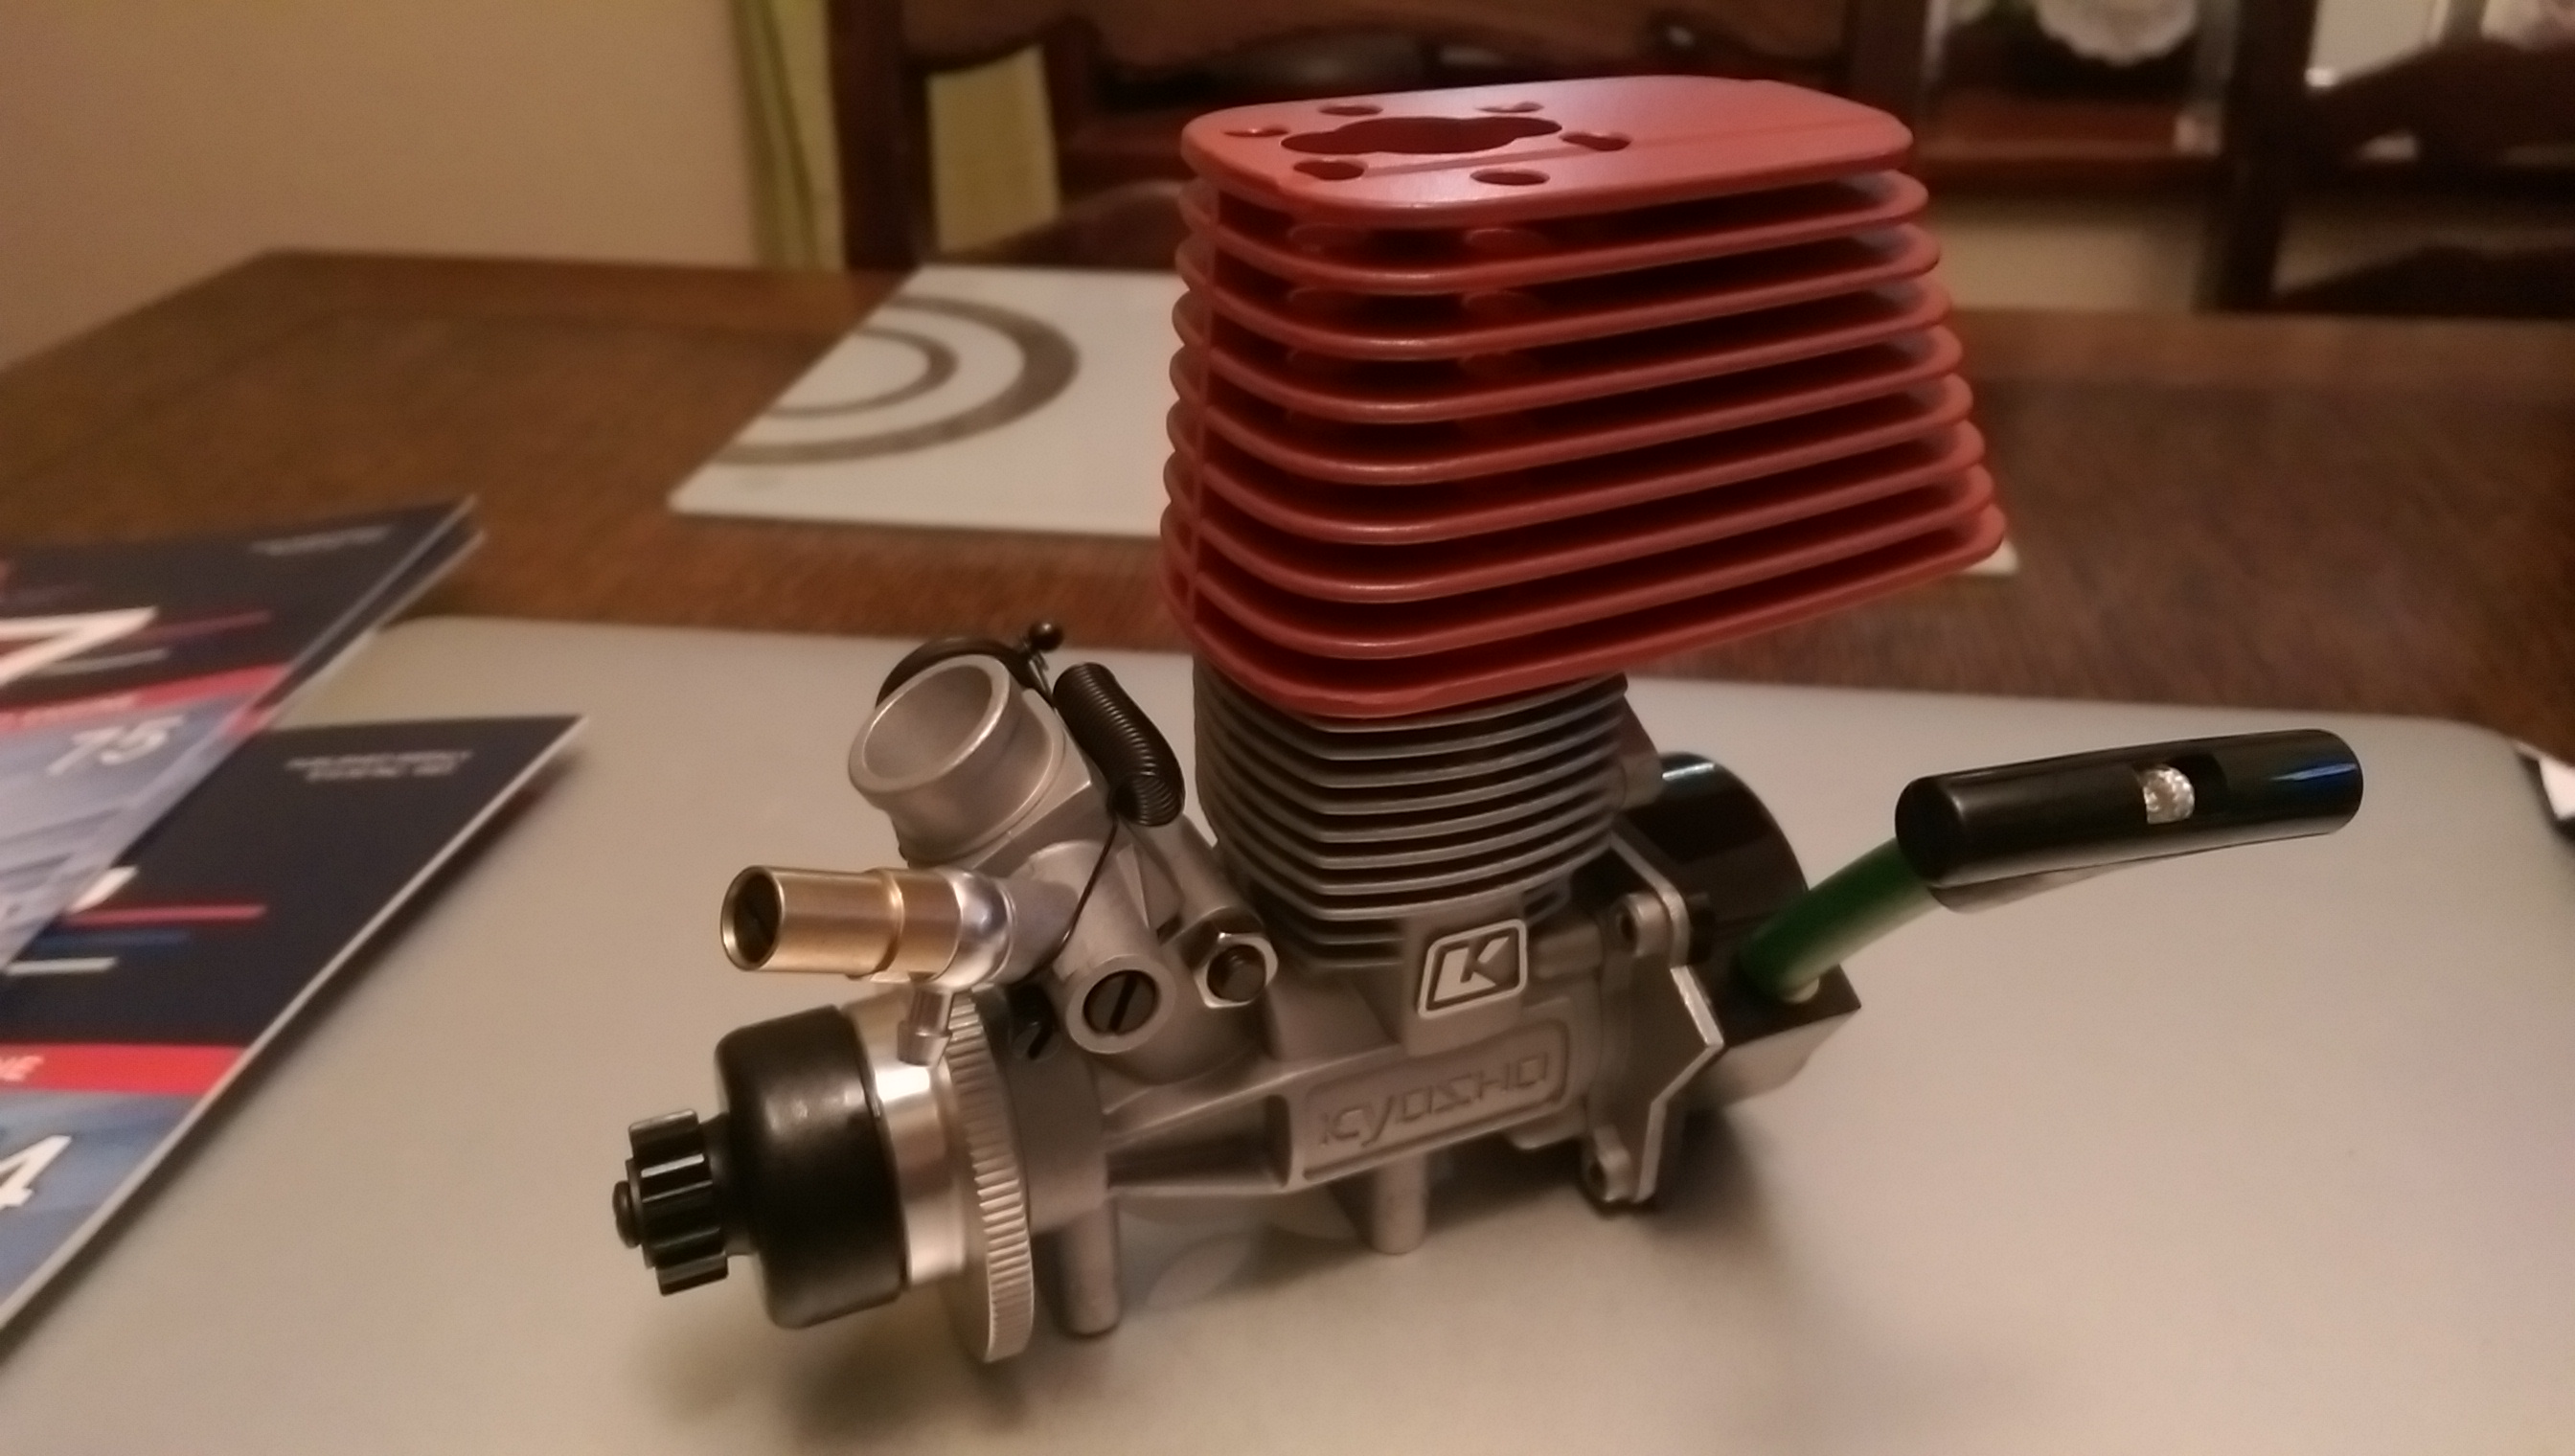
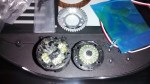
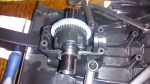
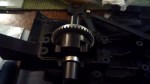
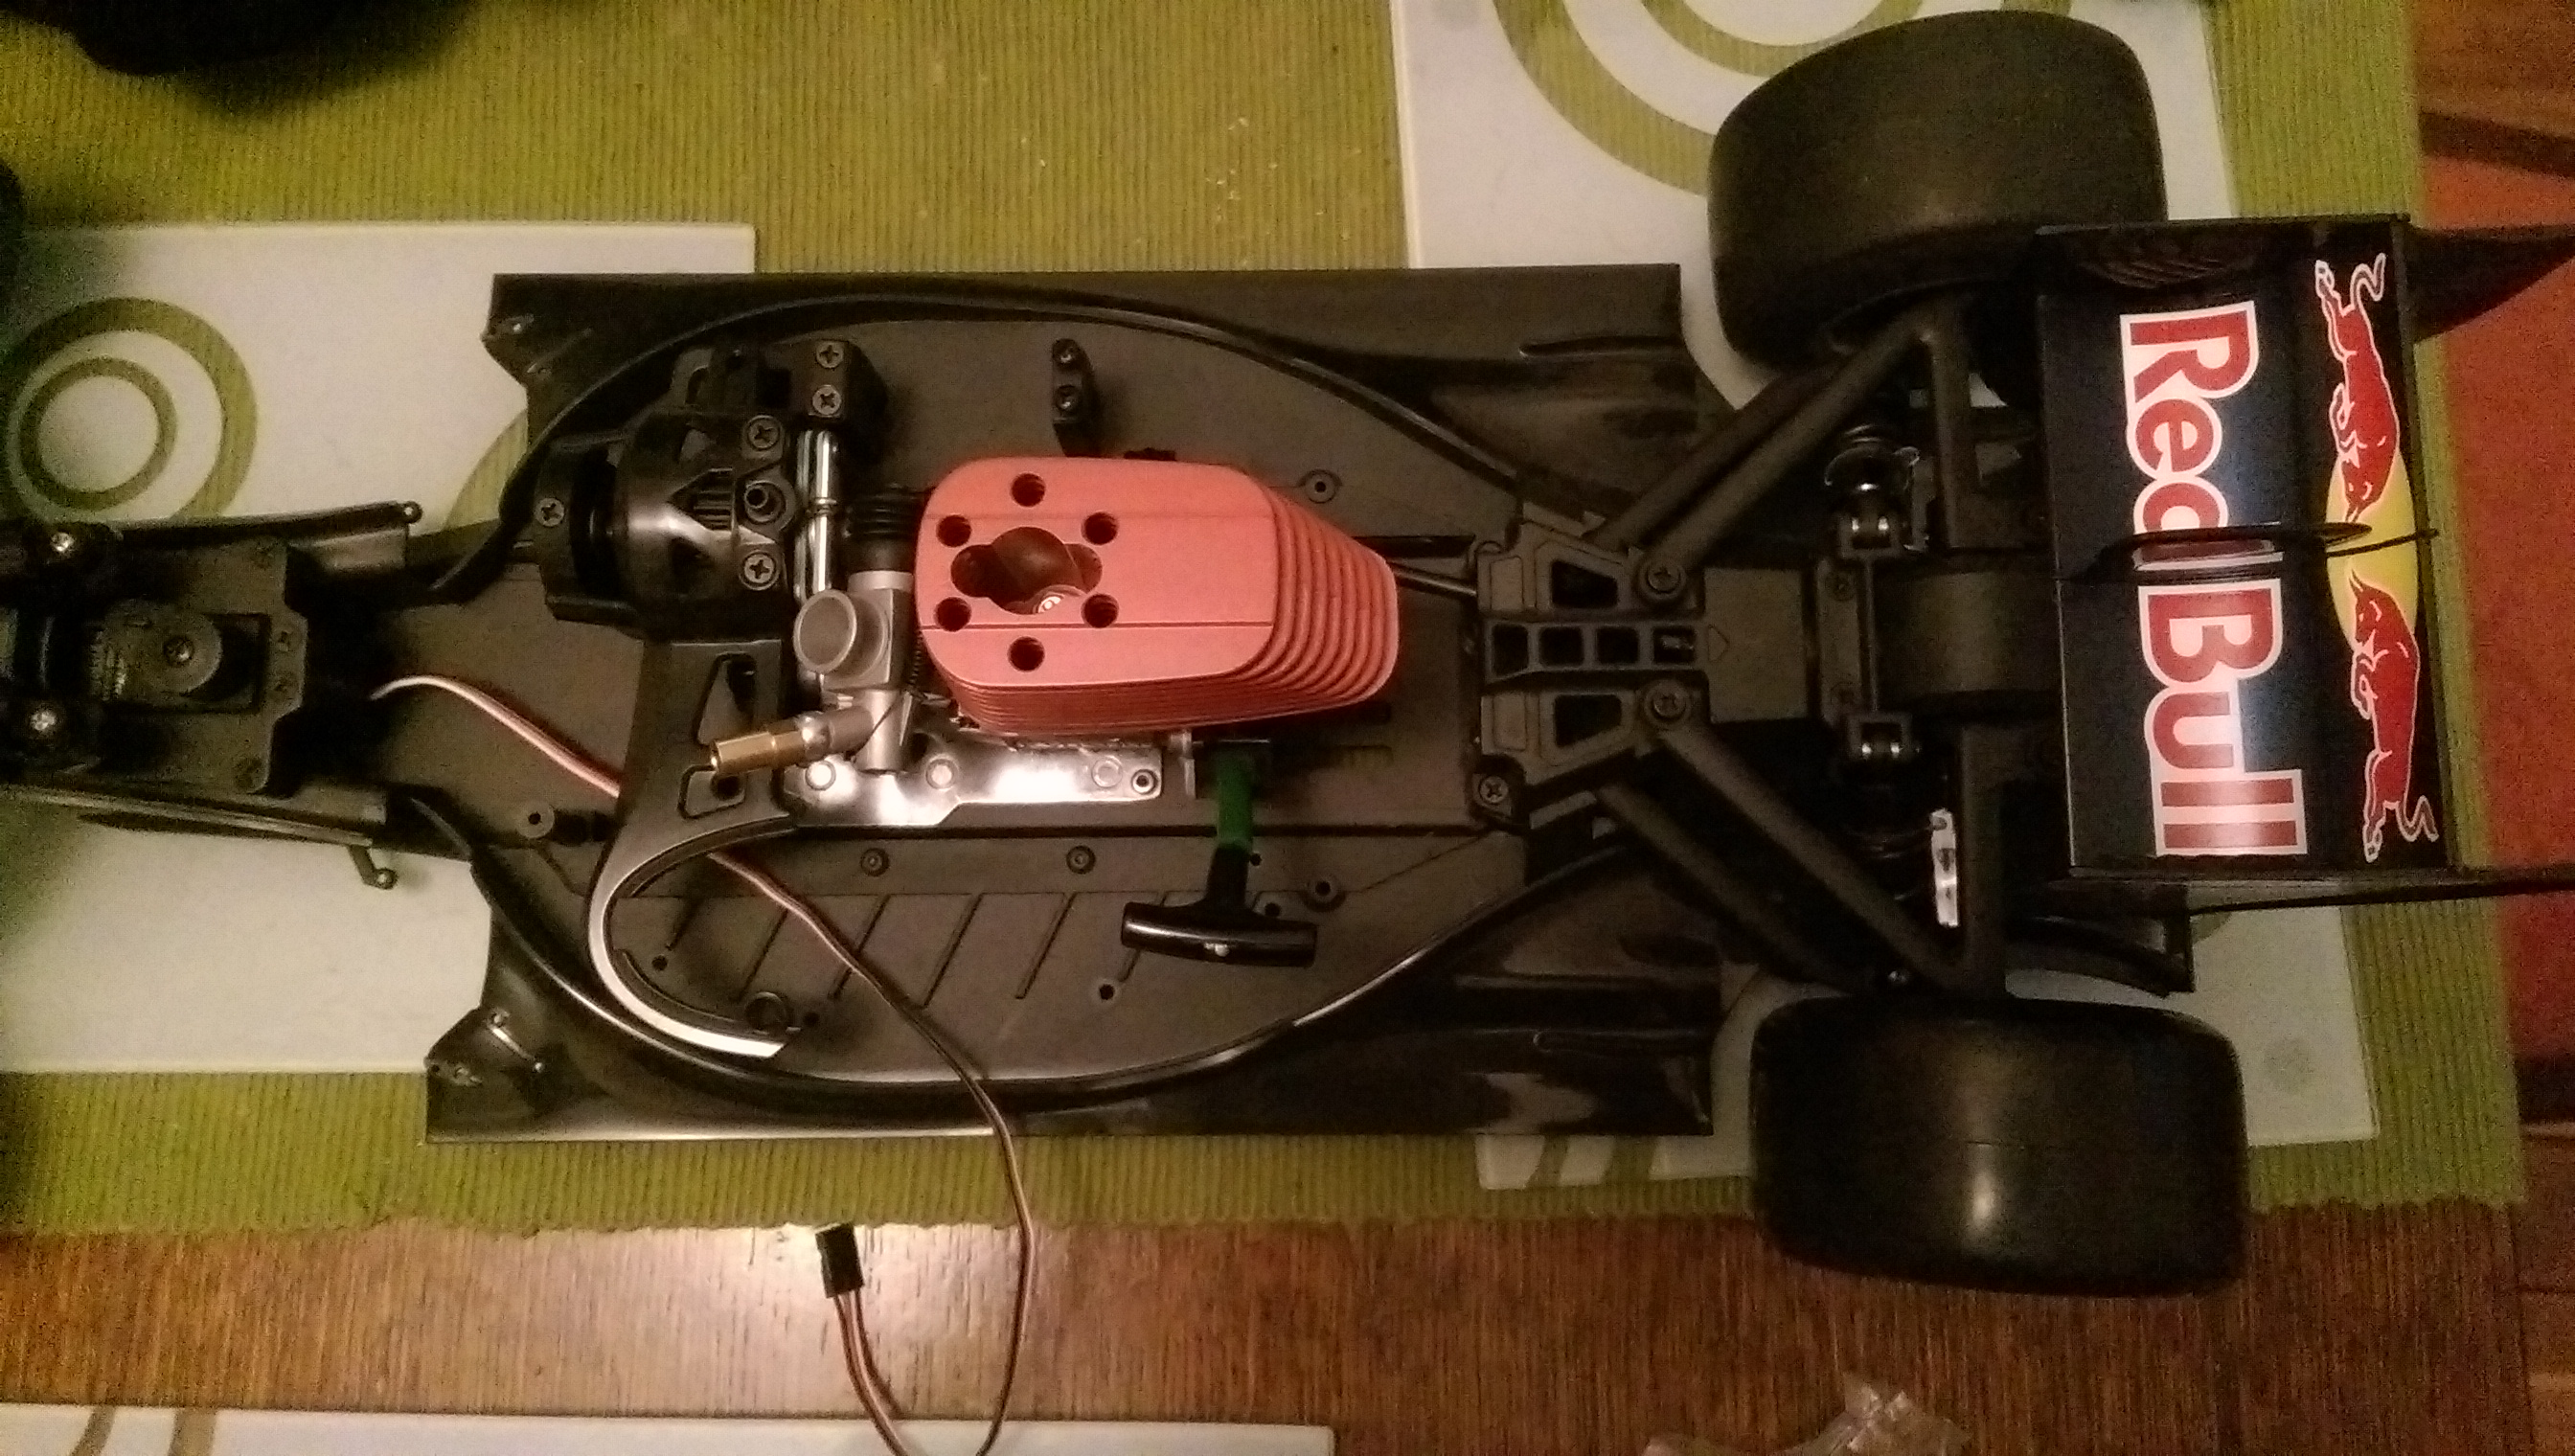
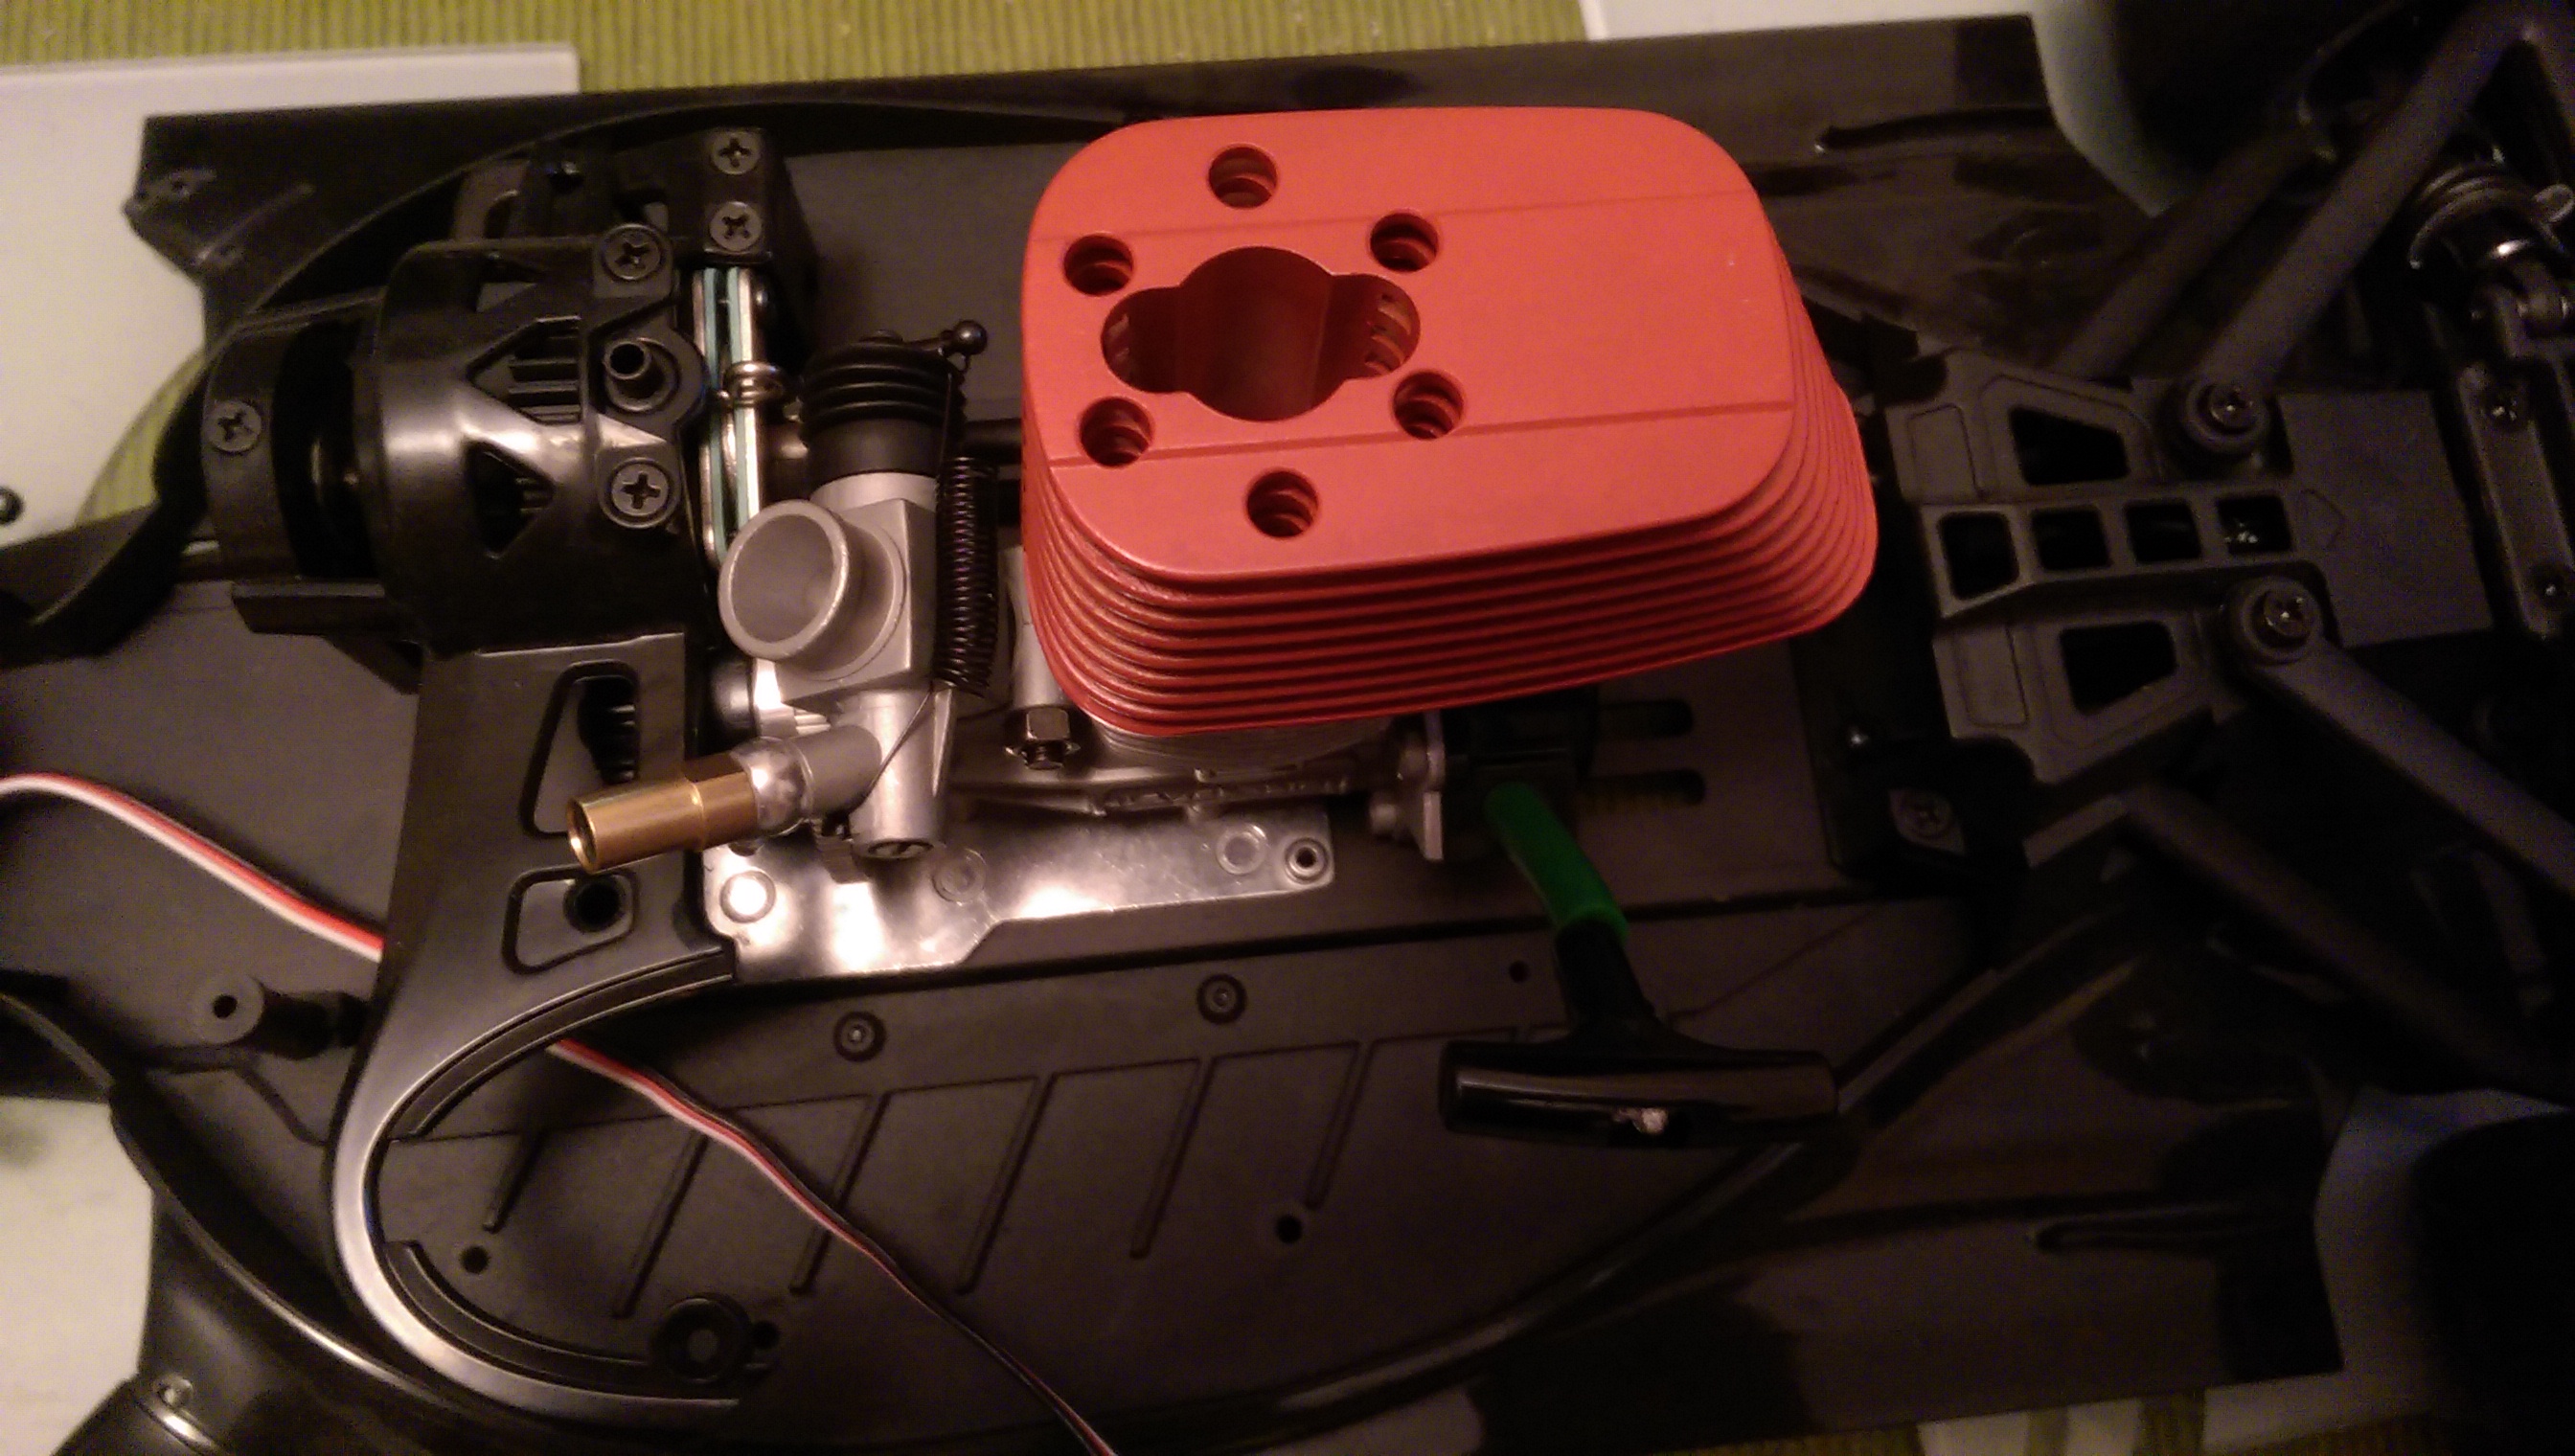
Here I have added the flywheel and clutch to the engine. The engine now has clutch bell with gear enabling it to mesh the the main gear on the chassis.

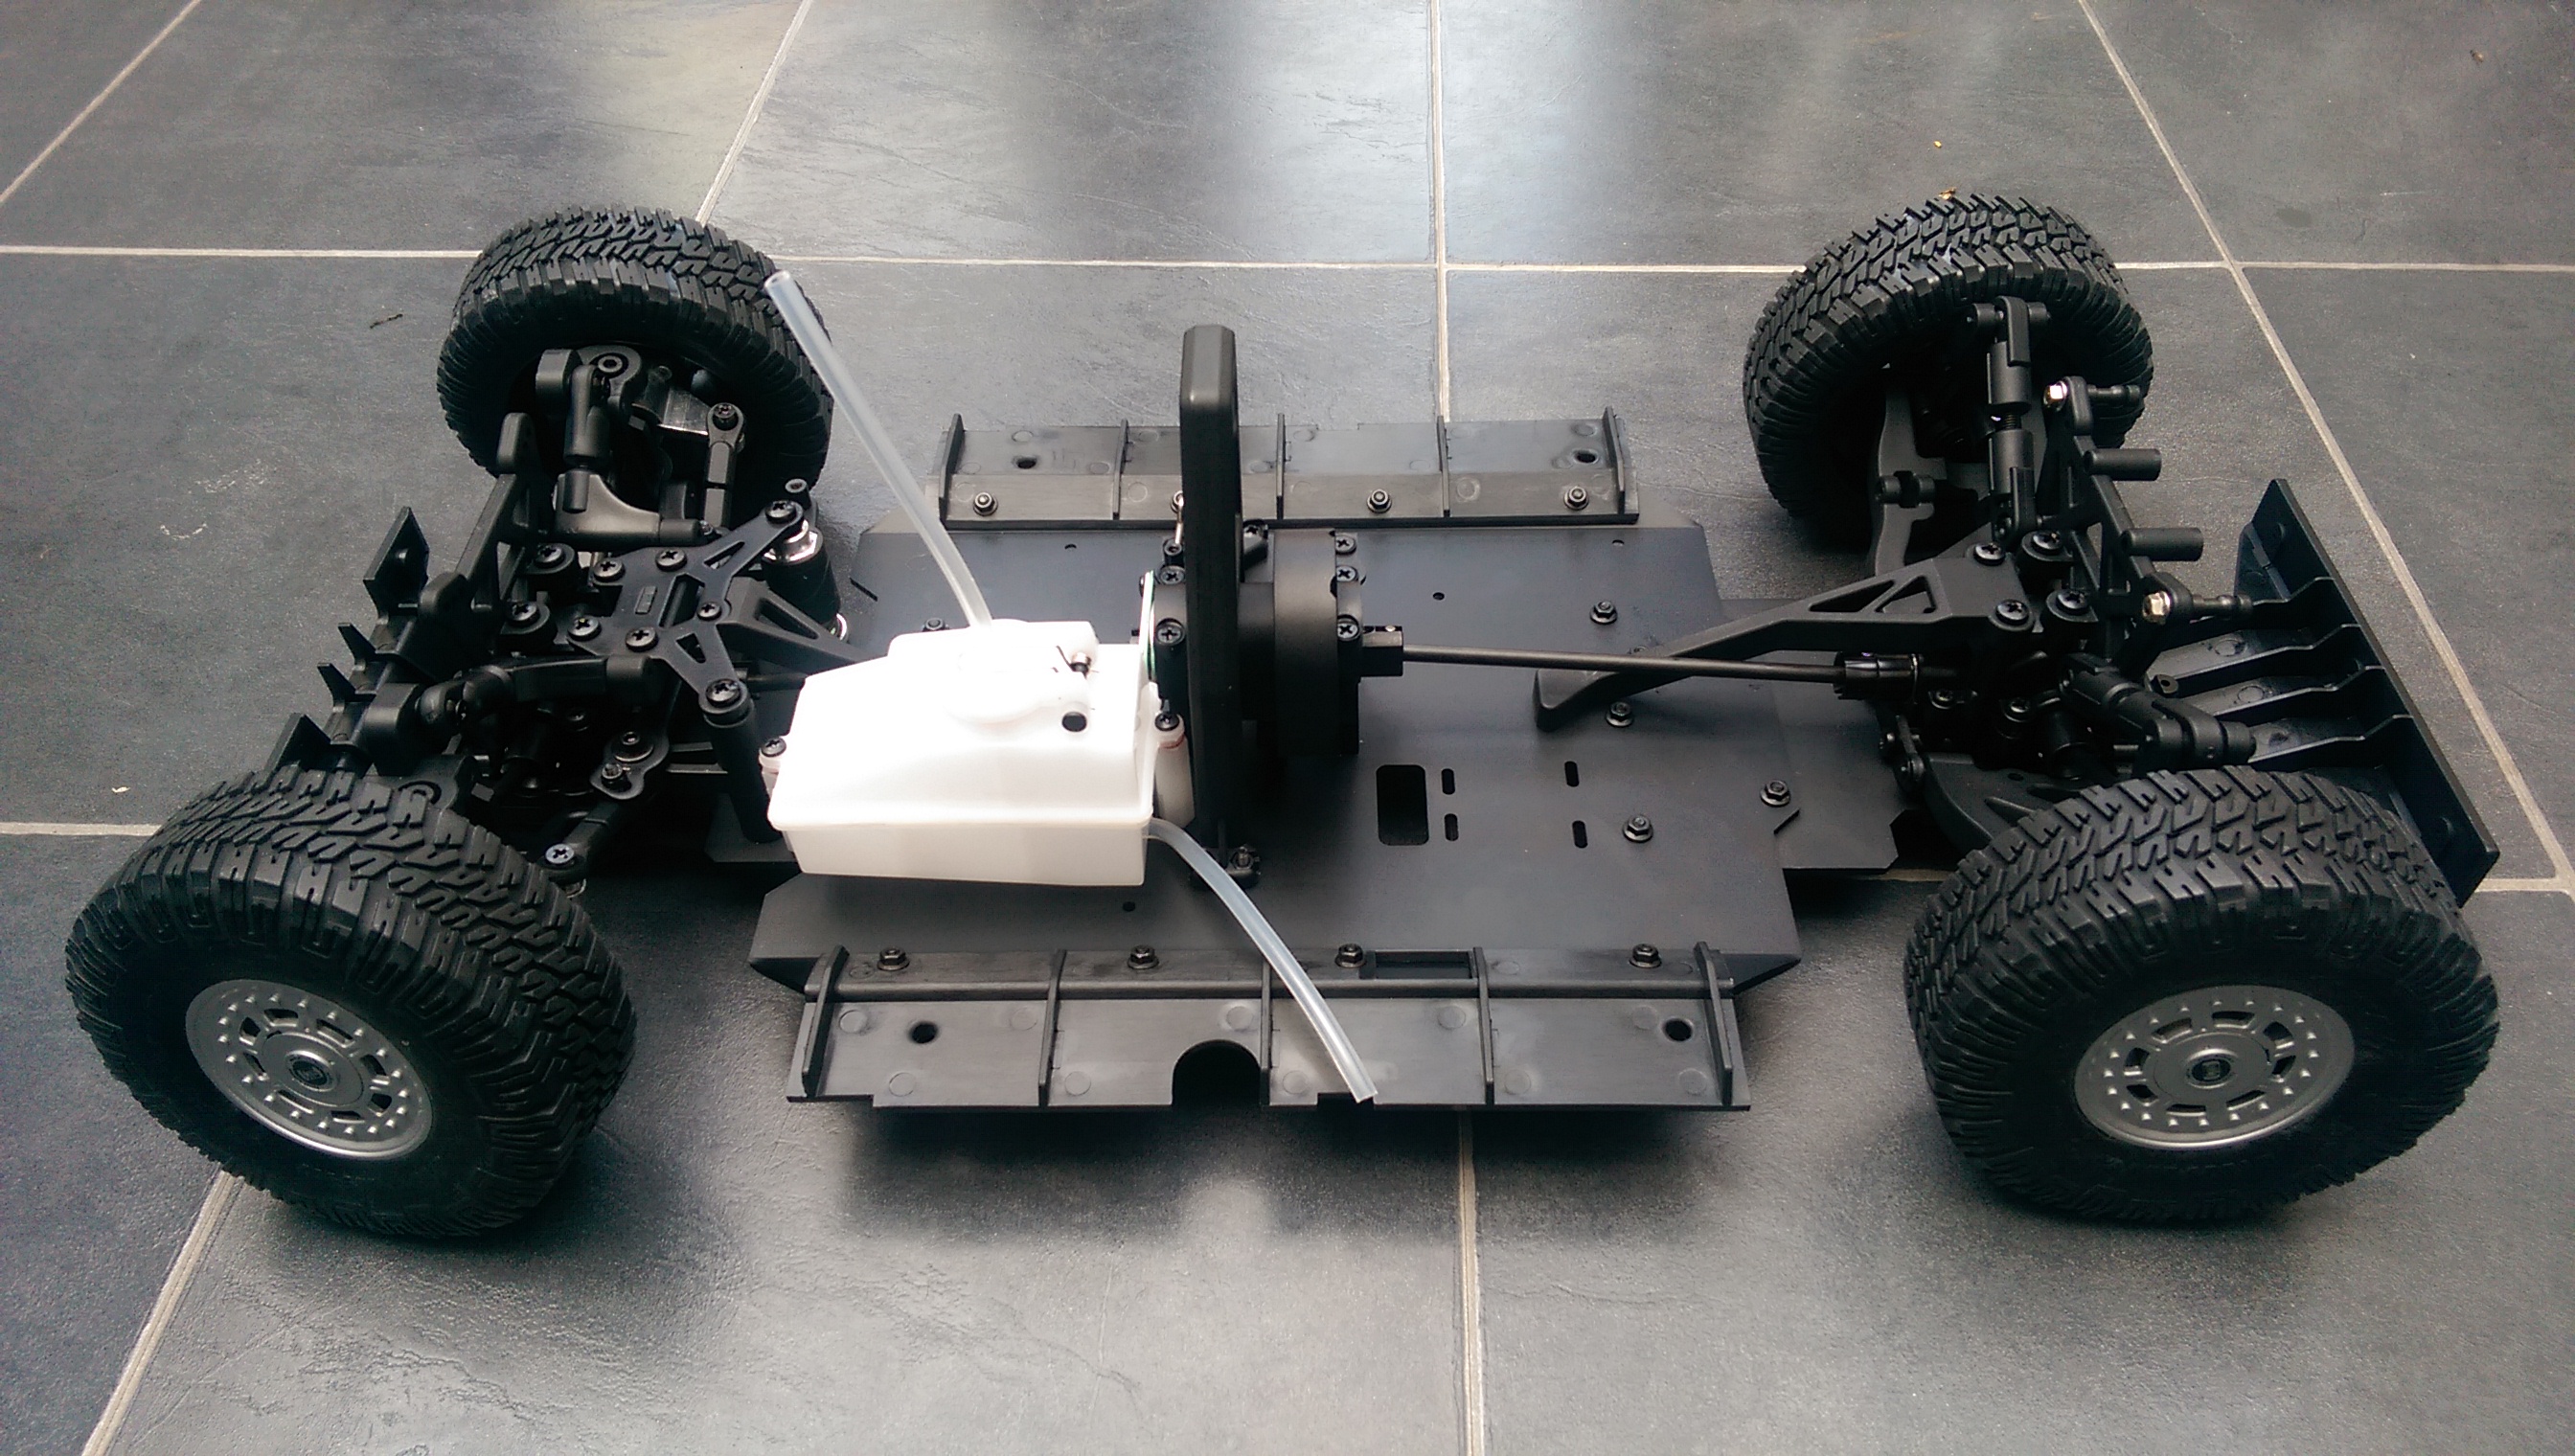
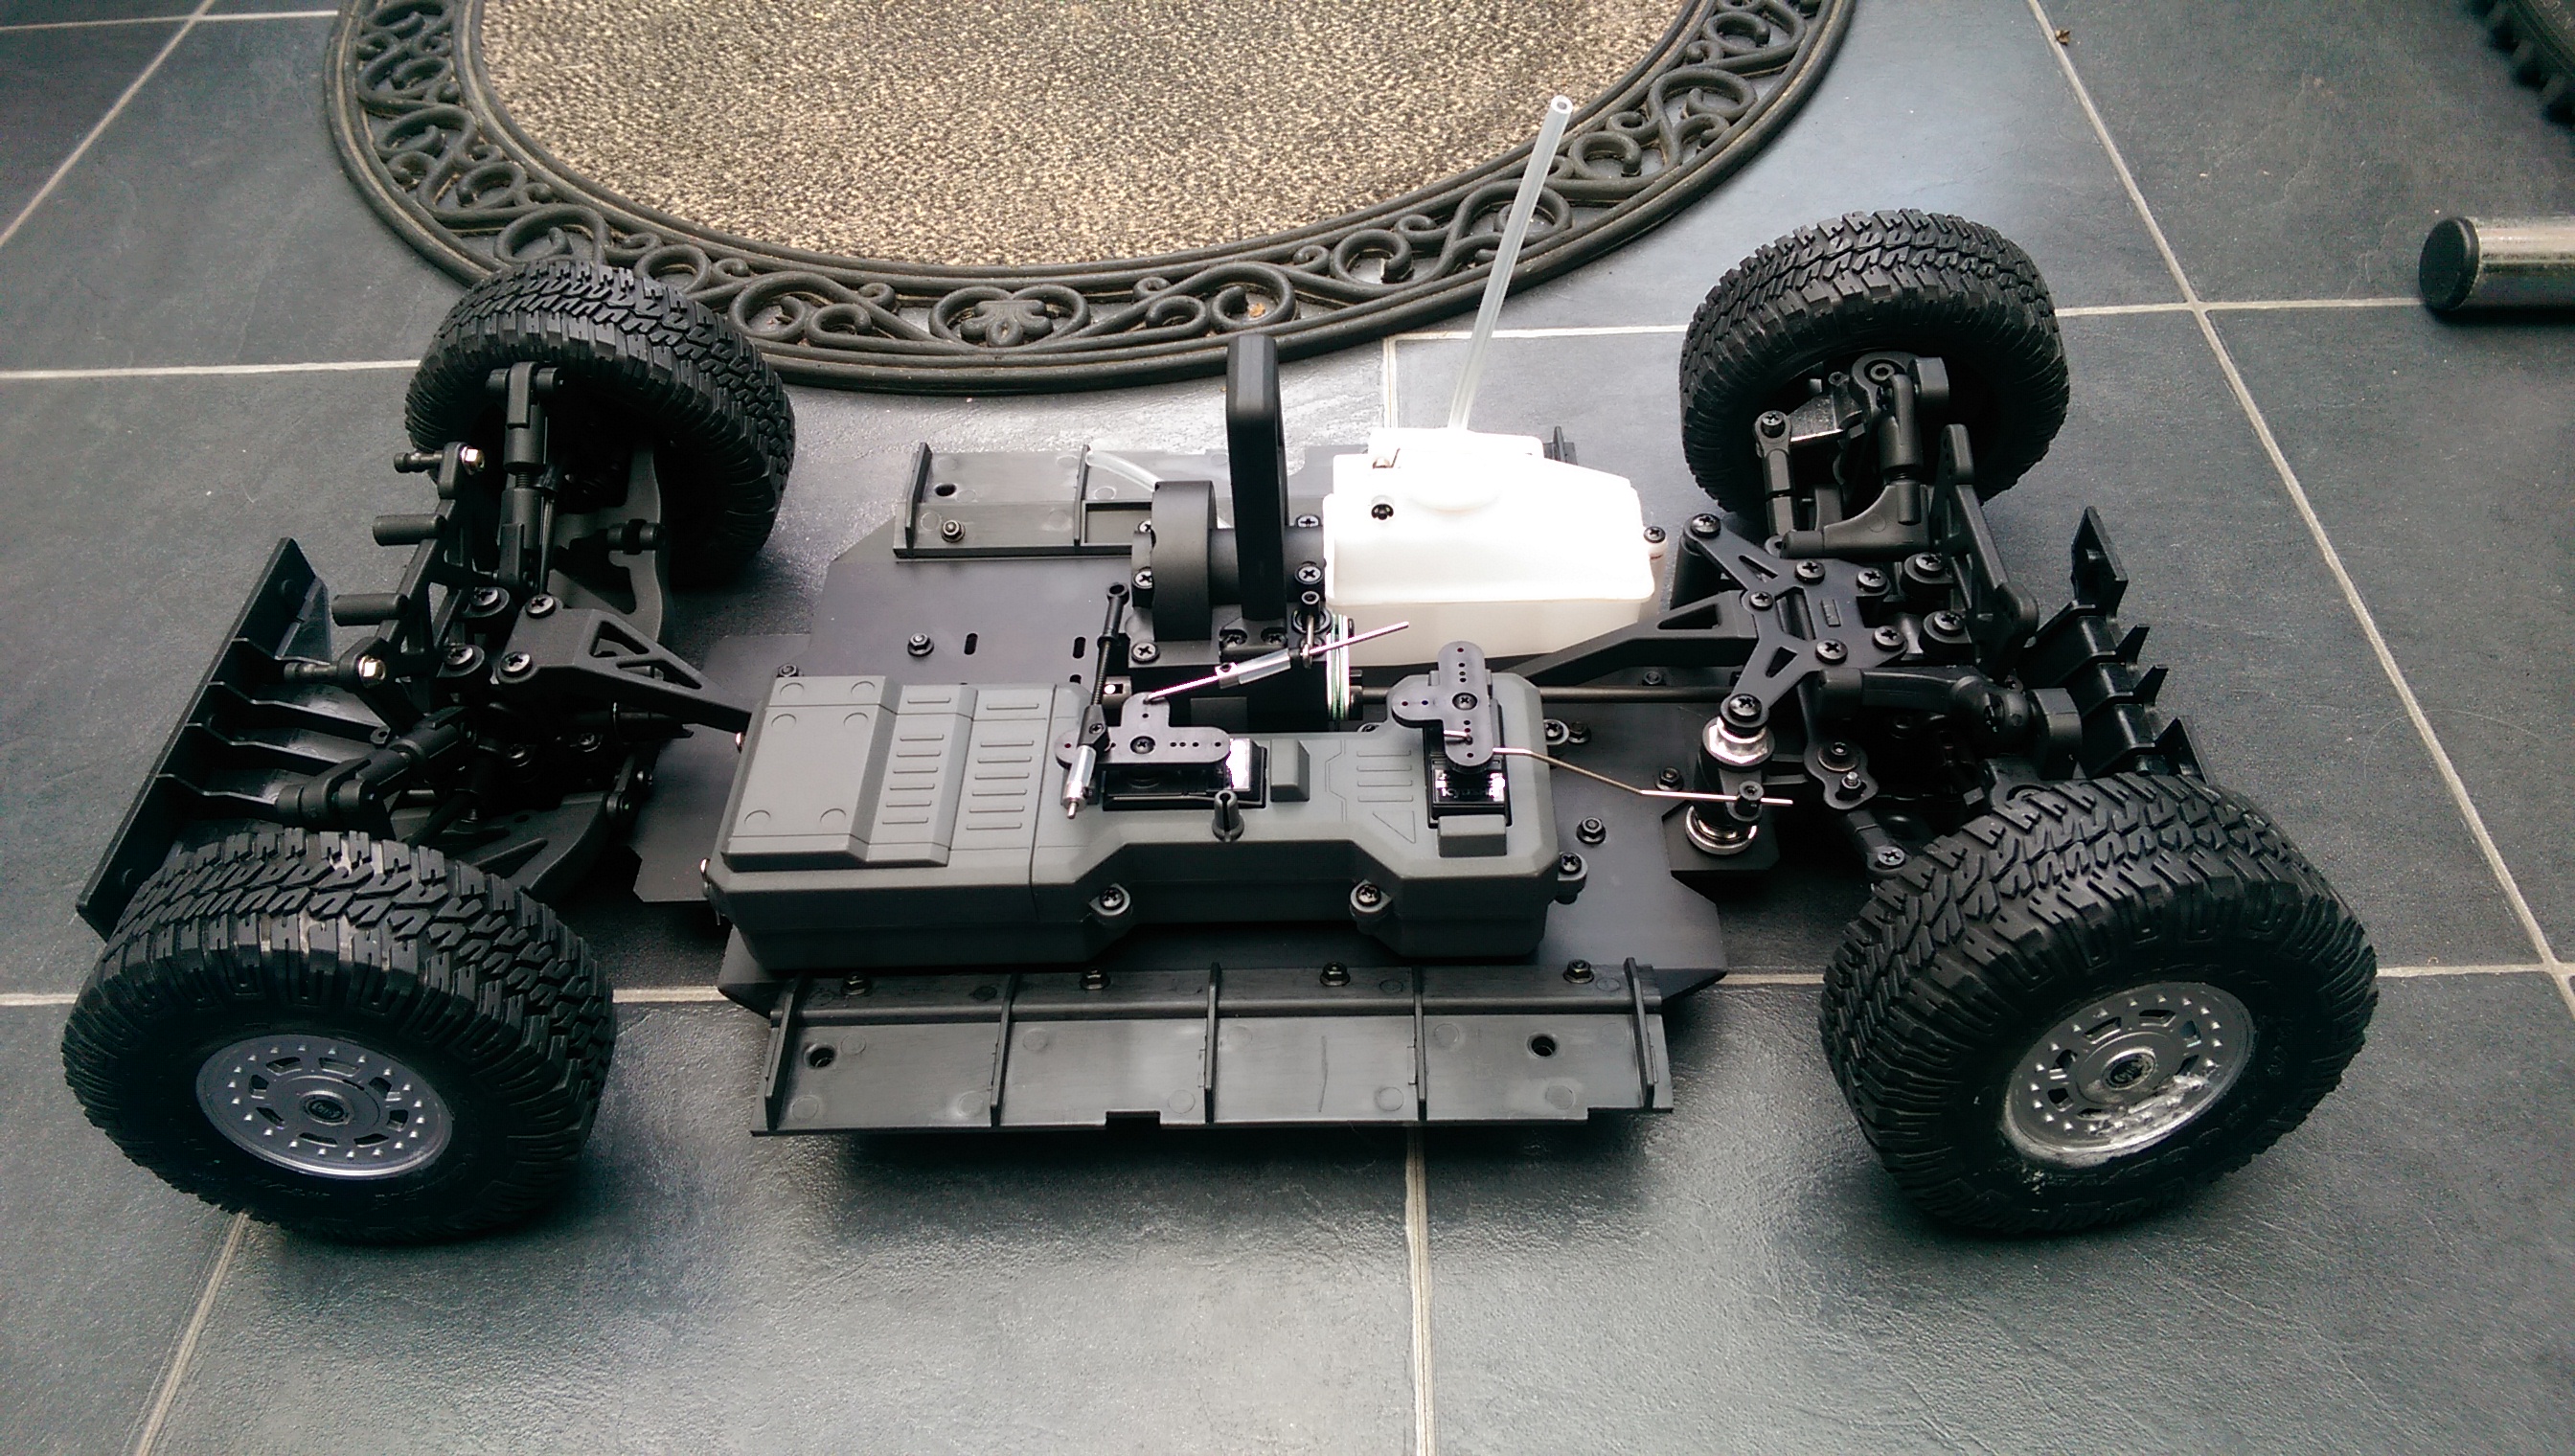
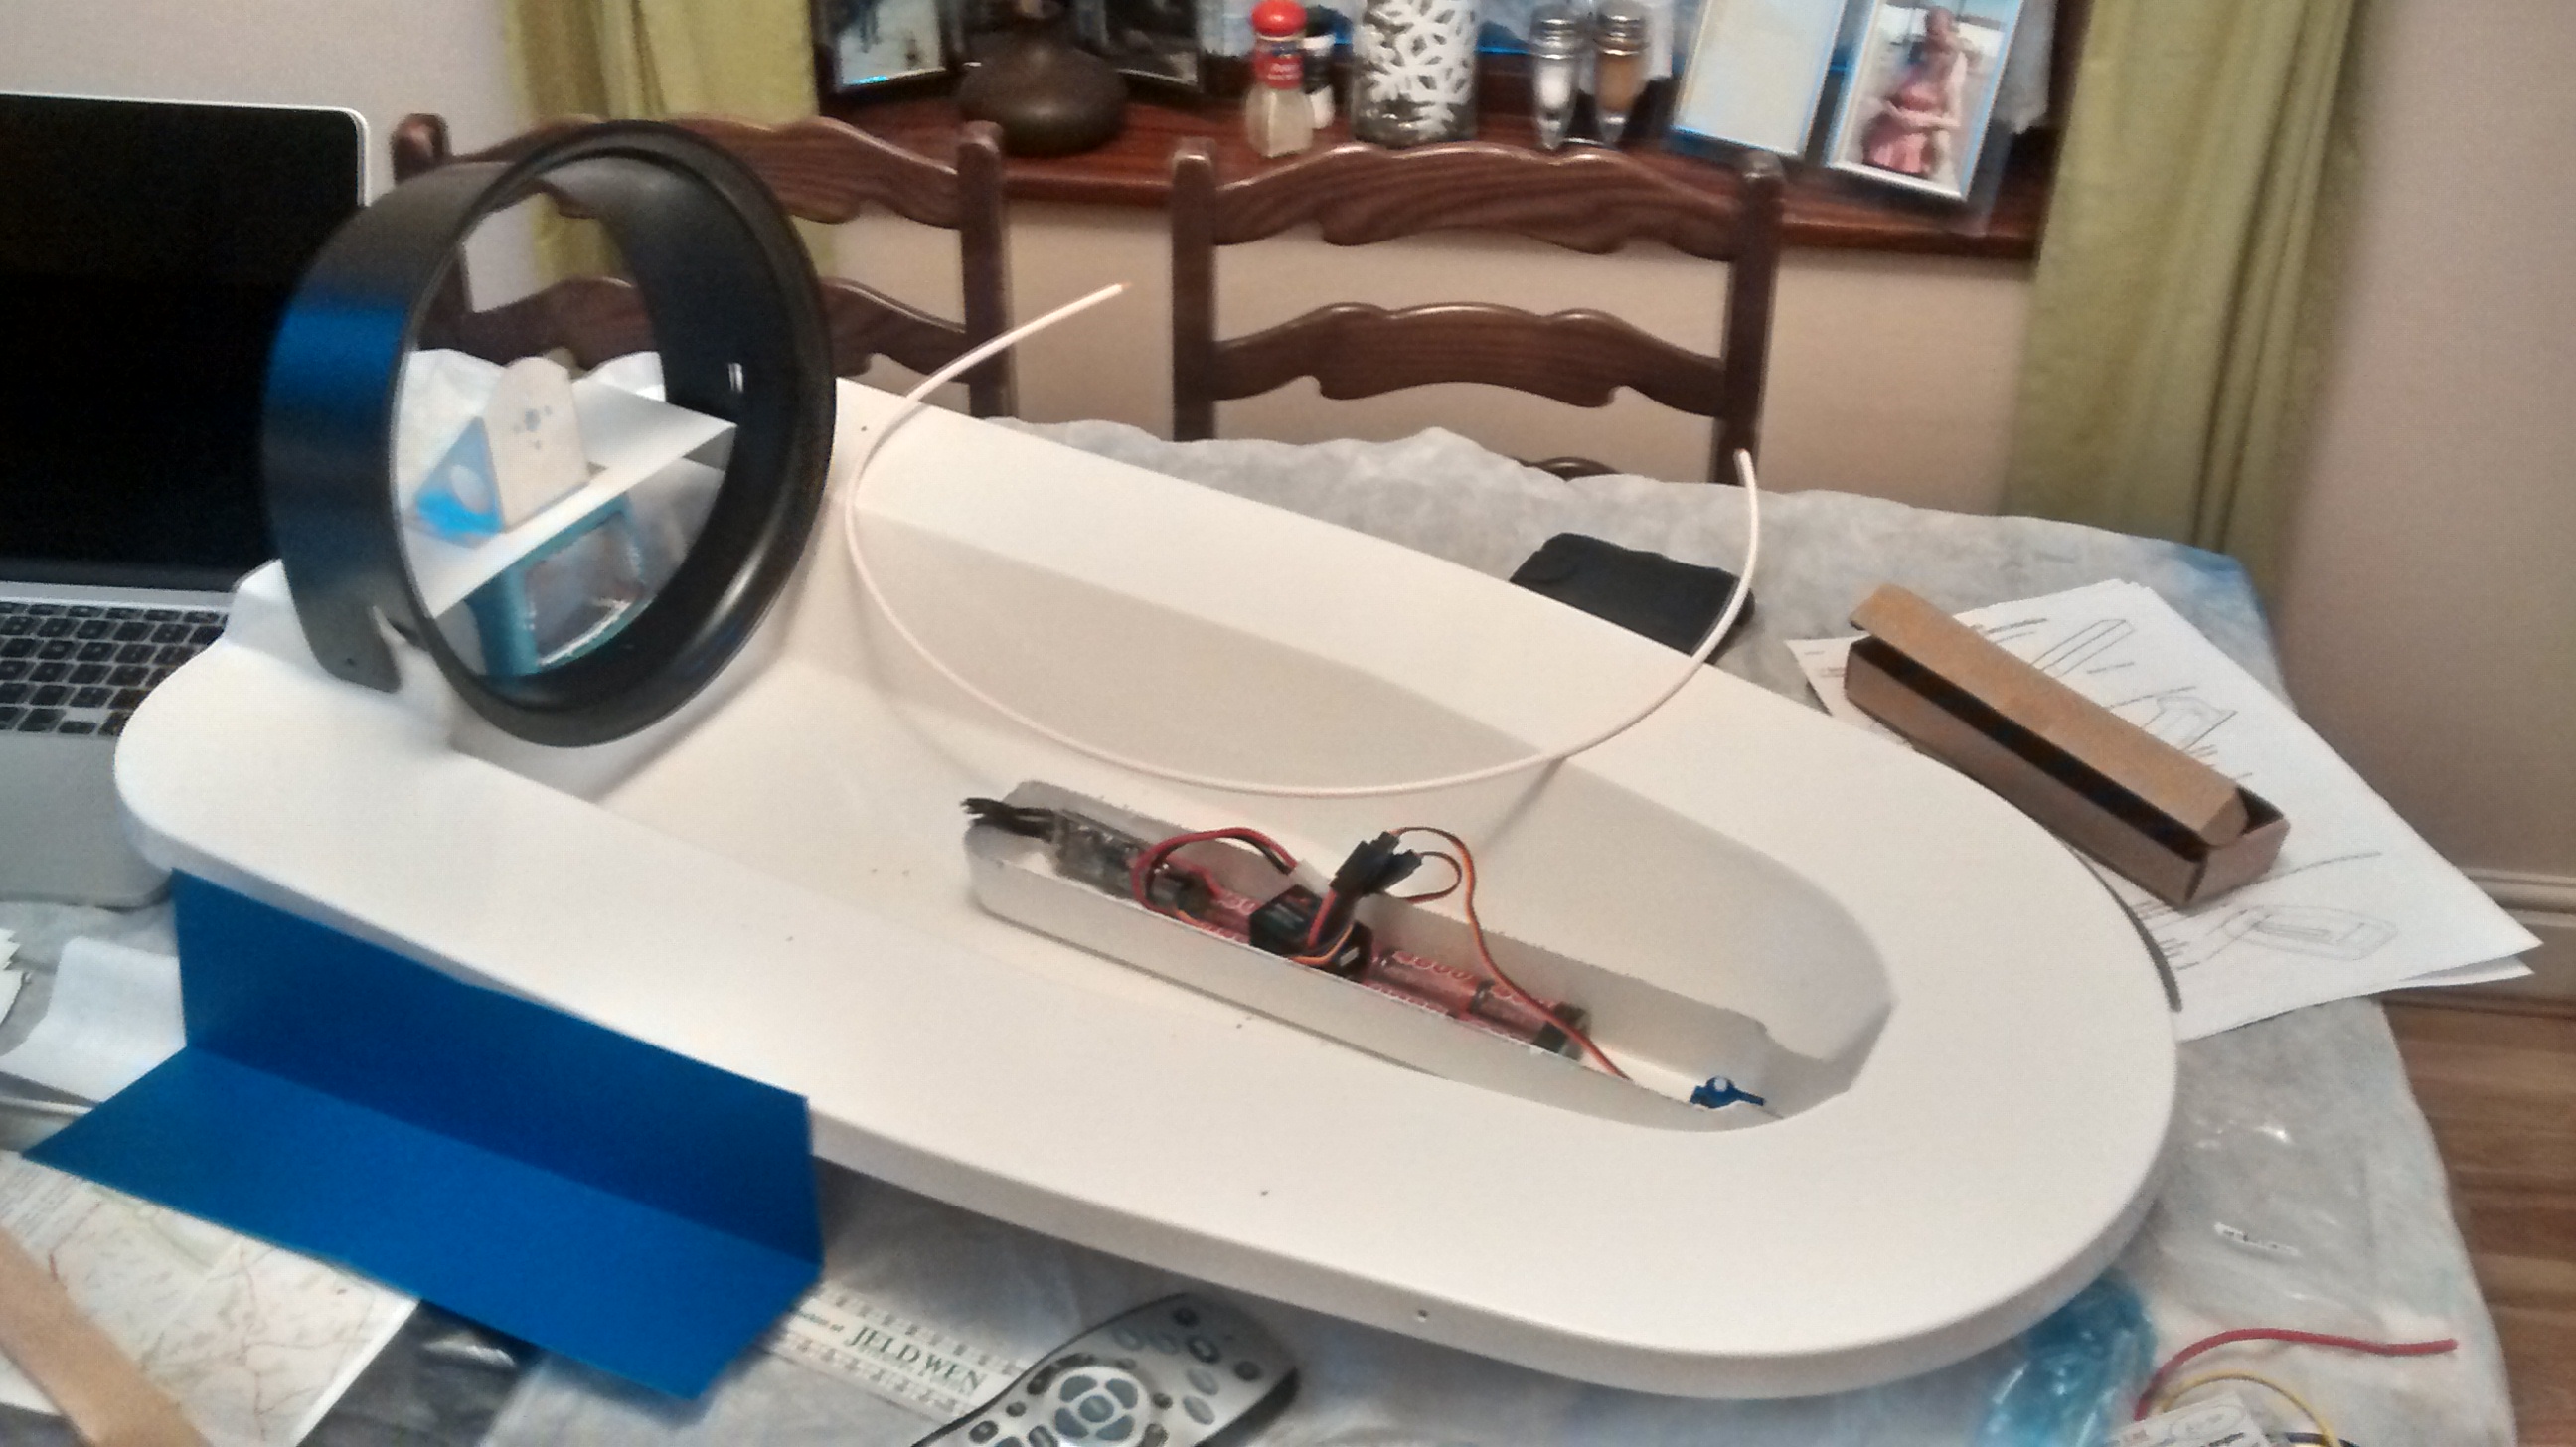
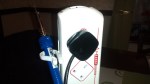
Below are some photos of what the engine will look like when its attached to the chassis.

rb7enginetopfar rb7enginetop

In the next collection of parts I will get the exhaust and manifold, enabling me to fit the engine onto the chassis.

Red Bull 7 Progress

IMAG0458In this section of the Red Bull  build I have almost finished building the engine, its nearly ready to be fitted to the chassis.

IMAG0466

The final tyre has also been added to the car. This is great because I finally have all four wheels on the model but annoying because it has now out grown its old living space.

IMAG0464

With this 1:7 model and the 1:8 Hummer I am building its getting hard to find space to store these models.

IMAG0462


Hummer H1 Build Progress

IMAG0108

First up in this section is the gearbox.

IMAG0109

The brake disc and pads are added to the gearbox.

The pin at the top will be attached to the throttle servo later which will apply the brakes when the throttle is released.

IMAG0111

The gearbox is added to the chassis connecting to the the front and rear drives.

I have also added the fuel tank which is simply held in with two screws.

These are not fully screwed in to make sure the fuel tank can rock slightly.

IMAG0295

The electronics box is now added. This houses the battery box, steering servo and throttle servo.

The steering servo is connected to the steering rod.

IMAG0298

Here you can see how the throttle servo also connects to the brake pin allowing it to both control the flow of fuel into the engine carb (when fitted) and the brakes.


Red Bull 7 Engine Progress

IMAG0338

In this post I start to build the engine for my Kyosho Red Bull 7 Formula One car.

IMAG0311

The first part of the engine to add to the crankcase is the crankshaft. This is first given a thin layer of after run oil and then slid into the crankcase.

IMAG0316

I used HPI after run oil which I already had from maintaining my other models. Continue reading Red Bull 7 Engine Progress

Hummer H1 Body

I finally got started on my 1:8 Kyosho Hummer H1 Subscription.

IMG_20140505_174039482

At the moment I have ignored that actual components of the car itself and worked on the body.

IMG_20140316_143547518

Making the side frames

IMG_20140316_152000047

Pegs are useful for holding the part in place whilst the plastic cement sets.


IMG_20140316_160432110

The frame is now ready for the panels to be attached.

IMG_20140320_213401866

Panels attached and ready for painting.

IMG_20140323_152559515

I started by spraying some mist coats

IMG_20140323_154743841


I decided to paint the Hummer the classic yellow they are often seen in.

IMG_20140505_174052280

Side view


E Gemini Hovercraft Progress

I have started working on my E Gemini hovercraft.

Deciding where things should go

Most of the plastic pieces have been trimmed and the electronics tray has been mounted into the hull with silicon.

I have soldered the my connectors for the esc and battery pack replacing the Tamiya connector on the battery with a deans one.

I chose to use a specktrum receiver in the hovercraft as it means I can use the same transmitter as I use on my cars. I have tested the electronics and everything is working perfectly.

Next I need to trim down the lower hull and start working on the rear of the craft.

Red Bull 7 Progress (up to Issue 44)

I have caught up with my RB7 subscription and built everything up to issue 44.

I decided to put aside recent issues until I had enough to finish and cover the differential instead of having to leave half finished bits on the side.

In this session I built and fitted the rear differential, differential housing and the rear suspension arms.

Greasing the differential gears

Low Voltage protection for Models Without it on their ESC’S

For the first time recently I ended up with an Electronic Speed Controller that did not have built in Low Voltage Protection but did support LIPO batteries. You should never let a LIPO battery drop below 3V (You should get rid of it if it does.)

WP_000423

As the esc did not have LVP and independent solution was needed. After a little research I found these usually come as a little circuit board with an led screen that connects to the balance charger on a LIPO battery.

A LIPO battery generally has two connectors. One to connect to your model and one to charge the battery and balance the battery cells. The charge connector is not needed when the battery is in your model so you can leave a low voltage protection unit attached to it.

WP_000416

I managed to buy some units off ebay that work perfectly and only cost a few pounds each.

WP_000422

The units are simple enough. You give them a voltage you want them to warn you at and they will buzz when they drop down to it. They work well and I have never had any trouble hearing the buzzer.

Here is a video of them in action. The display even cycles through the voltage of each cell

Water-Proofing My Buggy For Sundays Rain

WP_000341

I wrapped my receiver up in a party balloon and taped it and the Electronic Speed Controller up for use in the rain on Sunday. This worked fine but unfortunately did not stop me burning out my motor. This the first time I had a motor smoke and burn out on me and it was not that old.