Last year I built the Pimoroni Pirate Radio which I have been listening to whilst building stuff ever since. The board the powers the audio on the radio supports two speakers but the radio as standard only has one.
Pimoroni recently released an additional matching speaker that can be attached to the other channel on the radio. It was reasonably priced so I decided to pick it up and upgrade my radio to stereo. Continue reading Stereo Pirate Radio
Its been a fair while since I have posted anything here. This is largely because of a change of tactic when it comes to building things.
I came to the conclusion that the subscription based models did not represent good value for money and the level of support received considering the cost was very poor. There was also the problem of a long drawn out build due to the subscription model that was also exacerbated by delays and replacement parts being required.
So I started thinking about what I could build for the same price as a single model subscription and realised I could getting much more. This has started with some expert Lego models and Raspberry PI projects.
I have made a fair few things between my last post and now but I am going to start with a little PI project using the brand new PI Zero W. The PI zero is a smaller raspberry PI that is tiny compared to the standard size raspberry PI but not as powerful as the PI 3. The W version which has just been released adds WiFi and Bluetooth. Previously a PI Zero would have required a dongle or pHat* to use these technologies. This adds size to the computer and would require a hub considering it only has a single USB port.
*A pHat is a hat made for the PI zero (An extension board to provide additional functionality).
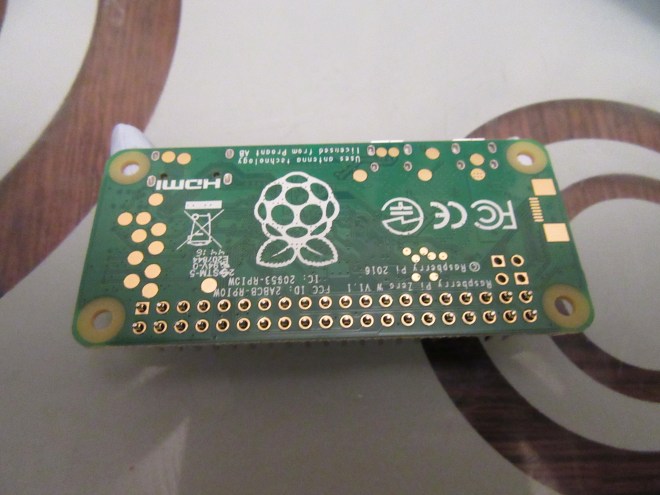
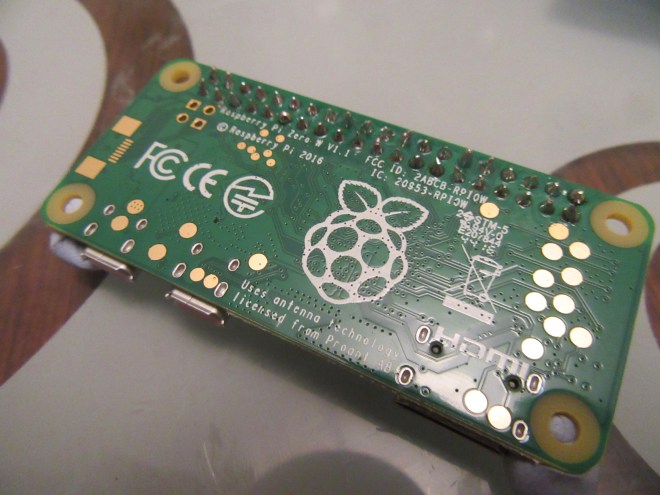
PI Zero W with headers soldered on
The project I am posting today is a fairly small PI project and my most recent one. There are a few I need to post about that I build before this one. This project is the Pimoroni pirate radio kit. The first noticeable thing about this kit compare to previous Pimoroni projects is its packaging. It comes in a nice project box and looks much more like something you would find on a shop shelve.
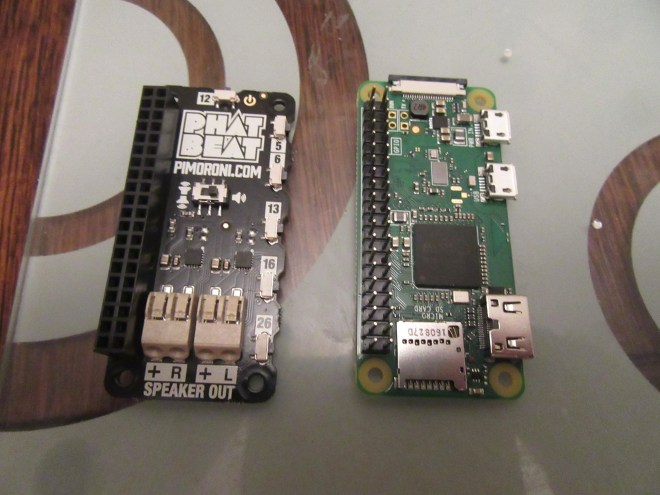
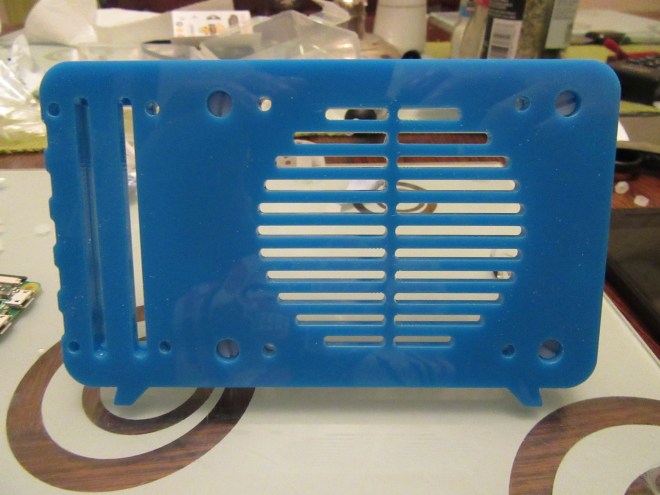
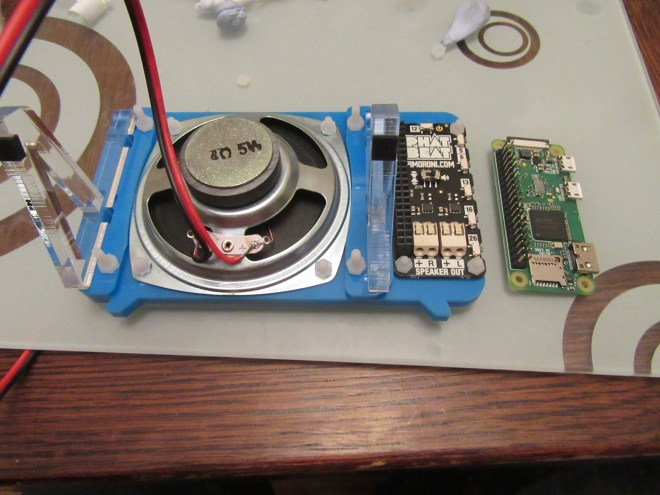
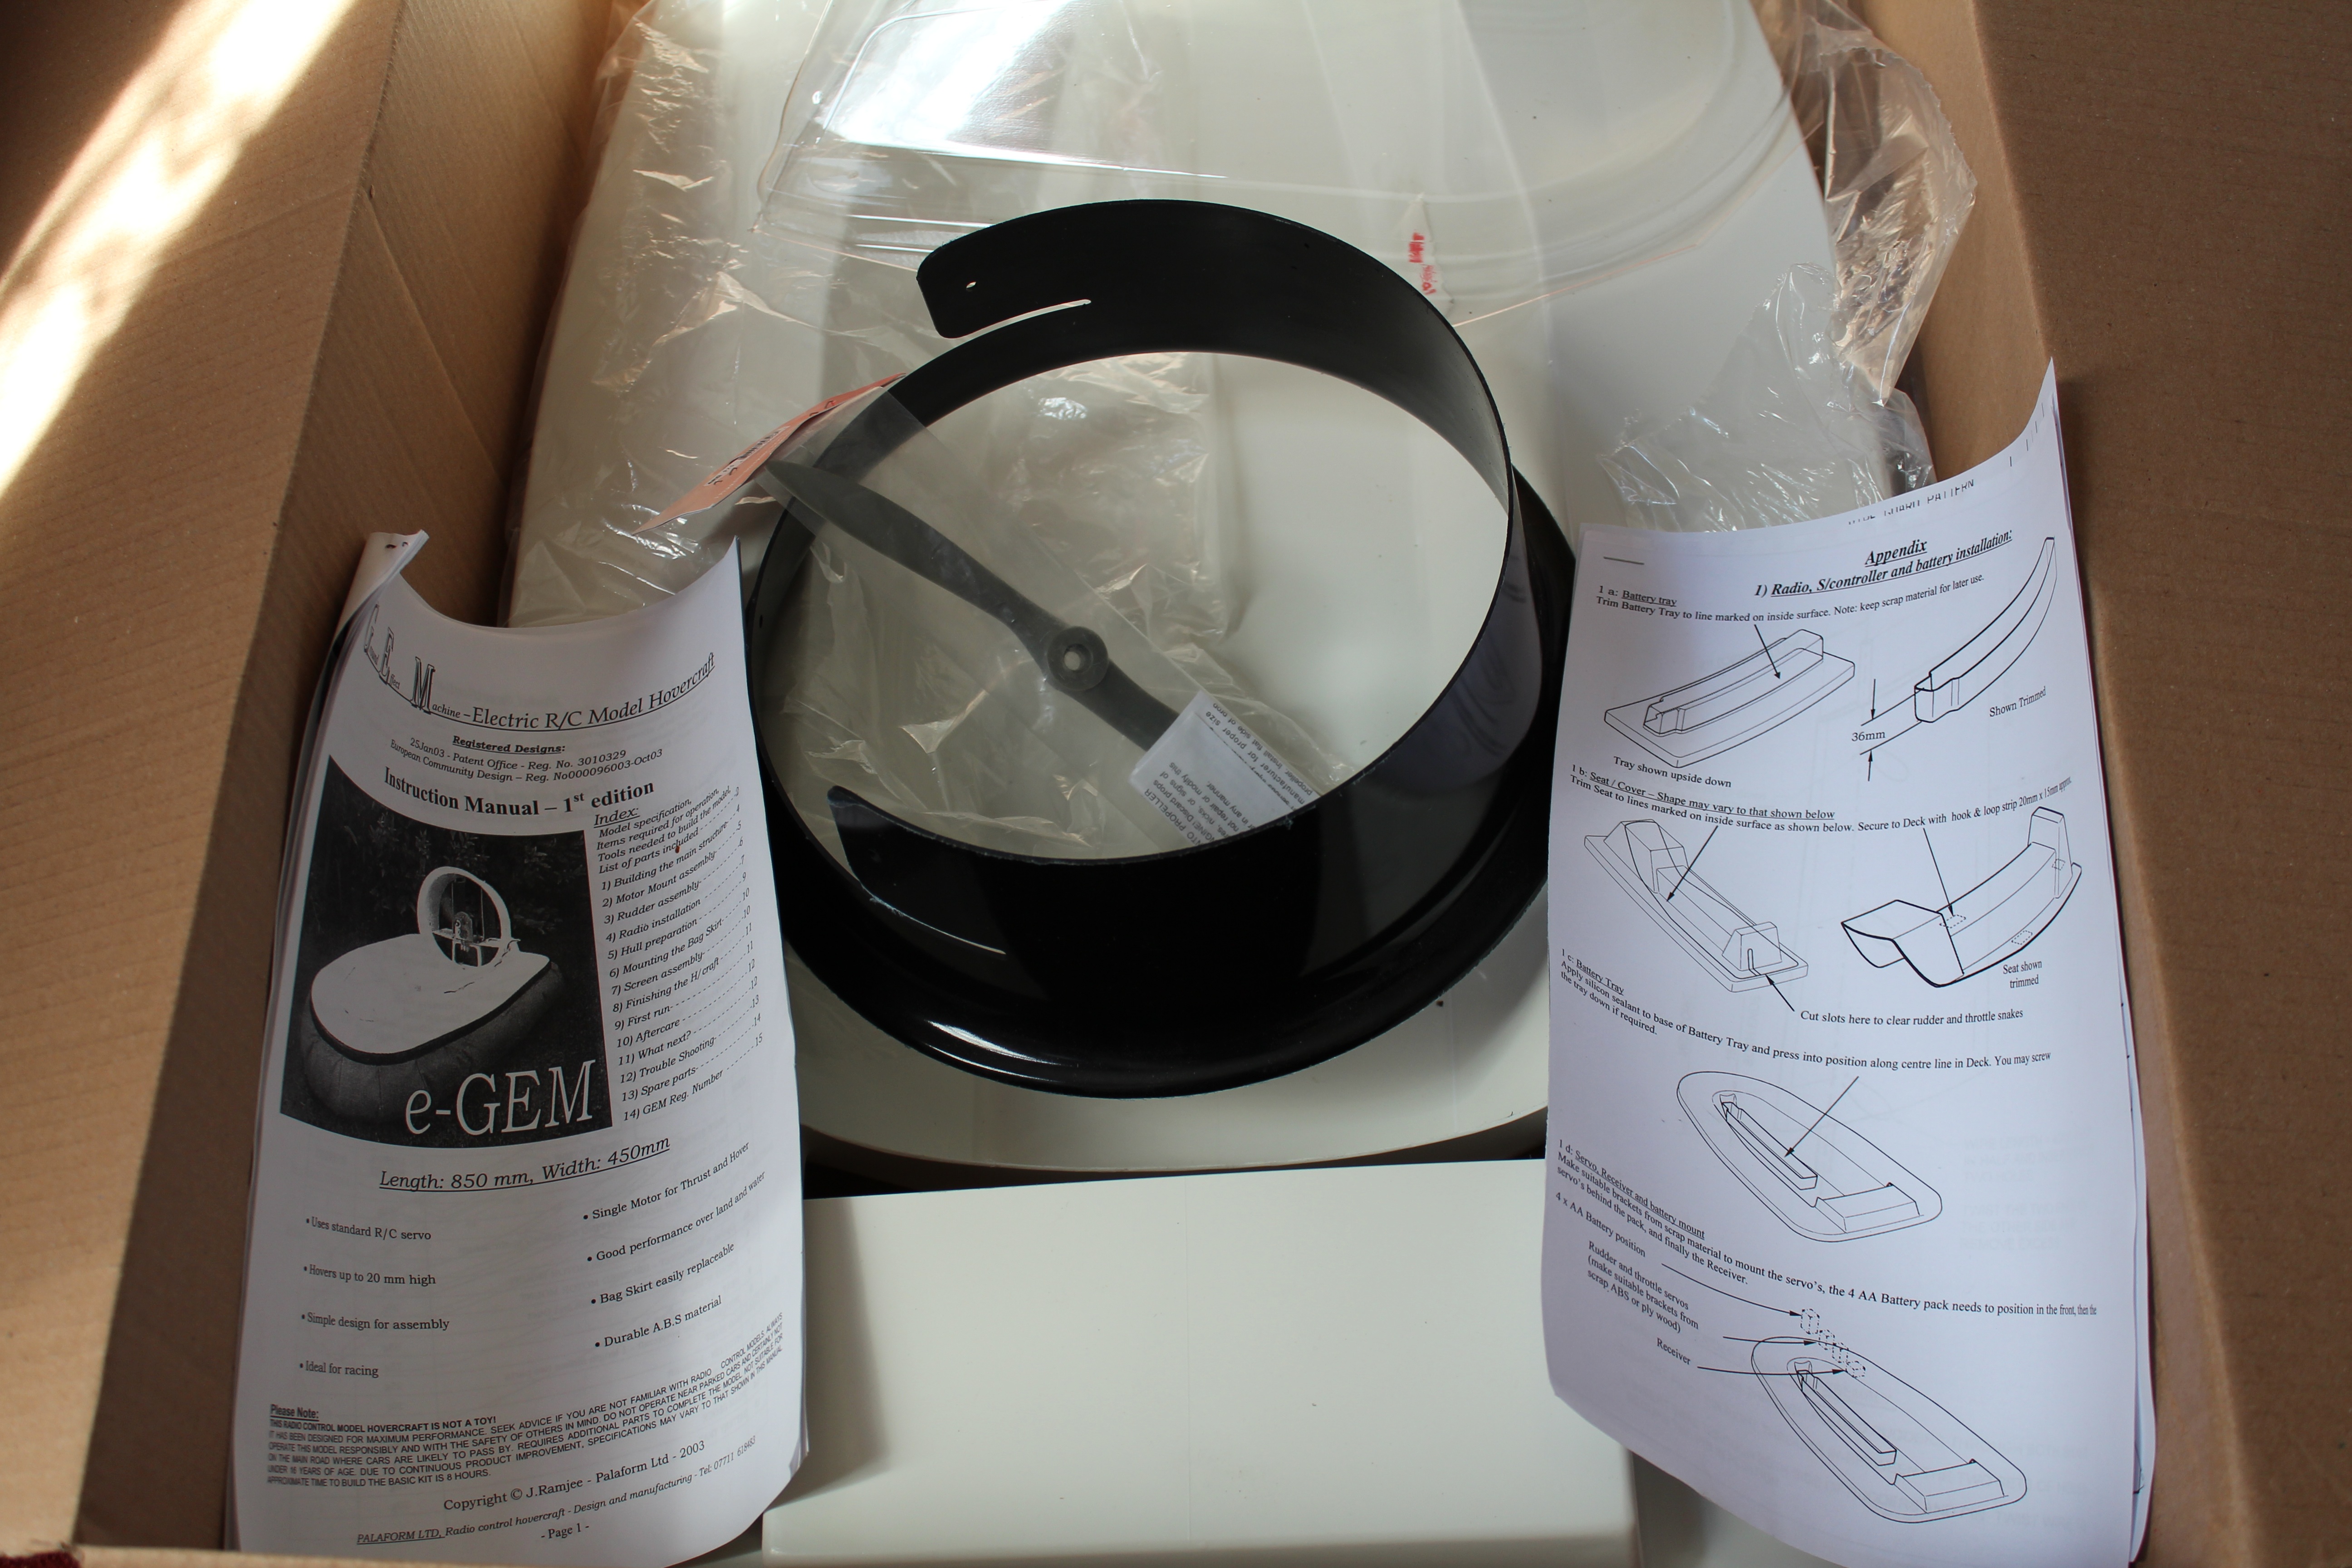
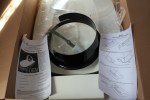
Inside the box we have the acrylic pieces / screws to build the case, a 5w speaker, the PI zero w and the pHat beat hat to provide audio, buttons and VU meter to the radio.
Opening the kit
Those are the core components need to build the radio but it also comes with the hdmi and usb adapters the PI zero needs to connect to standard size usb and hdmi cables. I usually connect a pi zero up to my monitor to setup SSH and WiFi but this can also be done by editing the sd card image before booting it. Finally the kit comes with some nice Pimoroni stickers to decorate the radio.
When building a kit that uses a hat the first thing I usually do is solder the headers onto the PI / hat. Headers can be soldered which ever way you want to suite your needs but the norm is to solder the male headers onto the PI and female onto the hat. This will enable you to switch hats easily.
I always use blue tak to push the board firmly onto the surface when soldering a header. This stops me knocking the board and moving it with my soldering iron.The pins soldered. My soldering is slowly getting better.The PI zero side by side with the pHat beat hat. Both have their headers soldered and are ready to go.
That’s all of the soldering done for the kit. Now all that needs to be done is the construction of the radio structure itself and connecting everything together.
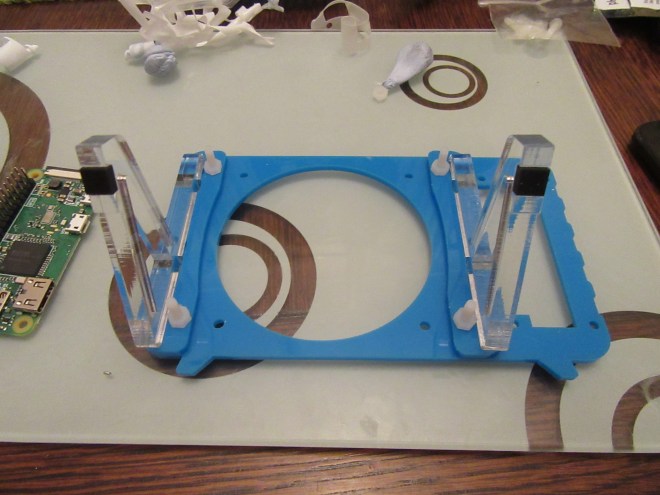
First the legs get attached to the radio.Then the middle piece containing the speaker grill.Lastly the frosty clear front panel completes the radio structure.The speaker and pHat beat is then attached to the back of the radio.Lastly the speaker is wired up to one of the channels and the pi zero is slotted into the pHat.
There is a switch on the back of the pHat that must be set to single speaker mode.
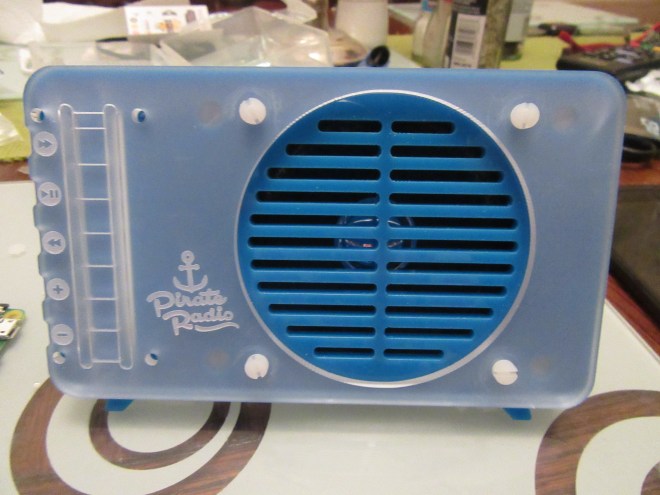
The final and most important part of the build was adding the stickers. Its easy to get carried away so I only put two on.
The build took around 30 minutes and I had it up and running about 10 minutes after by following a guide on the Pimoroni forums.
It is currently using VLC to run a playlist of stations and the Pimoroni guys have made some python scripts to handle the buttons being pressed to switch station / volume etc…
I am more than happy with this setup at the moment as I only have to SSH into the pi to change the radio station list at the moment.
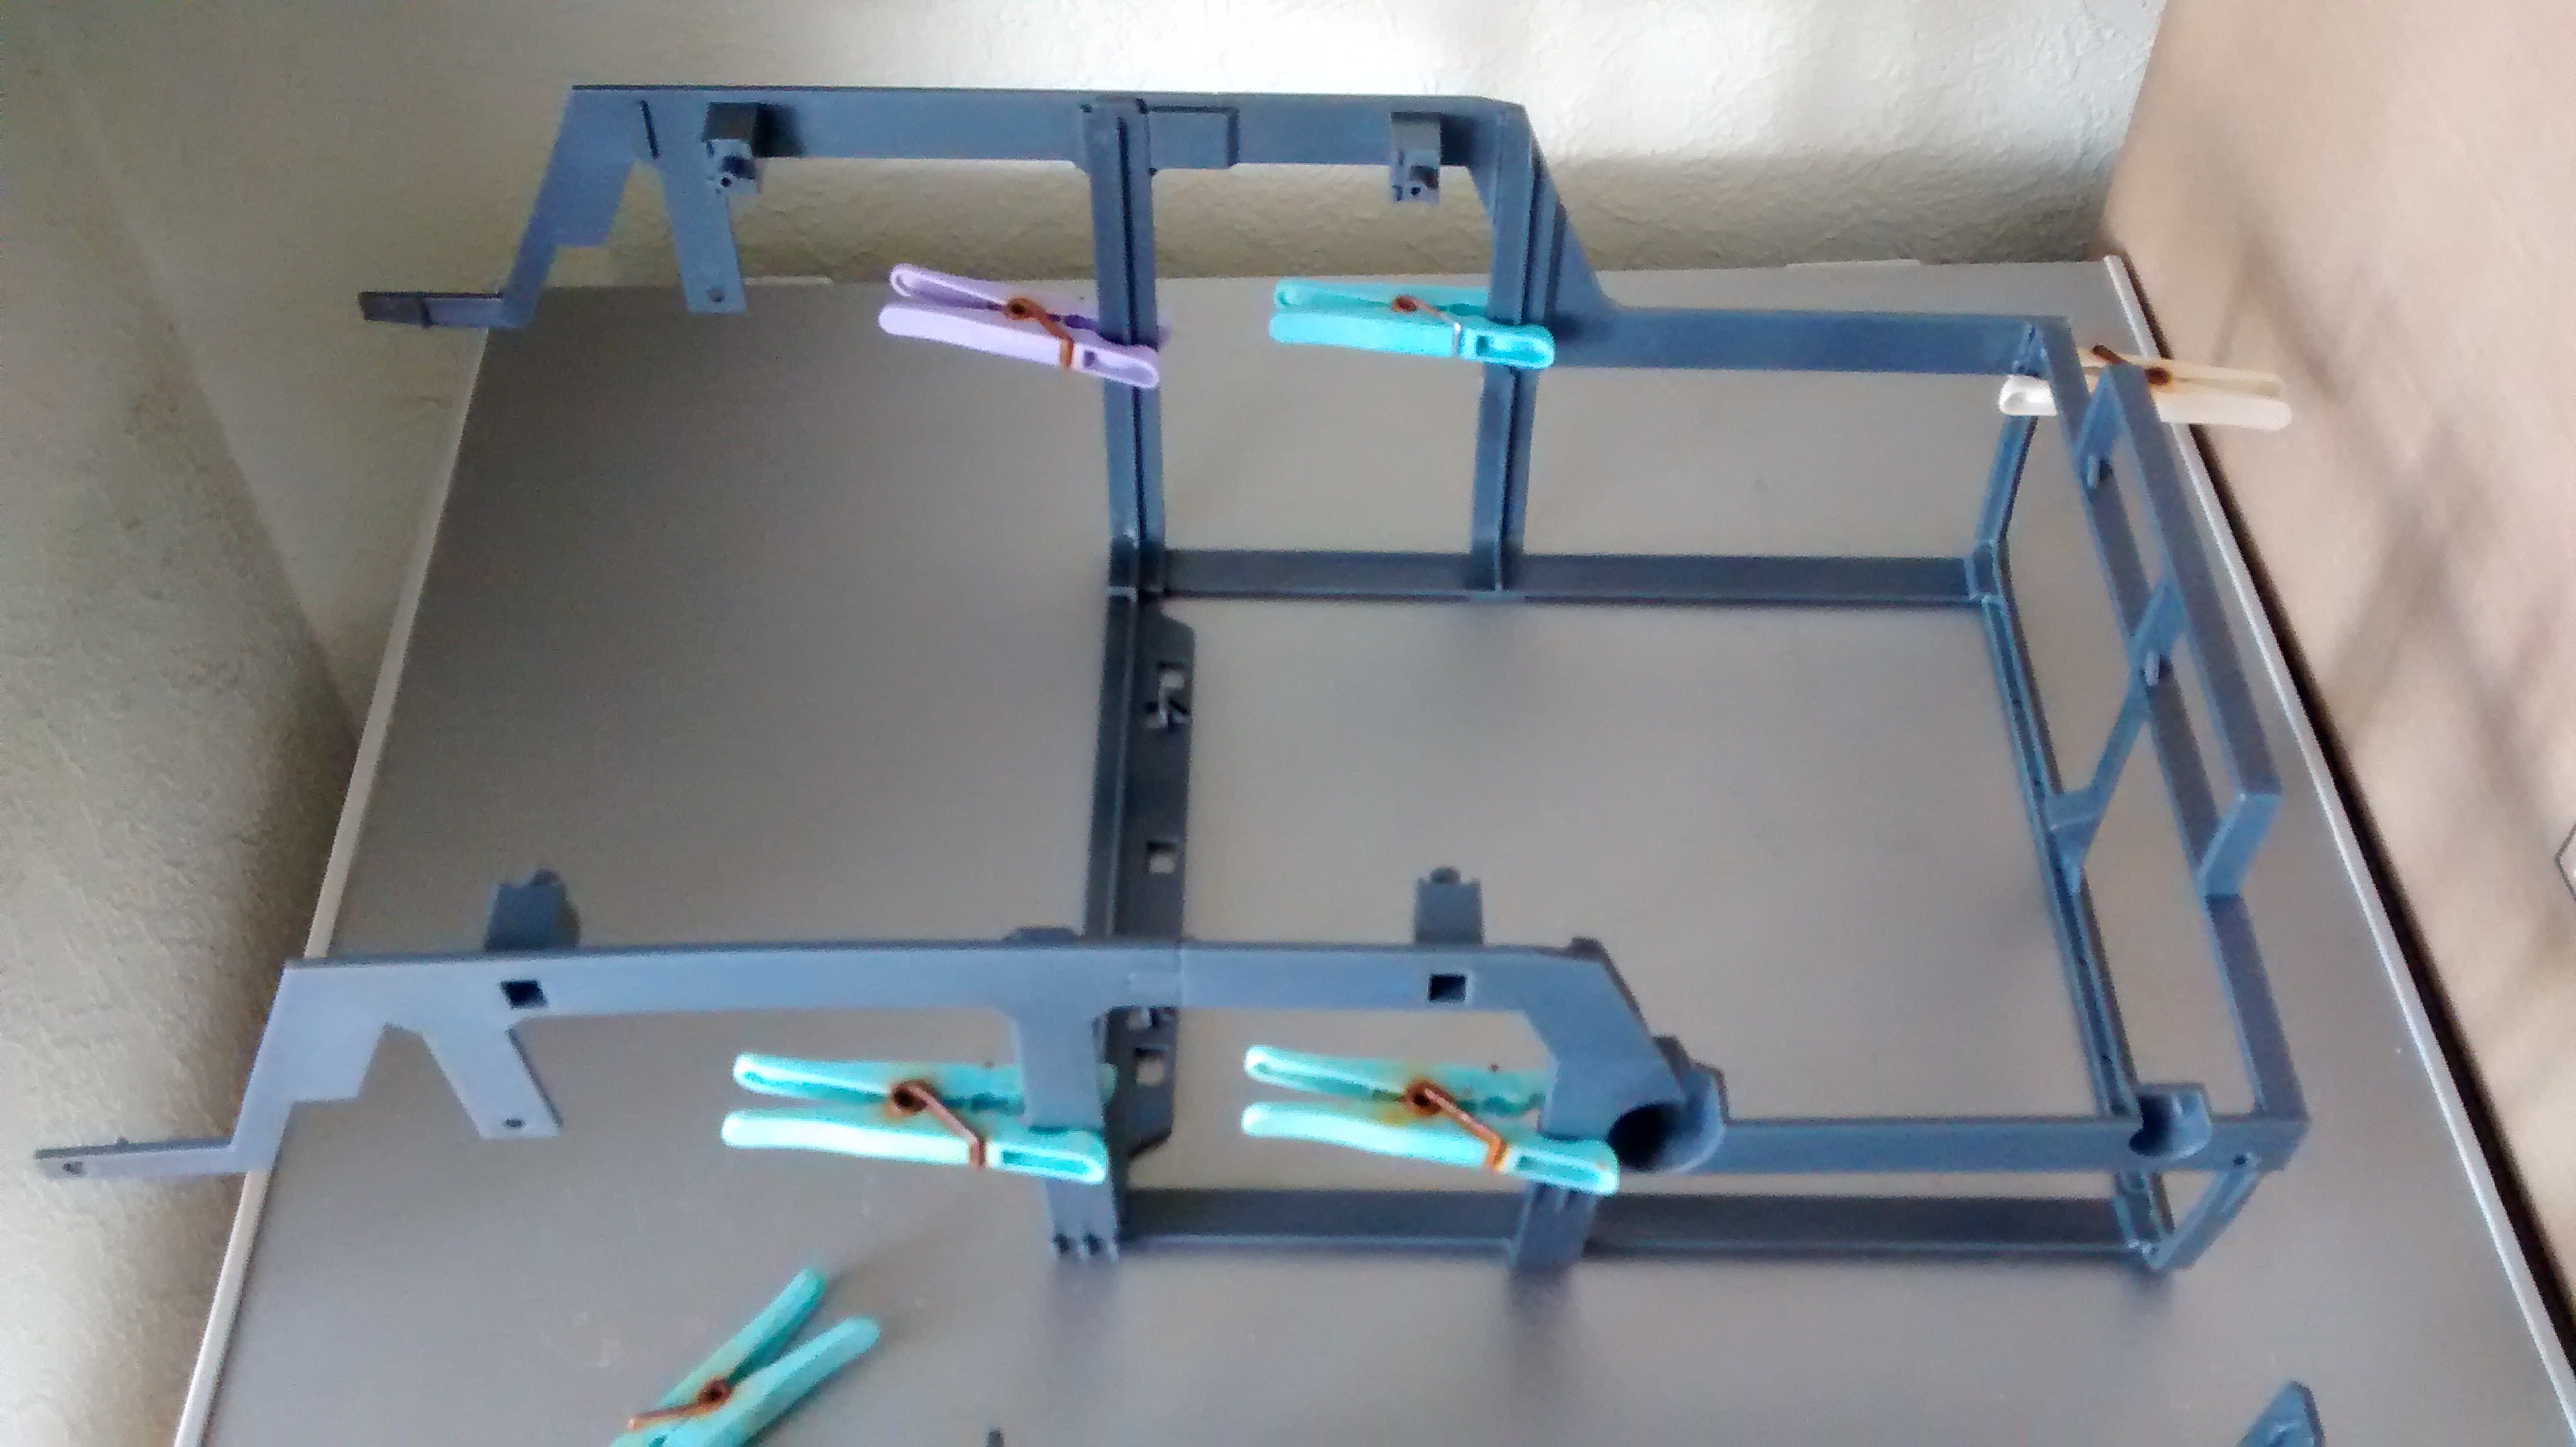
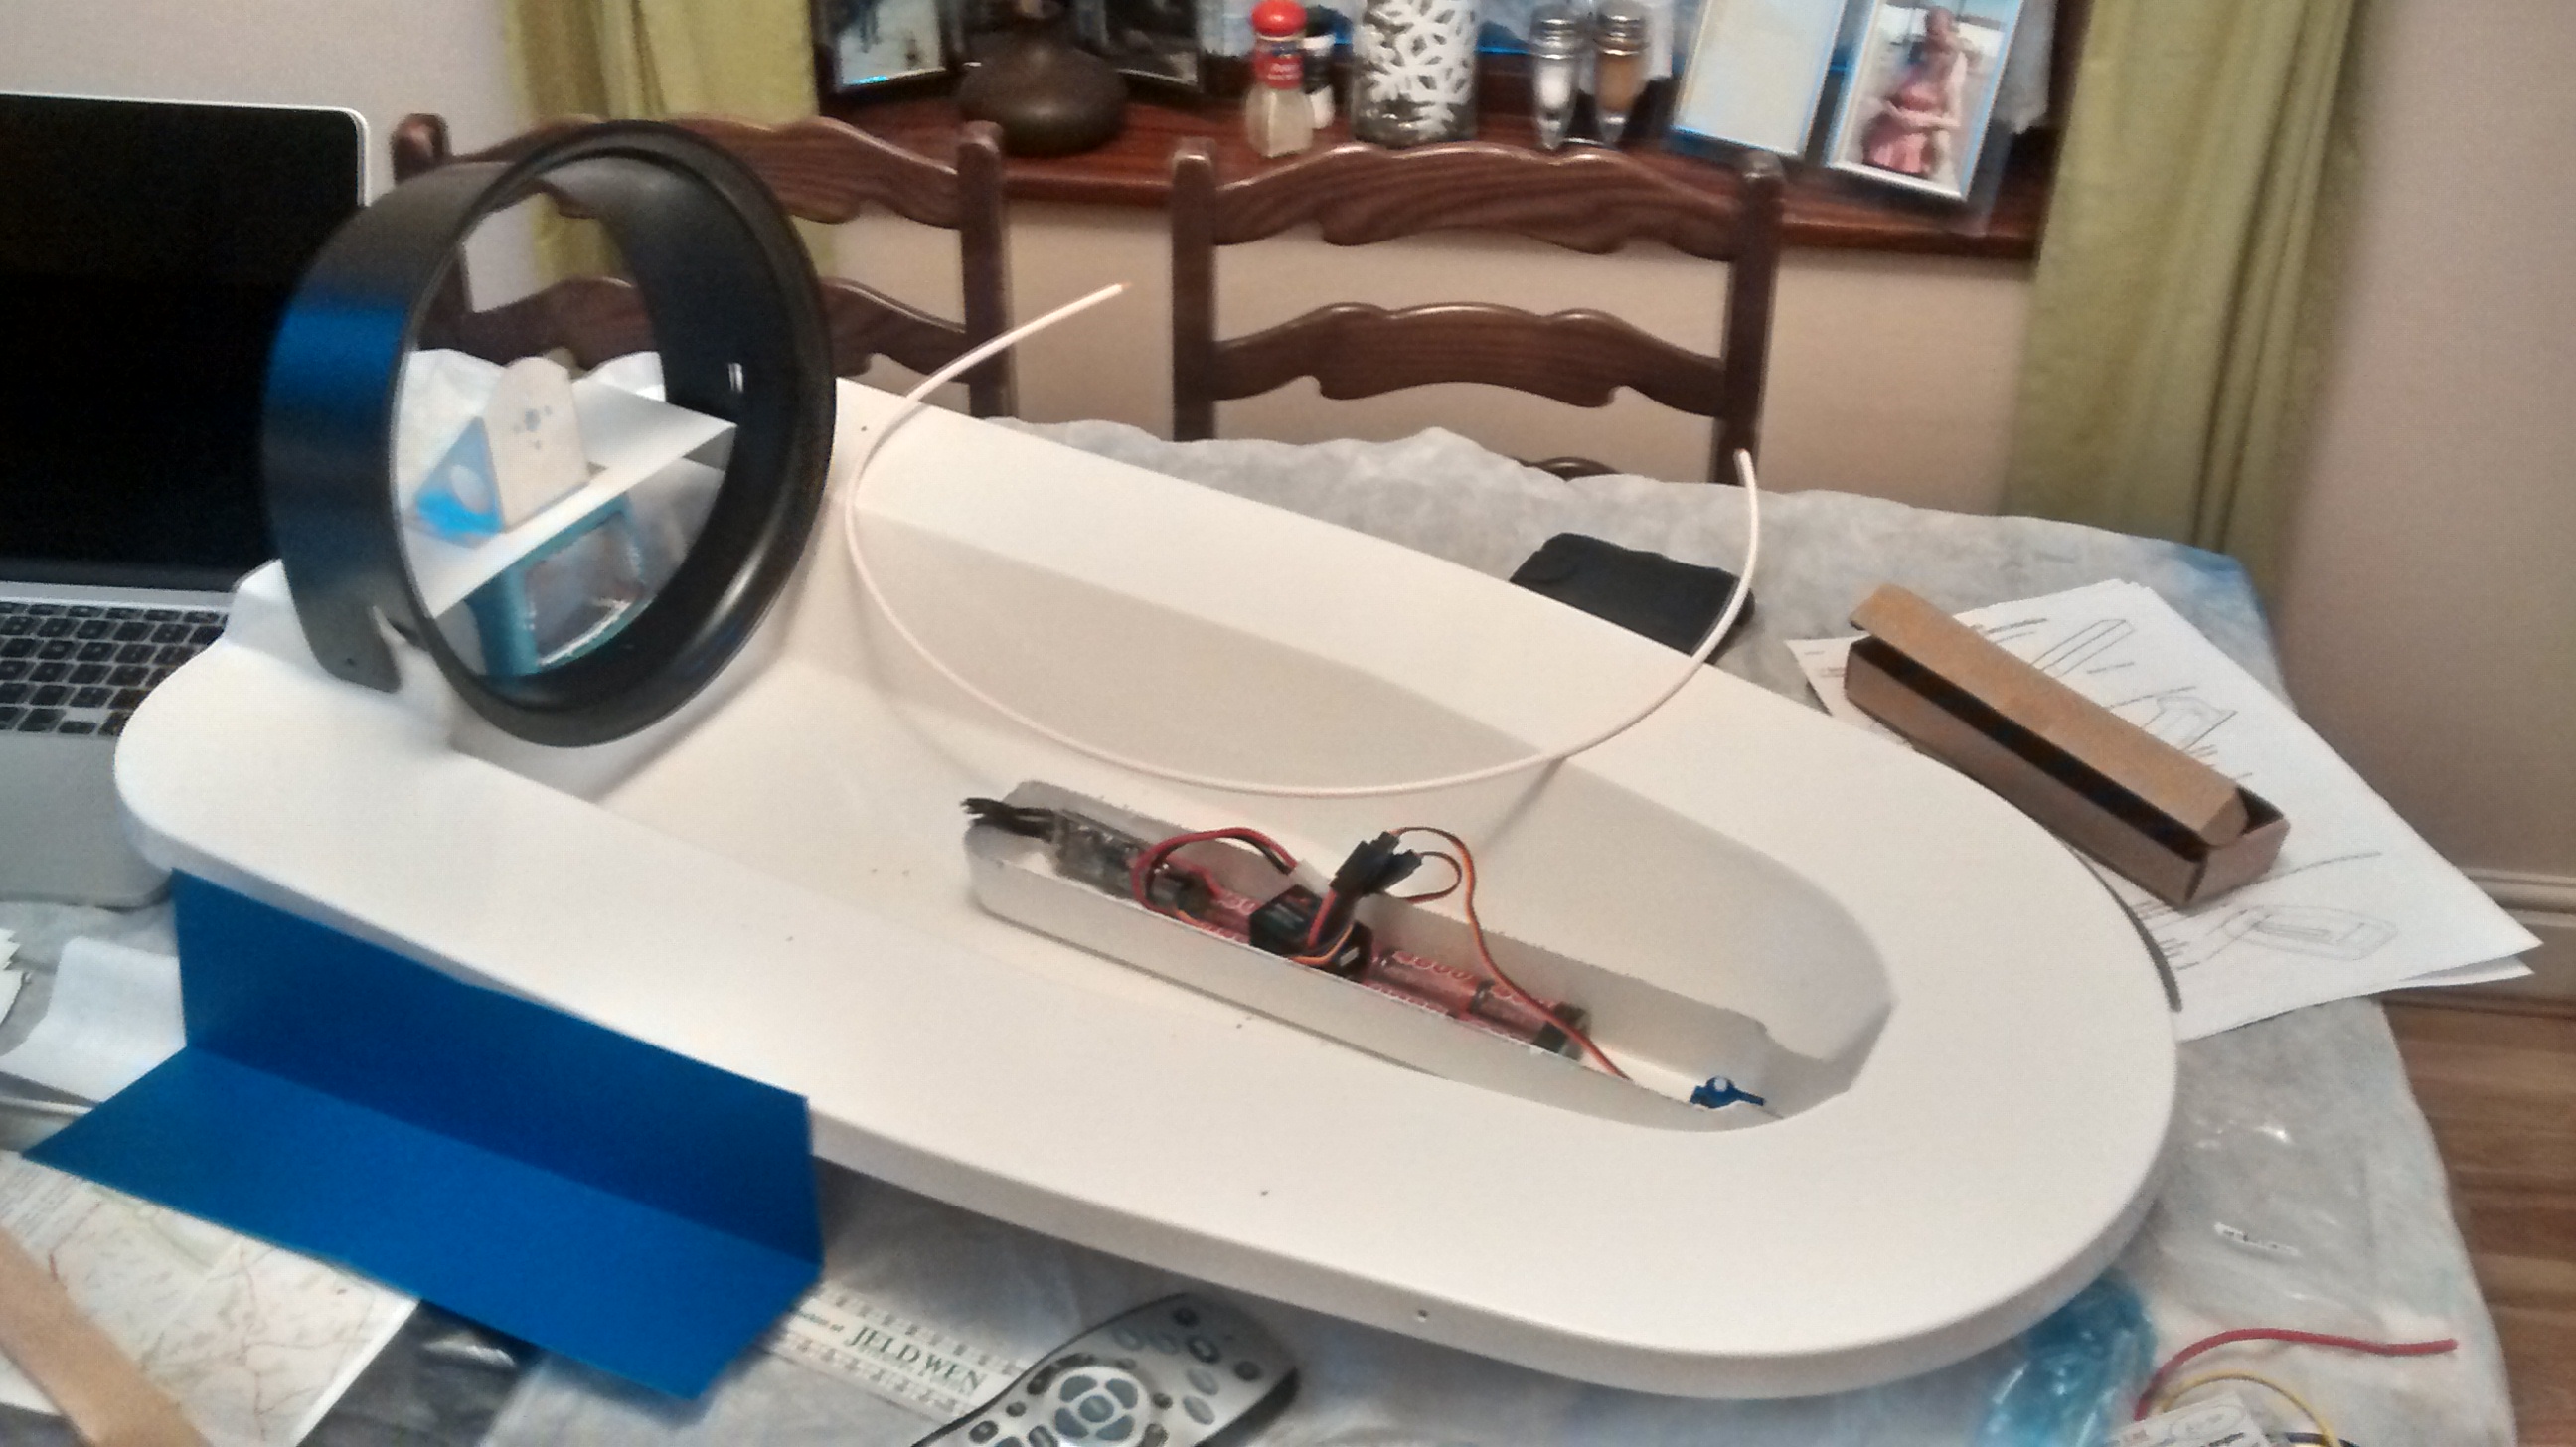
Most of the plastic pieces have been trimmed and the electronics tray has been mounted into the hull with silicon.
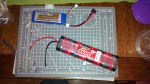
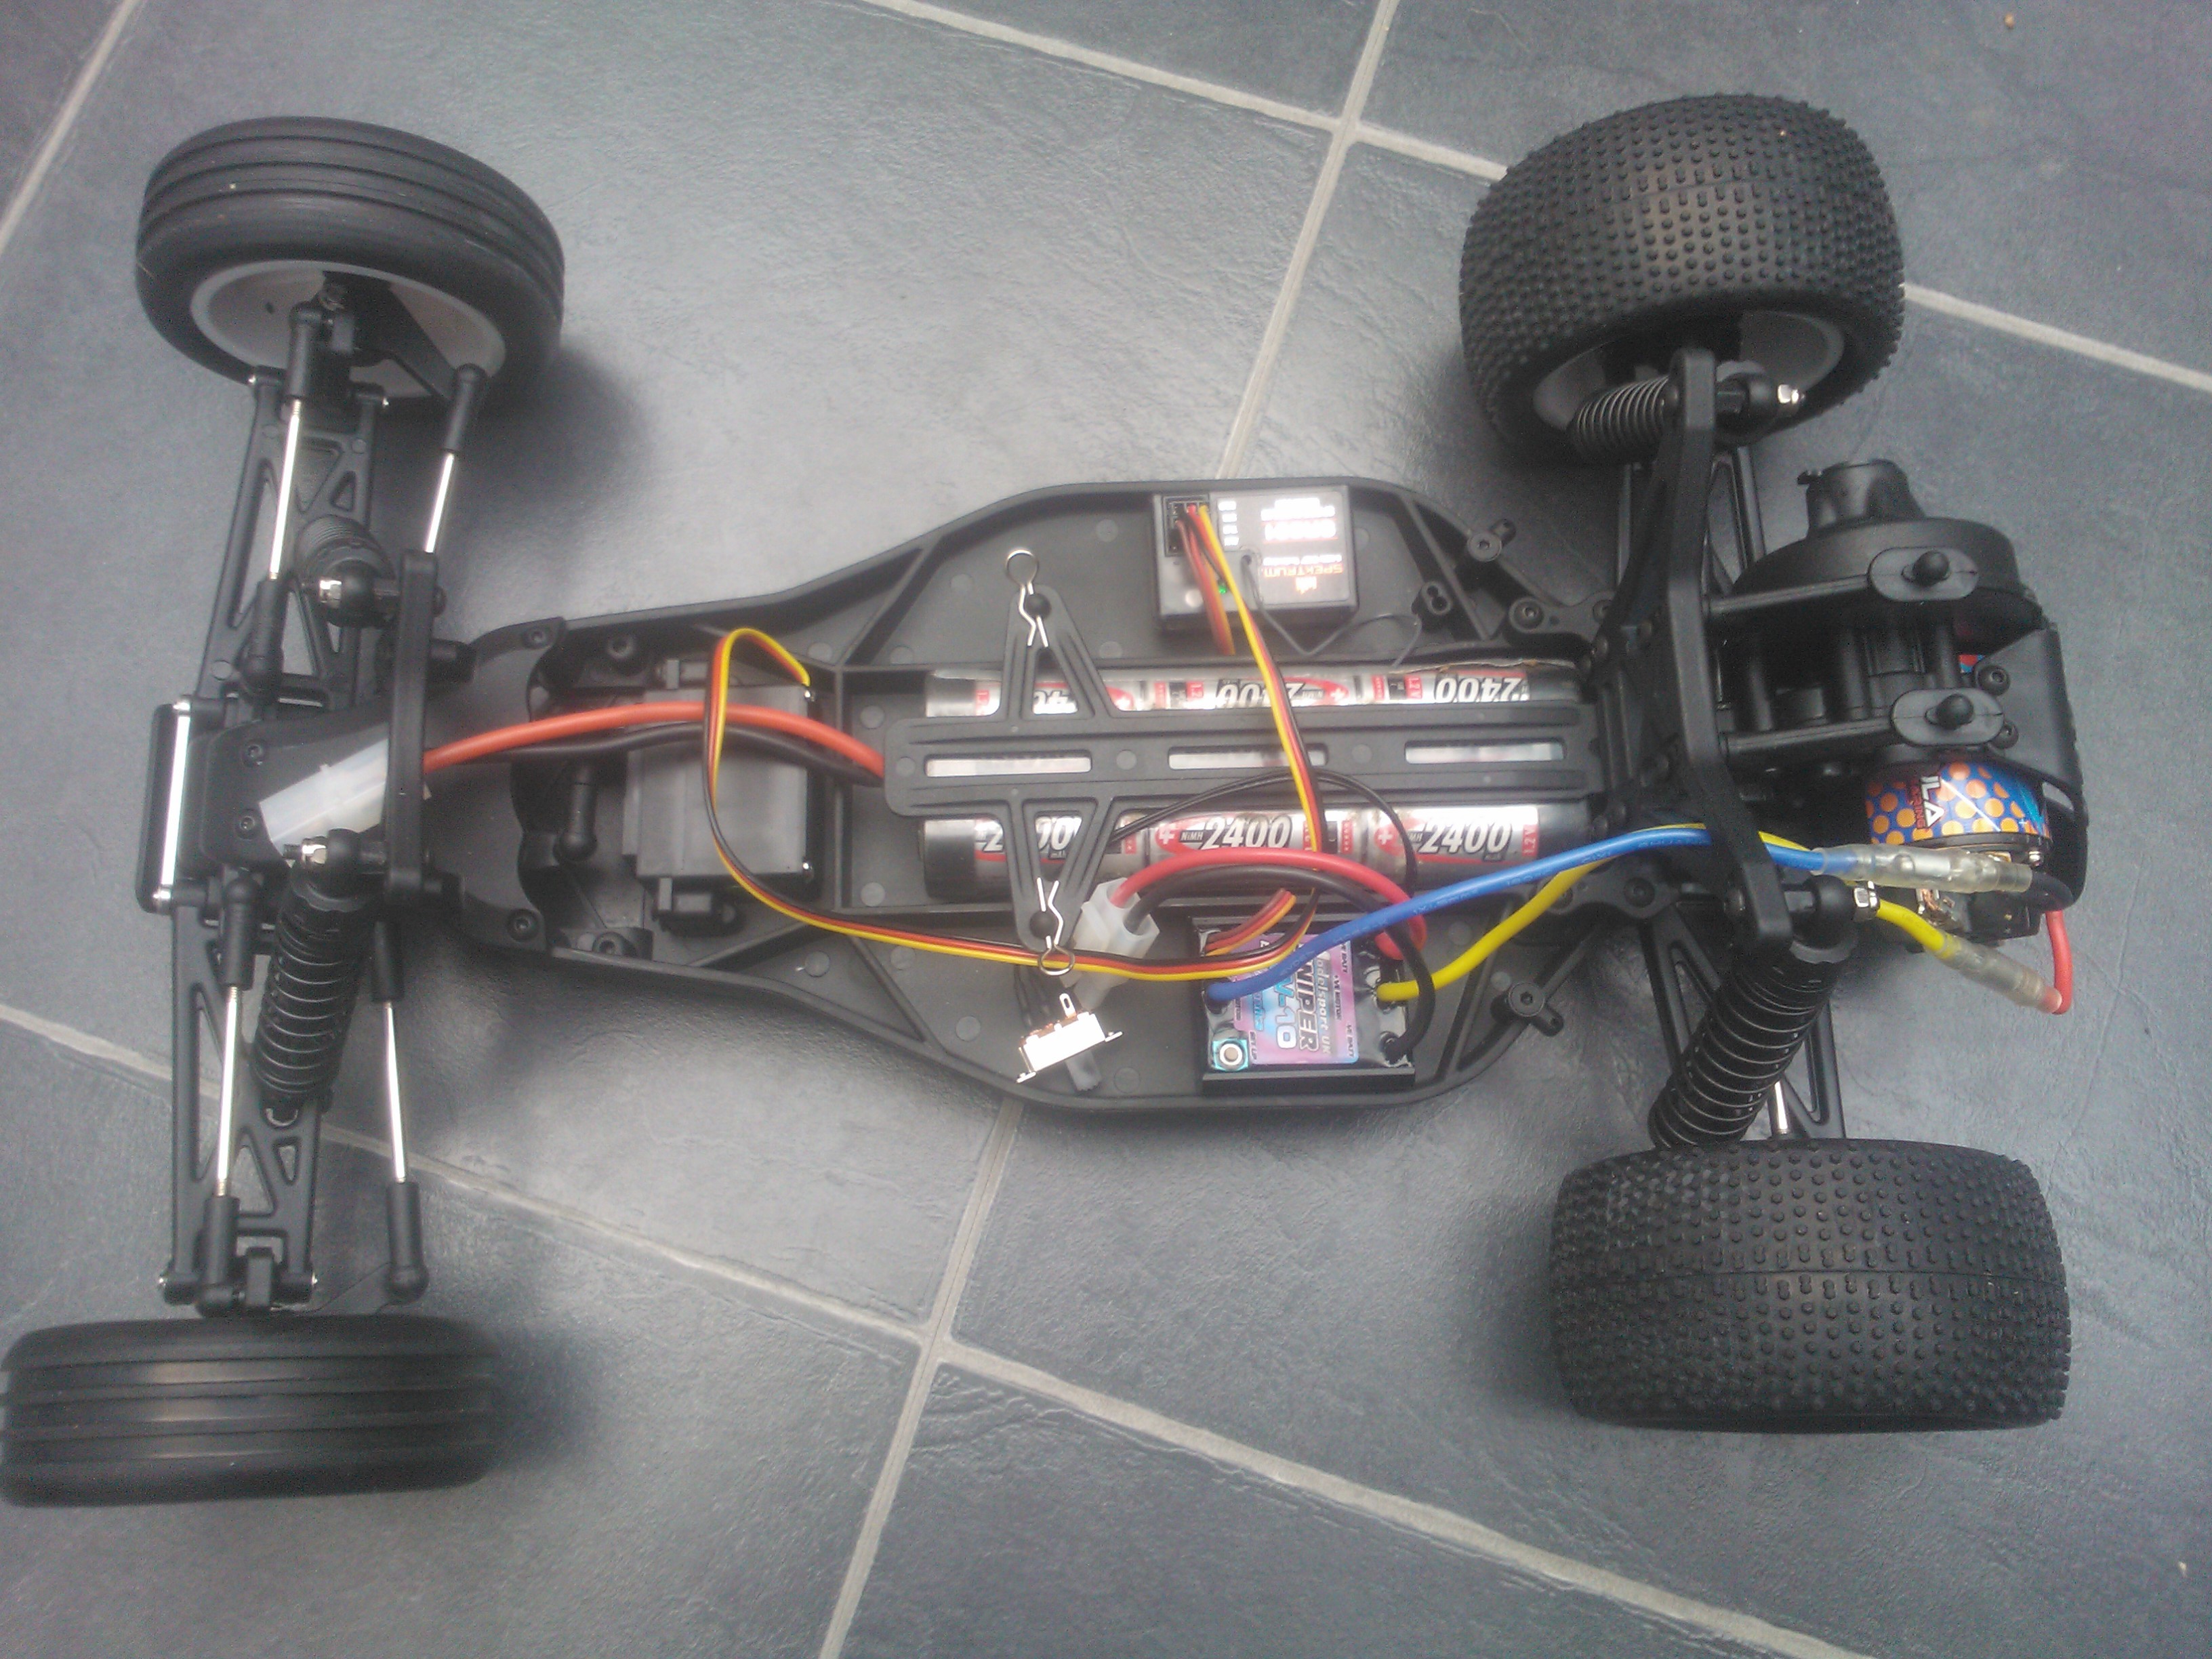
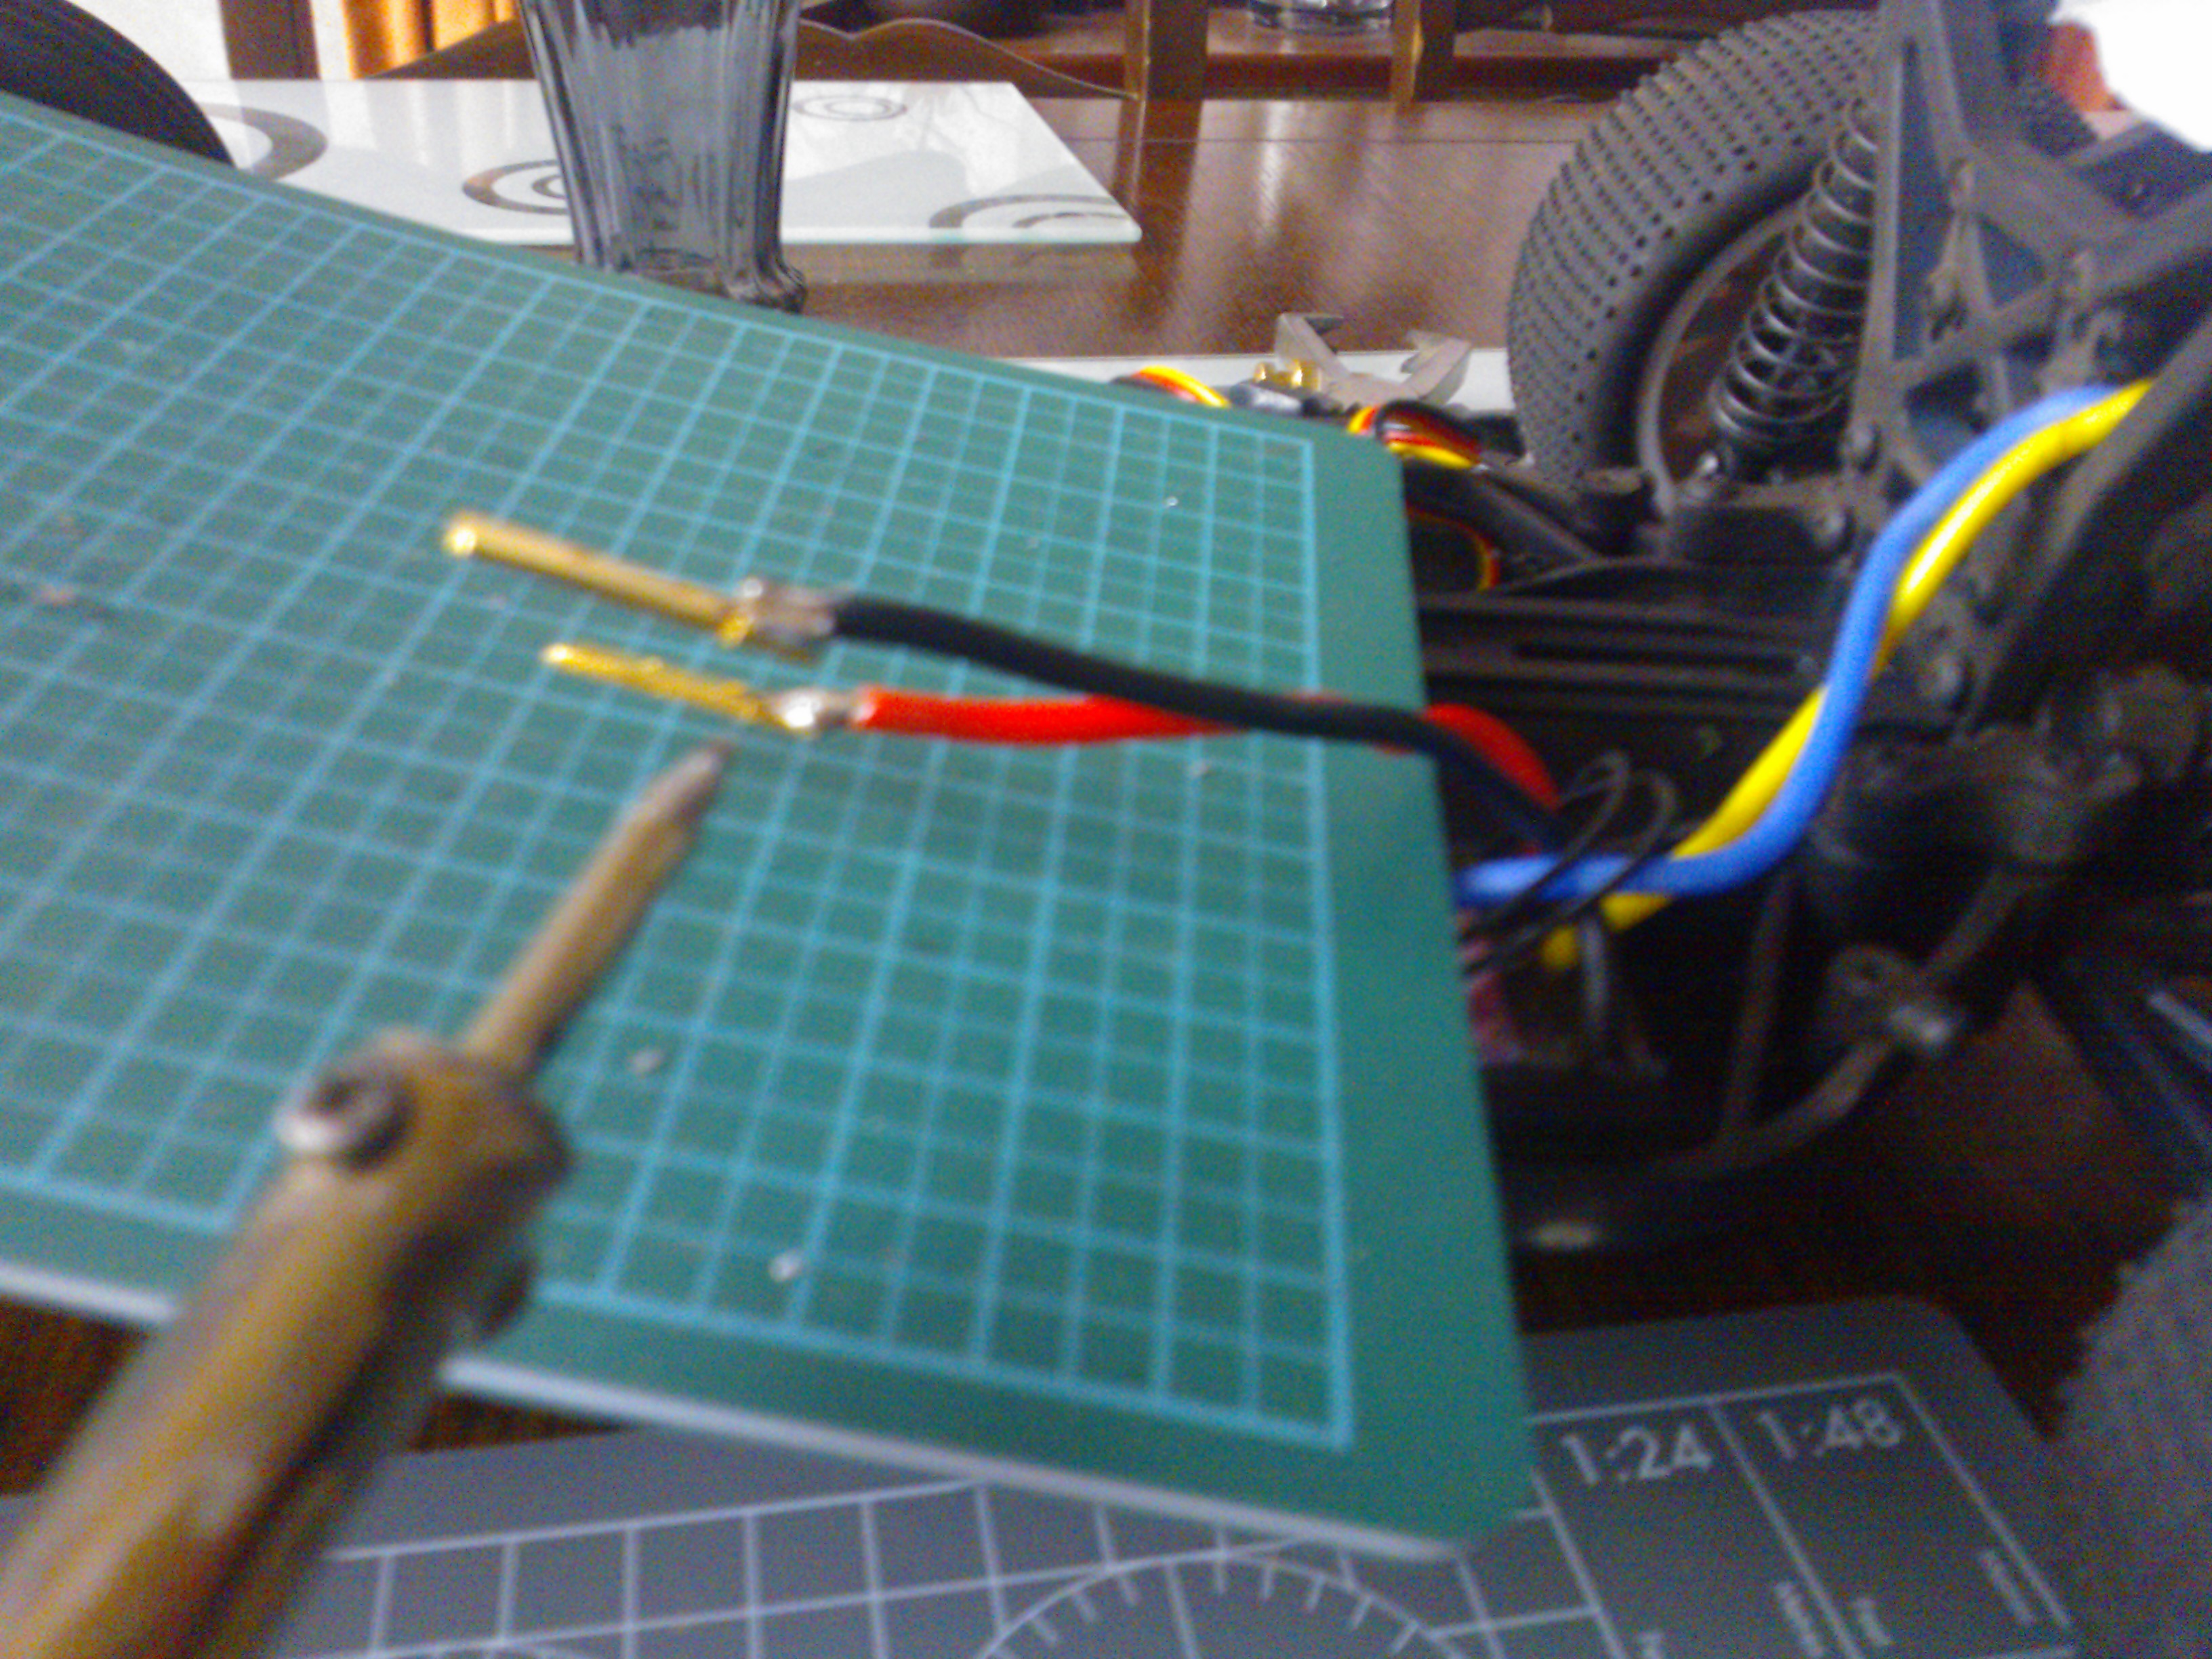
I have soldered the my connectors for the esc and battery pack replacing the Tamiya connector on the battery with a deans one.
I chose to use a specktrum receiver in the hovercraft as it means I can use the same transmitter as I use on my cars. I have tested the electronics and everything is working perfectly.
Next I need to trim down the lower hull and start working on the rear of the craft.
Deciding where things should go
Battery before chopping of Tamiya connector
Connector off lipo batter with deans for reference
deans on battery esc next
deans connector soldered to esc
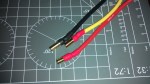
Using a helping hand to hold the motor bullet connectors
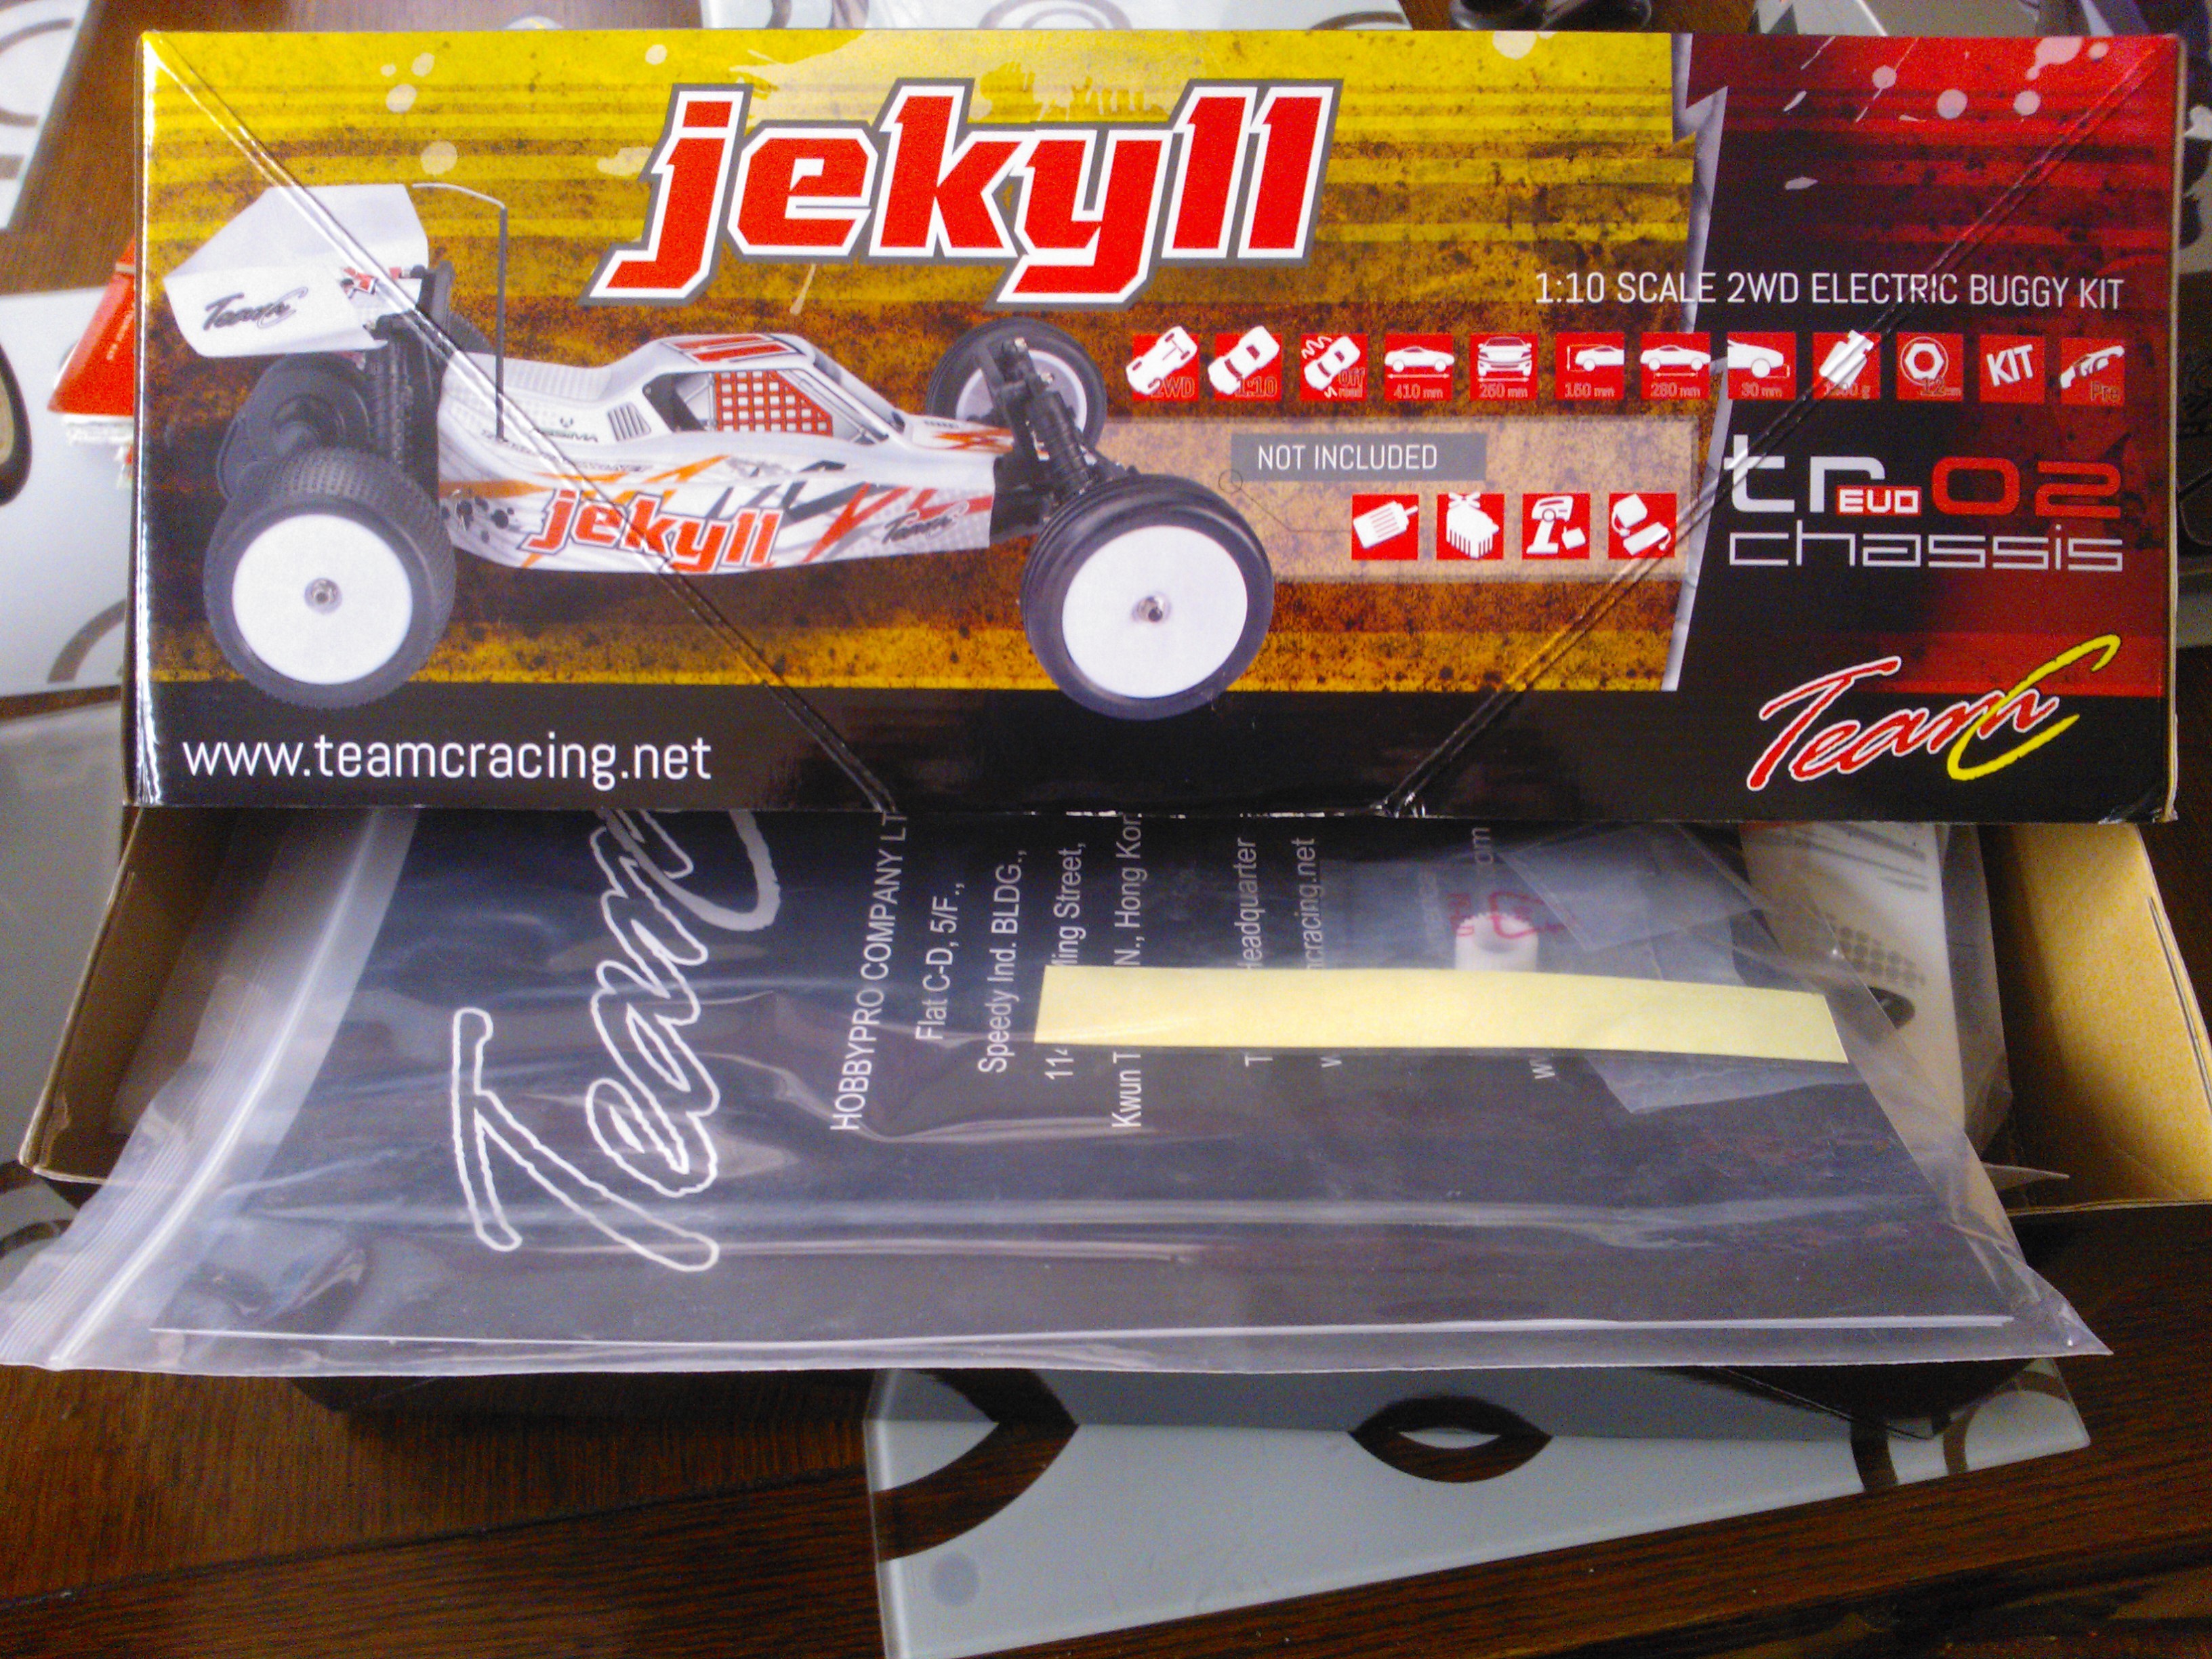
When I first saw this kit on modelsport I was intrigued. It was only £39 and I wanted to know just how good a car you would get for the price. You have to supply your own Electronic Speed Controller, Servo, Receiver and Motor bringing the total minimum build price to around £70- £80. I spent a bit more as I wanted to but some more decent bits in it.
The packaging and parts were a decent quality considering the price and the manual was easy to follow. This would make a nice inexpensive first kit.
Things I used to complete the build:
hitec servo £6
10 turn limit mtroniks sniper esc around £25
13×3 Orion Motor £18
Spektrum 301 DSM coated reciever £23
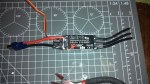
It seems I made a bad choice with the esc as the 13×3 motor seems to overheat it very easily, I am looking into a solution for that. On top of this I melted a battery connector to the esc so I ordered some traxxas connectors to deal with the current.
Soldering the new connectors
I also ordered a set of UK buggy bearings to ball race the kit. These replaced the bronze bushings that come as standard.
I do intend to replace my battery connectors with deans but the reason I went with a traxxas in this instance is I got this rocket pack battery in a sale. Its a 5100Mah 8.4 V Orion Rocket pack and really makes the thing go.
The bad thing is its too big for the battery compartment so I have to tape it in each time!
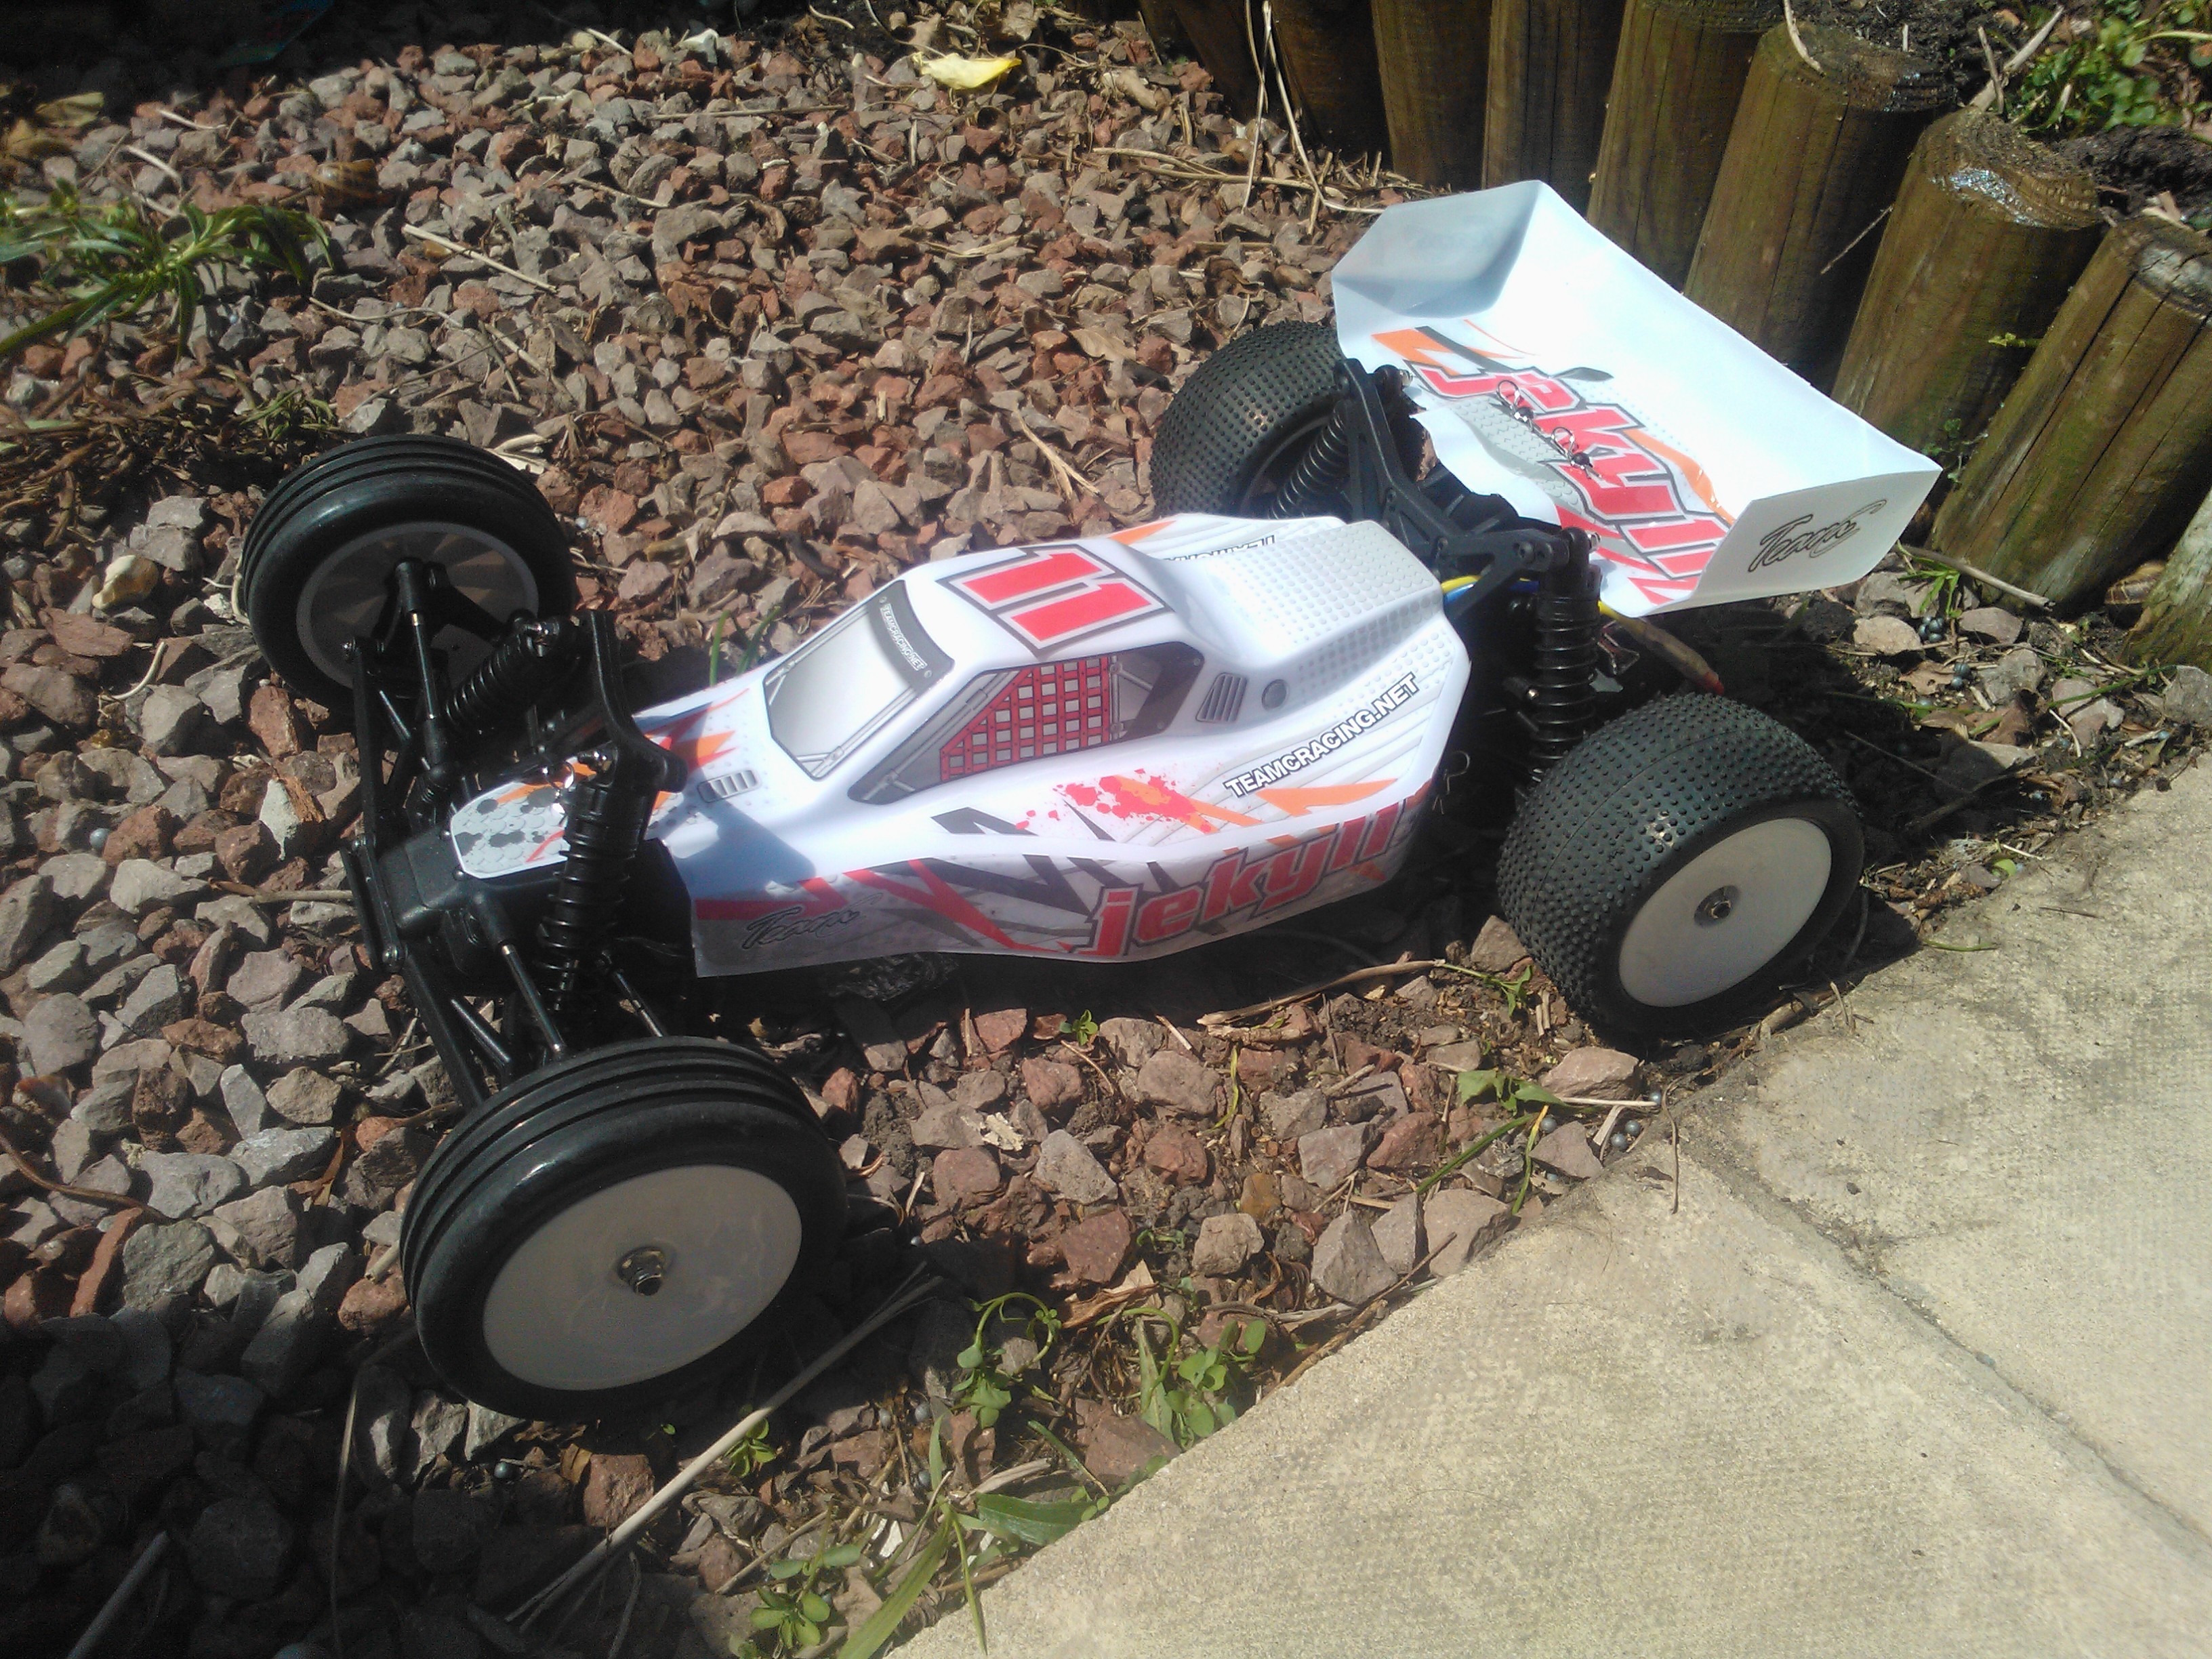
In summary this kit is easy to build, robust and well its cheap enough to buy a second one for a complete set of spare parts. I will upload some videos of it in action soon!