
Its been a fair while since I have posted anything here. This is largely because of a change of tactic when it comes to building things.
I came to the conclusion that the subscription based models did not represent good value for money and the level of support received considering the cost was very poor. There was also the problem of a long drawn out build due to the subscription model that was also exacerbated by delays and replacement parts being required.
So I started thinking about what I could build for the same price as a single model subscription and realised I could getting much more. This has started with some expert Lego models and Raspberry PI projects.
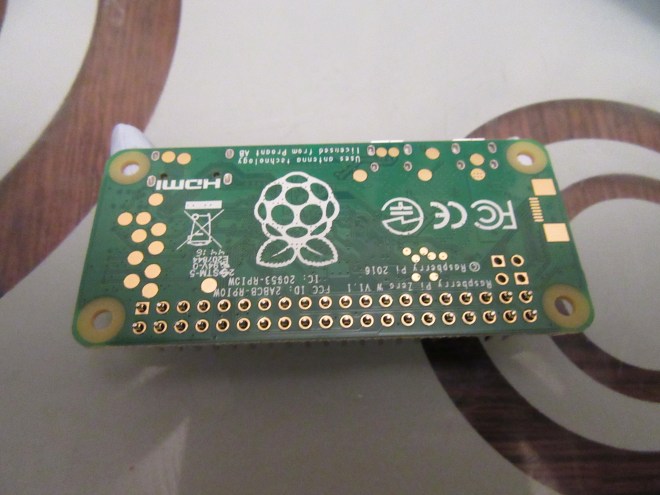
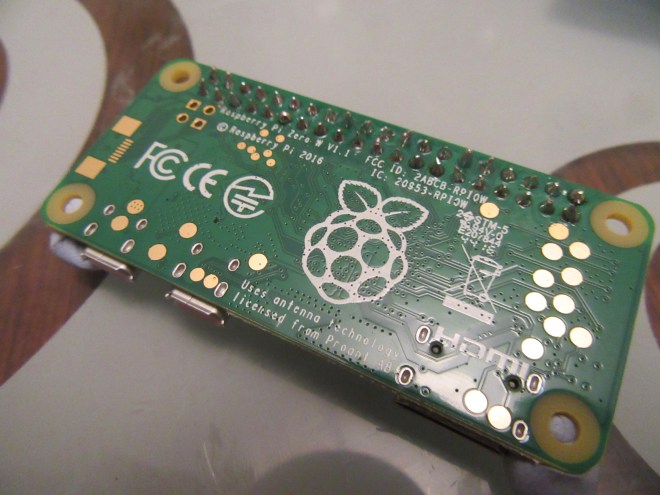
I have made a fair few things between my last post and now but I am going to start with a little PI project using the brand new PI Zero W. The PI zero is a smaller raspberry PI that is tiny compared to the standard size raspberry PI but not as powerful as the PI 3. The W version which has just been released adds WiFi and Bluetooth. Previously a PI Zero would have required a dongle or pHat* to use these technologies. This adds size to the computer and would require a hub considering it only has a single USB port.
*A pHat is a hat made for the PI zero (An extension board to provide additional functionality).

The project I am posting today is a fairly small PI project and my most recent one. There are a few I need to post about that I build before this one. This project is the Pimoroni pirate radio kit. The first noticeable thing about this kit compare to previous Pimoroni projects is its packaging. It comes in a nice project box and looks much more like something you would find on a shop shelve.

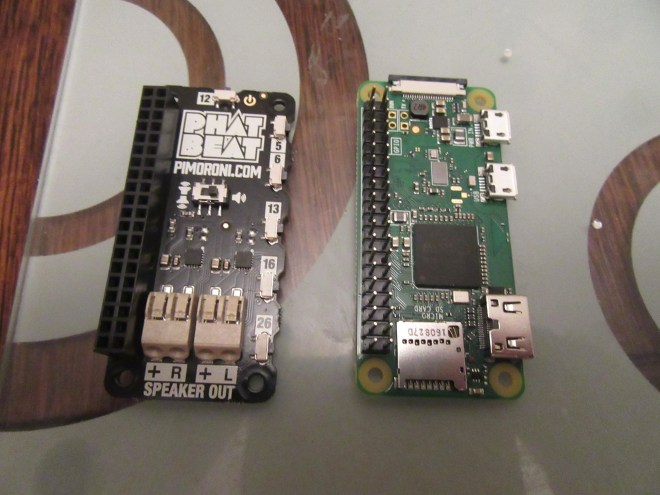
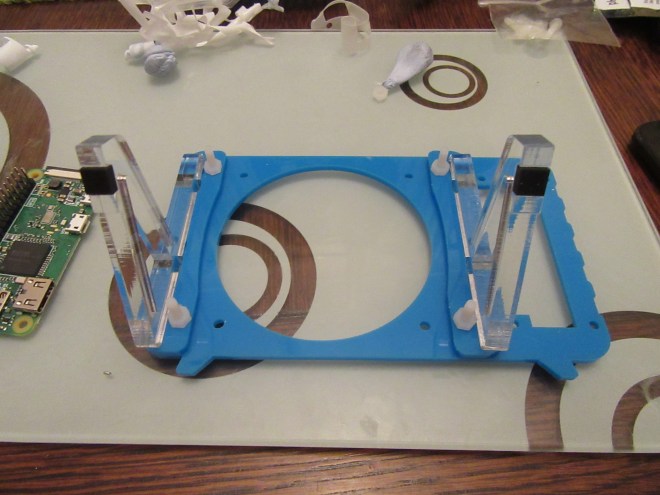
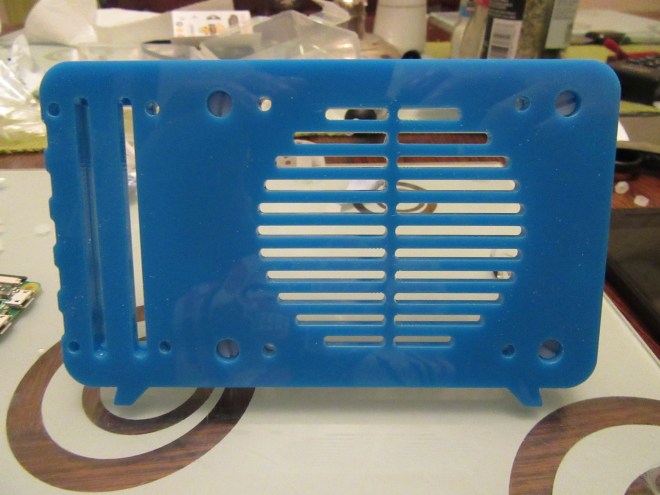
Inside the box we have the acrylic pieces / screws to build the case, a 5w speaker, the PI zero w and the pHat beat hat to provide audio, buttons and VU meter to the radio.

Those are the core components need to build the radio but it also comes with the hdmi and usb adapters the PI zero needs to connect to standard size usb and hdmi cables. I usually connect a pi zero up to my monitor to setup SSH and WiFi but this can also be done by editing the sd card image before booting it. Finally the kit comes with some nice Pimoroni stickers to decorate the radio.
When building a kit that uses a hat the first thing I usually do is solder the headers onto the PI / hat. Headers can be soldered which ever way you want to suite your needs but the norm is to solder the male headers onto the PI and female onto the hat. This will enable you to switch hats easily.
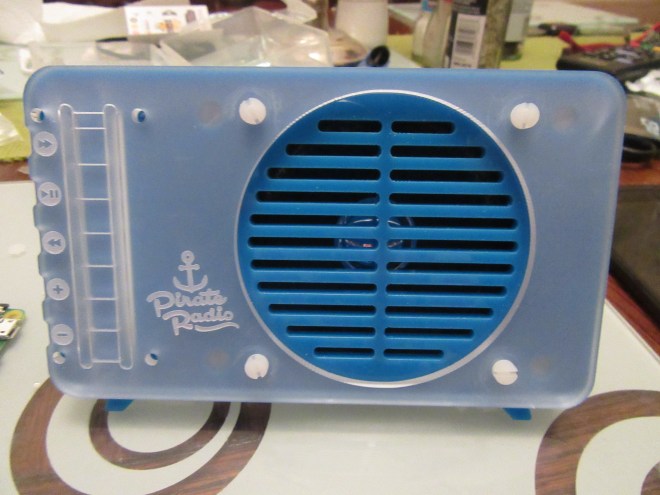
That’s all of the soldering done for the kit. Now all that needs to be done is the construction of the radio structure itself and connecting everything together.
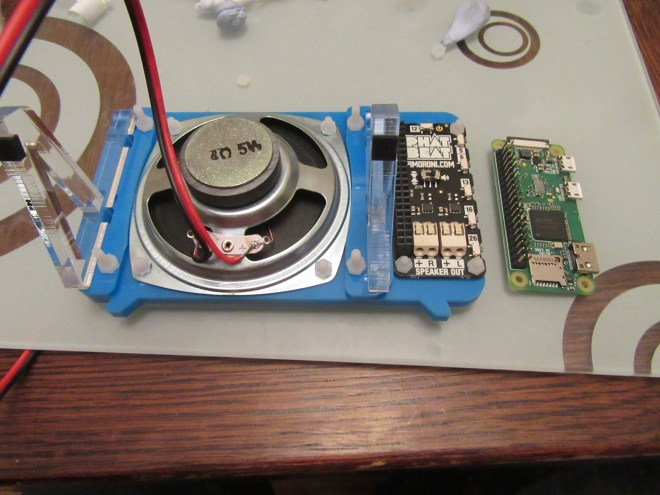

There is a switch on the back of the pHat that must be set to single speaker mode.

The build took around 30 minutes and I had it up and running about 10 minutes after by following a guide on the Pimoroni forums.
It is currently using VLC to run a playlist of stations and the Pimoroni guys have made some python scripts to handle the buttons being pressed to switch station / volume etc…
I am more than happy with this setup at the moment as I only have to SSH into the pi to change the radio station list at the moment.
Finally here is a video of it in action!

Can you please provide me a step by step guide to make it functional as yours?Thank you for your kind help.
First thing you need to do if you have not done already is run the one line installer for the phatBeat. Open the terminal on the pi and enter
curl https://get.pimoroni.com/phatbeat | bash
After that you will need to run the one line installer for the vlcradio service. Enter
curl https://get.pimoroni.com/vlcradio | bash
into the terminal.
When this installation has finished it should ask you to reboot. On rebooting the radio software will start. To begin with it will have a default playlist set by Pimoroni. If you want to overide this with your own stations you need to make a m3u playlist file and put it into the folder /home/pi/.config/vlc/. Reboot after you have made your playlist file and it the radio should switch to using that one instead. If you need any further help let me know. 🙂
Dear friend
Thank you for answer.Do I need to preinstall raspberry jessie lite first? How can i open the terminal without installed software on SD ;)? Can you start from the beginning please? Or is it possible to provide complete installer via storage service (one drive…)
Thank you
You can not do anything without installing Raspbian on the sd card first. If you are just getting started with Raspberry Pi you might want to download the full jessie image with the pixel desktop environment. The lite image will only have a command line interface. Follow this guide to install raspbian on the sd card. https://www.raspberrypi.org/documentation/installation/installing-images/README.md
Basically you need to download the image and then write it to the sd card using win32diskimager (if using windows). After that if you put the sd card into the pi and turn it on it will boot into Rasbian. From there you can open the terminal and start entering the commands above to set up the radio.