My biggest undertaking so far.
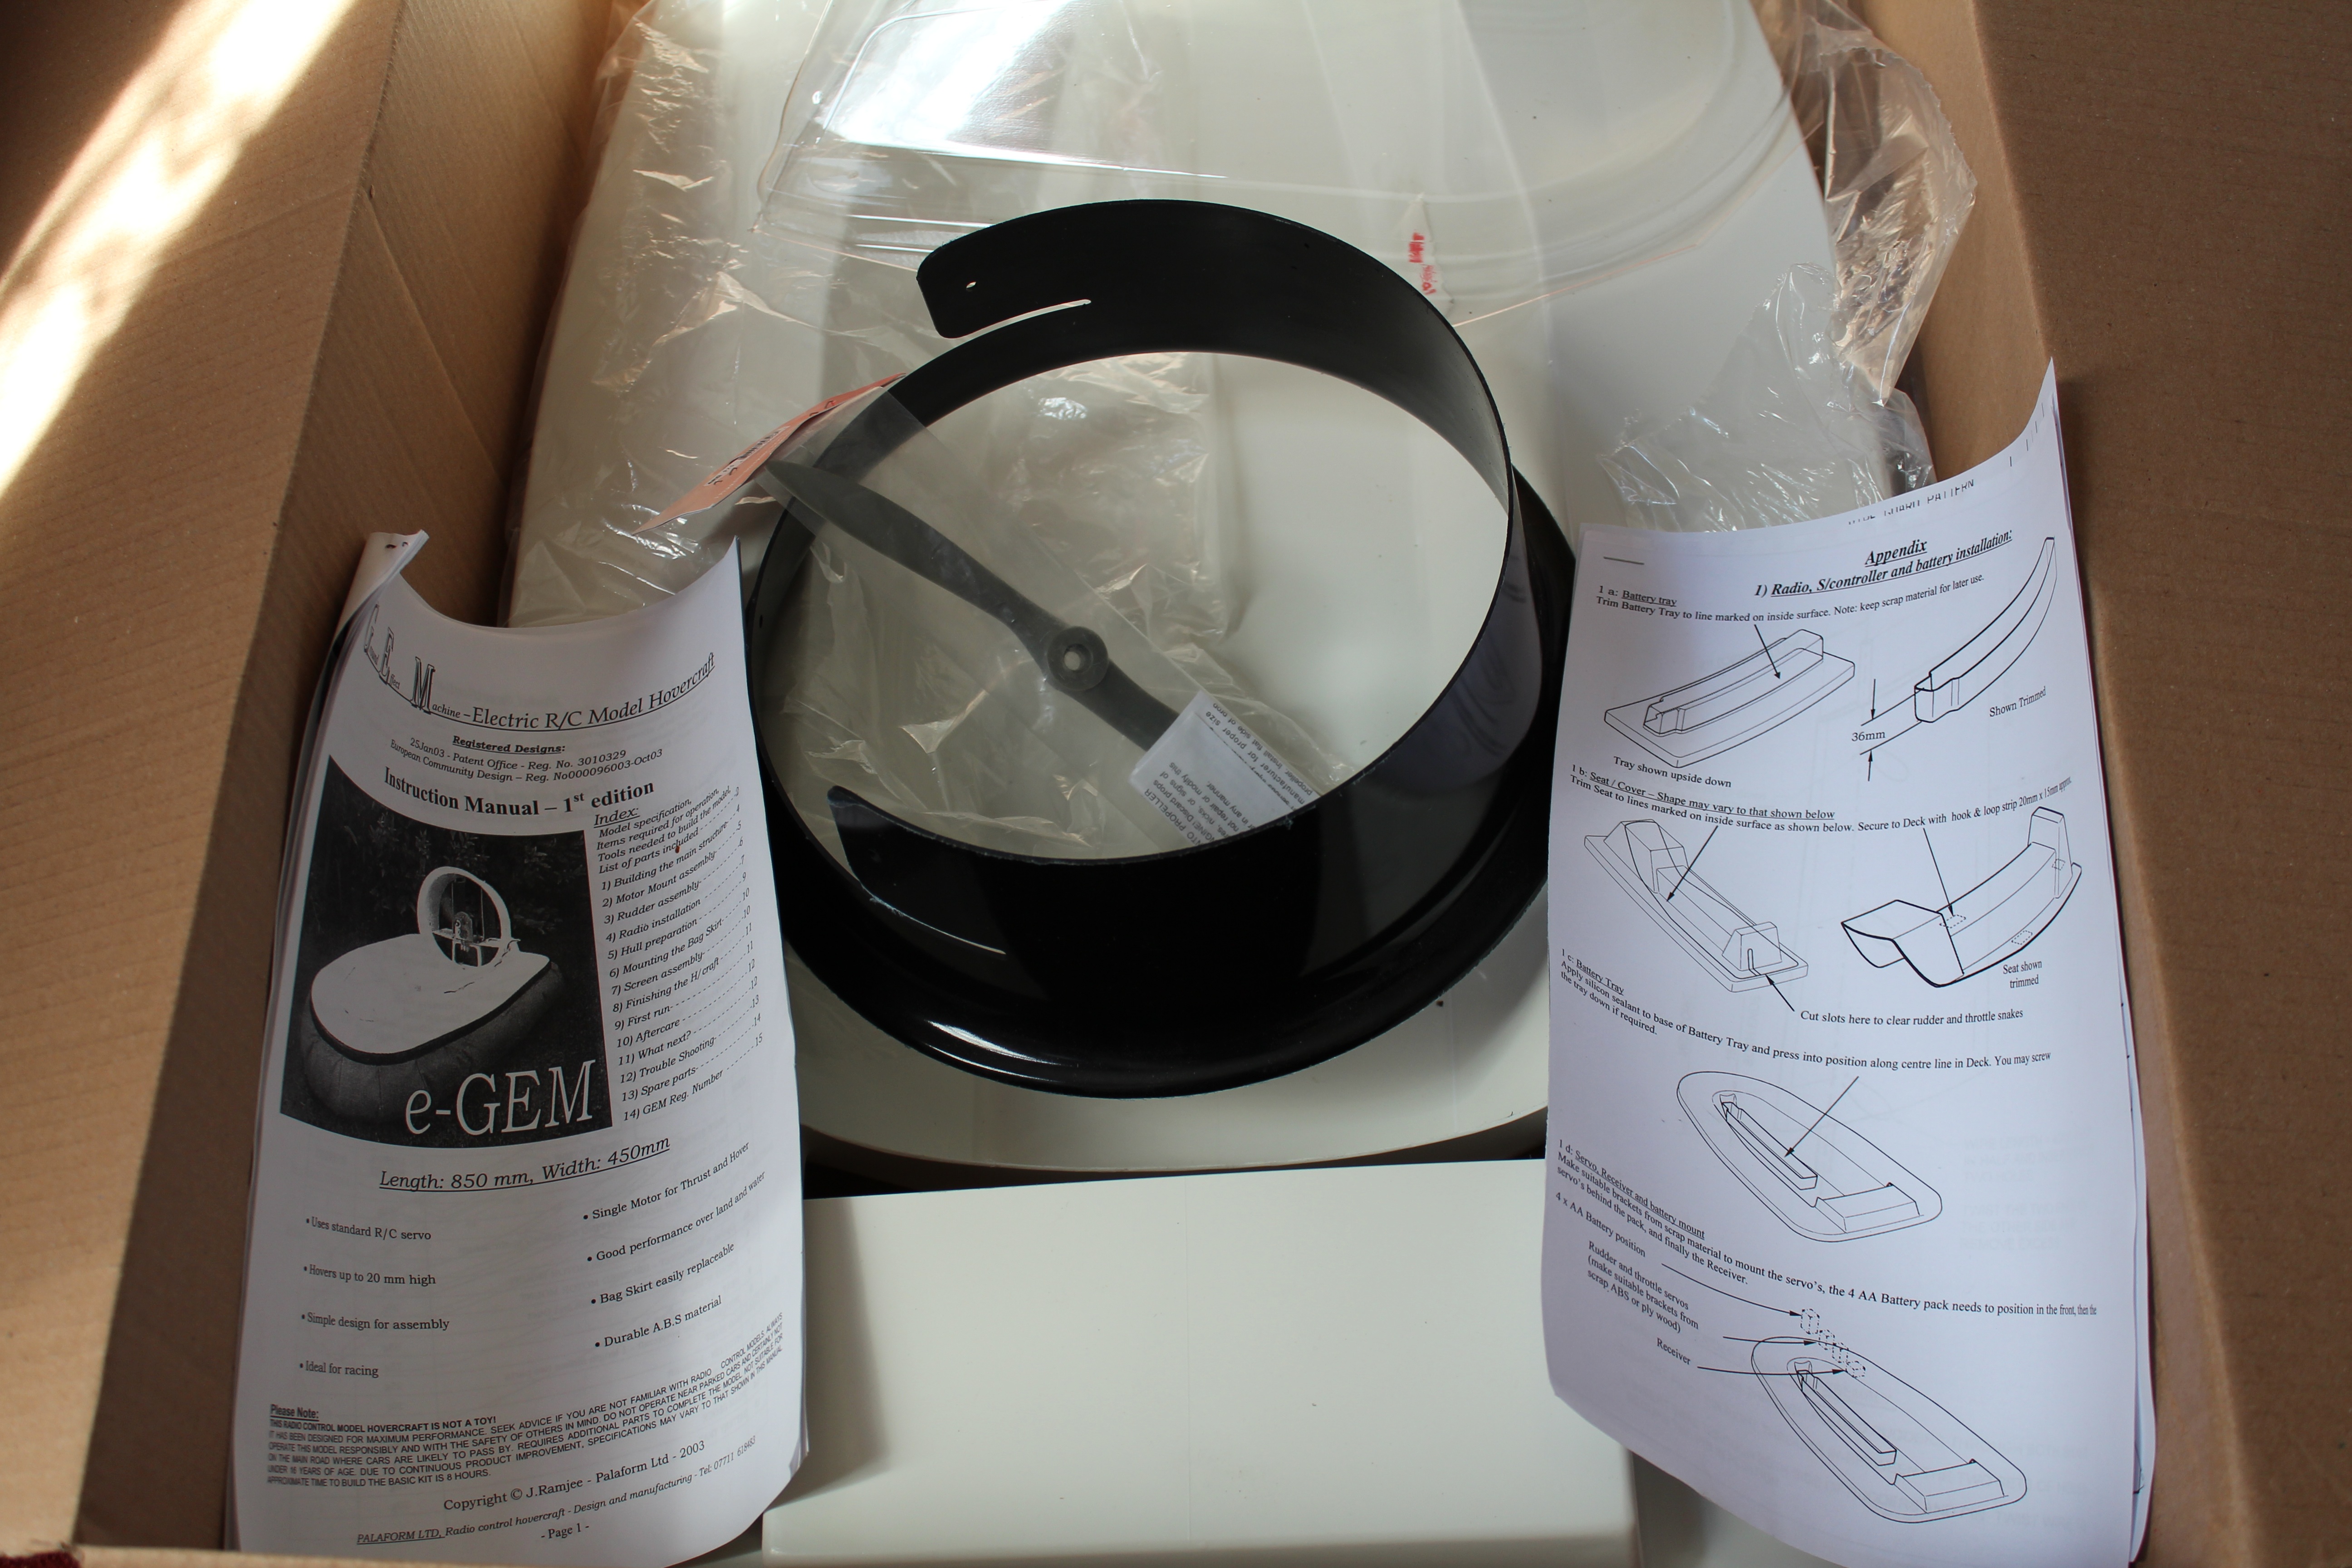
This is a model hovercraft kit I have just received.
It looks to be both a unique and challenging build.
You can find out more about the kit here.


My biggest undertaking so far.
This is a model hovercraft kit I have just received.
It looks to be both a unique and challenging build.
You can find out more about the kit here.
When I first saw this kit on modelsport I was intrigued. It was only £39 and I wanted to know just how good a car you would get for the price. You have to supply your own Electronic Speed Controller, Servo, Receiver and Motor bringing the total minimum build price to around £70- £80. I spent a bit more as I wanted to but some more decent bits in it.
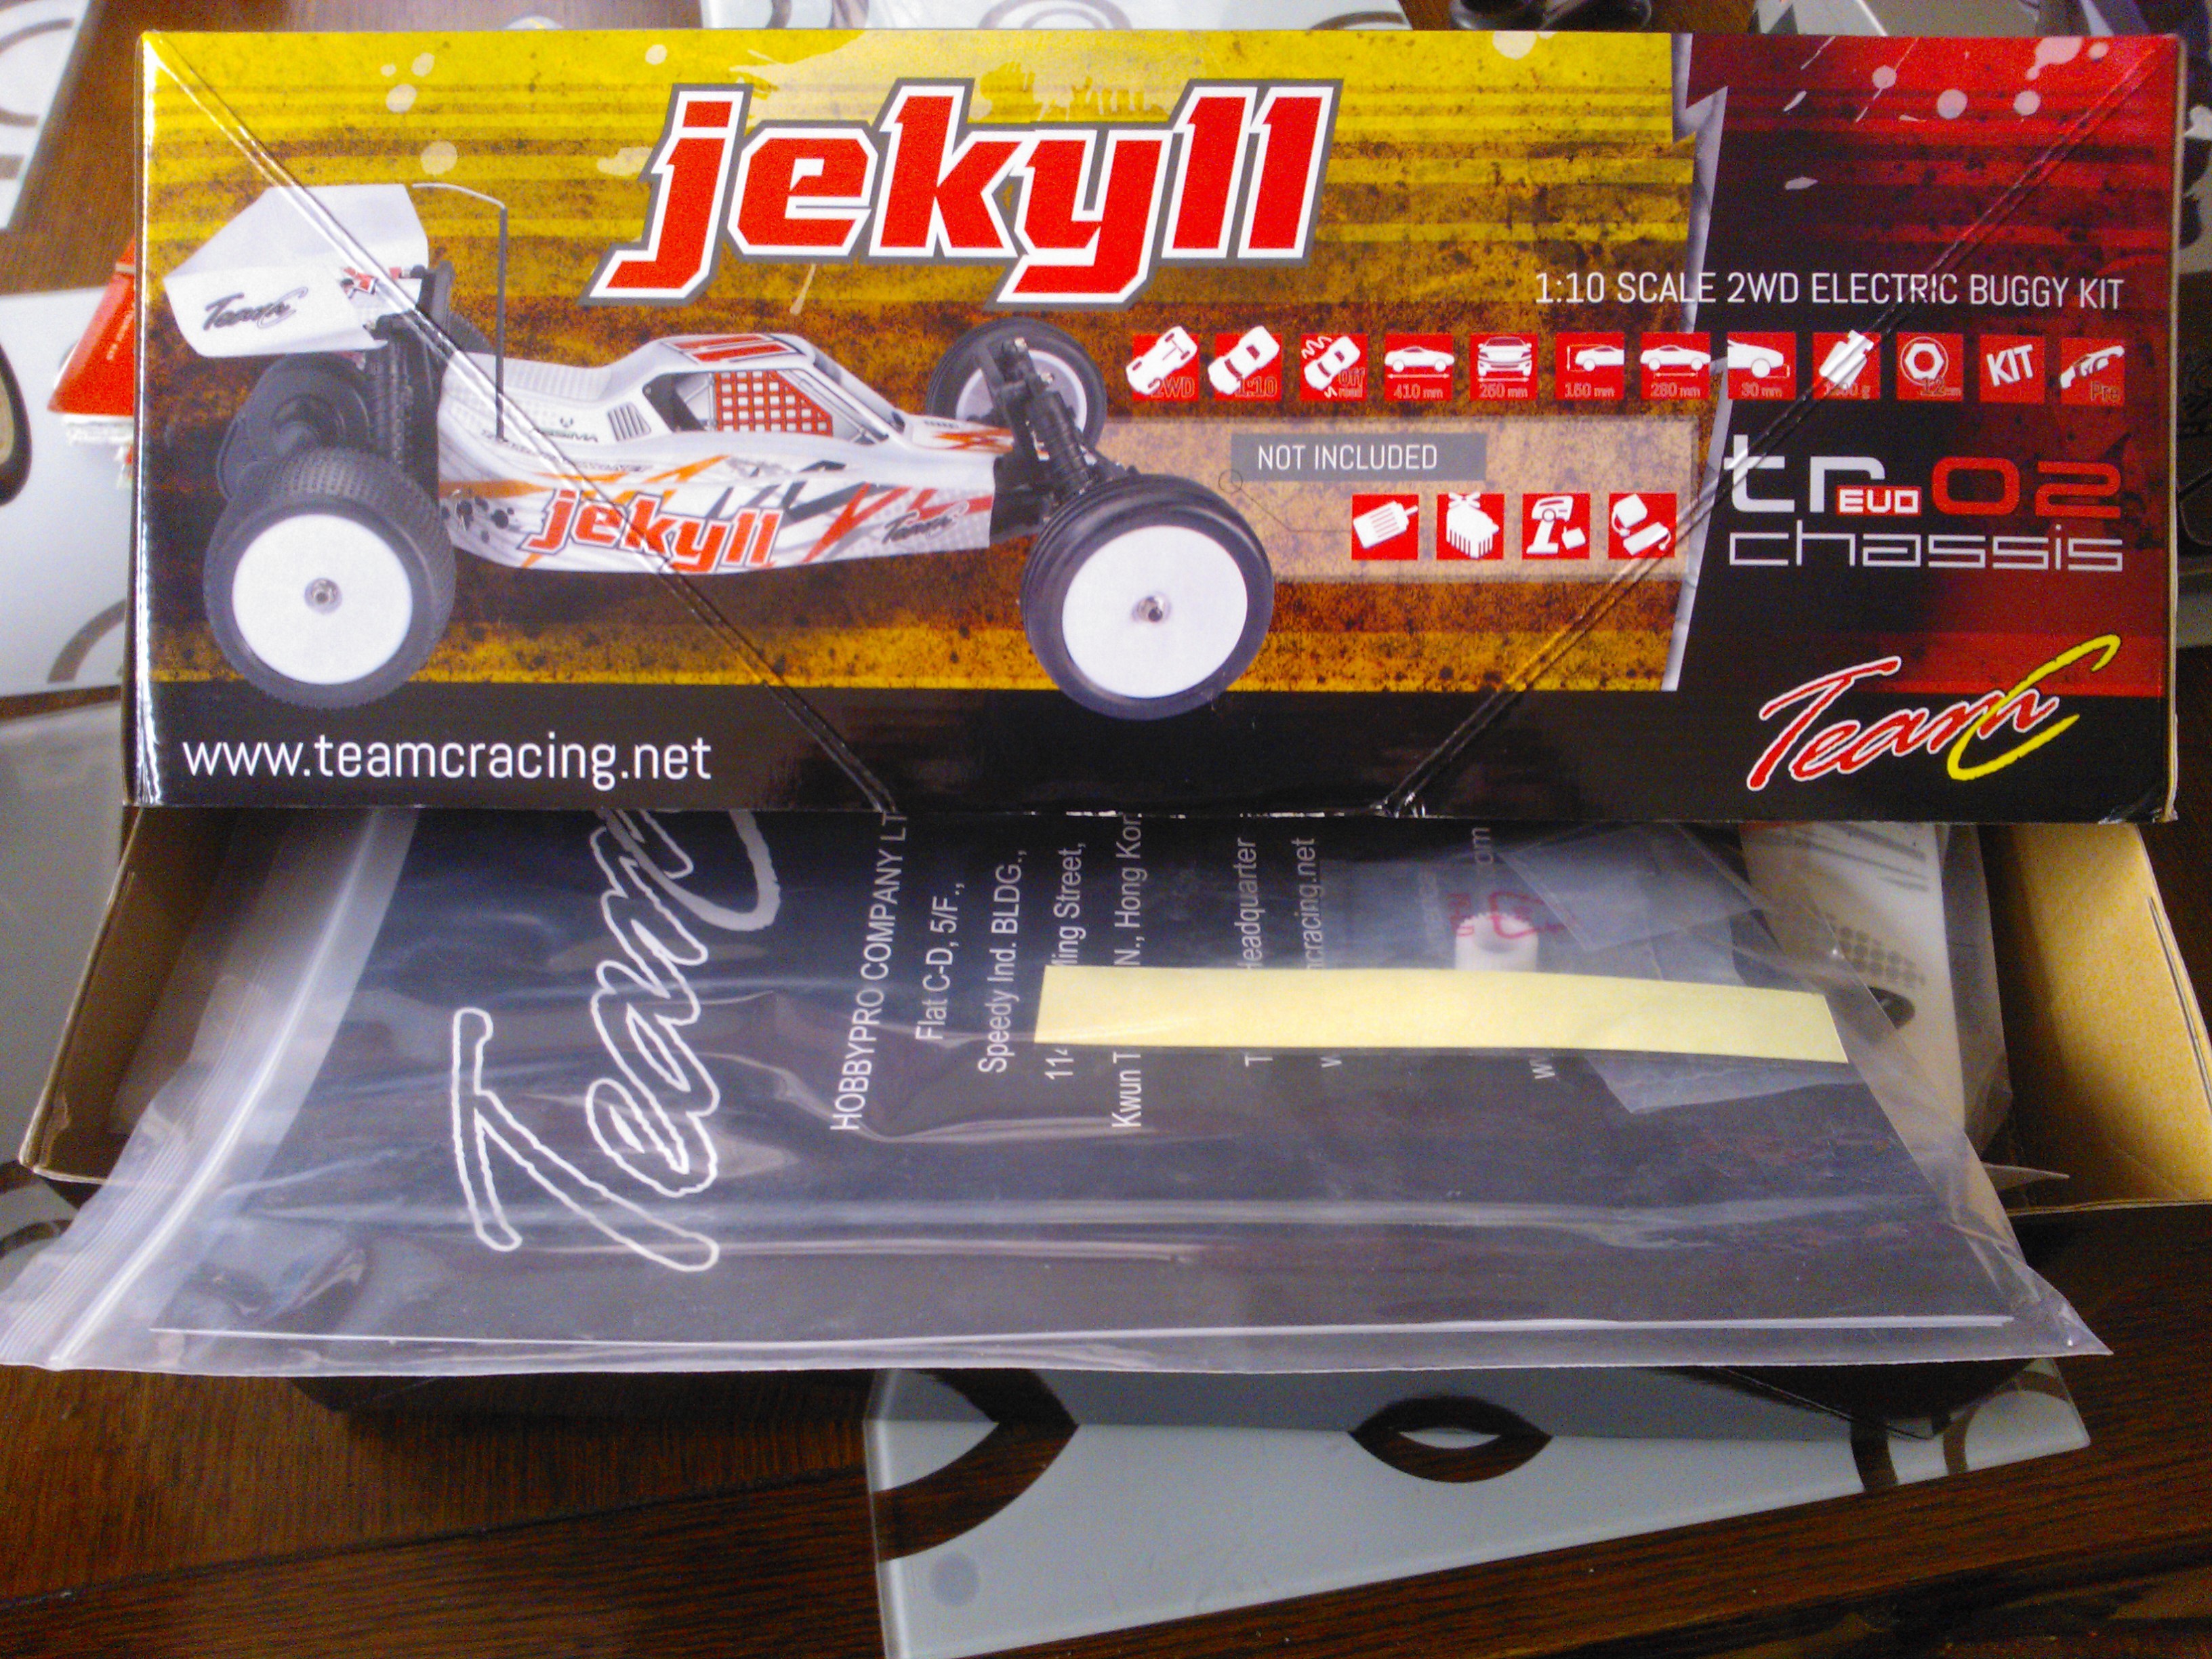
The packaging and parts were a decent quality considering the price and the manual was easy to follow. This would make a nice inexpensive first kit.
Things I used to complete the build:
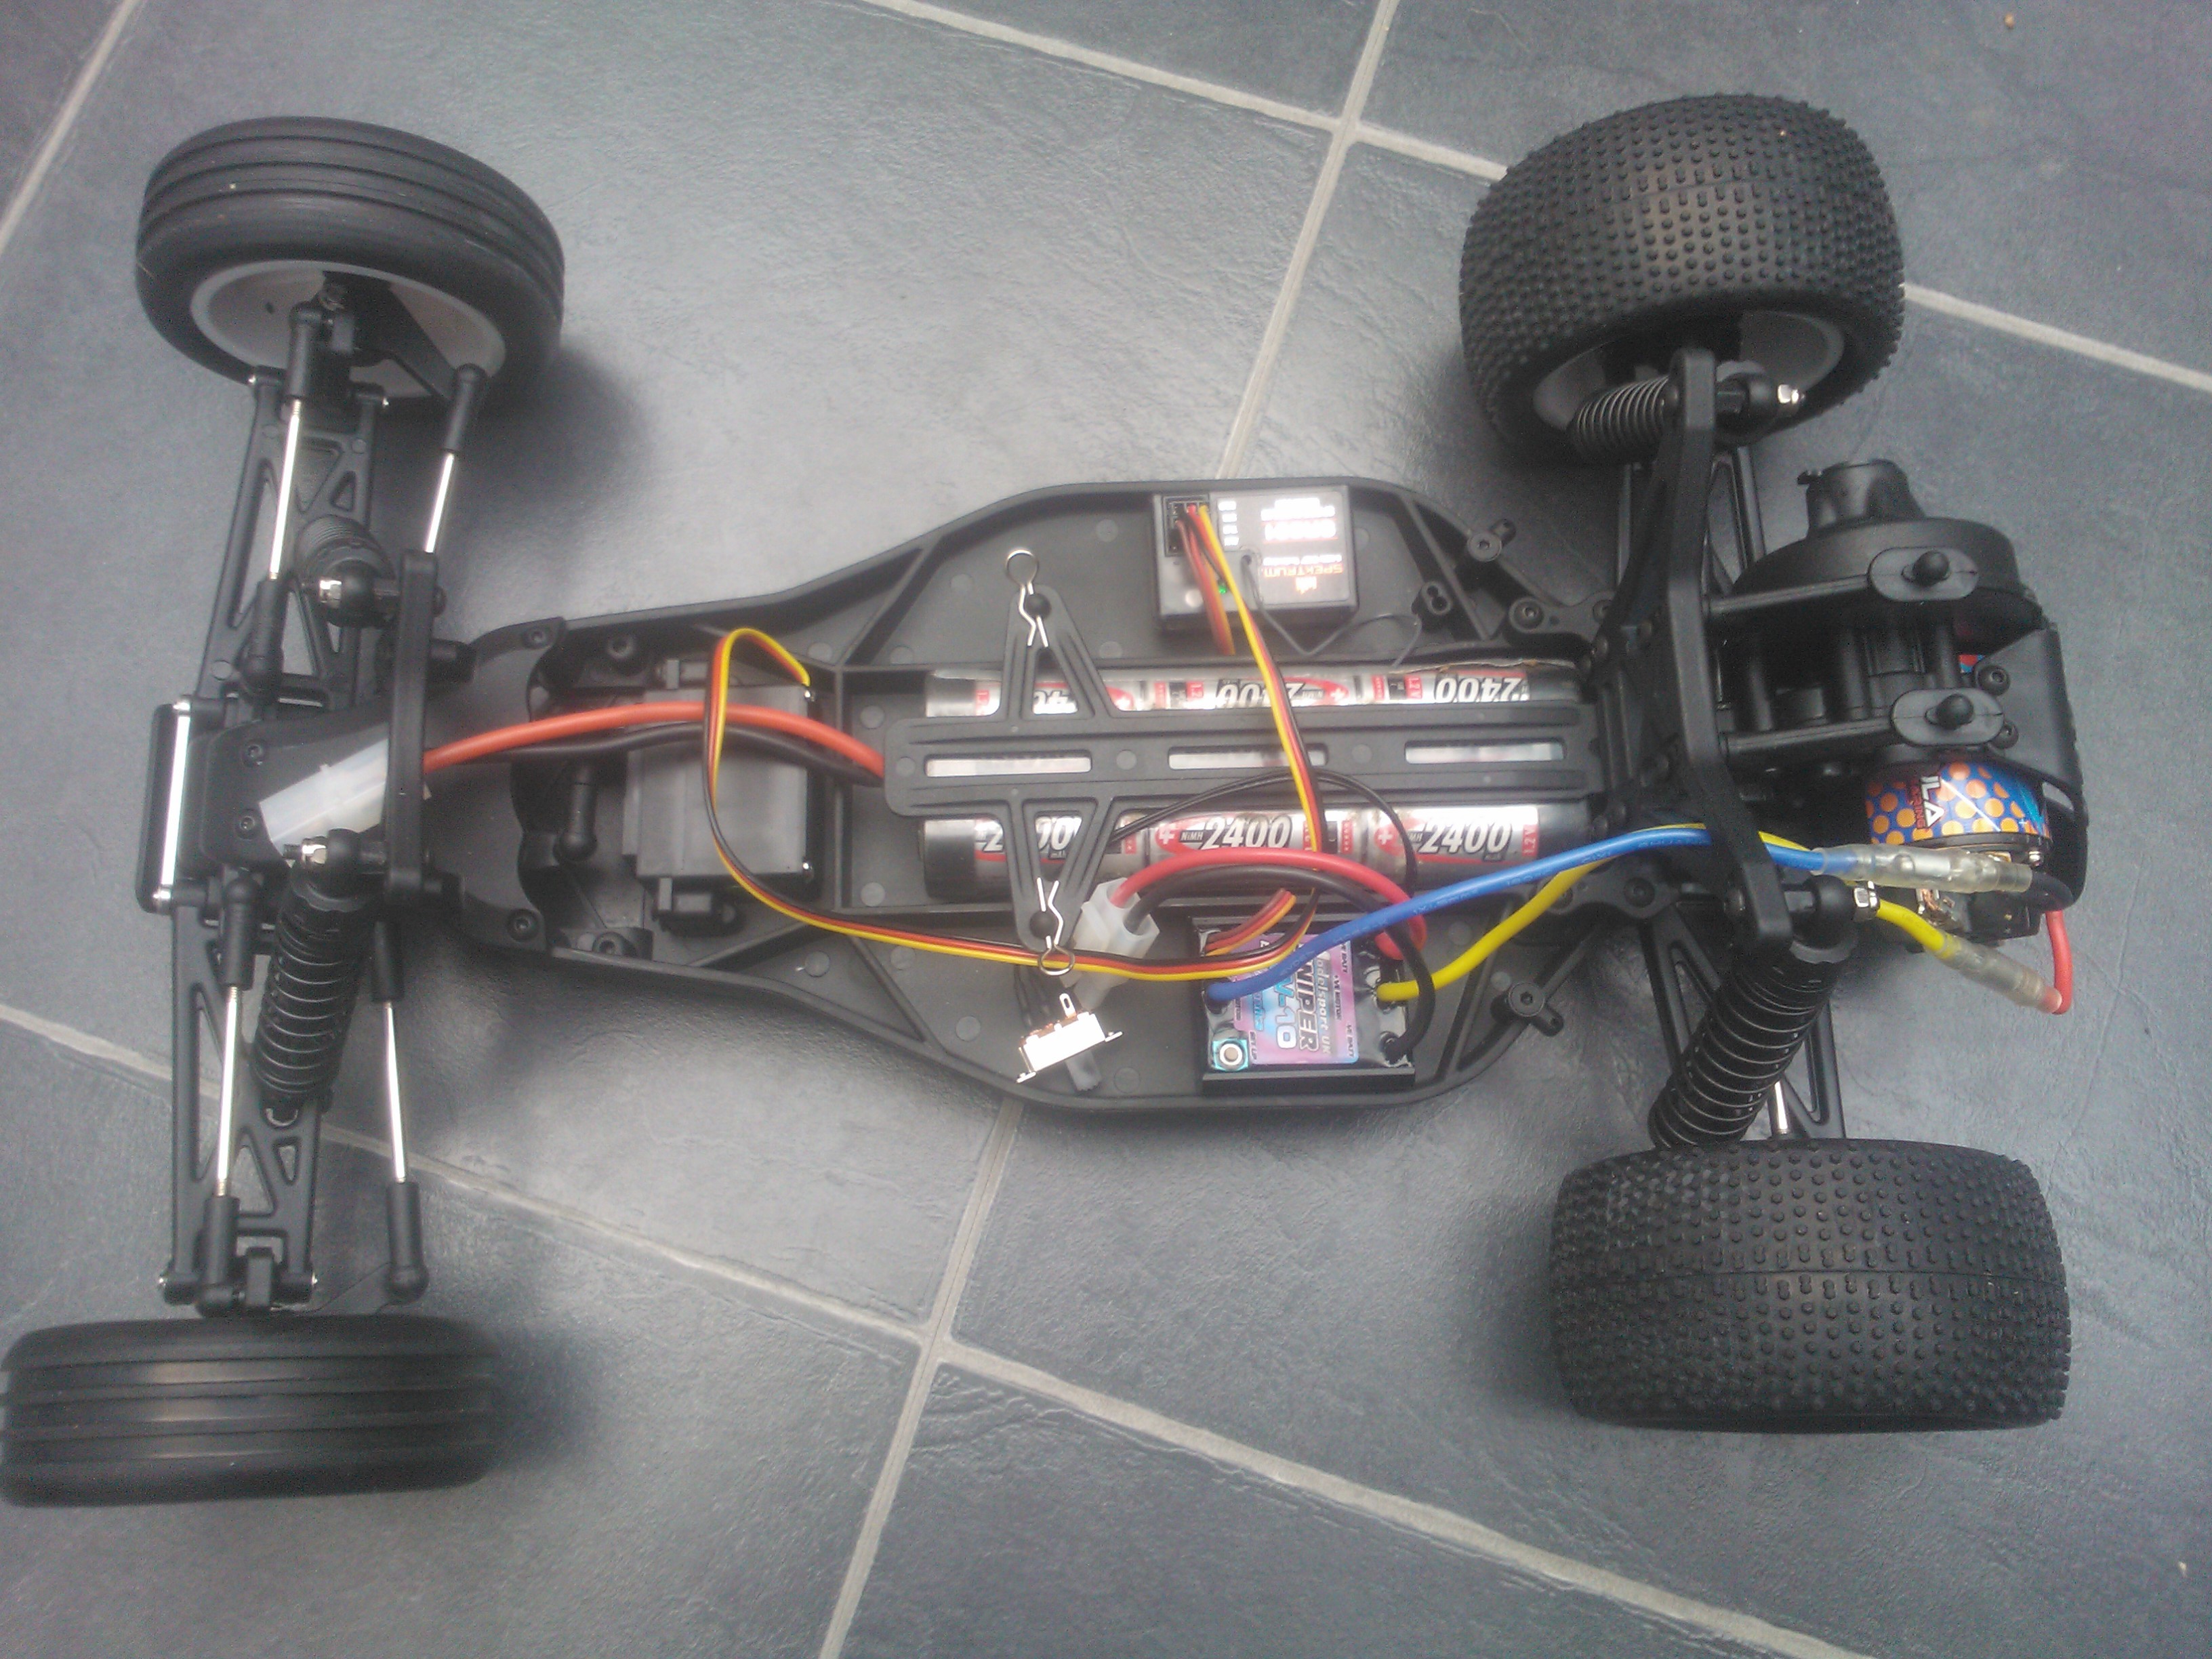
It seems I made a bad choice with the esc as the 13×3 motor seems to overheat it very easily, I am looking into a solution for that. On top of this I melted a battery connector to the esc so I ordered some traxxas connectors to deal with the current.
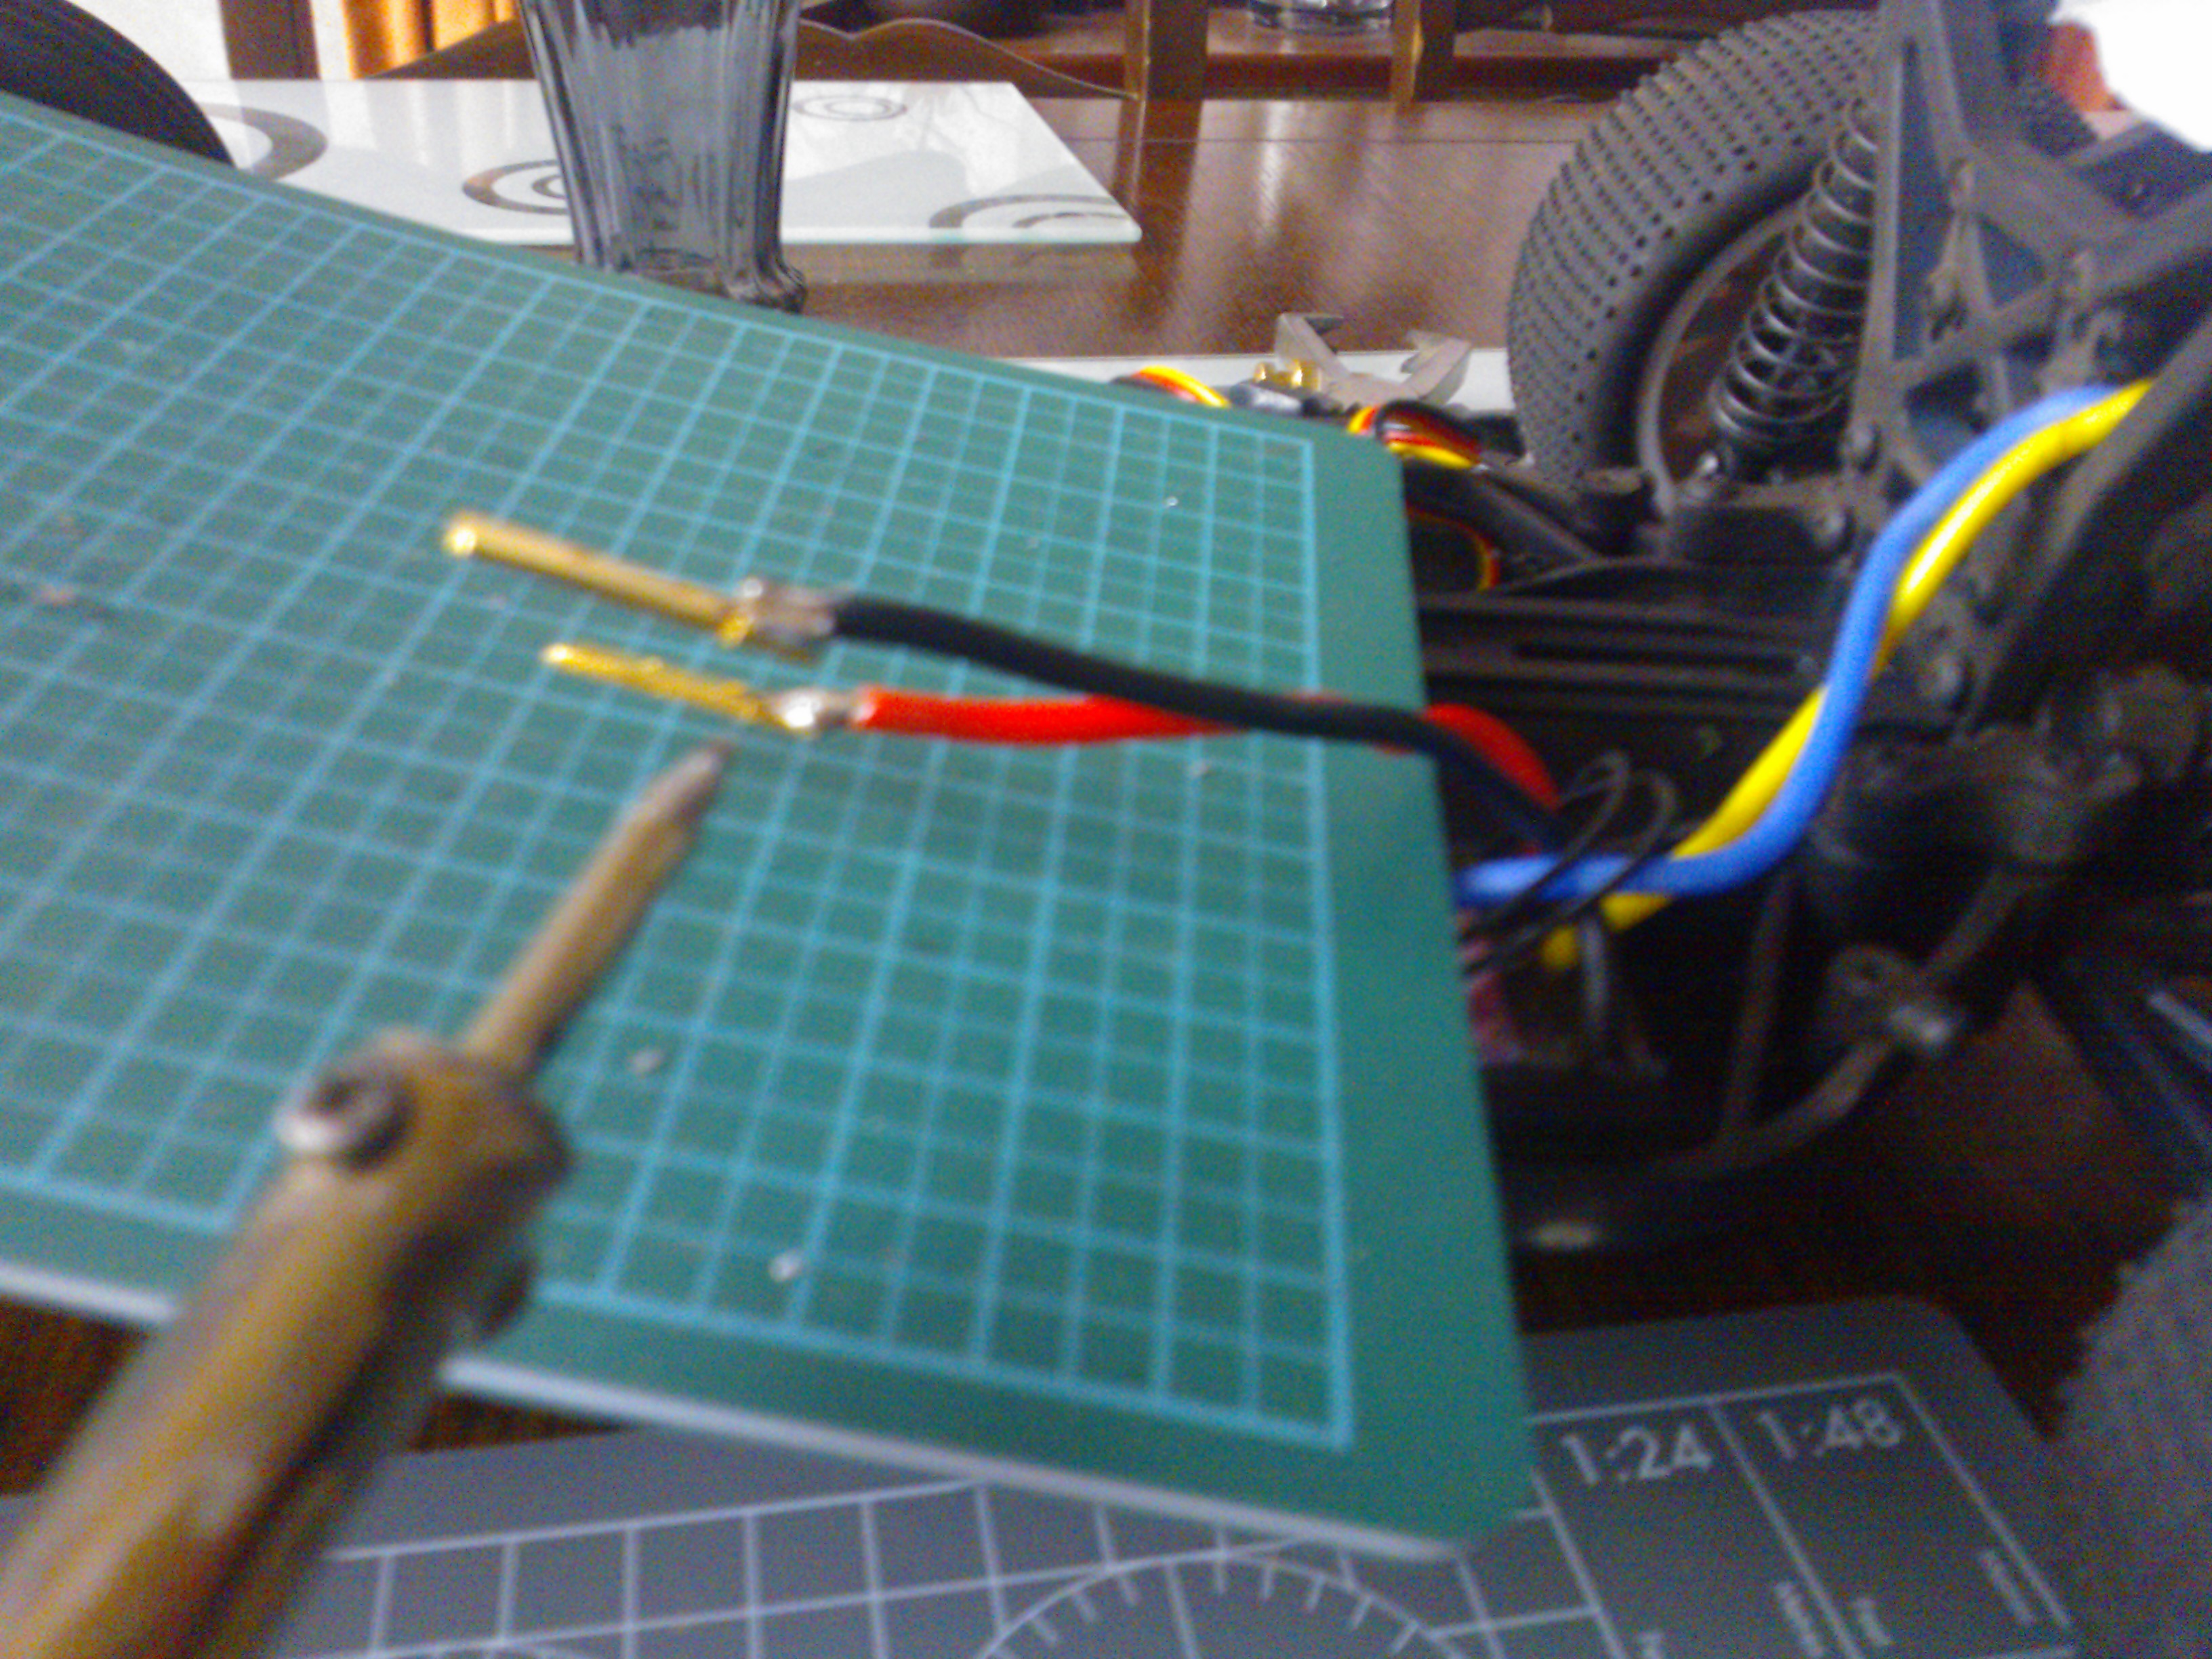 Soldering the new connectors

I also ordered a set of UK buggy bearings to ball race the kit. These replaced the bronze bushings that come as standard.

I do intend to replace my battery connectors with deans but the reason I went with a traxxas in this instance is I got this rocket pack battery in a sale. Its a 5100Mah 8.4 V Orion Rocket pack and really makes the thing go.
The bad thing is its too big for the battery compartment so I have to tape it in each time!
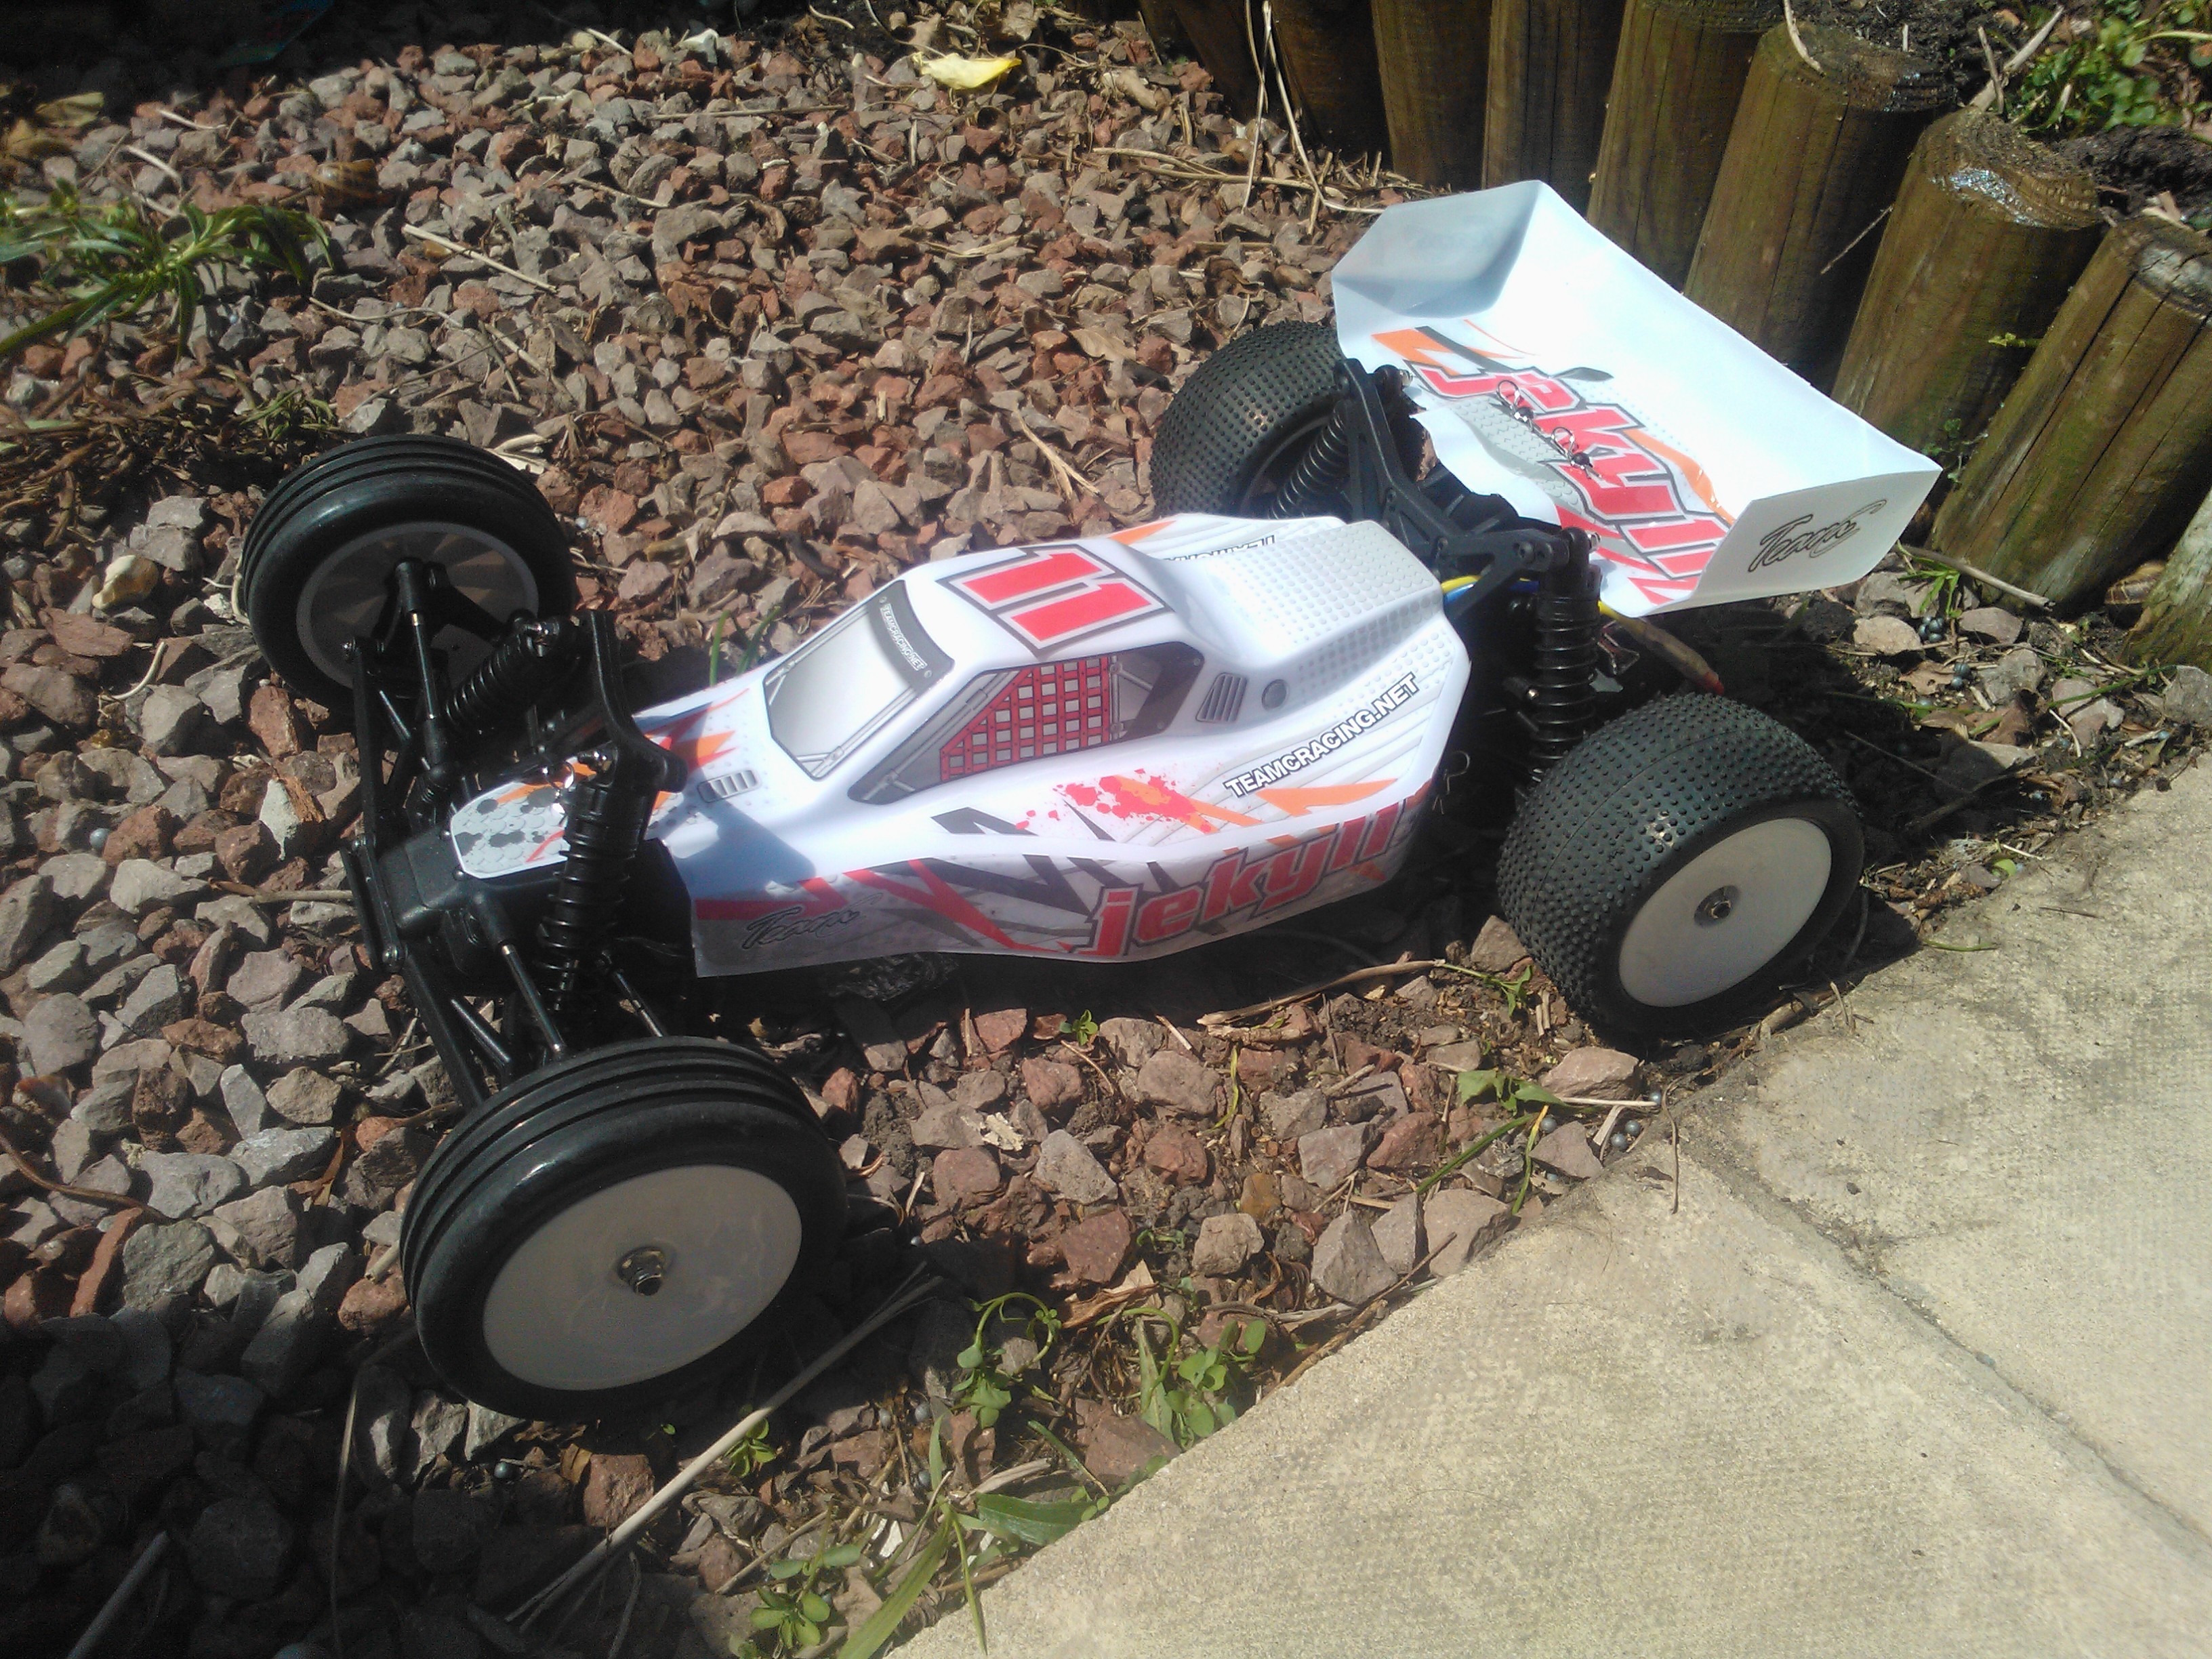
In summary this kit is easy to build, robust and well its cheap enough to buy a second one for a complete set of spare parts. I will upload some videos of it in action soon!

Arms with adjustable camber, oil filled shocks and propeller joints for the drive shaft. All are Aluminium replacing plastic parts. Shocks need to be built and filled with oil so they will need to set overnight.
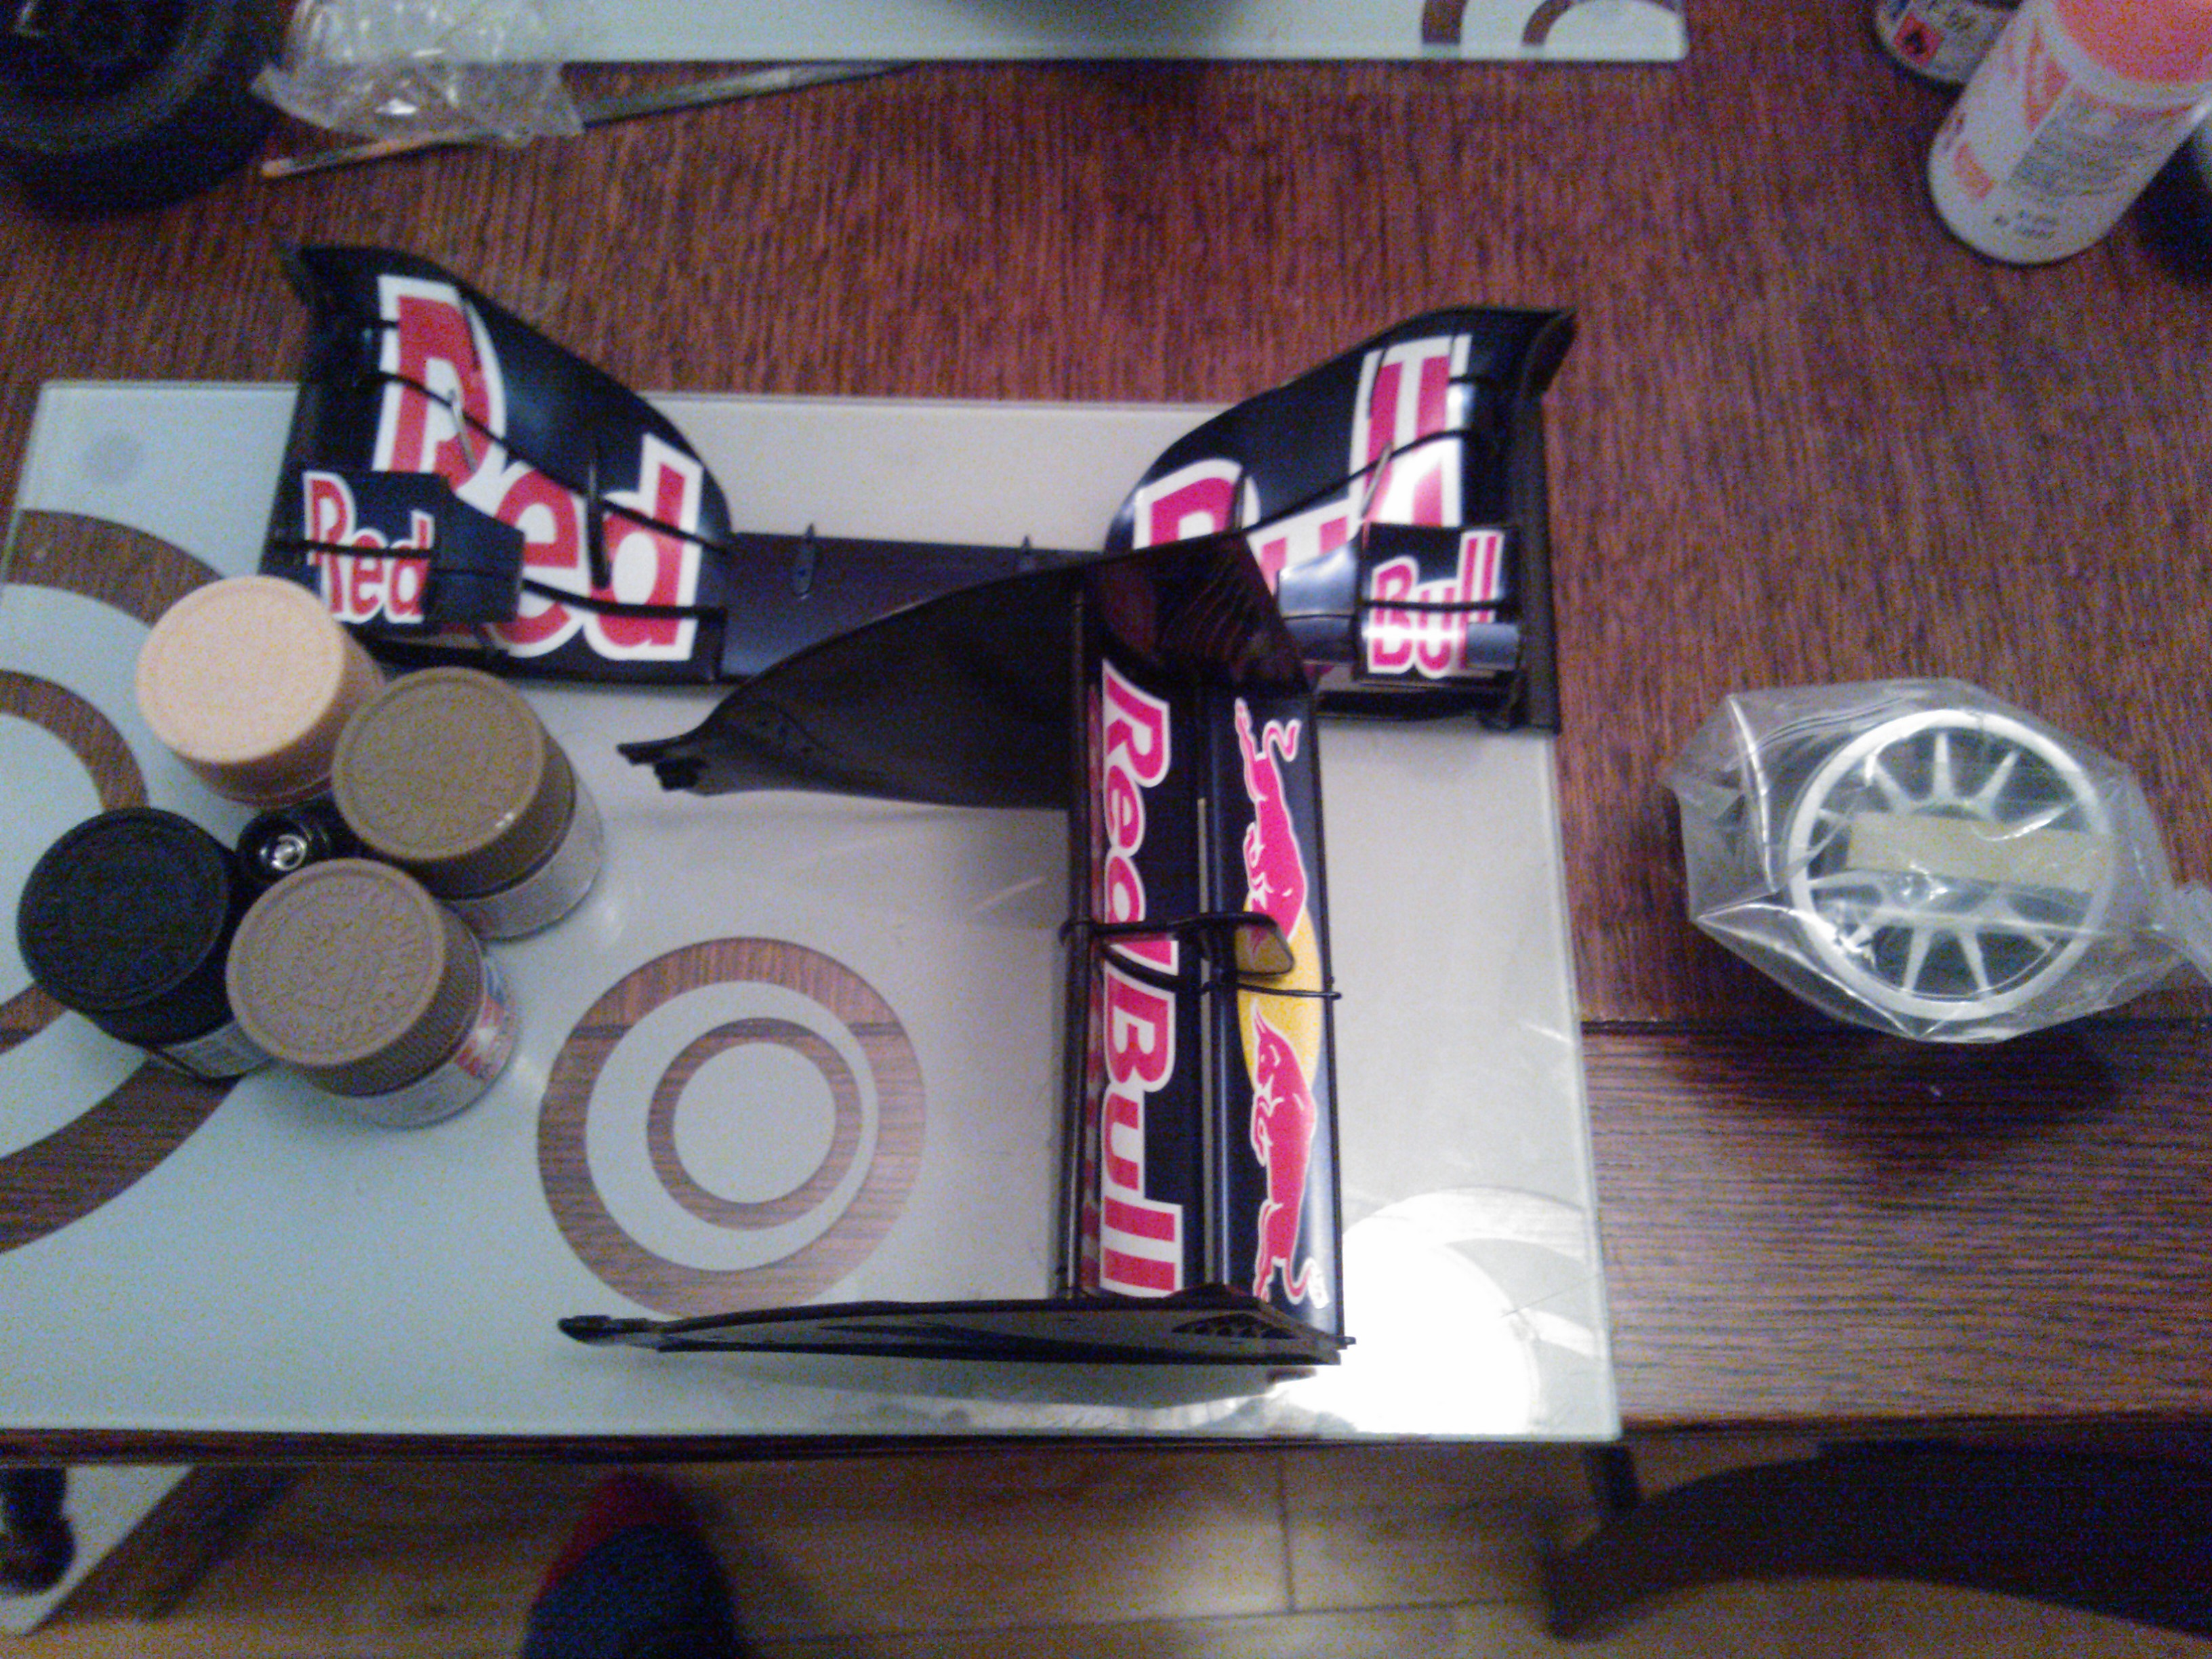
My first batch of parts for the Red Bull 7 kit arrived today.
The parts include bits of the front wing, rear wing, a wheel and an oil filled shock to build.
The front wing had some small parts that were pretty annoying to fit but I got there in the end.
You can see the oil filled shock balanced between paint pots in the photo.
This is to let the oil spread around the shock assembly and remove pockets of air.