
Funnily enough the e-Gemini was the first hovercraft kit that I brought way back in 2013. Unfortunately because of the space required to build it and the fact it looked a little overwhelming back then I have put it off till now.
The kit requires a lot of manual drilling and finishing as well as working with materials I was not familiar with. Back then I mainly built Tamiya style kits where everything just screwed together, I was not prepared for drilling and cutting things where a mistake could cause major issues.
Since then I have built a lot more complex models including robotic kits and 3D printed things I have designed myself. I have also built two other palaform kits since then.
Having gained experience and confidence with these builds and having gained my own little workshop I decided it was time to finish the e-Gemini.
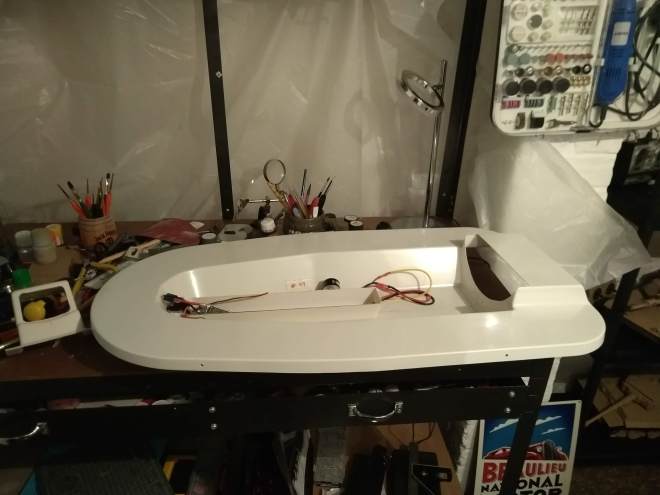
I started the build again by attaching the duct and air inlet to the deck of the craft.

With the duct and air inlet in place I attached the motor to the motor mount.

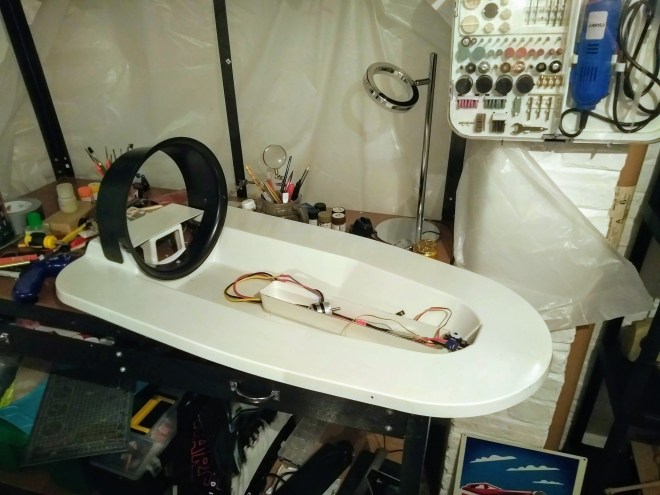
Next the propeller is attached to the motor shaft.
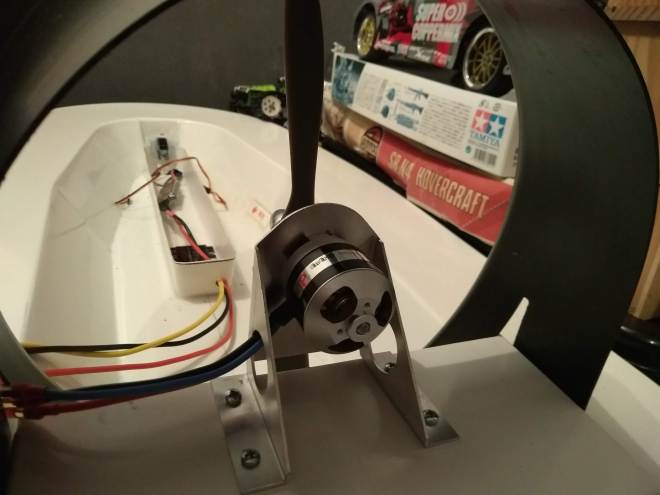
The motor mount is then attached to the deck.
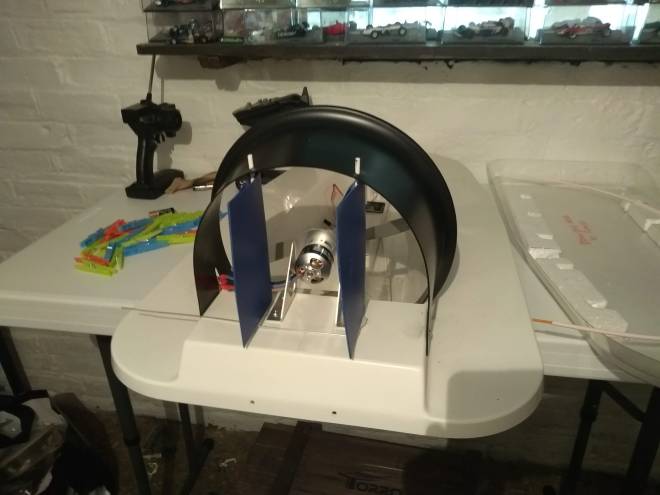
Next the rudders were created and fitted. The rudders were built from material folded in half and glued together. I used lots of clothes pegs in each rudder to hold it while the glue set.
Poles are fed through each rudder and glued in place. The rudders were then attached to the craft by feeding the poles into holes drilled into the deck and duct.
Testing the rudders
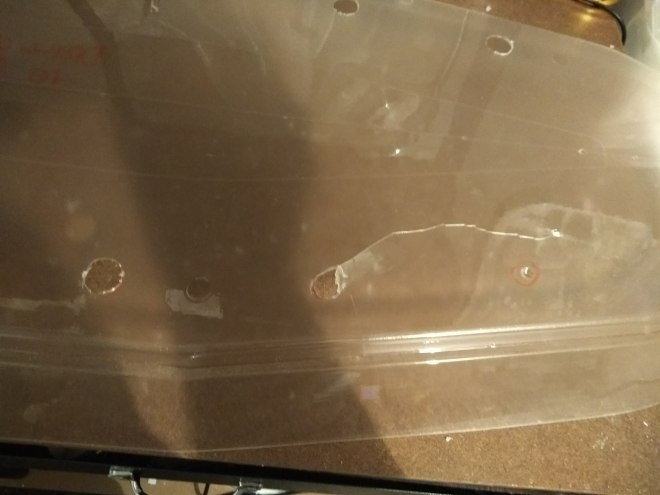
The next thing to do was to cut some holes in the deck for the air to escape. Unfortunately I cut one at an angle and split the hull.
This was fixed by drilling out each end of the crack to stop it spreading and sealing it with duct tape and plastic.
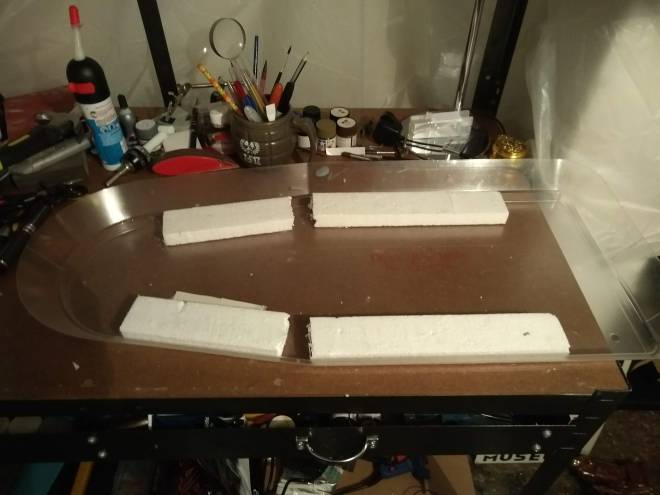
Foam blocks were then added to the hull for buoyancy.
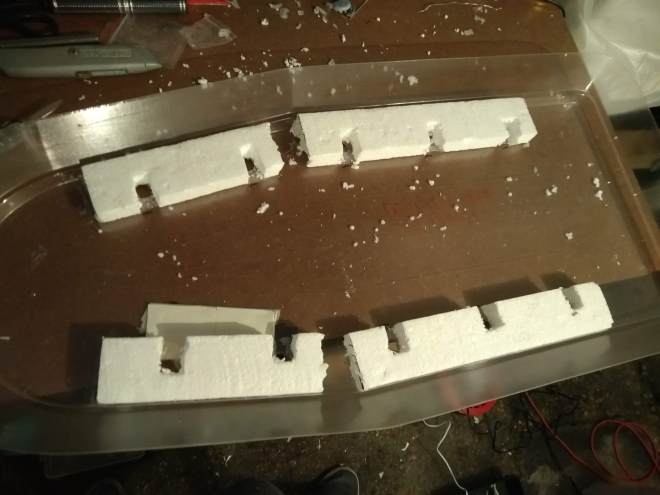
Holes were cut into the foam blocks to open up the previously drilled holes.

The hull and deck were sealed together with silicone. The skirt was then wrapped around the hull.

The bottom of the skirt was attached to the hull first using silicone followed by duct tape.
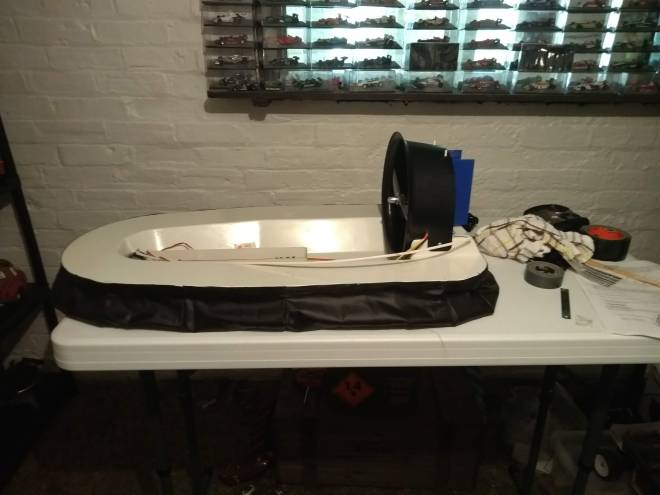
Next the top of the skirt was attached to the deck with silicone.
At this stage it was time to test the craft could hover and move. Unexpectedly on the first test the deck and hull split apart. This meant the deck hovered above the hull while it remained on the floor.
After removing the skirt and all of the previous silicone (not an easy task) I sanded the sides of the deck and hull and put much more silicone on for the second try. This held together fine.

The next thing to sort out was linking the rudder to a servo. This was supposed to be controlled via a servo snake that is pushed and pulled from the front of the craft but I could not get this working. In the end I cut out a hole for a servo at the back of the craft and used a server extension cable to attach it to my receiver.
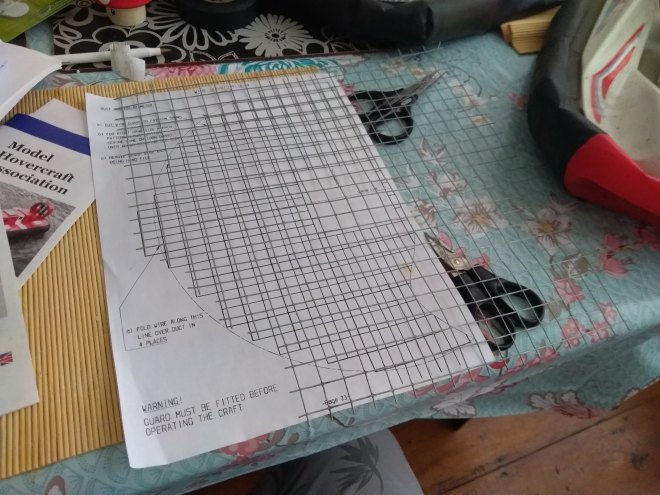
Wire mesh is provided with the kit in order to make a propeller guard. This was cut into shape using the handy scale pattern provided.
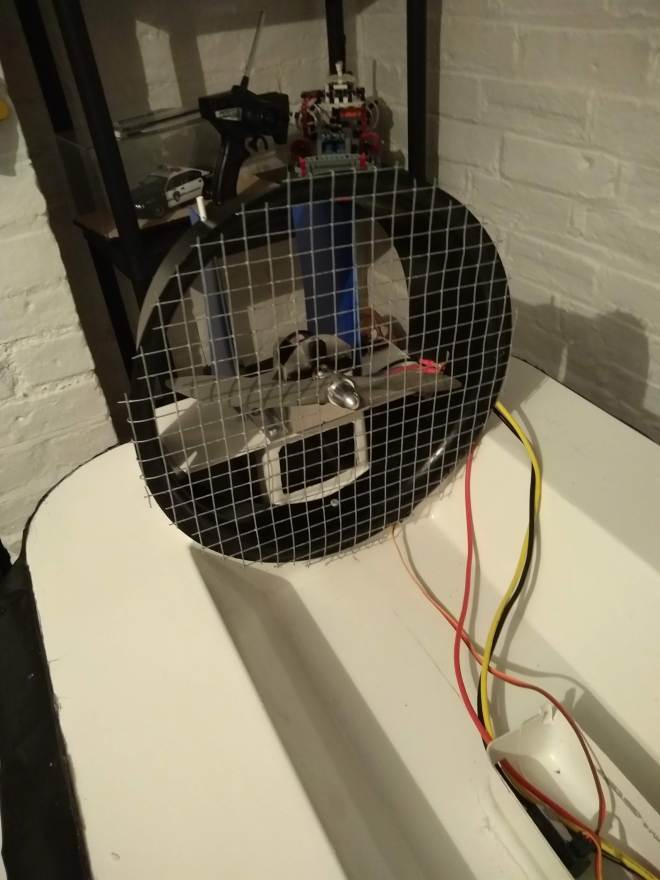
The propeller guard is held on the duct by folding some tabs at each edge of the mesh around the duct.
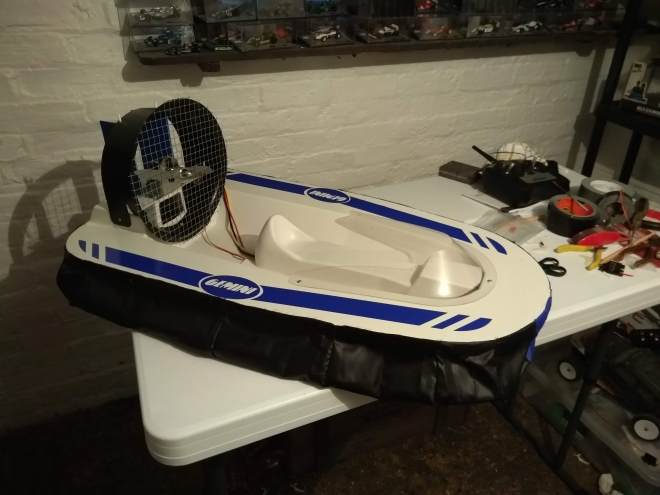
Lastly the screen is screwed onto the front of the deck and stickers are attached. I hope to get out and tested it soon and will post a video of its test run. If there is one thing I have learned is that its too big to run indoors!

Great write up Shane, still find it interesting to read after many months, thanks, Jag@Palaform