

The Tiger 2 is almost complete. The spare tracks have been added to the turret and any accessories have been attached to the tank hull. From the above Continue reading Tamiya 1:35 King Tiger Radio Control Part 4
The Tiger 2 is almost complete. The spare tracks have been added to the turret and any accessories have been attached to the tank hull. From the above Continue reading Tamiya 1:35 King Tiger Radio Control Part 4
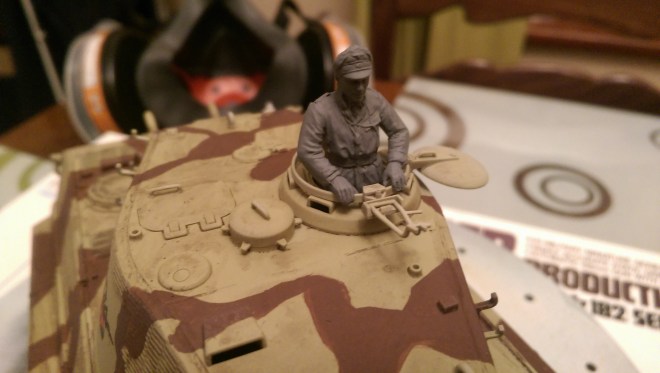
The next thing to do on my tiger 2 was to add the decals and tank commander. I applied the decals to a layer of varnish and then varnished Continue reading Tamiya 1:35 King Tiger Radio Control Part 3

Next on my todo list is finishing off the r/c Tiger 2 that I started last year.

The upper hull turret and barrel is air brushed dunkel gelb.

After the main coat was applied I hand painted on a red brown camouflage pattern.

Over the weekend I decided to focus on the lower hull of this kit. That way I could start playing about with the electronics and get the thing moving.

The first thing to do was to start masking areas that should not be painted. These are areas where the wheels will be attached Continue reading Tamiya 1:35 King Tiger Radio Electronics and Lower Hull
When building my first metal earth model I soon realised the hard part of these models is when you need to create circular shapes. This put me off of tackling the rest of my t34 model for a while.
I decided to get on a finish this model so it was time to tackle the road wheels on this kit.

The road wheels consist of a metal sheet rolled into a tube with a circular cap attached to the front of them. A final metal piece goes on top to hold it all together. These were very fiddly and some took several attempts to put together.

Although smaller the gears at each end of the tank were easier to attach as these were only made of two pieces.

The tracks went on pretty easy as these were just wrapped around the wheels and held onto the back plate that the wheels are attached to. The complete set of wheels with tracks were then attached to each side of the hull.
One thing I could of got better was the road wheels. They do not sit on the track properly because of the metal tabs sticking out of the bottom of them.

Given that this kit only cost around £6 I am very impressed with the outcome and detail. These are a nice alternative to plastic models as they require a different skill set and can be built pretty quickly.

Next up I am building the himeji castle for my girlfriend.
The problem I find with R/C vehicles is they take up a lot of space considering how often I use them. I stumbled across (and won) one of these great kits on eBay the other day. I did not even know these kits existed!
They are Tamiya 1:35 static kits modified to take R/C components giving you a highly detailed R/C model. This one is from 2001 and they seem pretty rare. There are some pre-built 1:35 models around abroad but these seem to have some ugly ir sensor on top of them.

This is what you get in the R/C box alongside the kit. There are motors and gears for the drive and turret rotation along with some extra parts to convert the static model to R/C.

This is the model kit itself. I looks like it comes with stronger tracks that you would get with the static model.

I purchased some after market options for my build. The first is a zimmerit sheet. This give the surfaces a texture representing the paste that was put on some armour to prevent magnetic mines from sticking to the hull.

The second upgrade I went for was the photo etched grills. I did no realise at first but you also get a sight for the turret gun as well.

I started the kit by glueing the photo etched parts into place.

Next I started adding the zimmerit. I had to cut out areas on the sheet with a modelling knife where any parts would stick out from. First up was the rear hull.

Next I added zimmerit to the front lower hull.

Finally I added the zimmerit sheets to the turret sides. On each side a large square is cut out for the unit markings to sit in.
That’s all for now, more on this build soon!
I decided to attempt to add some tracks to my tank model I am working on in blender. From what I have read making good tank tracks is a kind of rights of passage in 3D Modelling. The detail some people have gone into is Continue reading 3D Modelling Making Tracks
I have finished my first Metal Earth kit and all things considered it turned out well.

I learned a lot from this first kit which will improve my future builds.

The main thing I learned was that using screw drivers of different diameters is a great way of creating the cylinder Continue reading Some more Metal Earth building
I recently been playing around more and more with 3D modelling.
There are two reasons for this.
Firstly as you may have seen from my previous posts I am building a 3D printer. Secondly I have been prototyping different computer game ideas in Unity for a while now and decided to switch to 3D for some of my ideas.
Here is a couple of images of a tank model I am working on. It does not really have a dedicated purpose yet but I thought if I made any models for use in games they could be simplified for printing purposes.

The weapon of choice for my 3D modelling is Blender. This is because it is a free open source application with plenty of tutorials on itself and integration with Unity.

It looks like 3D printing will pose its own challenges where things like over hanging parts will be a challenge. This does give me the idea of printing a model over several runs in kit form though which would be cool.
 Work has started on the World of Tanks Ferdinand kit.
I started by working on the main chassis and getting the hull together. The suspension took a little while to make as it is each of the 6 parts are comprised of several small parts. After adding these I filed and built the gun.
I gave the gun a coat of dunkelgelb to ensure that the whole of the ball of the gun is painted in the base coat. This will prevent unpainted spots appearing when the gun is moved.
Before fitting the gun into the turret I primed the hull so that I didn’t need to mask the gun up.
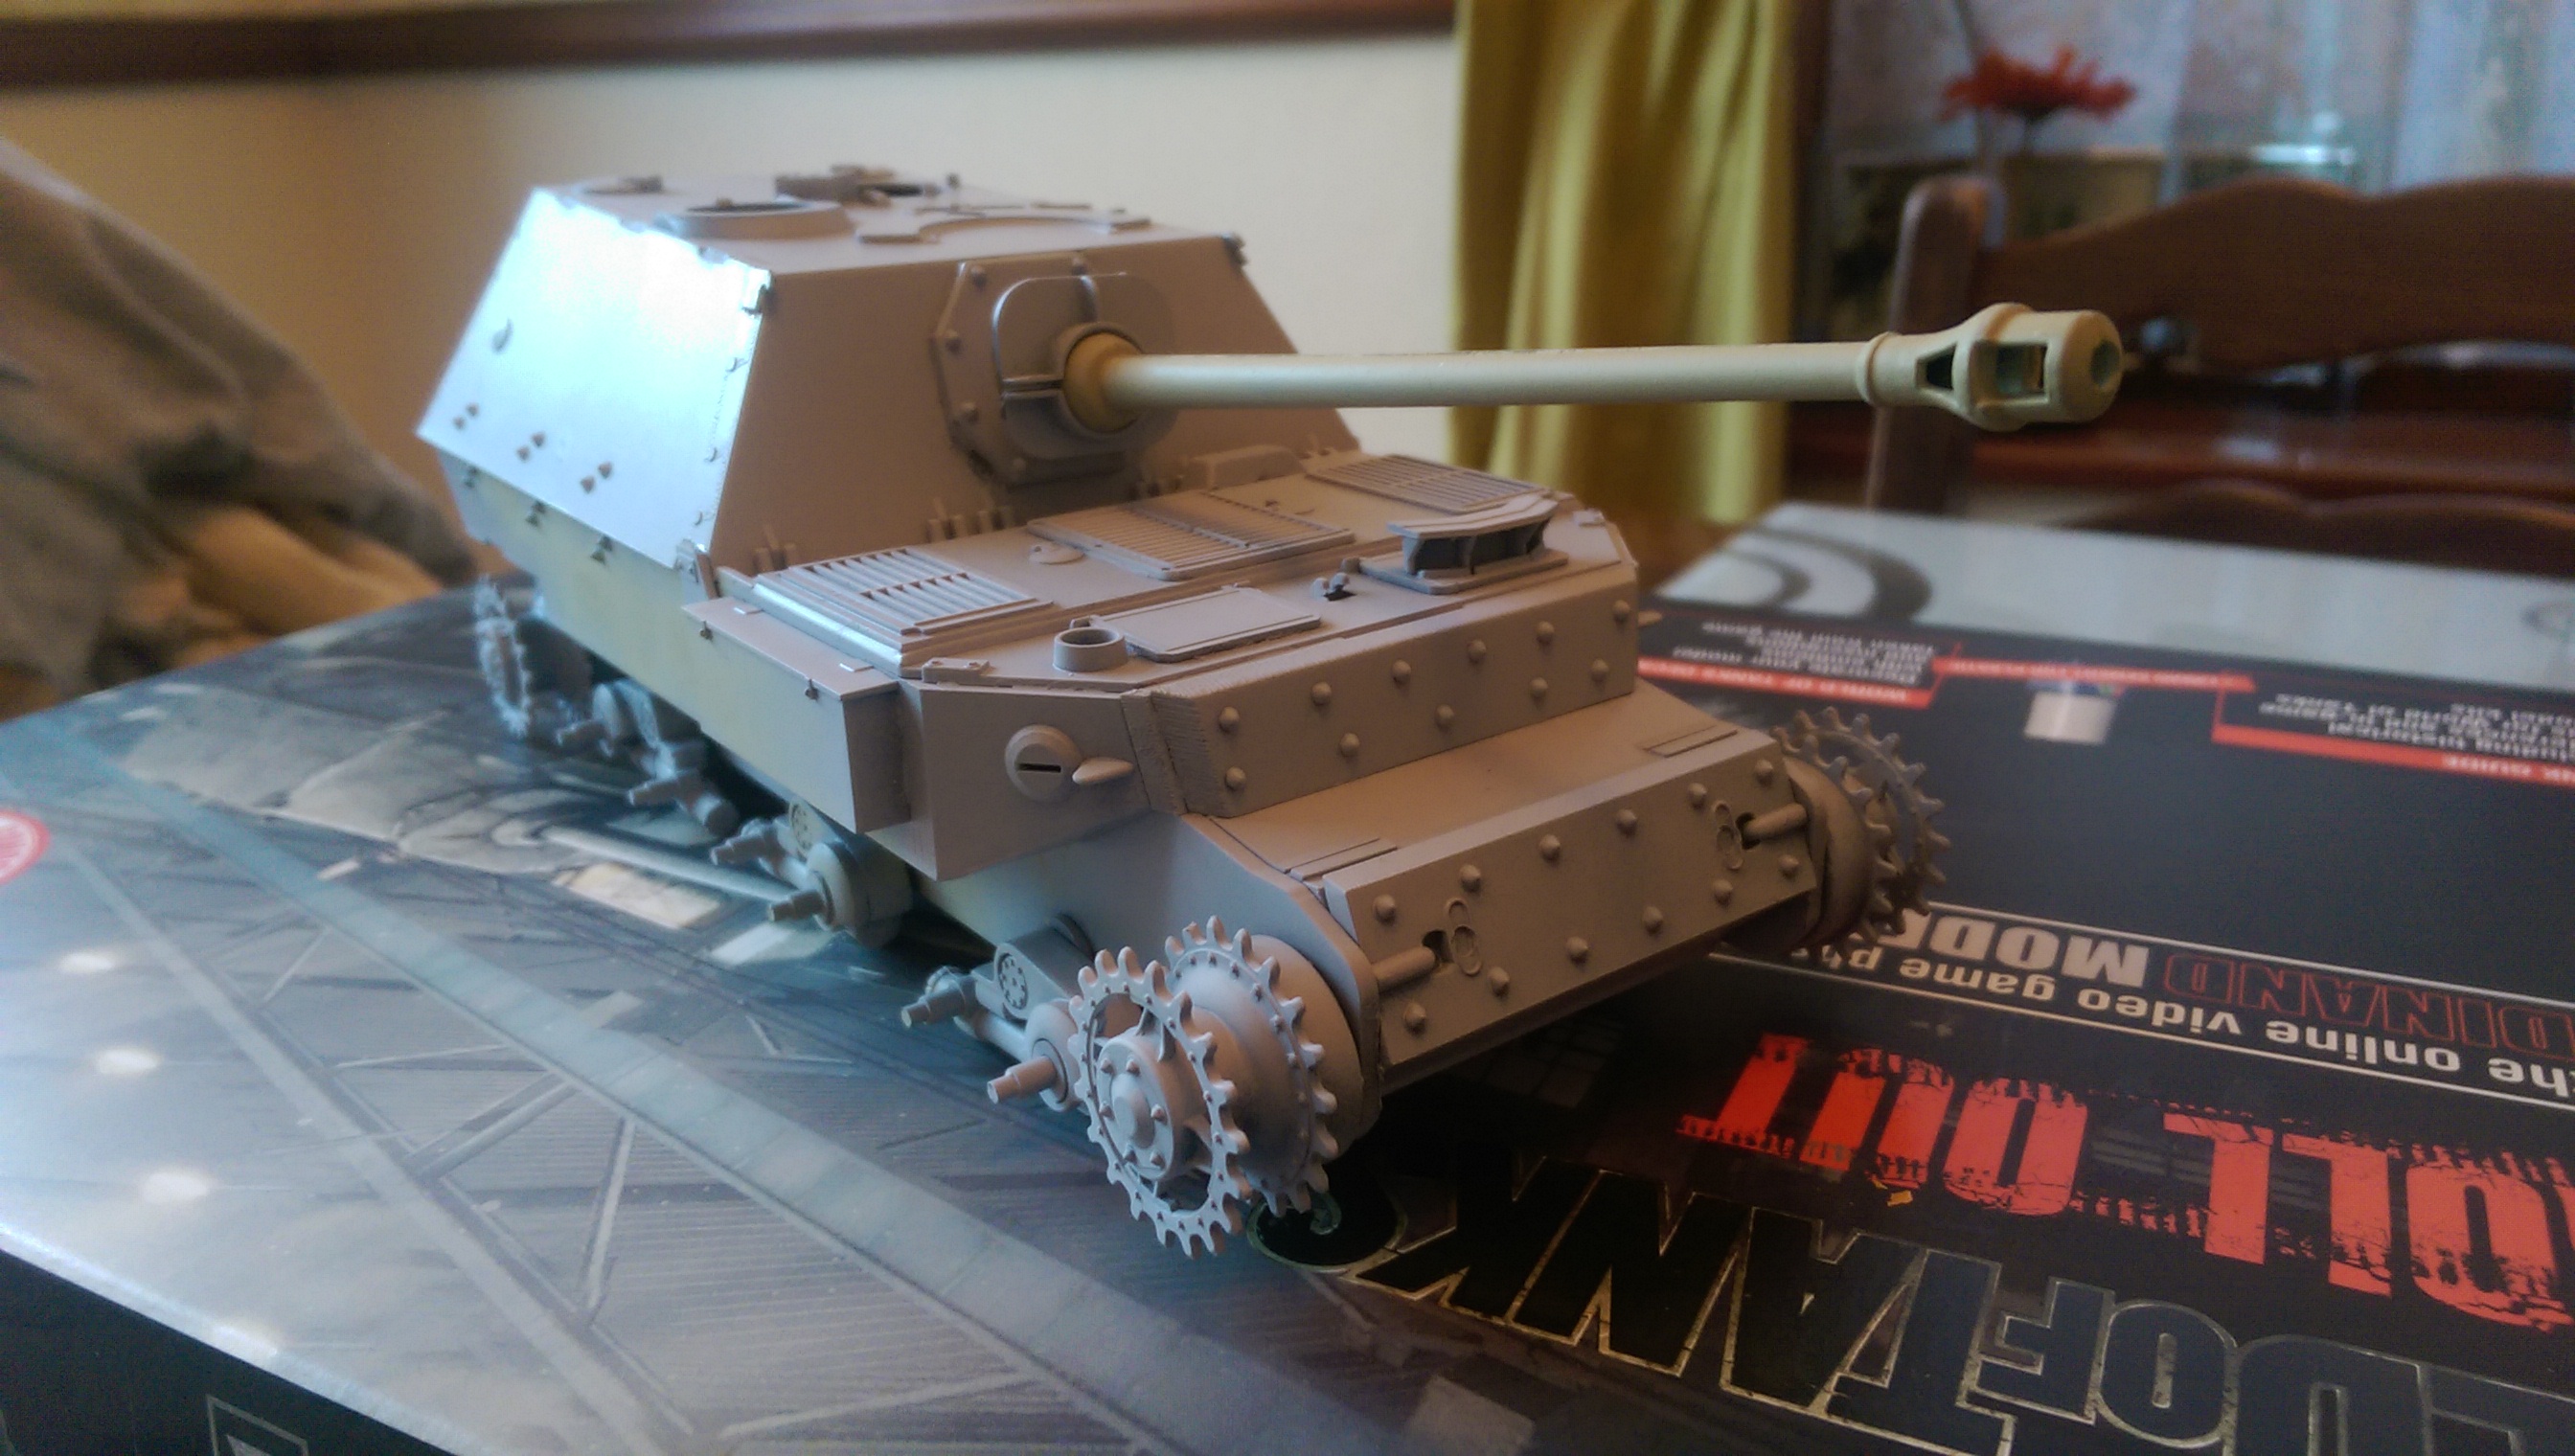 I intend to paint a camouflages scheme on the tank destroyer using dunkelgelb as the base coat with green and brown areas.


