
The next thing to do on my tiger 2 was to add the decals and tank commander. I applied the decals to a layer of varnish and then varnished them again to seal them to the surface.
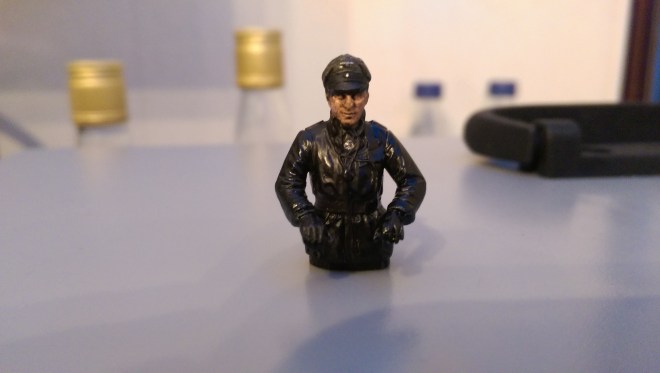
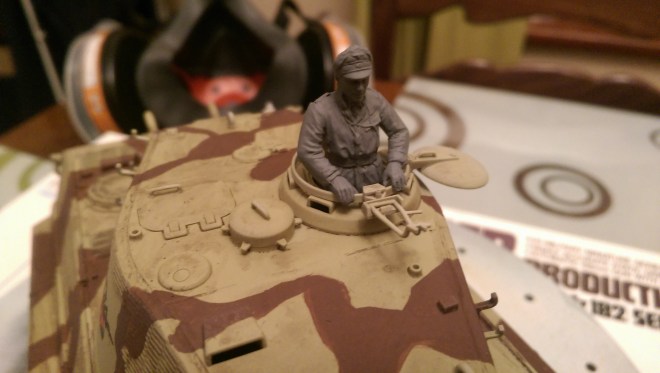
Next the tank commander was hand painted. I have not yet attached his headset, which should just clip around his neck. He is a little shiny here as this is before a coat of matt varnish and his outfit is semi gloss. I used a tooth pick to apply the silver to the hat emblems, buttons and iron cross. I find this much easier than a brush.
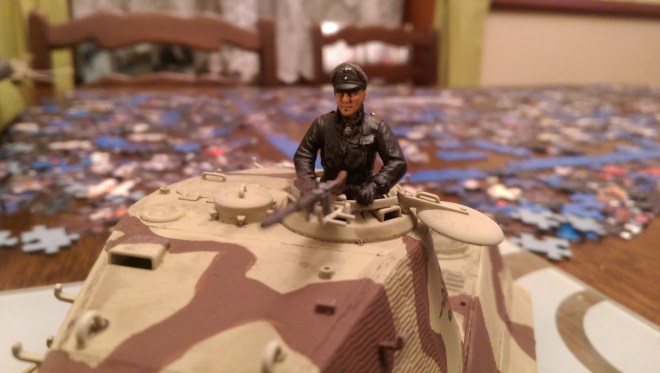
Here is is glued into the commander hatch.

Next I painted and added the machine gun to the commander cupola. You can just about see the metal gun sight from the metal detail pack I purchased.
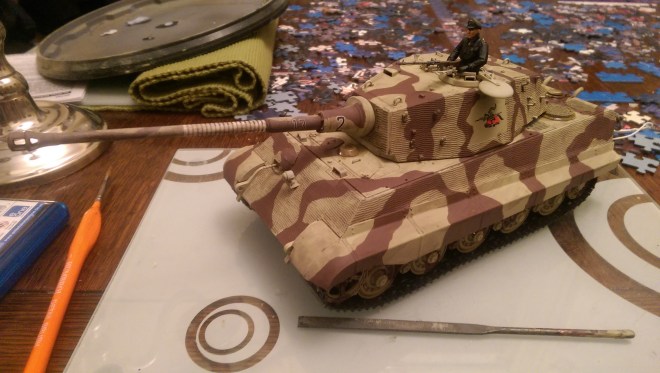
Here you can see all but one of the models decals. I found the barrel stripes on the decal sheet and knew what they were for, but did not know where on the barrel to fit them. Luckily there are some photos around the net showing this. You can also see the unit insignia and numbers in this image.

Here you can see the only decal that posed a problem, this being the unit marking on the back of the turret. This is because it needed to be applied over the zimmerit paste. It was a good opportunity to give decal fix a go which helped a little bit but did not completely attach the decal.
I may get a new bottle of the stuff as apparently the old bottle I have has already been replaced by a much better formula.
Because the decal did not fix properly it messed up a little when I varnished it. The varnish did however fix the decal to the surface. I simply hand painted the bits of the decal that were damaged and it ended up looking good as new.
