Italeri World of Tanks Ferdinand

ferdprimer1
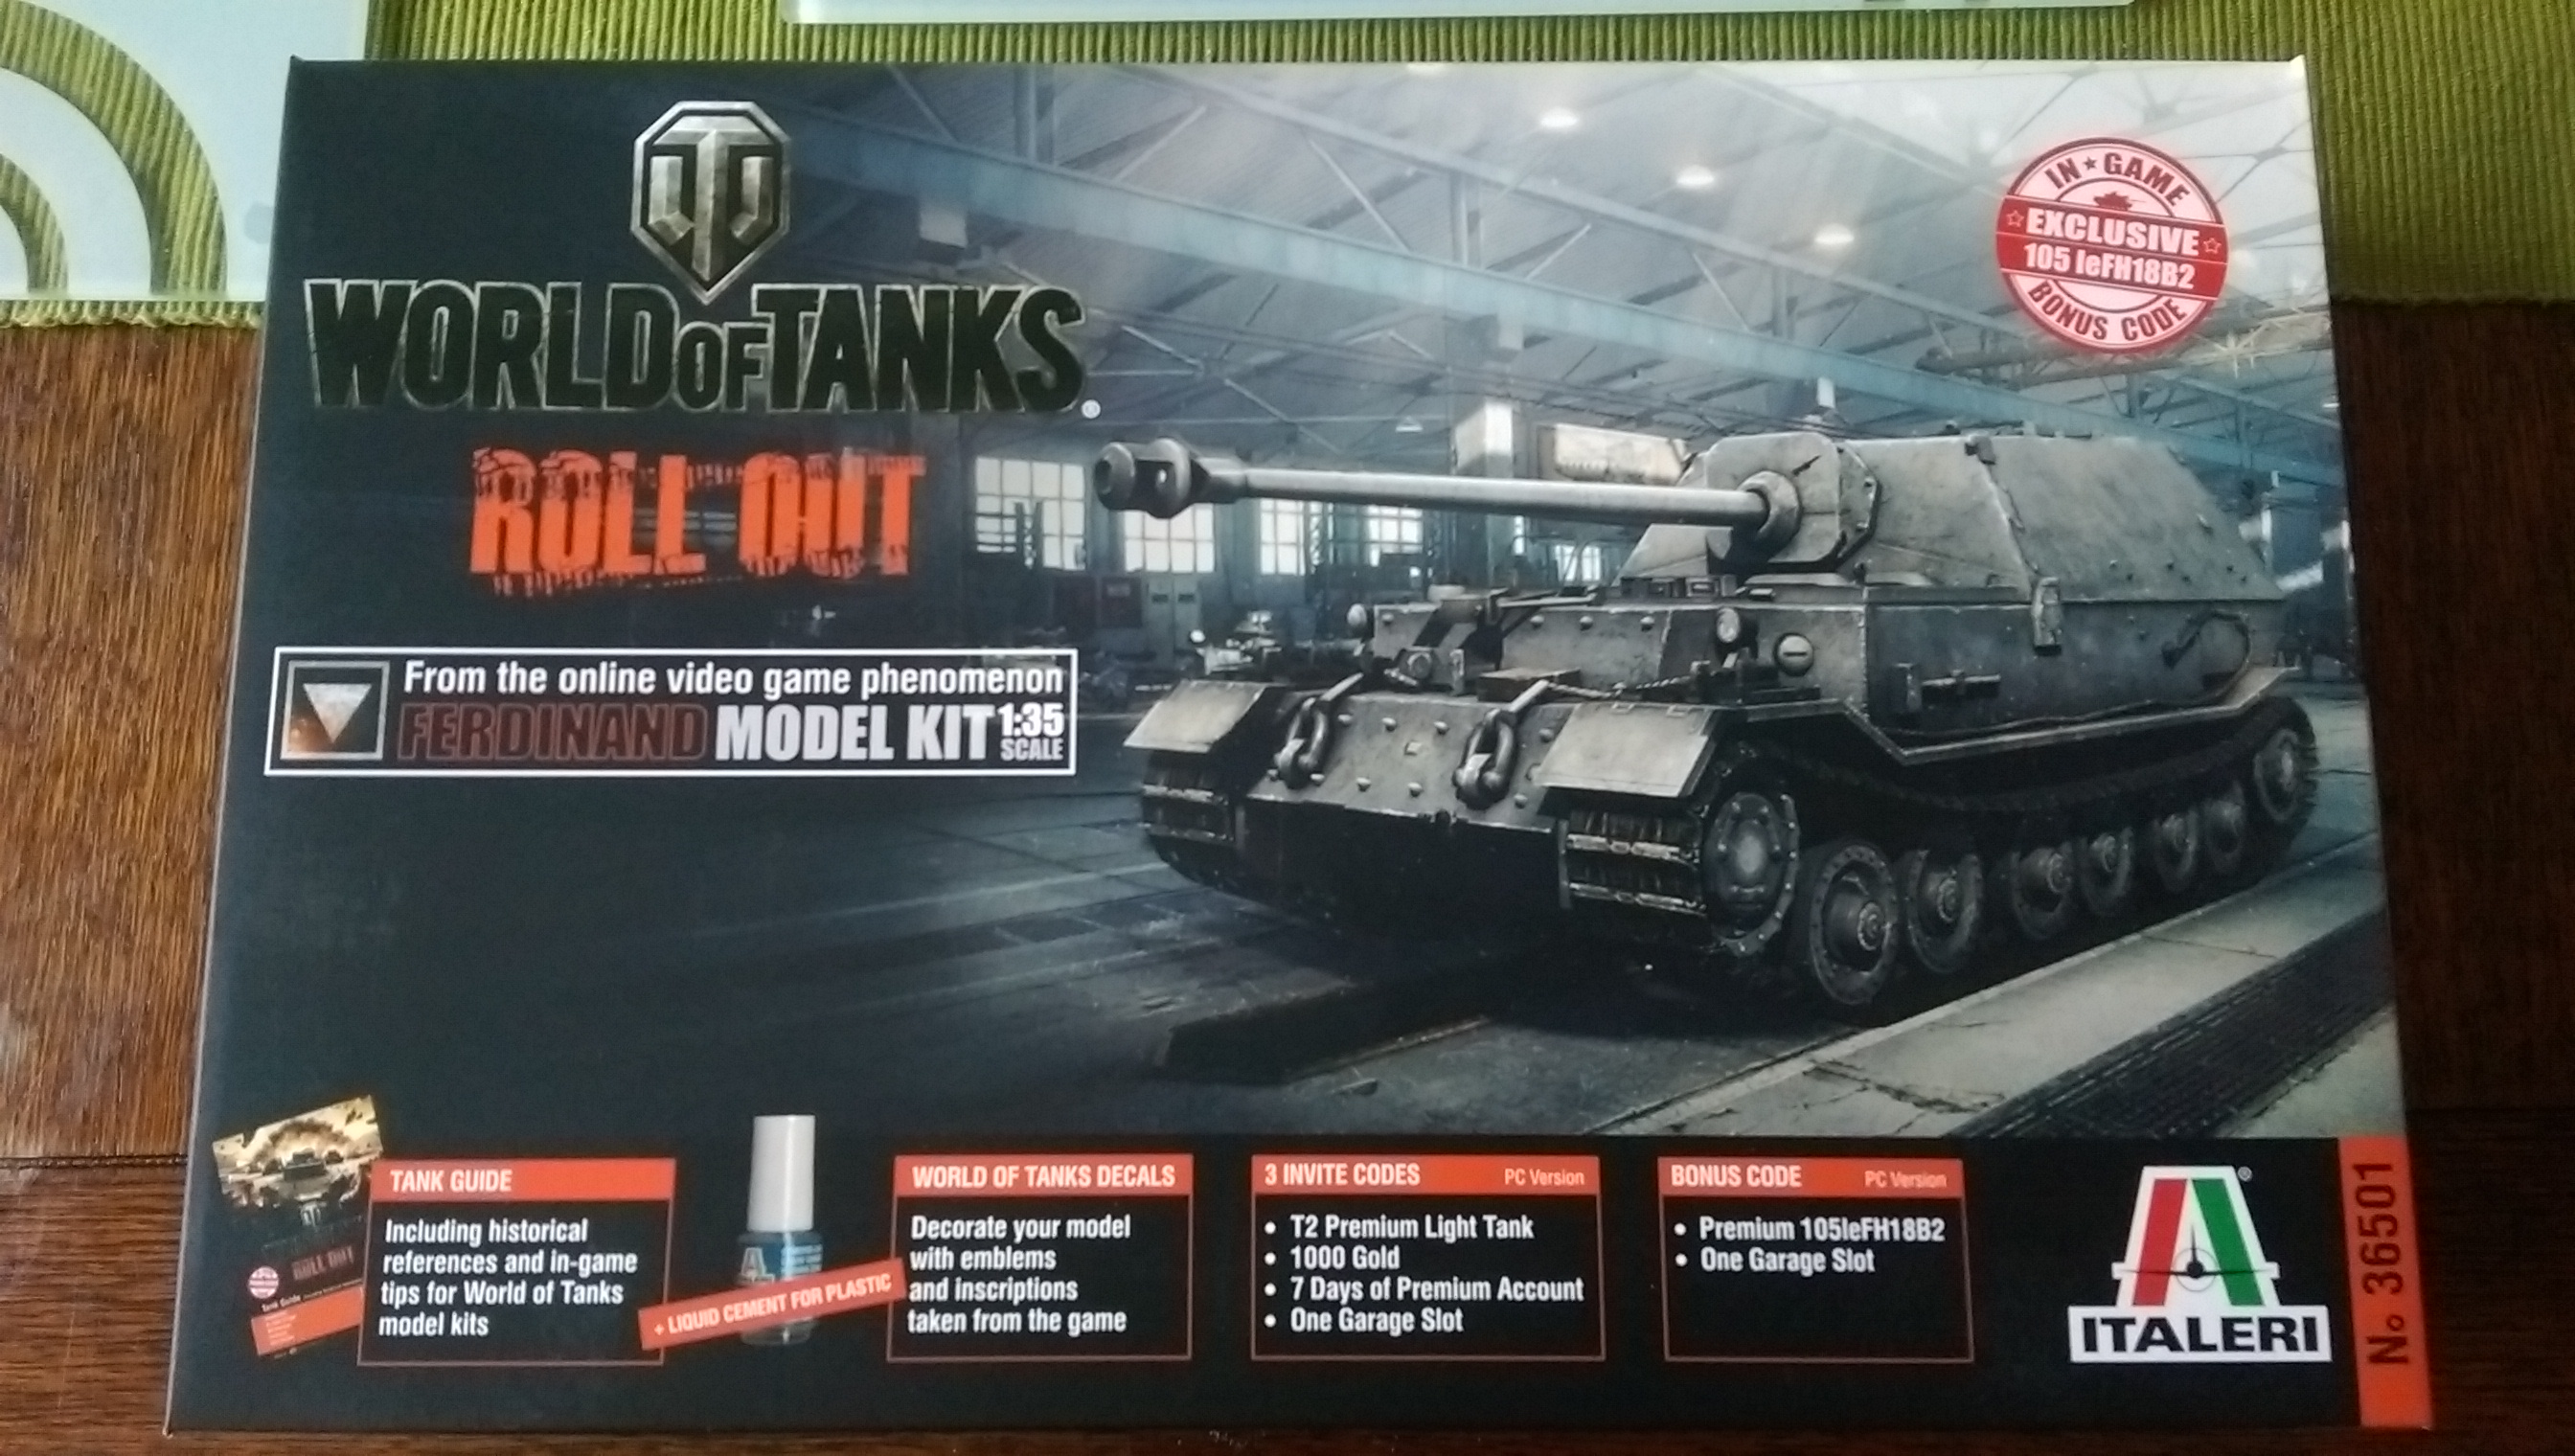
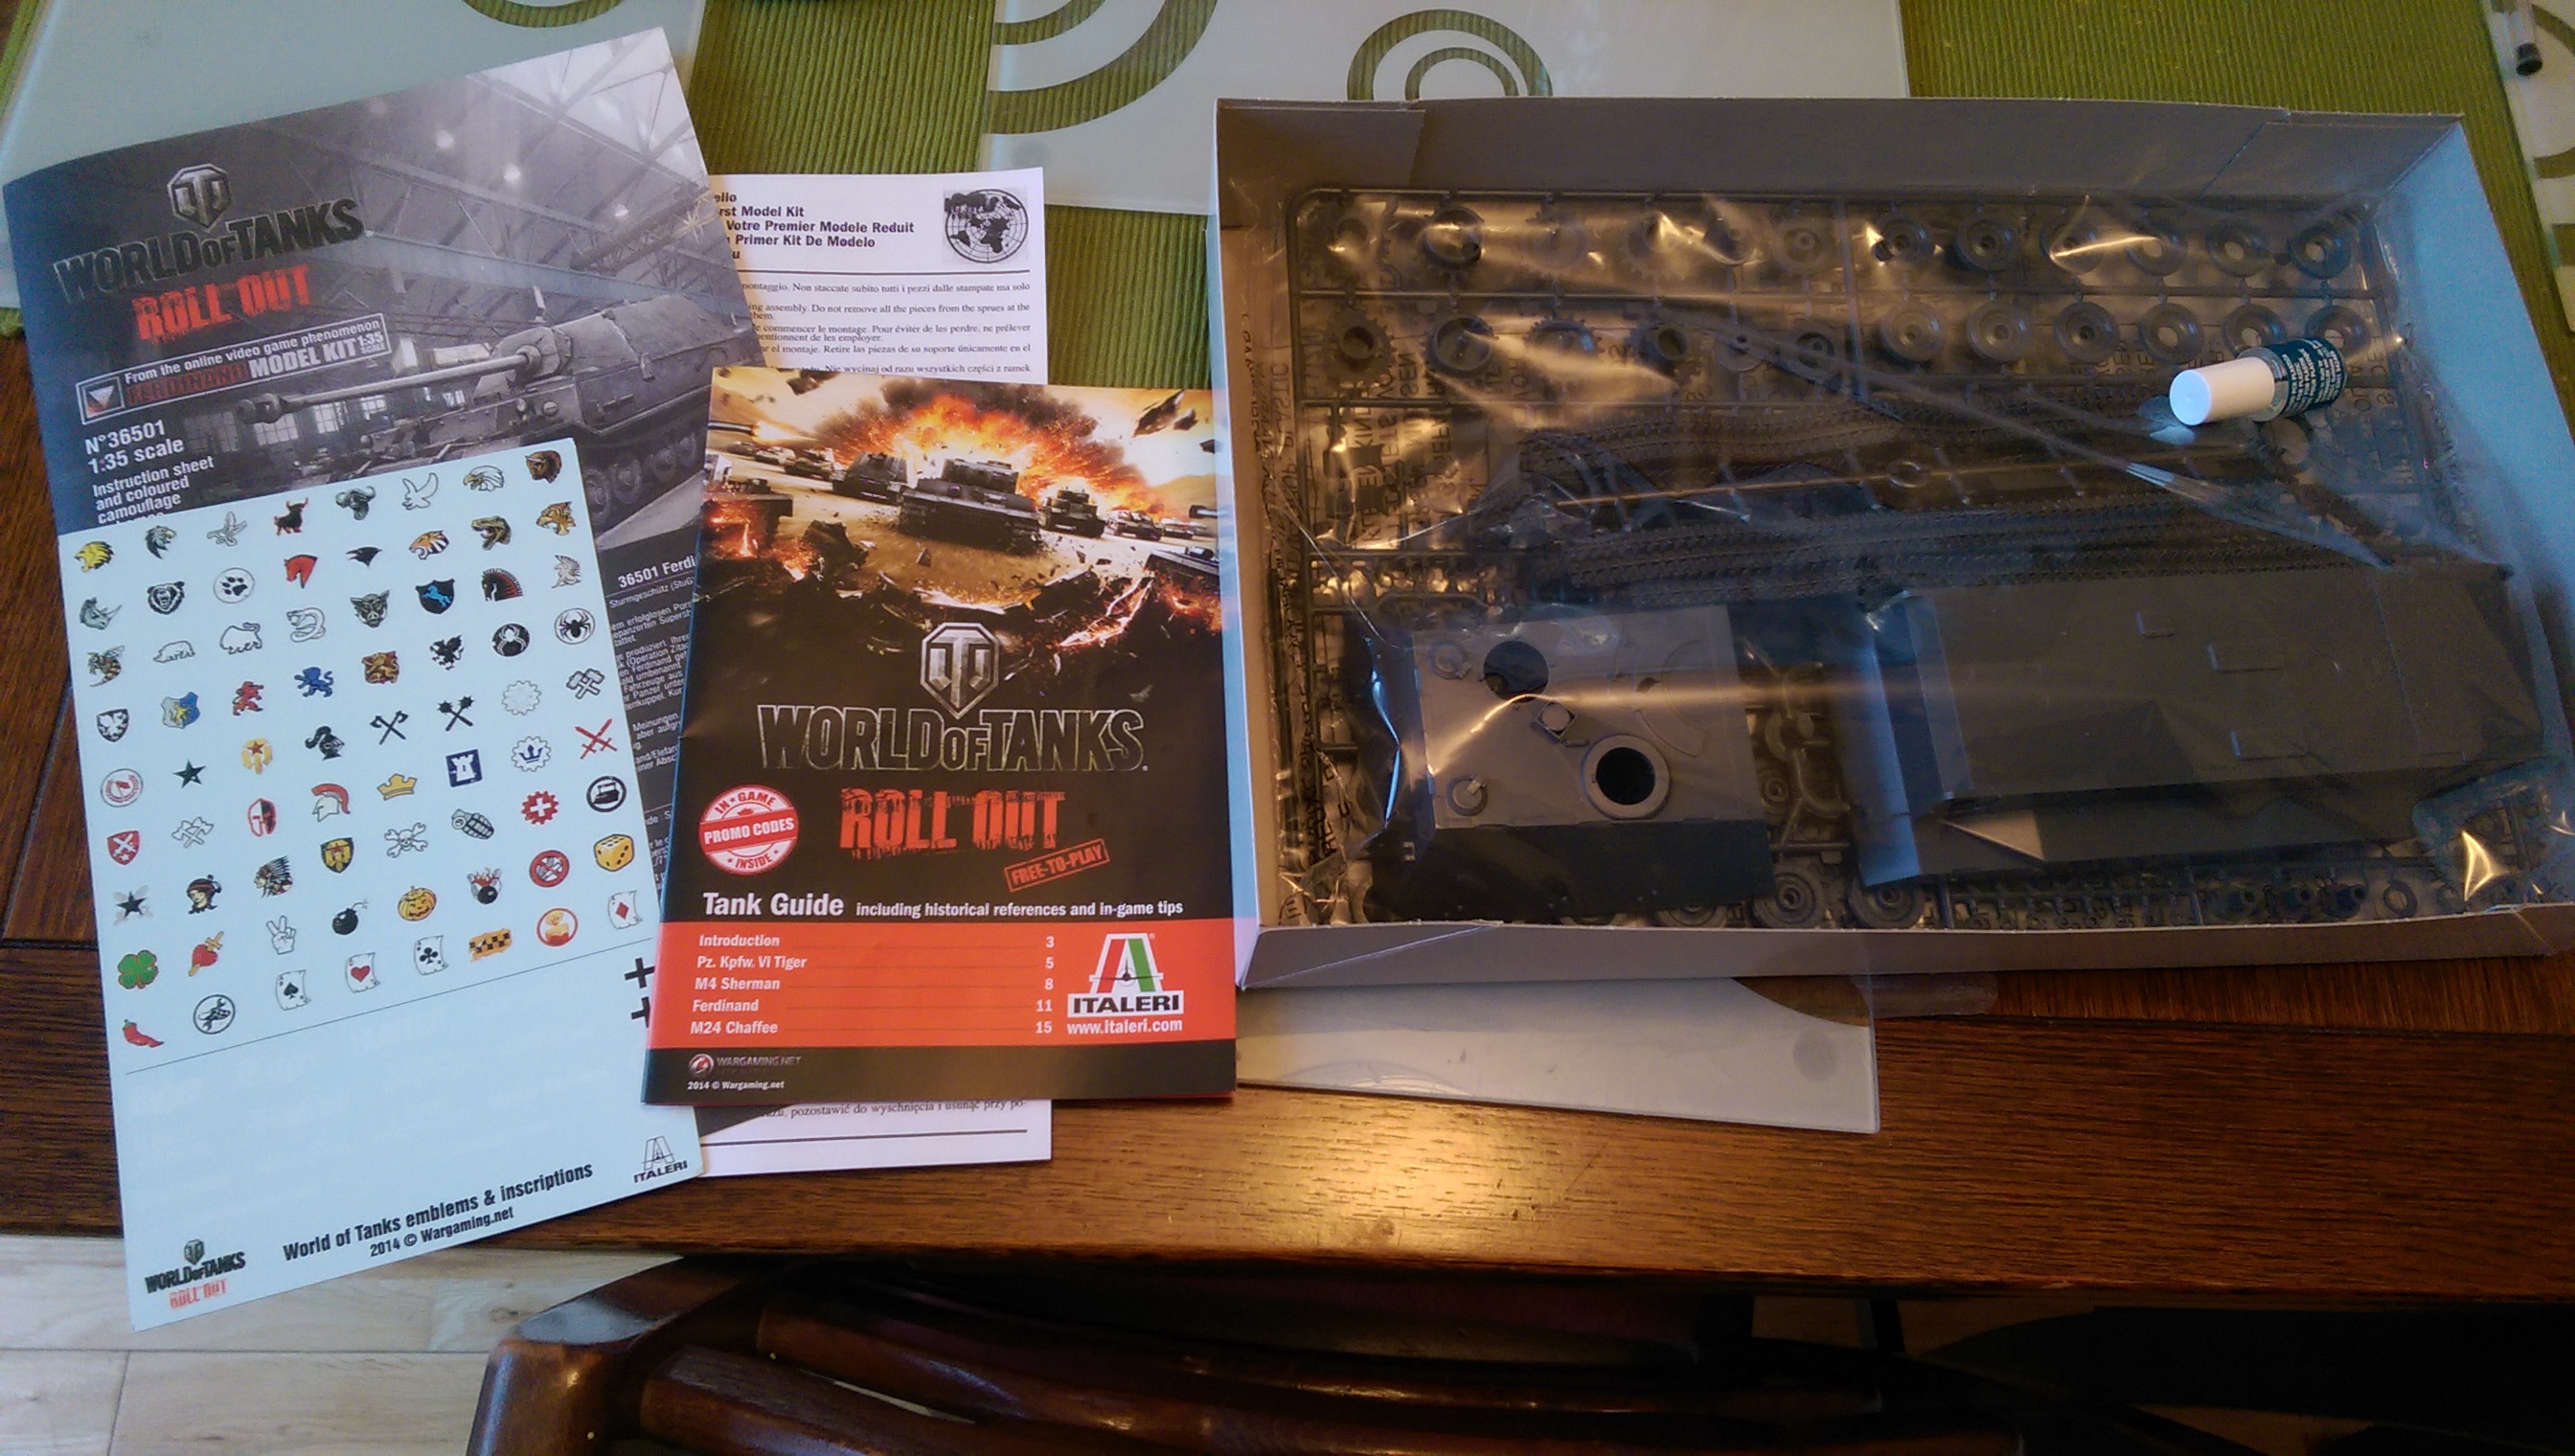
Work has started on the World of Tanks Ferdinand kit.

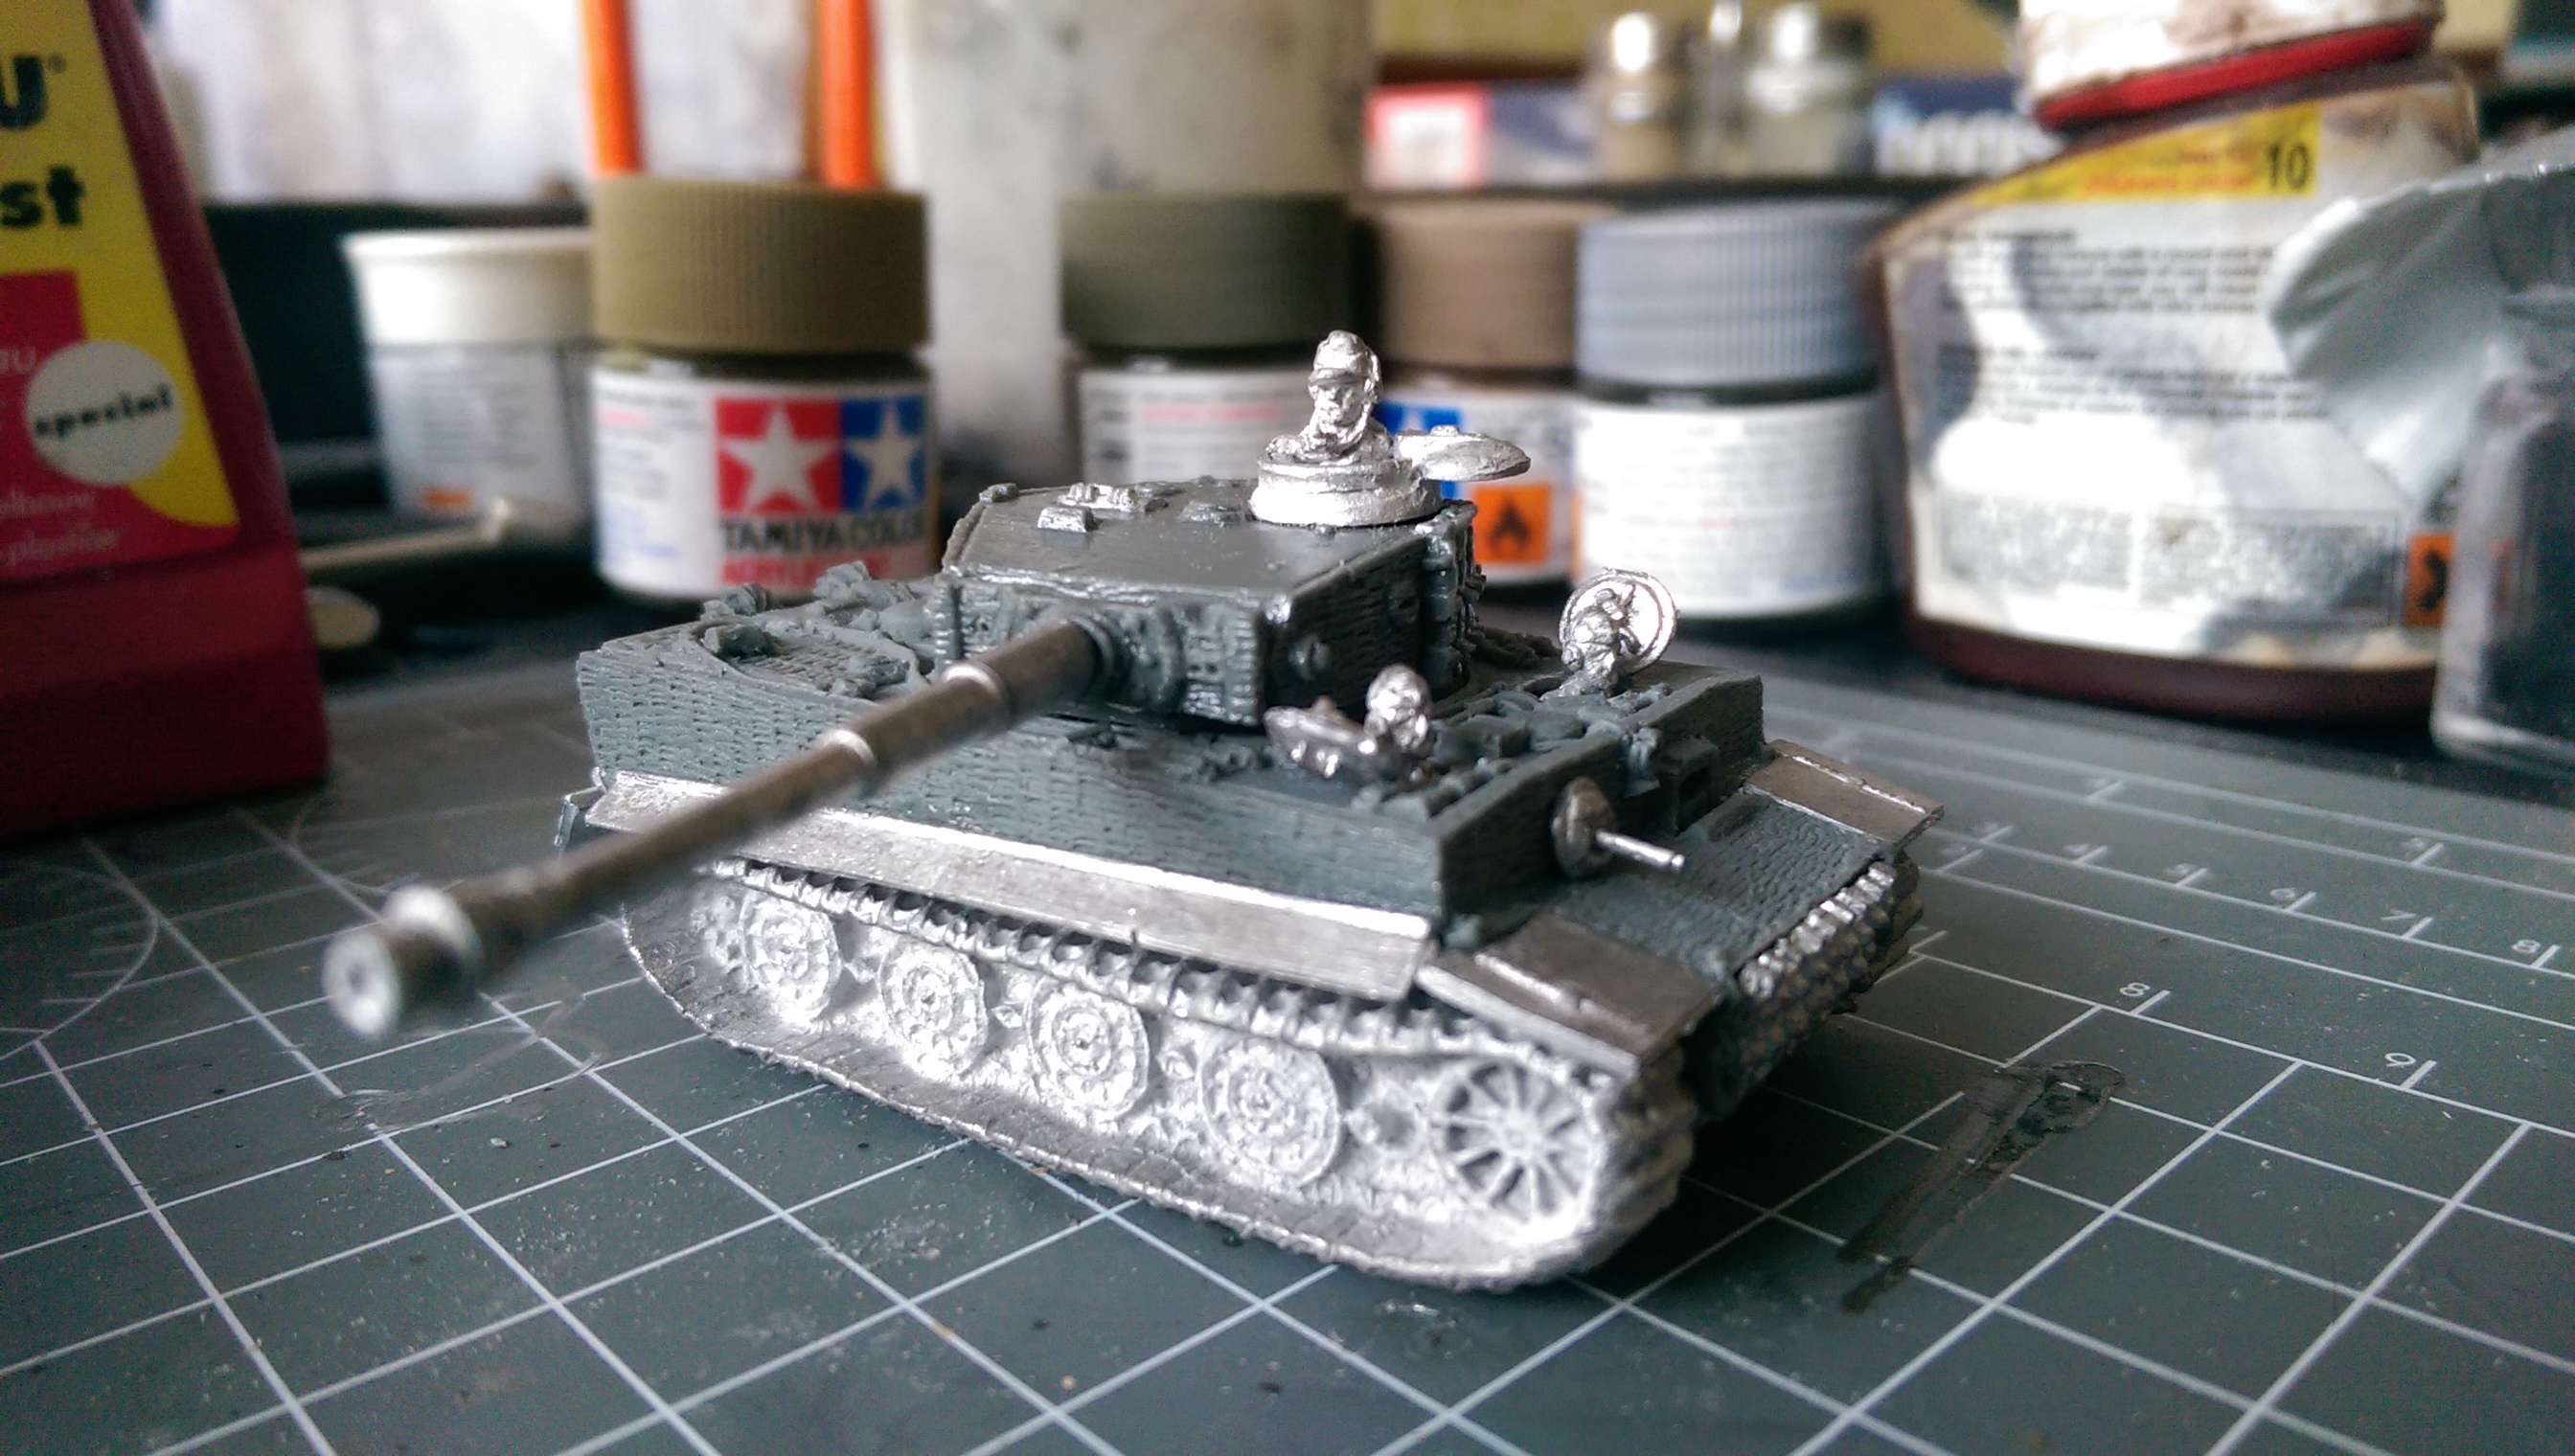
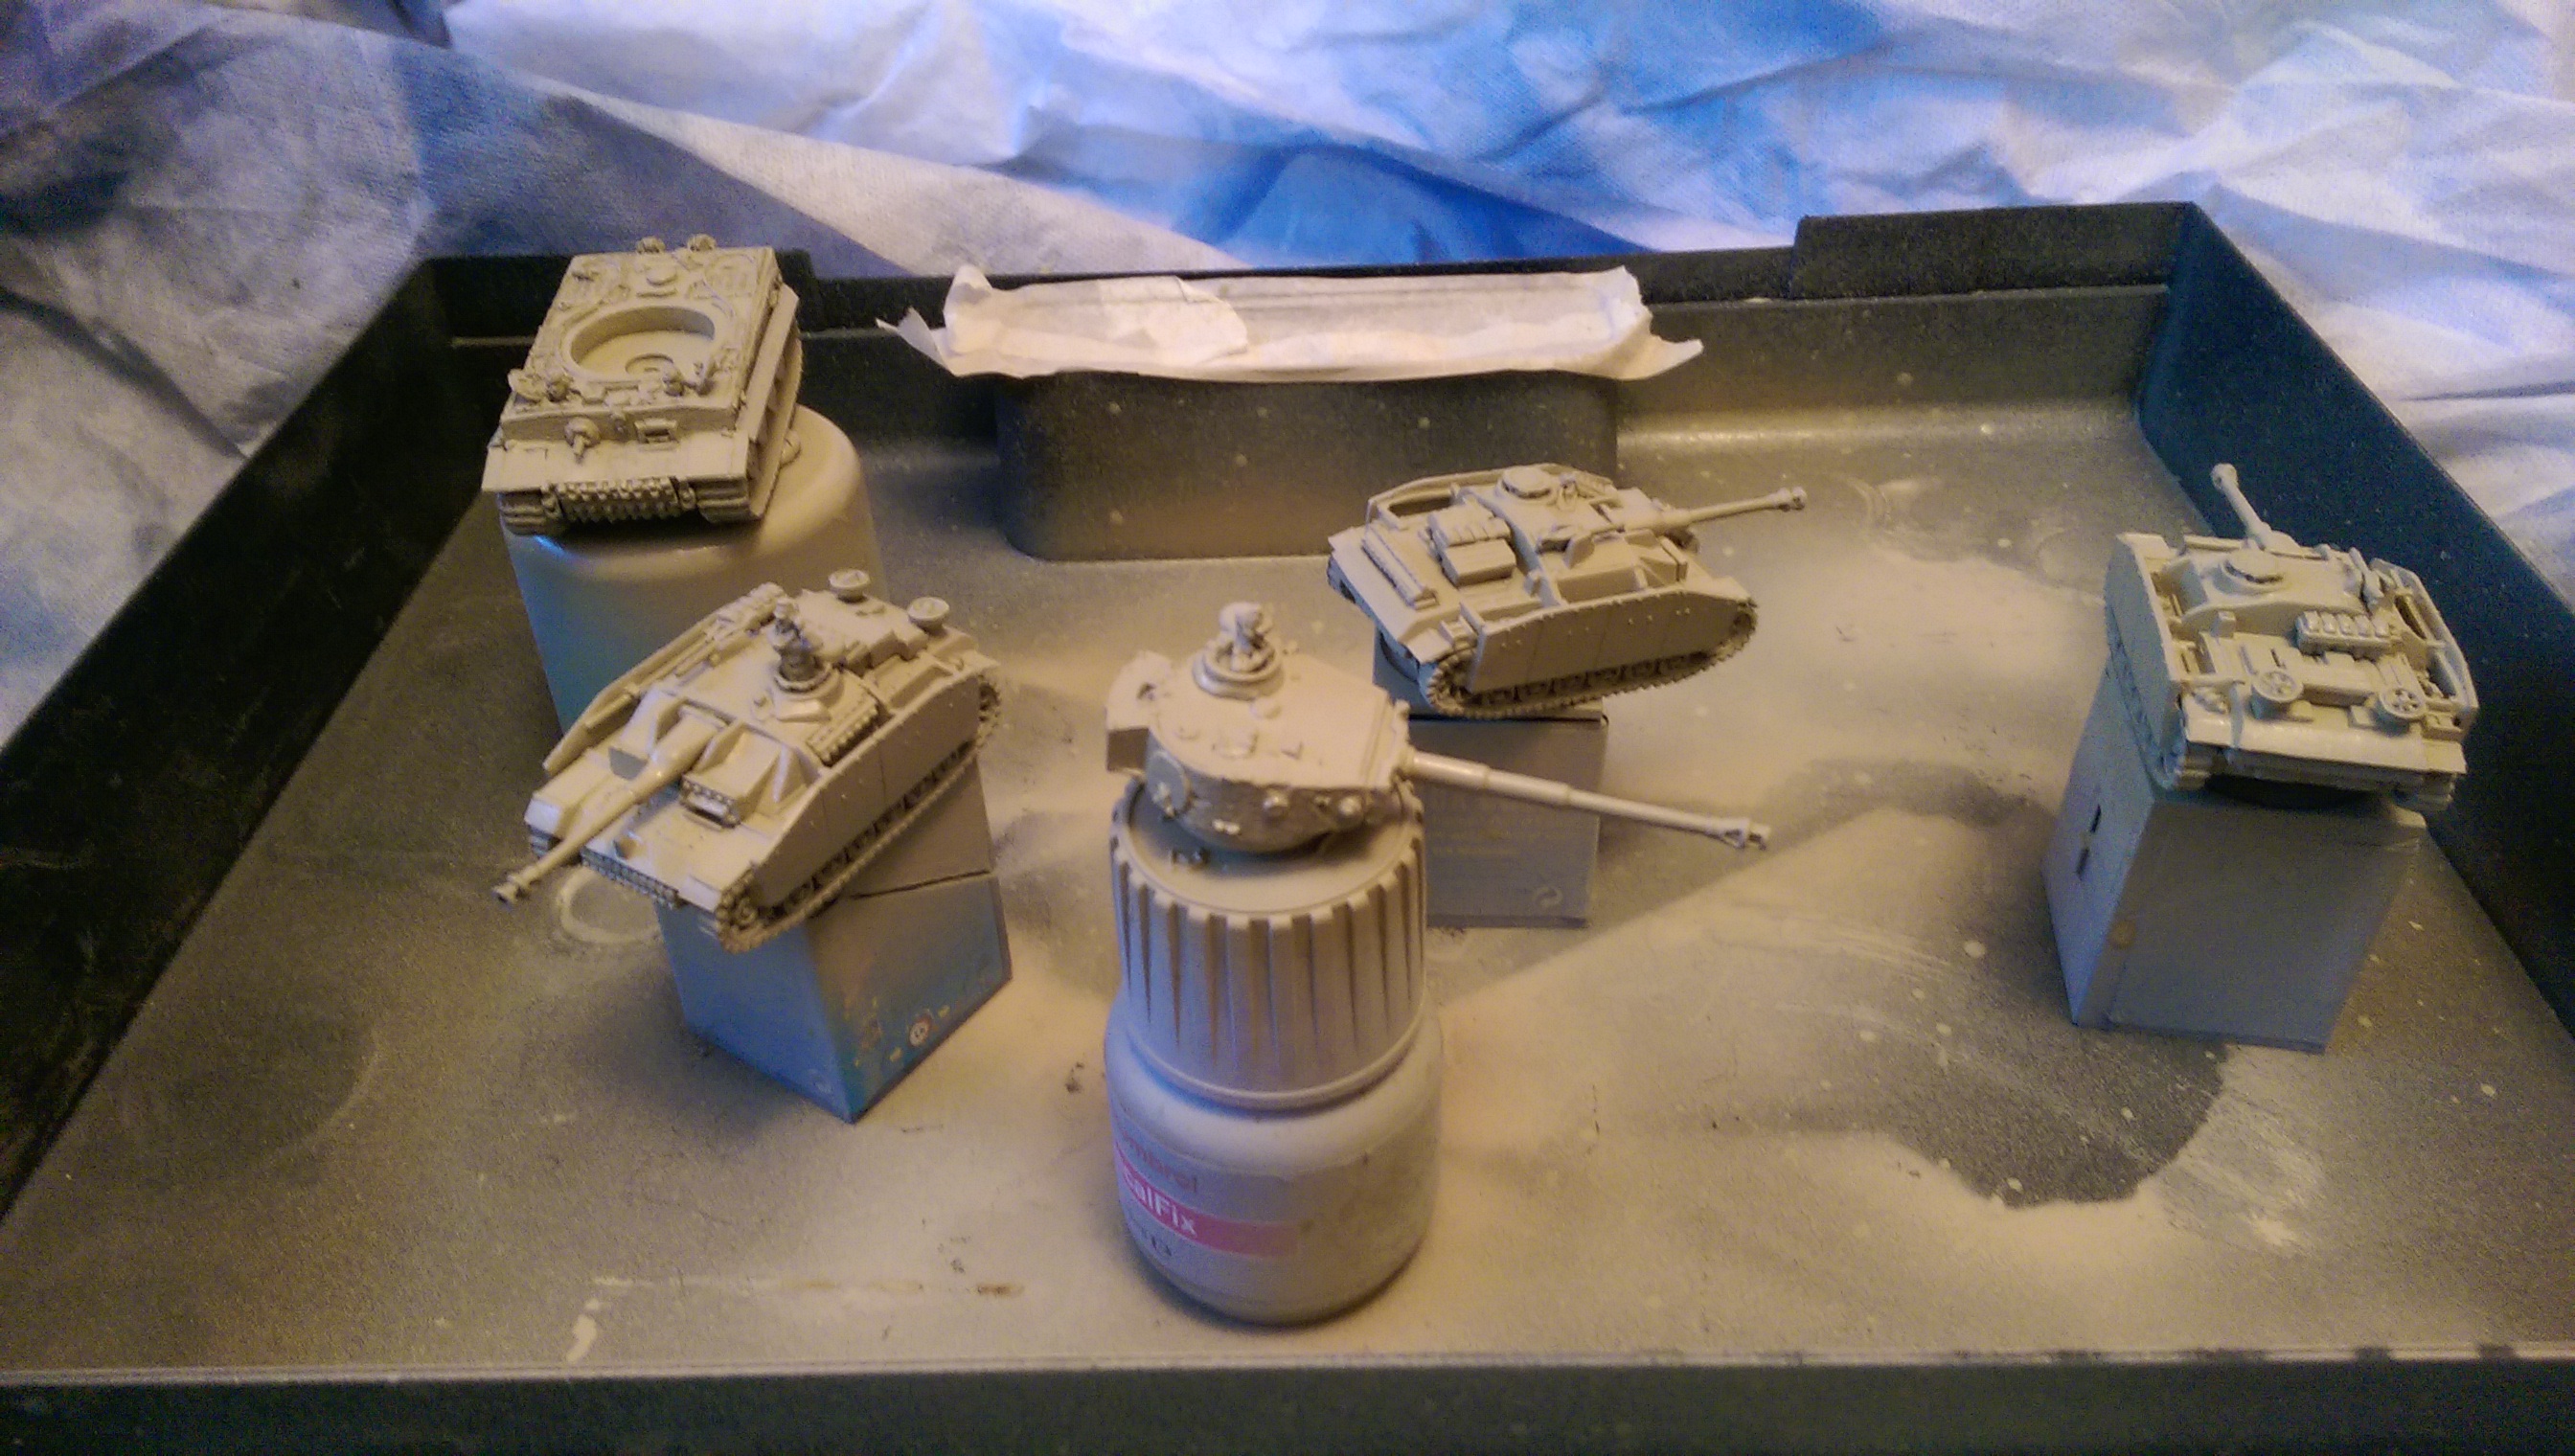
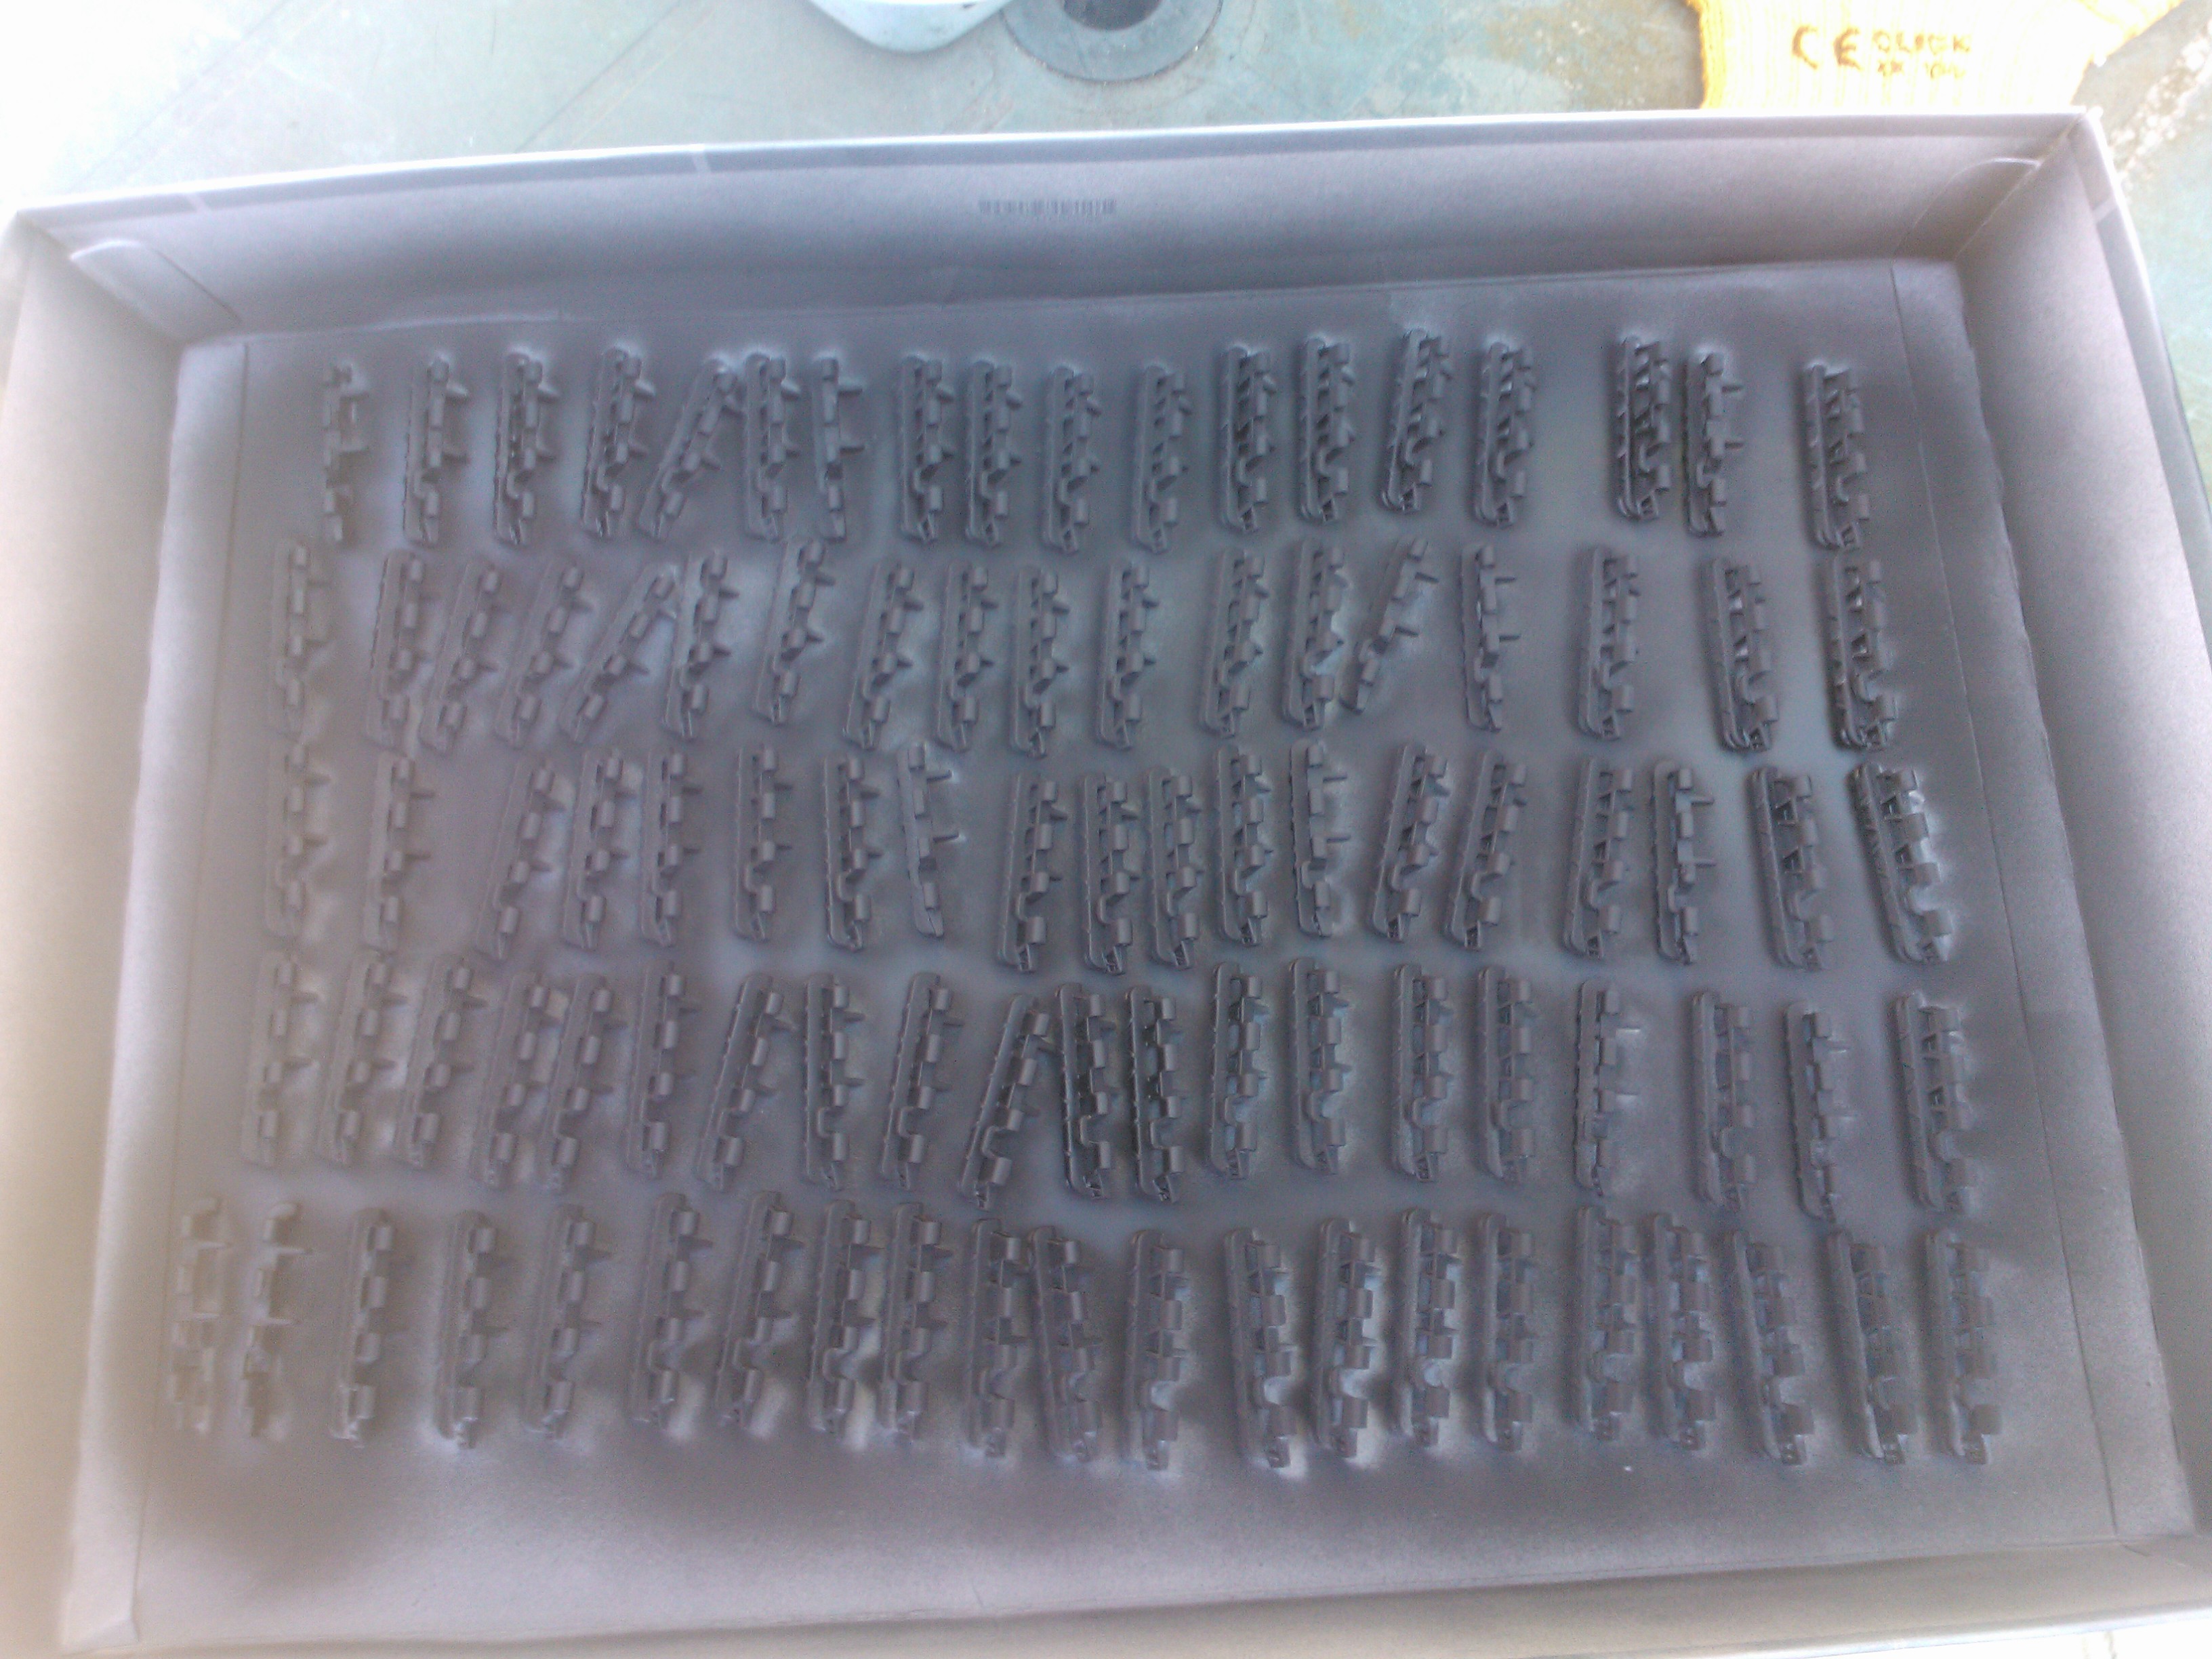
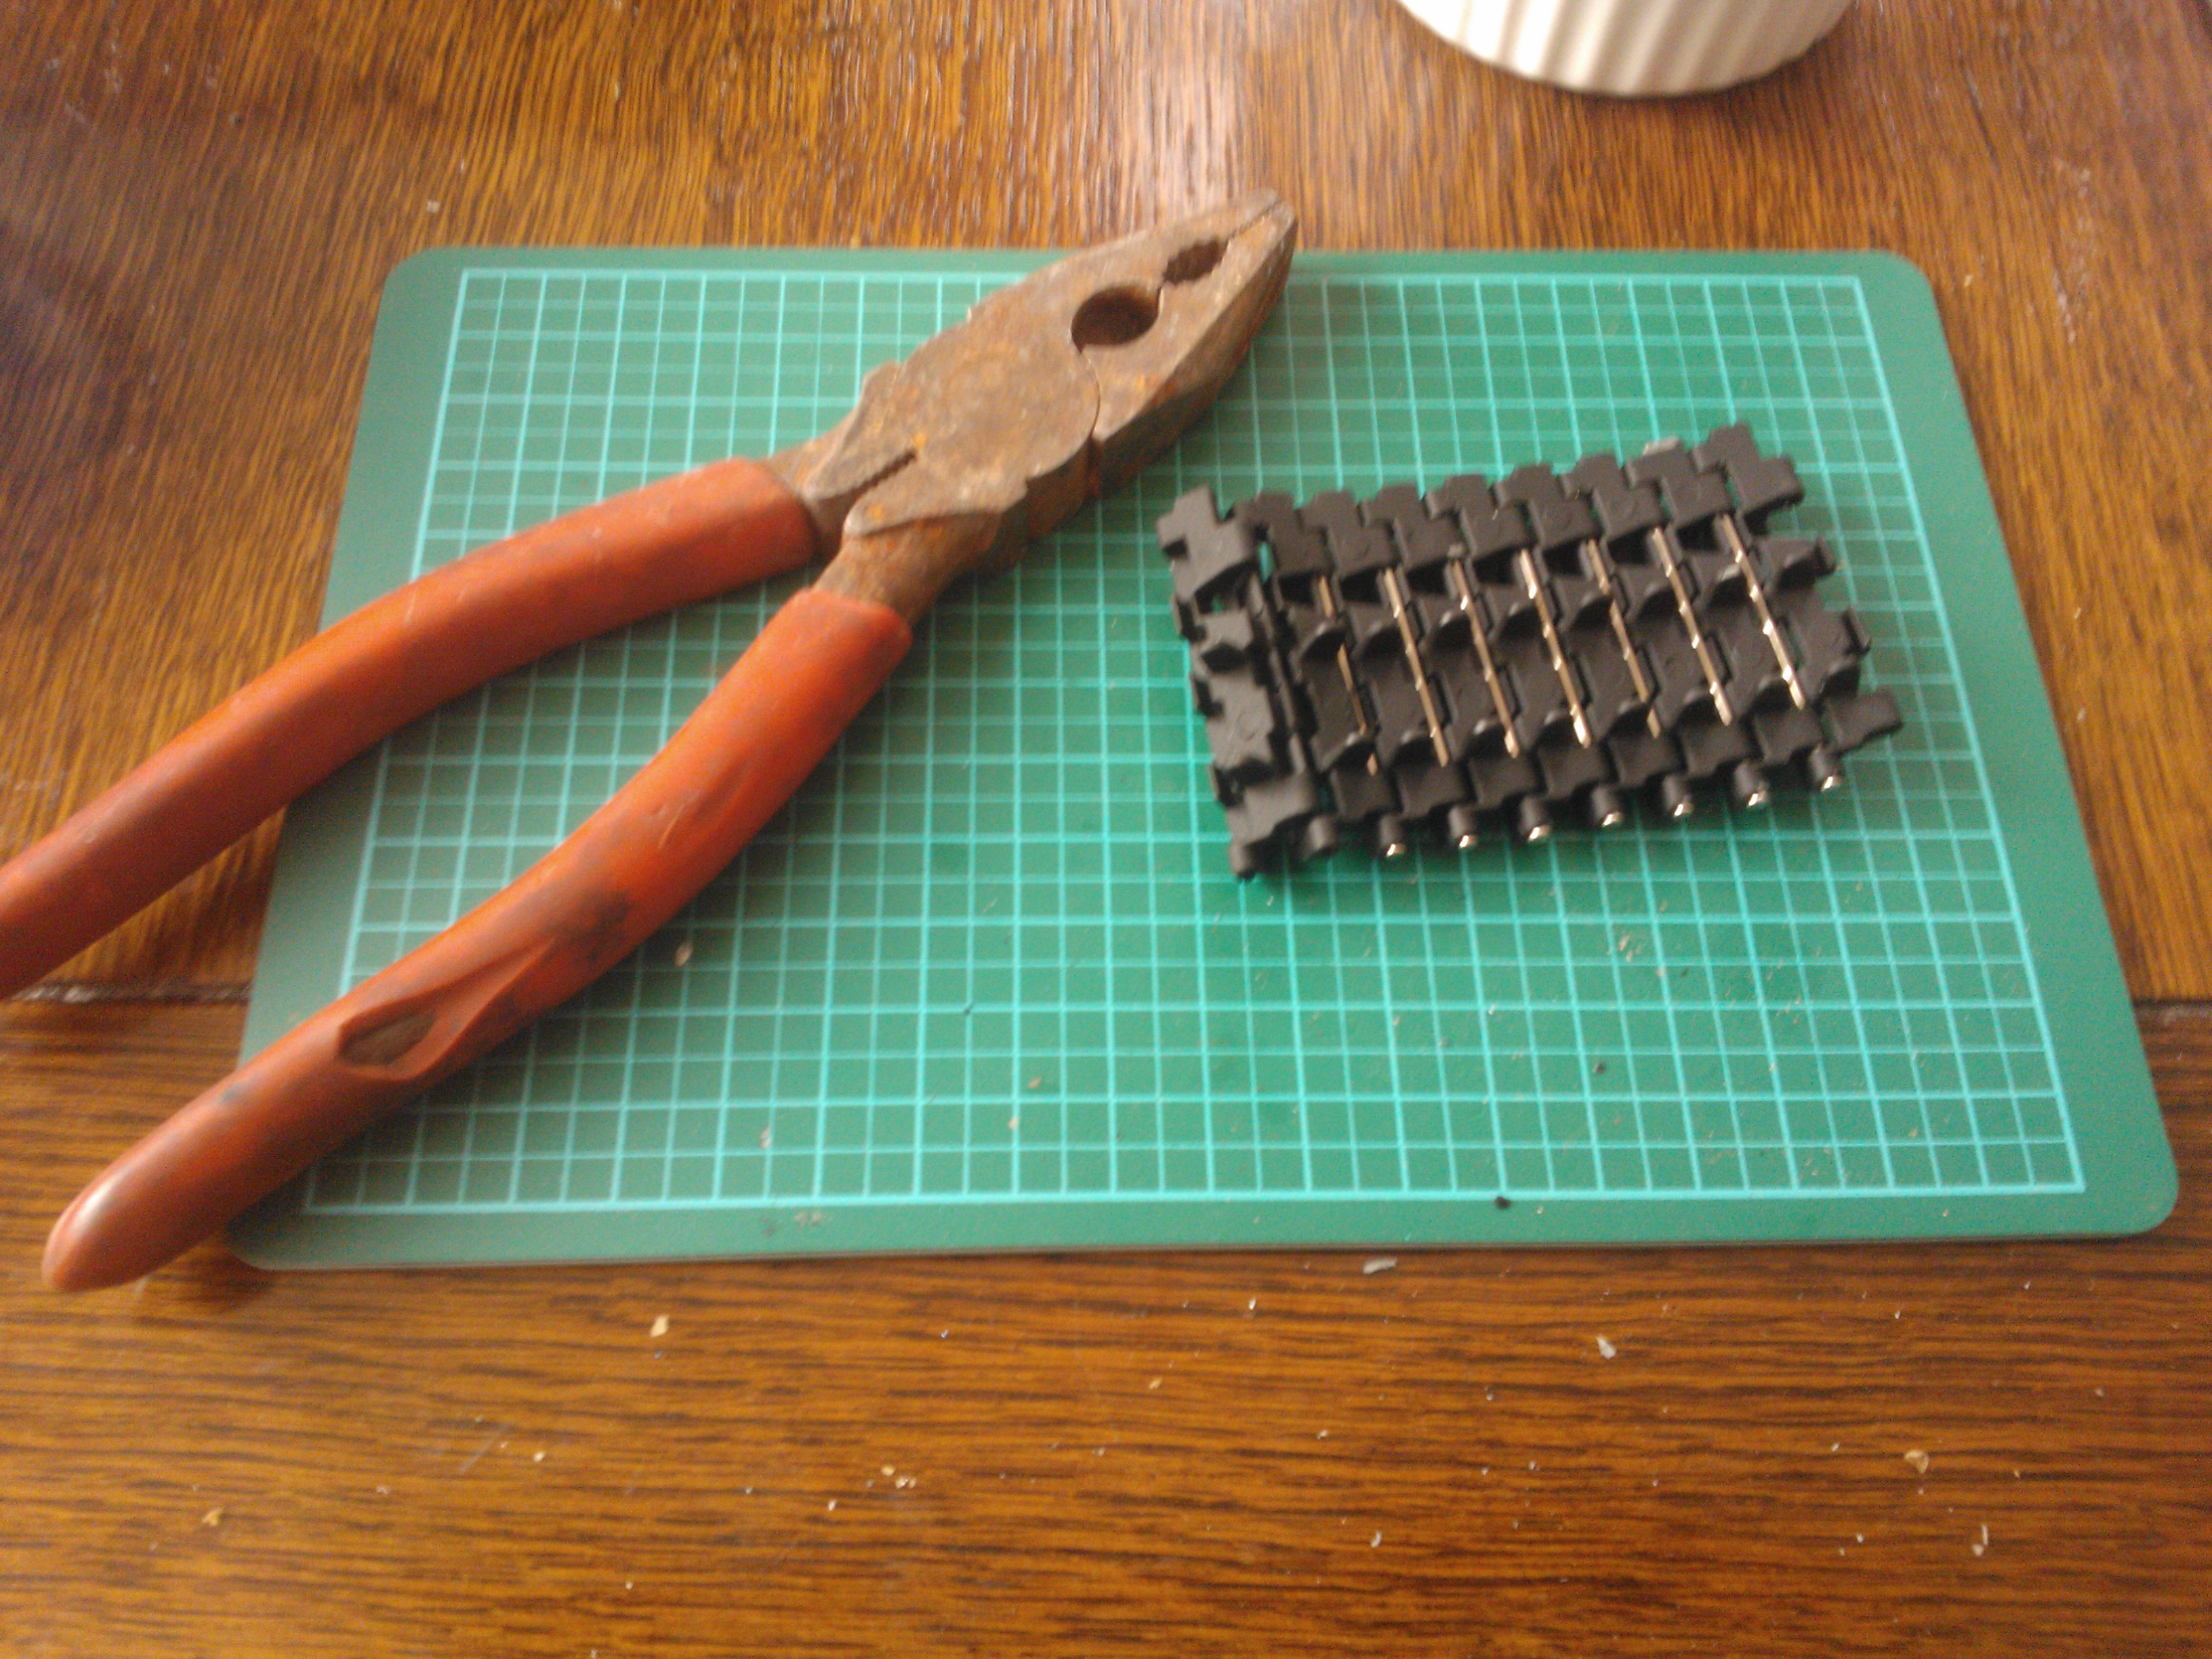
I started by working on the main chassis and getting the hull together. The suspension took a little while to make as it is each of the 6 parts are comprised of several small parts. After adding these I filed and built the gun.

I gave the gun a coat of dunkelgelb to ensure that the whole of the ball of the gun is painted in the base coat. This will prevent unpainted spots appearing when the gun is moved.

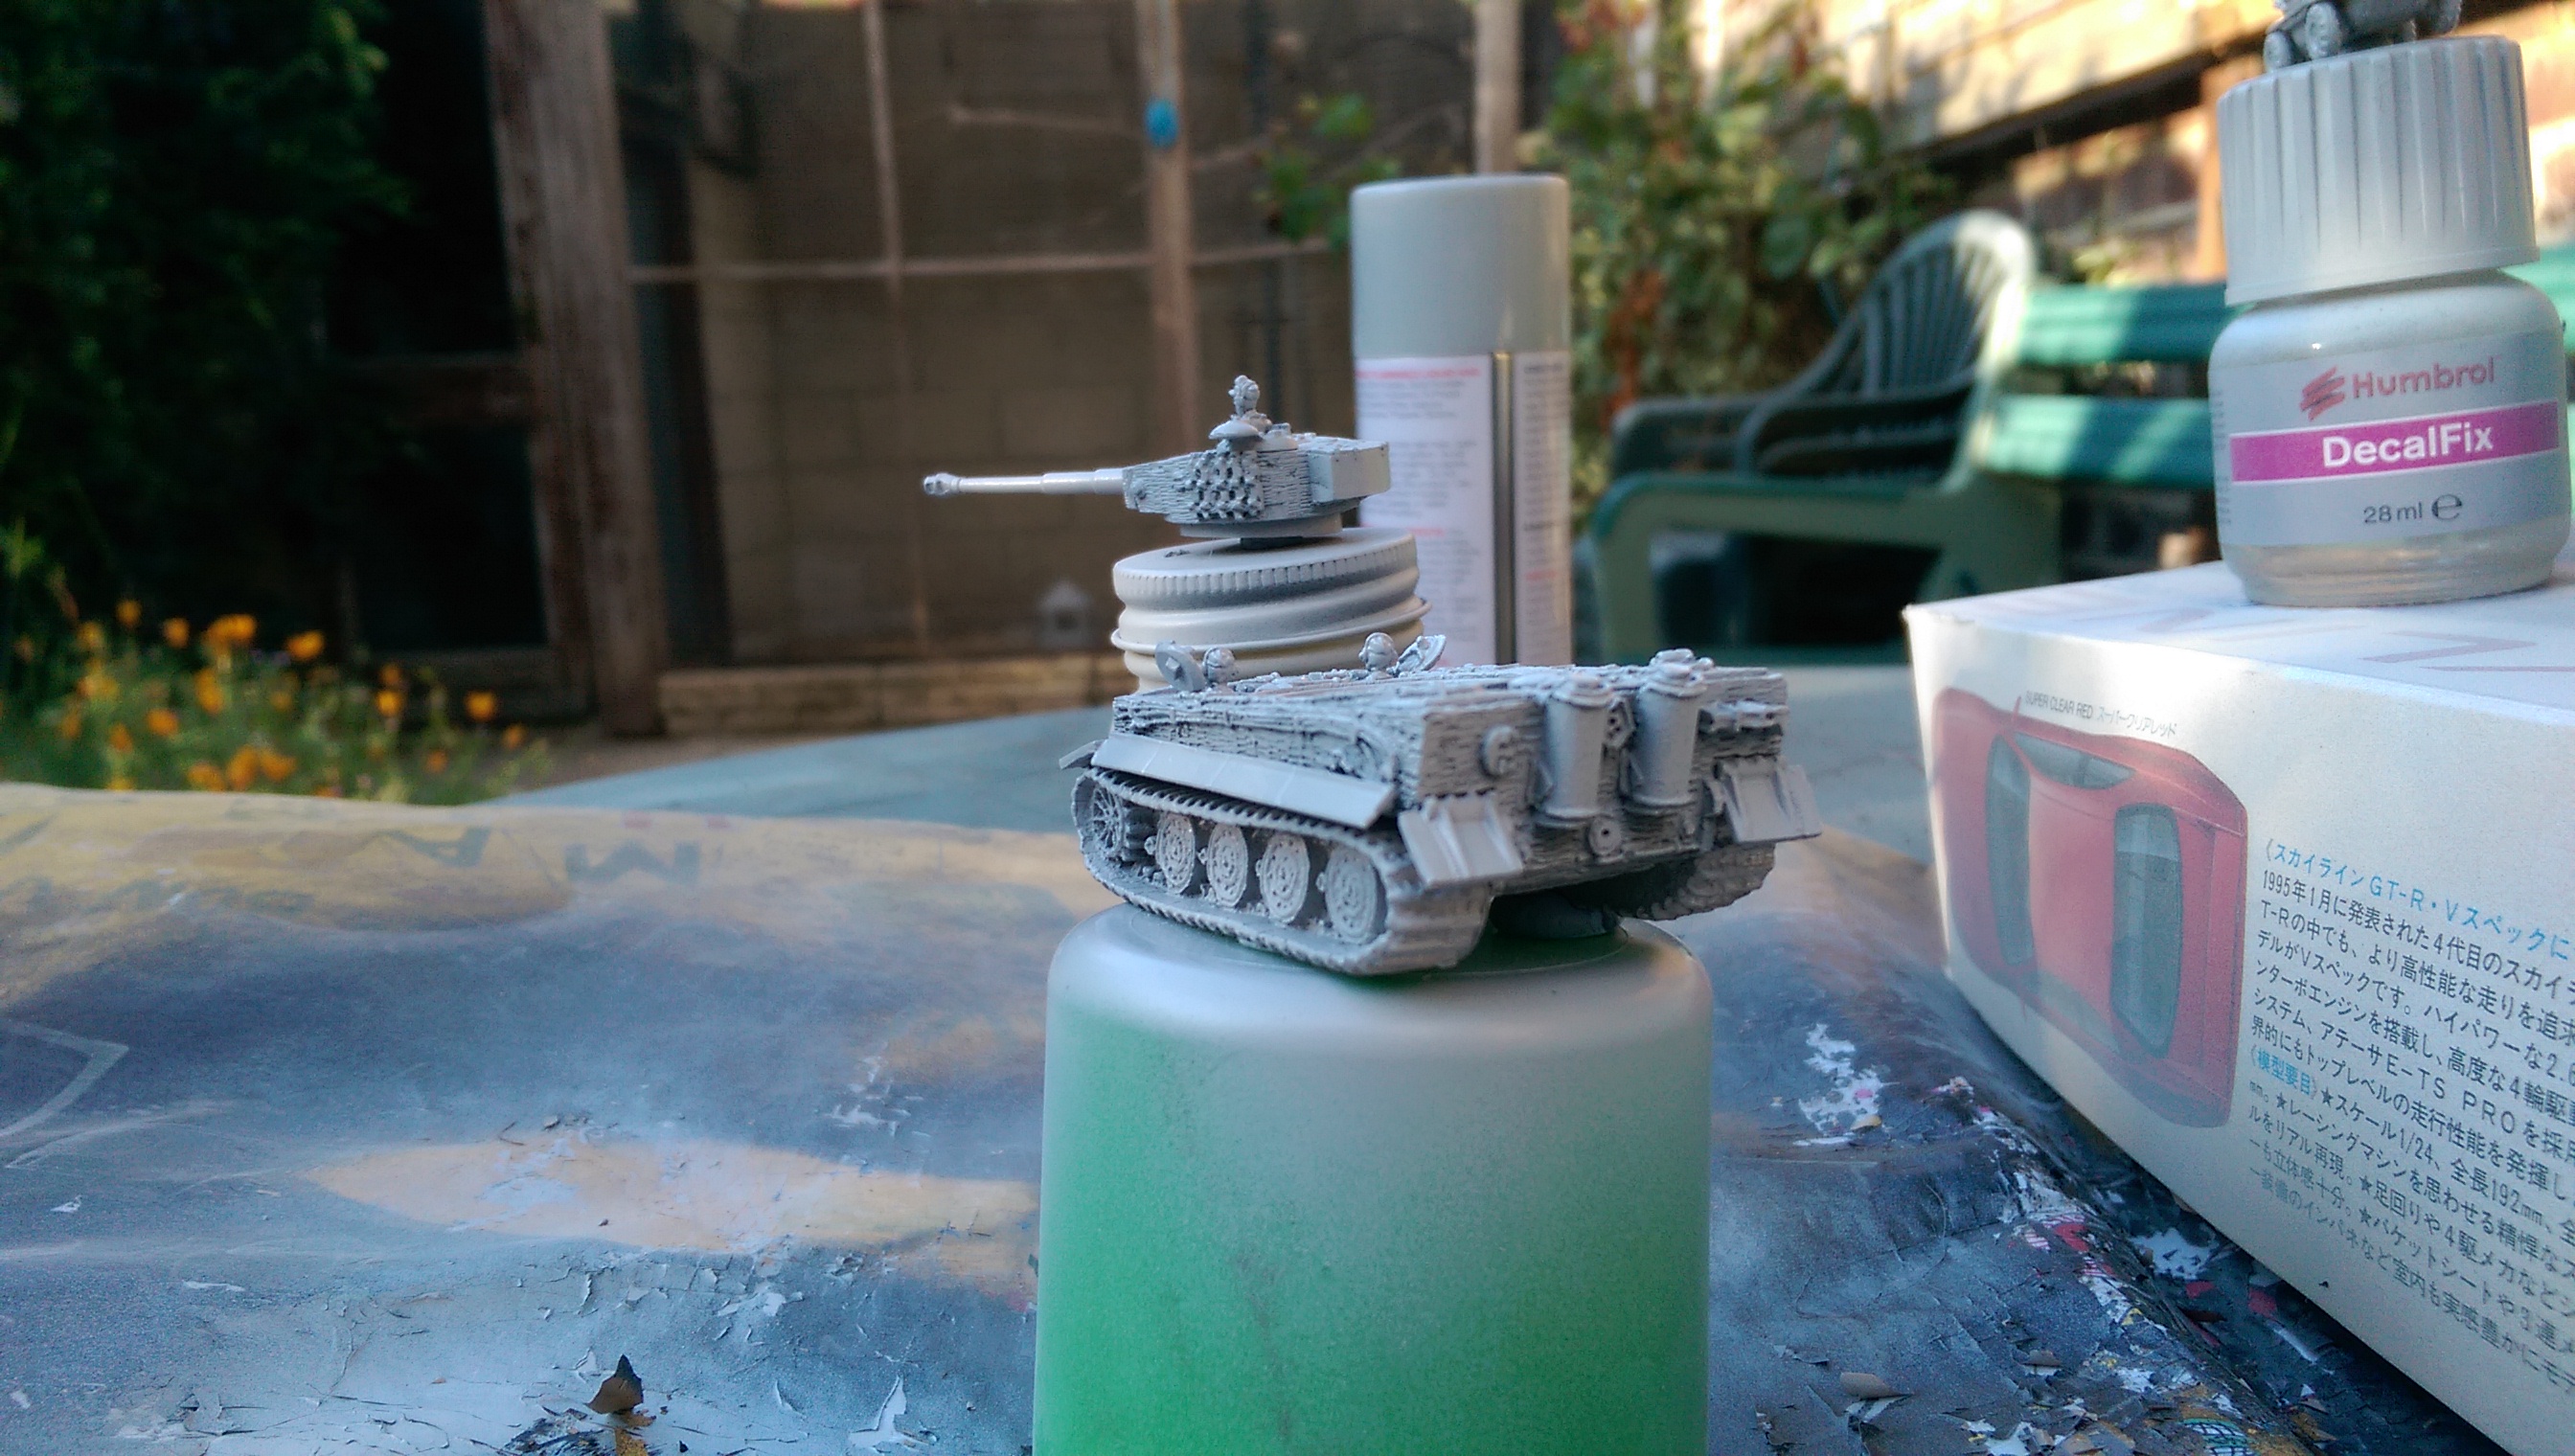
Before fitting the gun into the turret I primed the hull so that I didn’t need to mask the gun up.

ferdprimer2
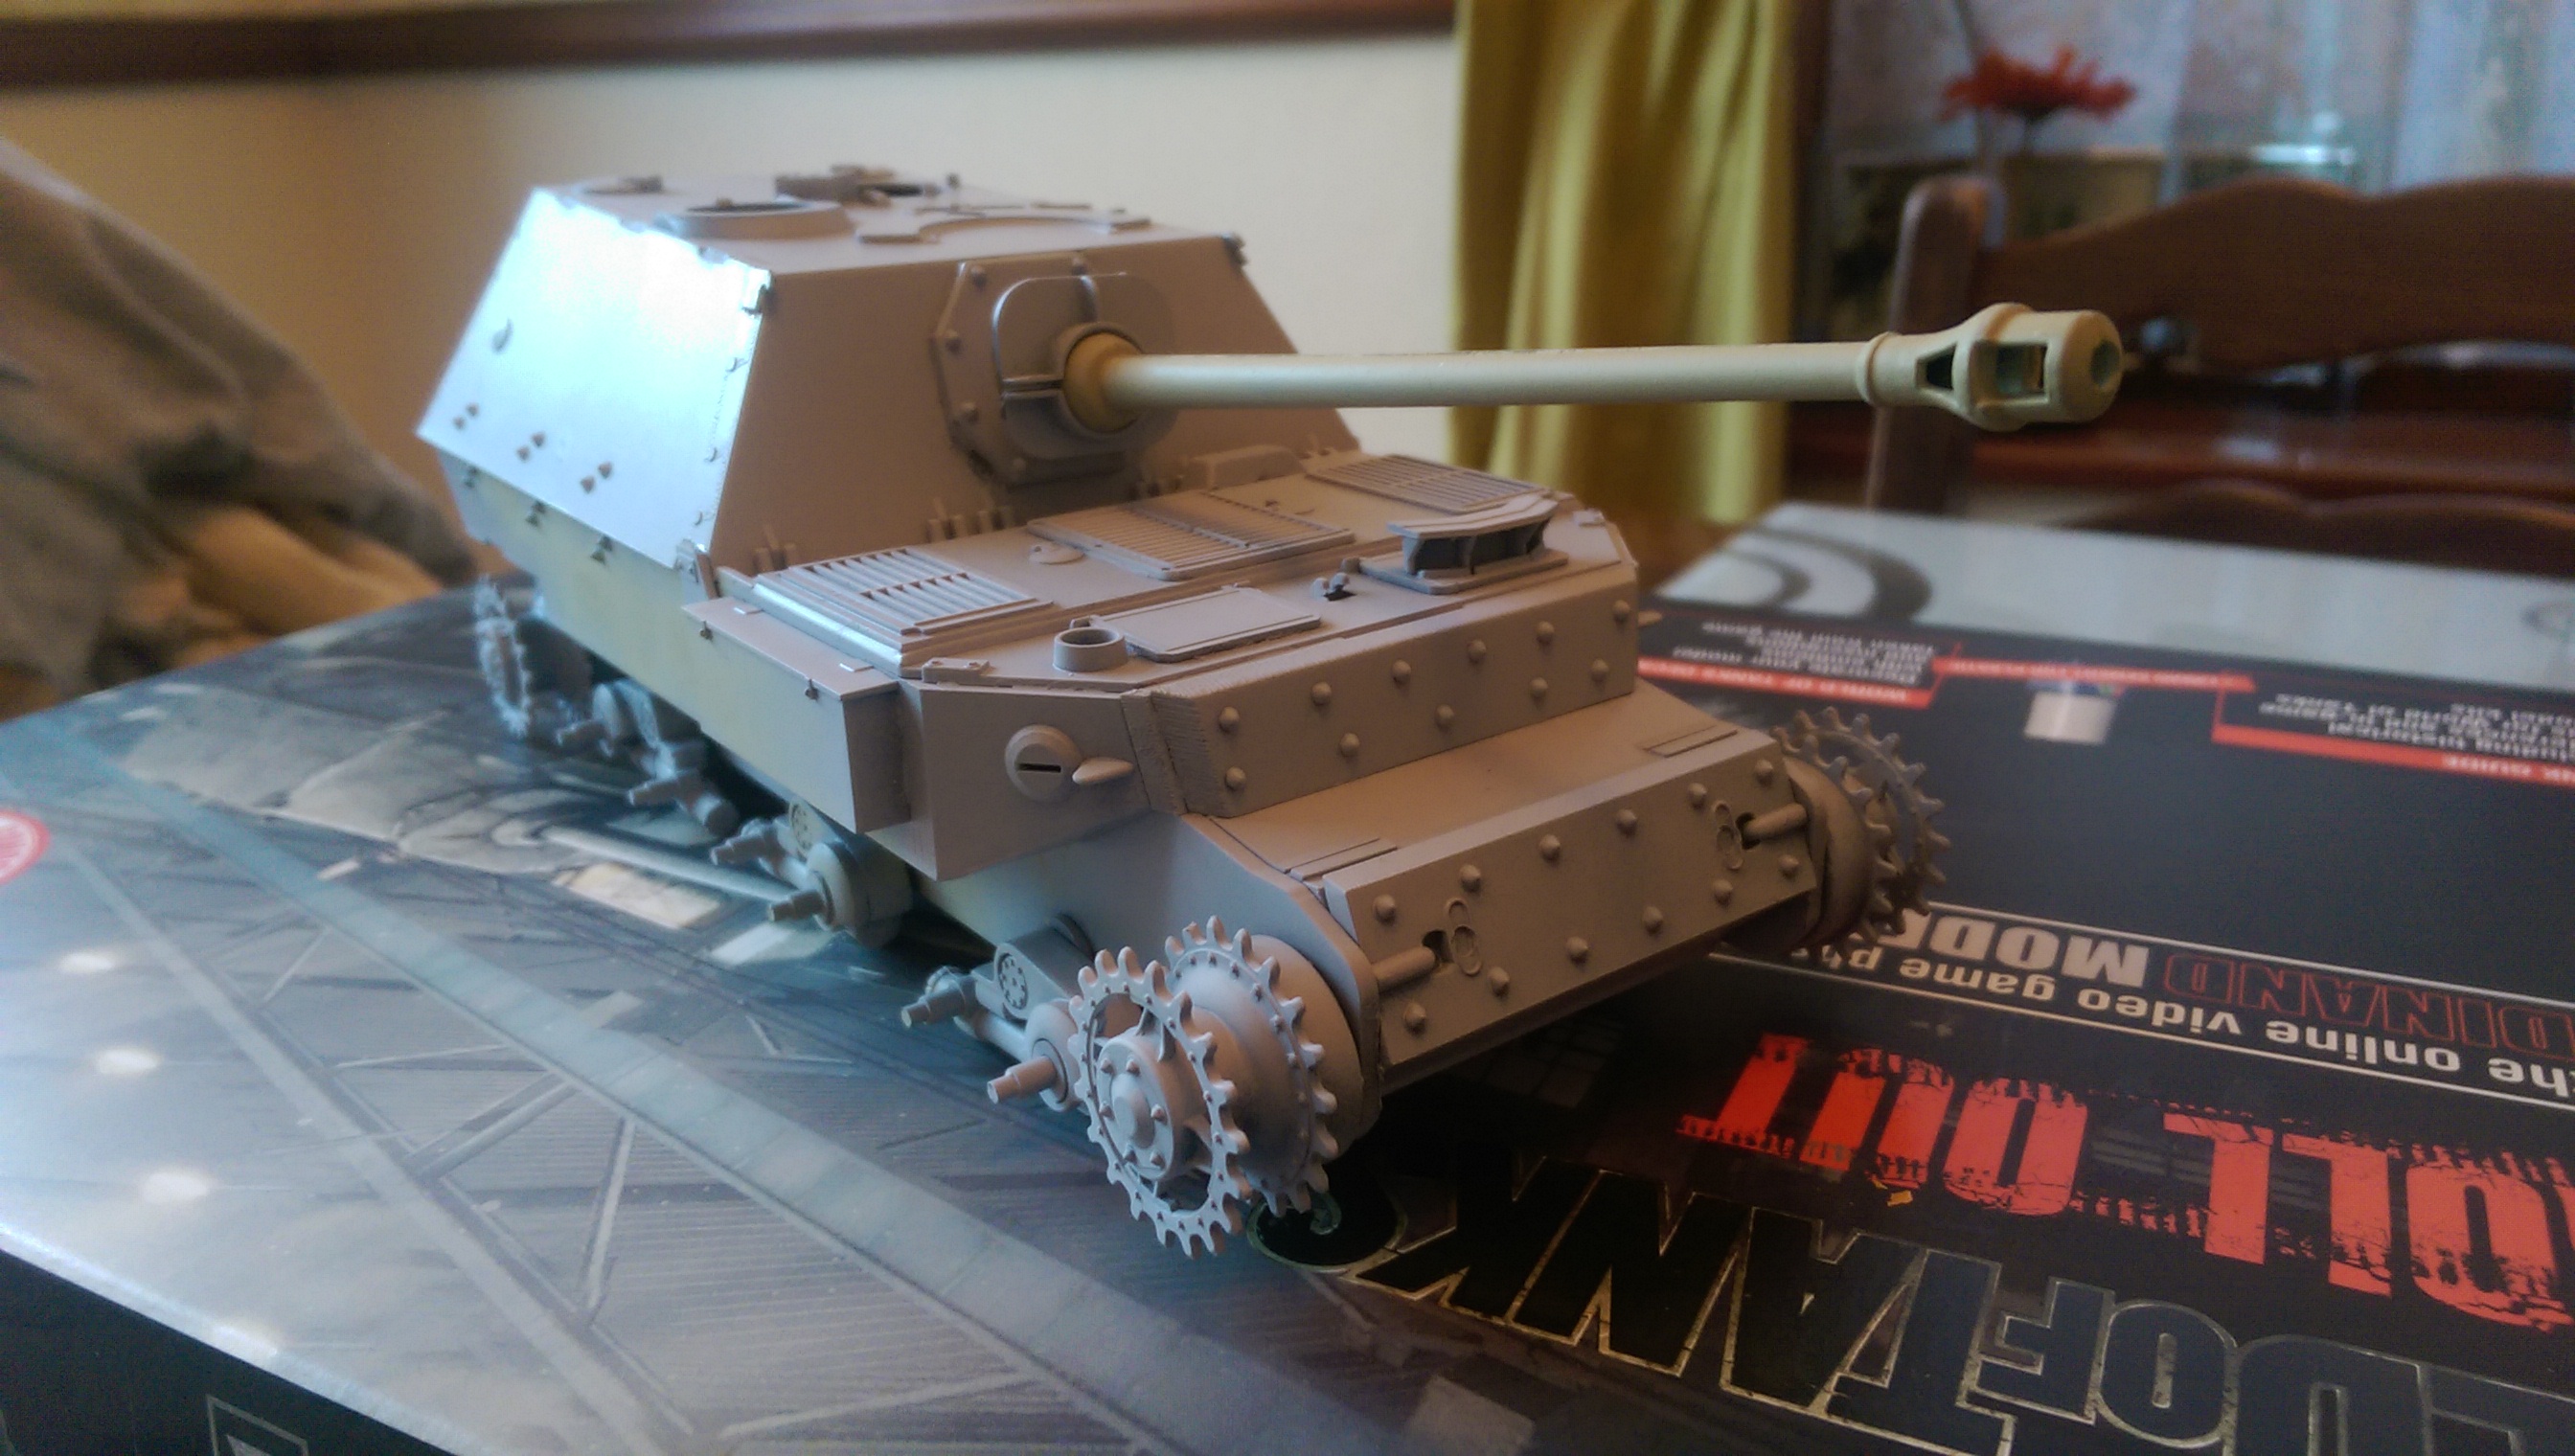
I intend to paint a camouflages scheme on the tank destroyer using dunkelgelb as the base coat with green and brown areas.

World of Tanks Ferdinand Kit

ferdbox2

I am a keen player of World of Tanks, so when I discovered that there were WOT kits available I decided to investigate.

At first I thought these would just be re-branded releases of standard Italeri kits but you do get some nice WOT tanks extras.

The main bonus is the inclusion of a code which will get you a special event premium tank in the game itself. Special events vehicles can not brought and are hard to get hold of. The vehicle that come with the Ferdinand is the 105 leFH18B2 Self propelled gun (shown below).

13199038368748404736_screenshots_2014-09-08_00001

As this is a premium vehicle it gets more credits, experience and crew experience than standard tanks you can get in game. It is the first of two SPG’s in the game. I have used thi vehicle several times in the game and am having great fun with it. It was actually the deciding factor in my purchase.

ferdinside

The kit also comes with a semi colour instruction book where the example camouflage scenes are in colour. These match some of the schemes you can purchase for German armour in game. There is also a decal sheet of some of the insignias from the game, this comes with both allied and axis decals despite the fact that it is a German tank destroyer.

Lastly you get a mini guide showing you the weak points of the world of tanks armour available in kit form.

(There is also a bottle of glue provided)

Flames of War German Armour

Last year at Tank Fest I purchased the Flames of War Open Fire Starter box.

For those who don’t know, flames of war is like a real war (mainly ww2) table top game like Warhammer.

Even if I never play the actual game I thought it would be nice to make the models in it.

wpid-wp-1405408657166.jpeg

I have recently built the Stug G tanks from the set as well as a Wittmans Tiger Tank I found on eBay. The Tiger kit was new and good fun to build. It has a resin hull with any additional parts to add being metal.

wpid-wp-1405408679009.jpeg

Here I have started the process of painting the models by giving them a coat of grey primer.

wpid-wp-1405408623829.jpeg

I then airbrushed the base coat for the models using lifecolor RAL 7028 DunkelGelb.

wpid-wp-1405408589543.jpeg

Yes DunkelGelb is that infamous colour of German armour that people will argue about till the end of time. Being basically dark yellow in German I guess its open to a lot of interpretation. I have used a variety of different shades of dark yellow on German Armour and find lifecolor’s one to be the best.

Tiger Tank Update: First Set of Tracks Fitted

WP_000340

I finally got around to doing some more of my tiger tank build at the weekend. Last week I received the final parts of the series so I thought it was time to get back into it. In this session I fitted the exhaust stacks to the back of the tank and added the left track. The track is made of 96 metal links held together with pins.

WP_000338

I did encounter some badly cast track links, but these were overcome with a bit of filing and brute force.

WP_000324
The tracks fresh out of the packaging.
WP_000325
Spraying the track links black.
WP_000334
Joining the links.
WP_000335
The complete left track.

Checking out my new action cam on an rc tank

In this video i am testing a new miniture camera on my Heng Long Panzer IV. The quality is not great as its indoors and in low lighting. The camera comes with about 4 ways of attaching it to things but I just used blutack. Am certainly going to get the HD version of this camera.

1/16 Tiger Tank Progress

I finally got round to doing some more work on my Tiger Tank. The parts I have been working on are the lower hull and front plate.

The brass etched mud flaps were a pain as you had to bend all the tiny parts into shape.
It is proving to be an expensive model to paint, I used two cans of spray paint on the hull and road wheels alone.

A tank needing a little TLC

At this year’s tankfest I picked up a new rc tank from the market.

It’s a Heng Long Panzer IV with metal gearbox and tracks.

The metal upgrades are what attracted me to the model. I have an all plastic Heng Long Pershing but it would cost more to upgrade it than the asking price of the Panzer.

I haggled the price down further so it was a real bargain. Unfortunately when I tried to get it going it was dead.

imageIt started working intermittently when playing about with the channel select switch so it seemed like there was a loose connection somewhere. After some googling I found Heng Long’s soldering skills were not highly rated. Eventually I found out that the component next to the switch was causing the problem. The component was re-soldered and the tanks now working fine.

Below is a video of the repaired tank in action.