Chevy Impala Police Car Part 2

IMAG0710This has been an interesting model to paint, requiring lots of careful hand painting around the window frames and other areas. I still have a bit of tidying to do but its getting there.

One thing I found useful with this kit is a lot of it snaps into place meaning you can test fit parts easier before making them permanently attached. I am not sure if this it common Continue reading Chevy Impala Police Car Part 2

Skyrider Drone Pack 1

I have just started a new subscription build. This is a 12 month subscription to build a medium sized quadcopter with camera mount. The body of the quadcopter is designed by Pininfarina. Continue reading Skyrider Drone Pack 1

RB7 Progress: Air Filter

helmet1

As I mentioned in my previous post. The air filter is something special on this model. It is in fact hidden within the drivers helmet.

helmet3

I soaked the filter sponge in filter oil before screwing it into the helmet structure. Decals were then applied to the helmet to give it the detail shown in the photos.

helmet2

Who would of though Mark Webbers head would become an air filter?

Italeri World of Tanks Ferdinand

ferdprimer1Work has started on the World of Tanks Ferdinand kit.

I started by working on the main chassis and getting the hull together. The suspension took a little while to make as it is each of the 6 parts are comprised of several small parts. After adding these I filed and built the gun.

I gave the gun a coat of dunkelgelb to ensure that the whole of the ball of the gun is painted in the base coat. This will prevent unpainted spots appearing when the gun is moved.

Before fitting the gun into the turret I primed the hull so that I didn’t need to mask the gun up.

ferdprimer2I intend to paint a camouflages scheme on the tank destroyer using dunkelgelb as the base coat with green and brown areas.

Hummer H1 Body Complete

IMAG0486

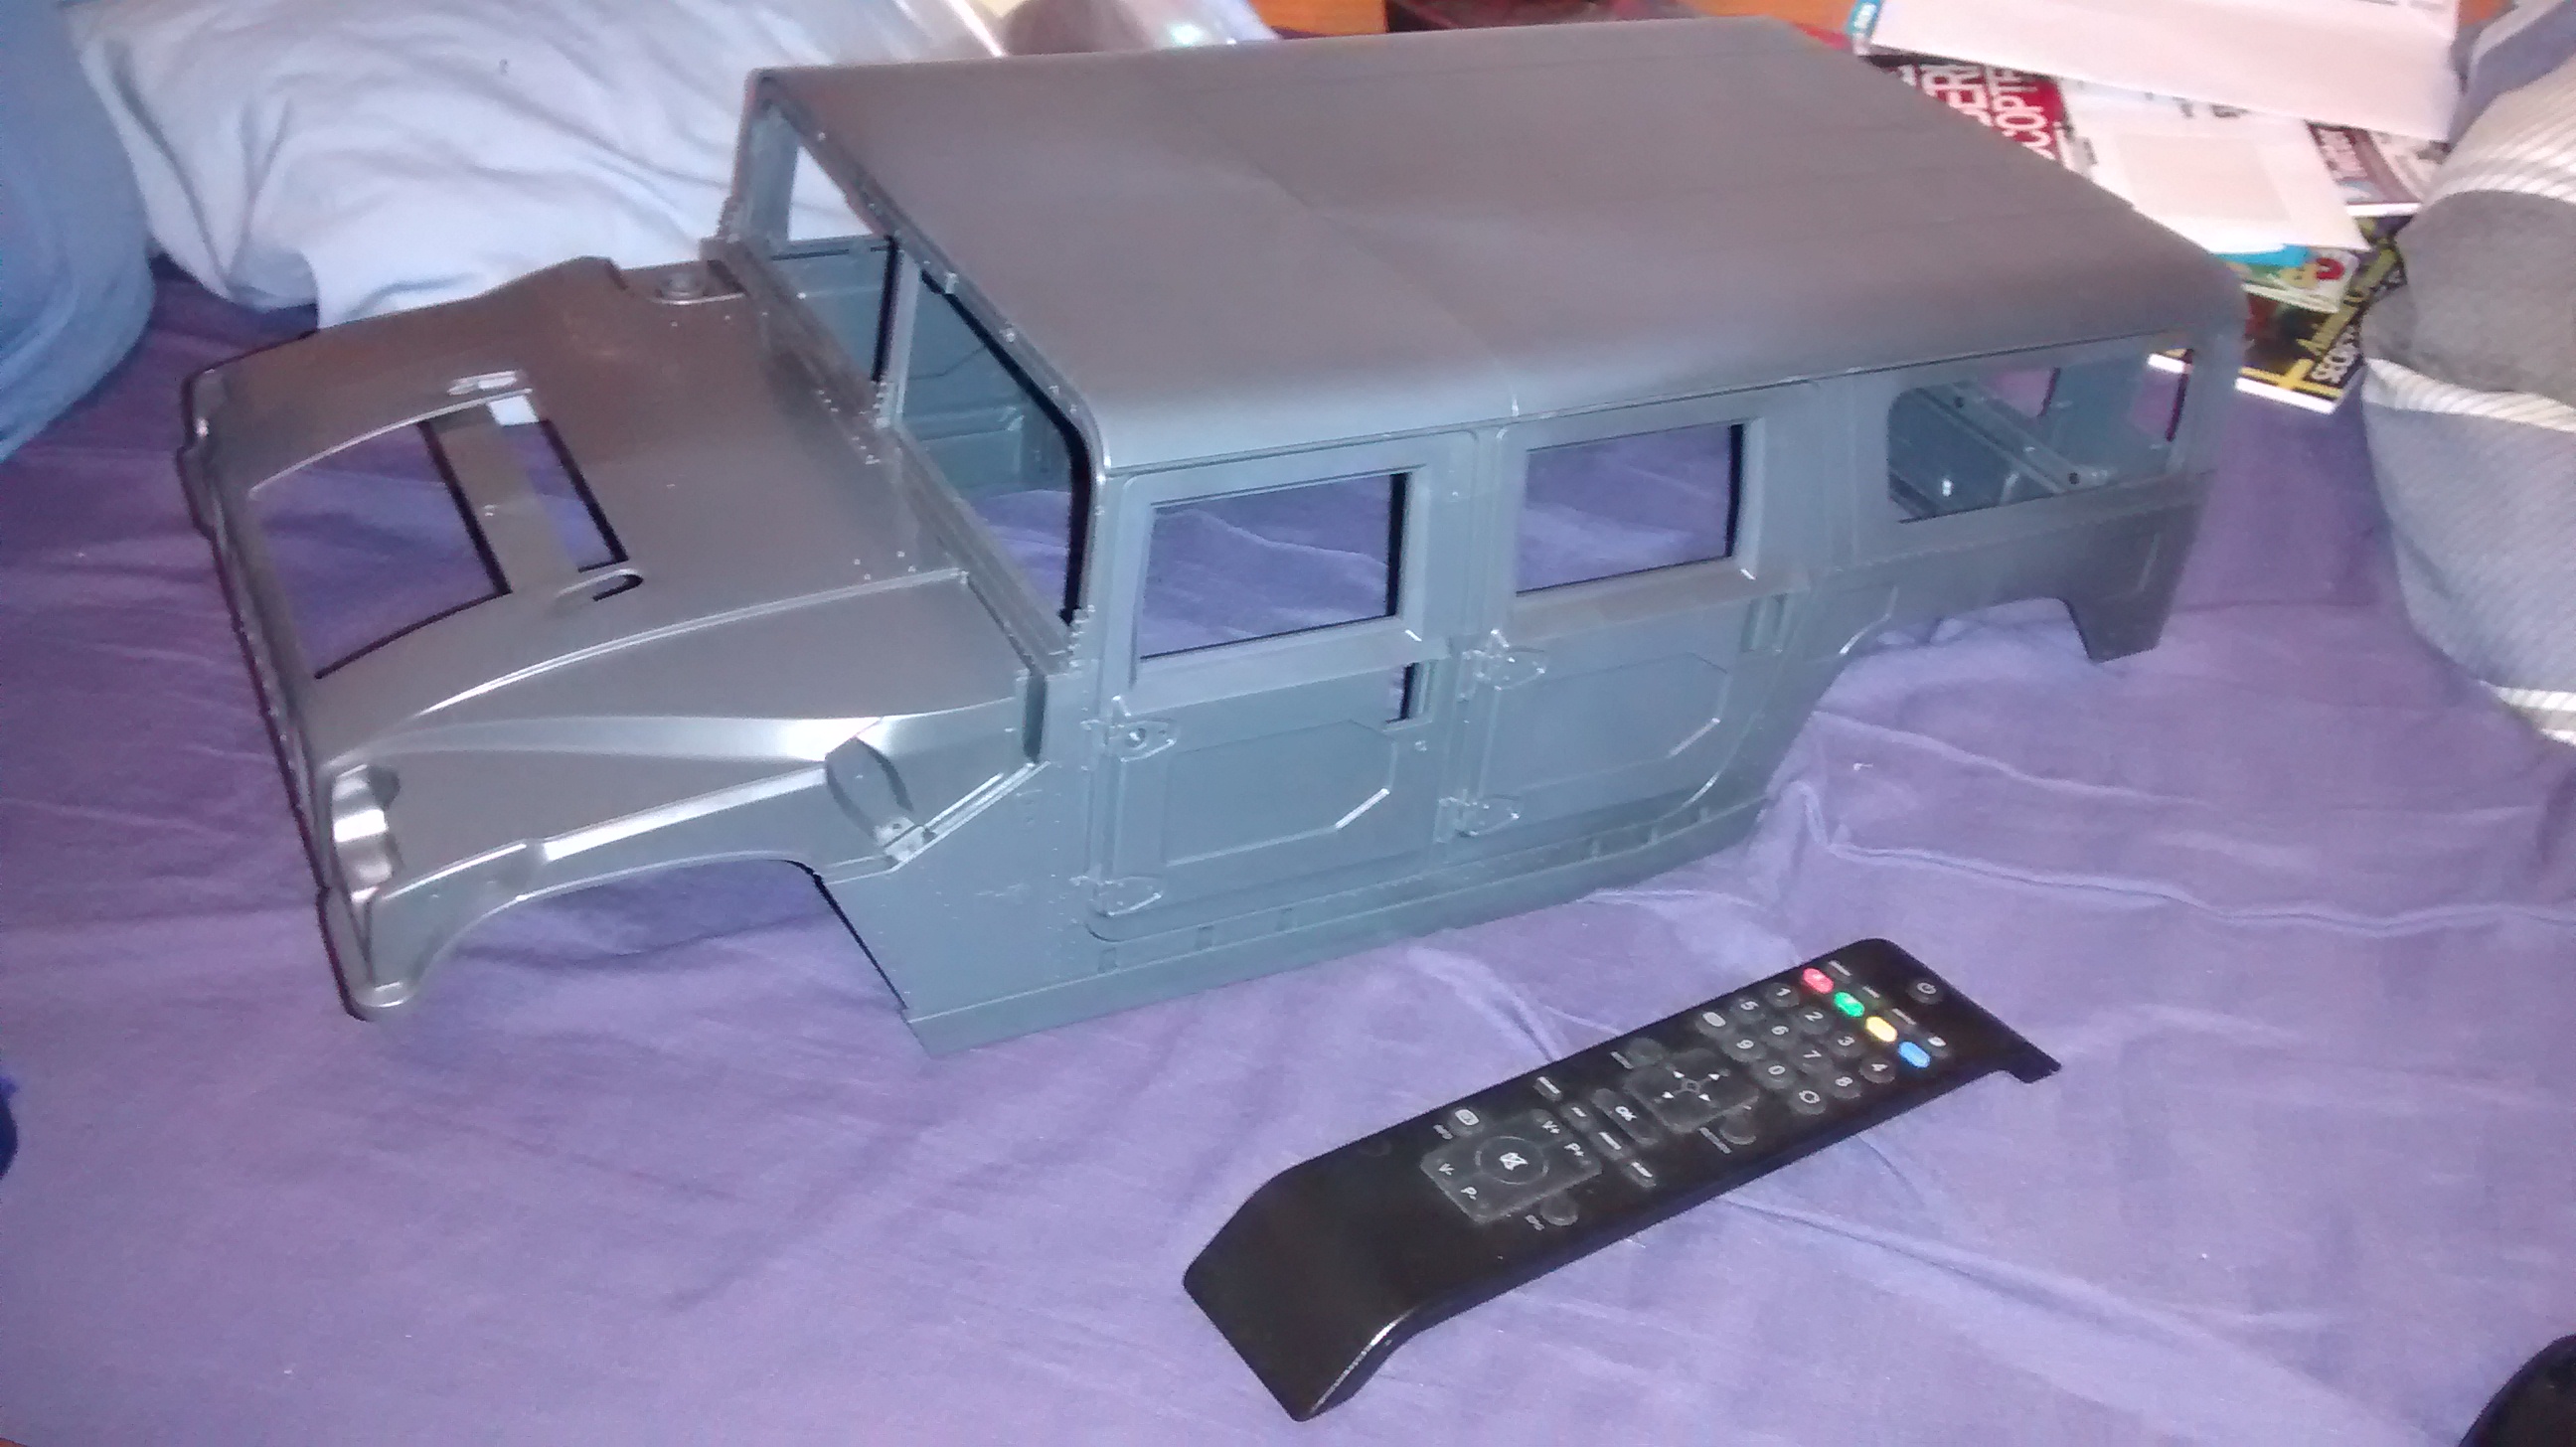
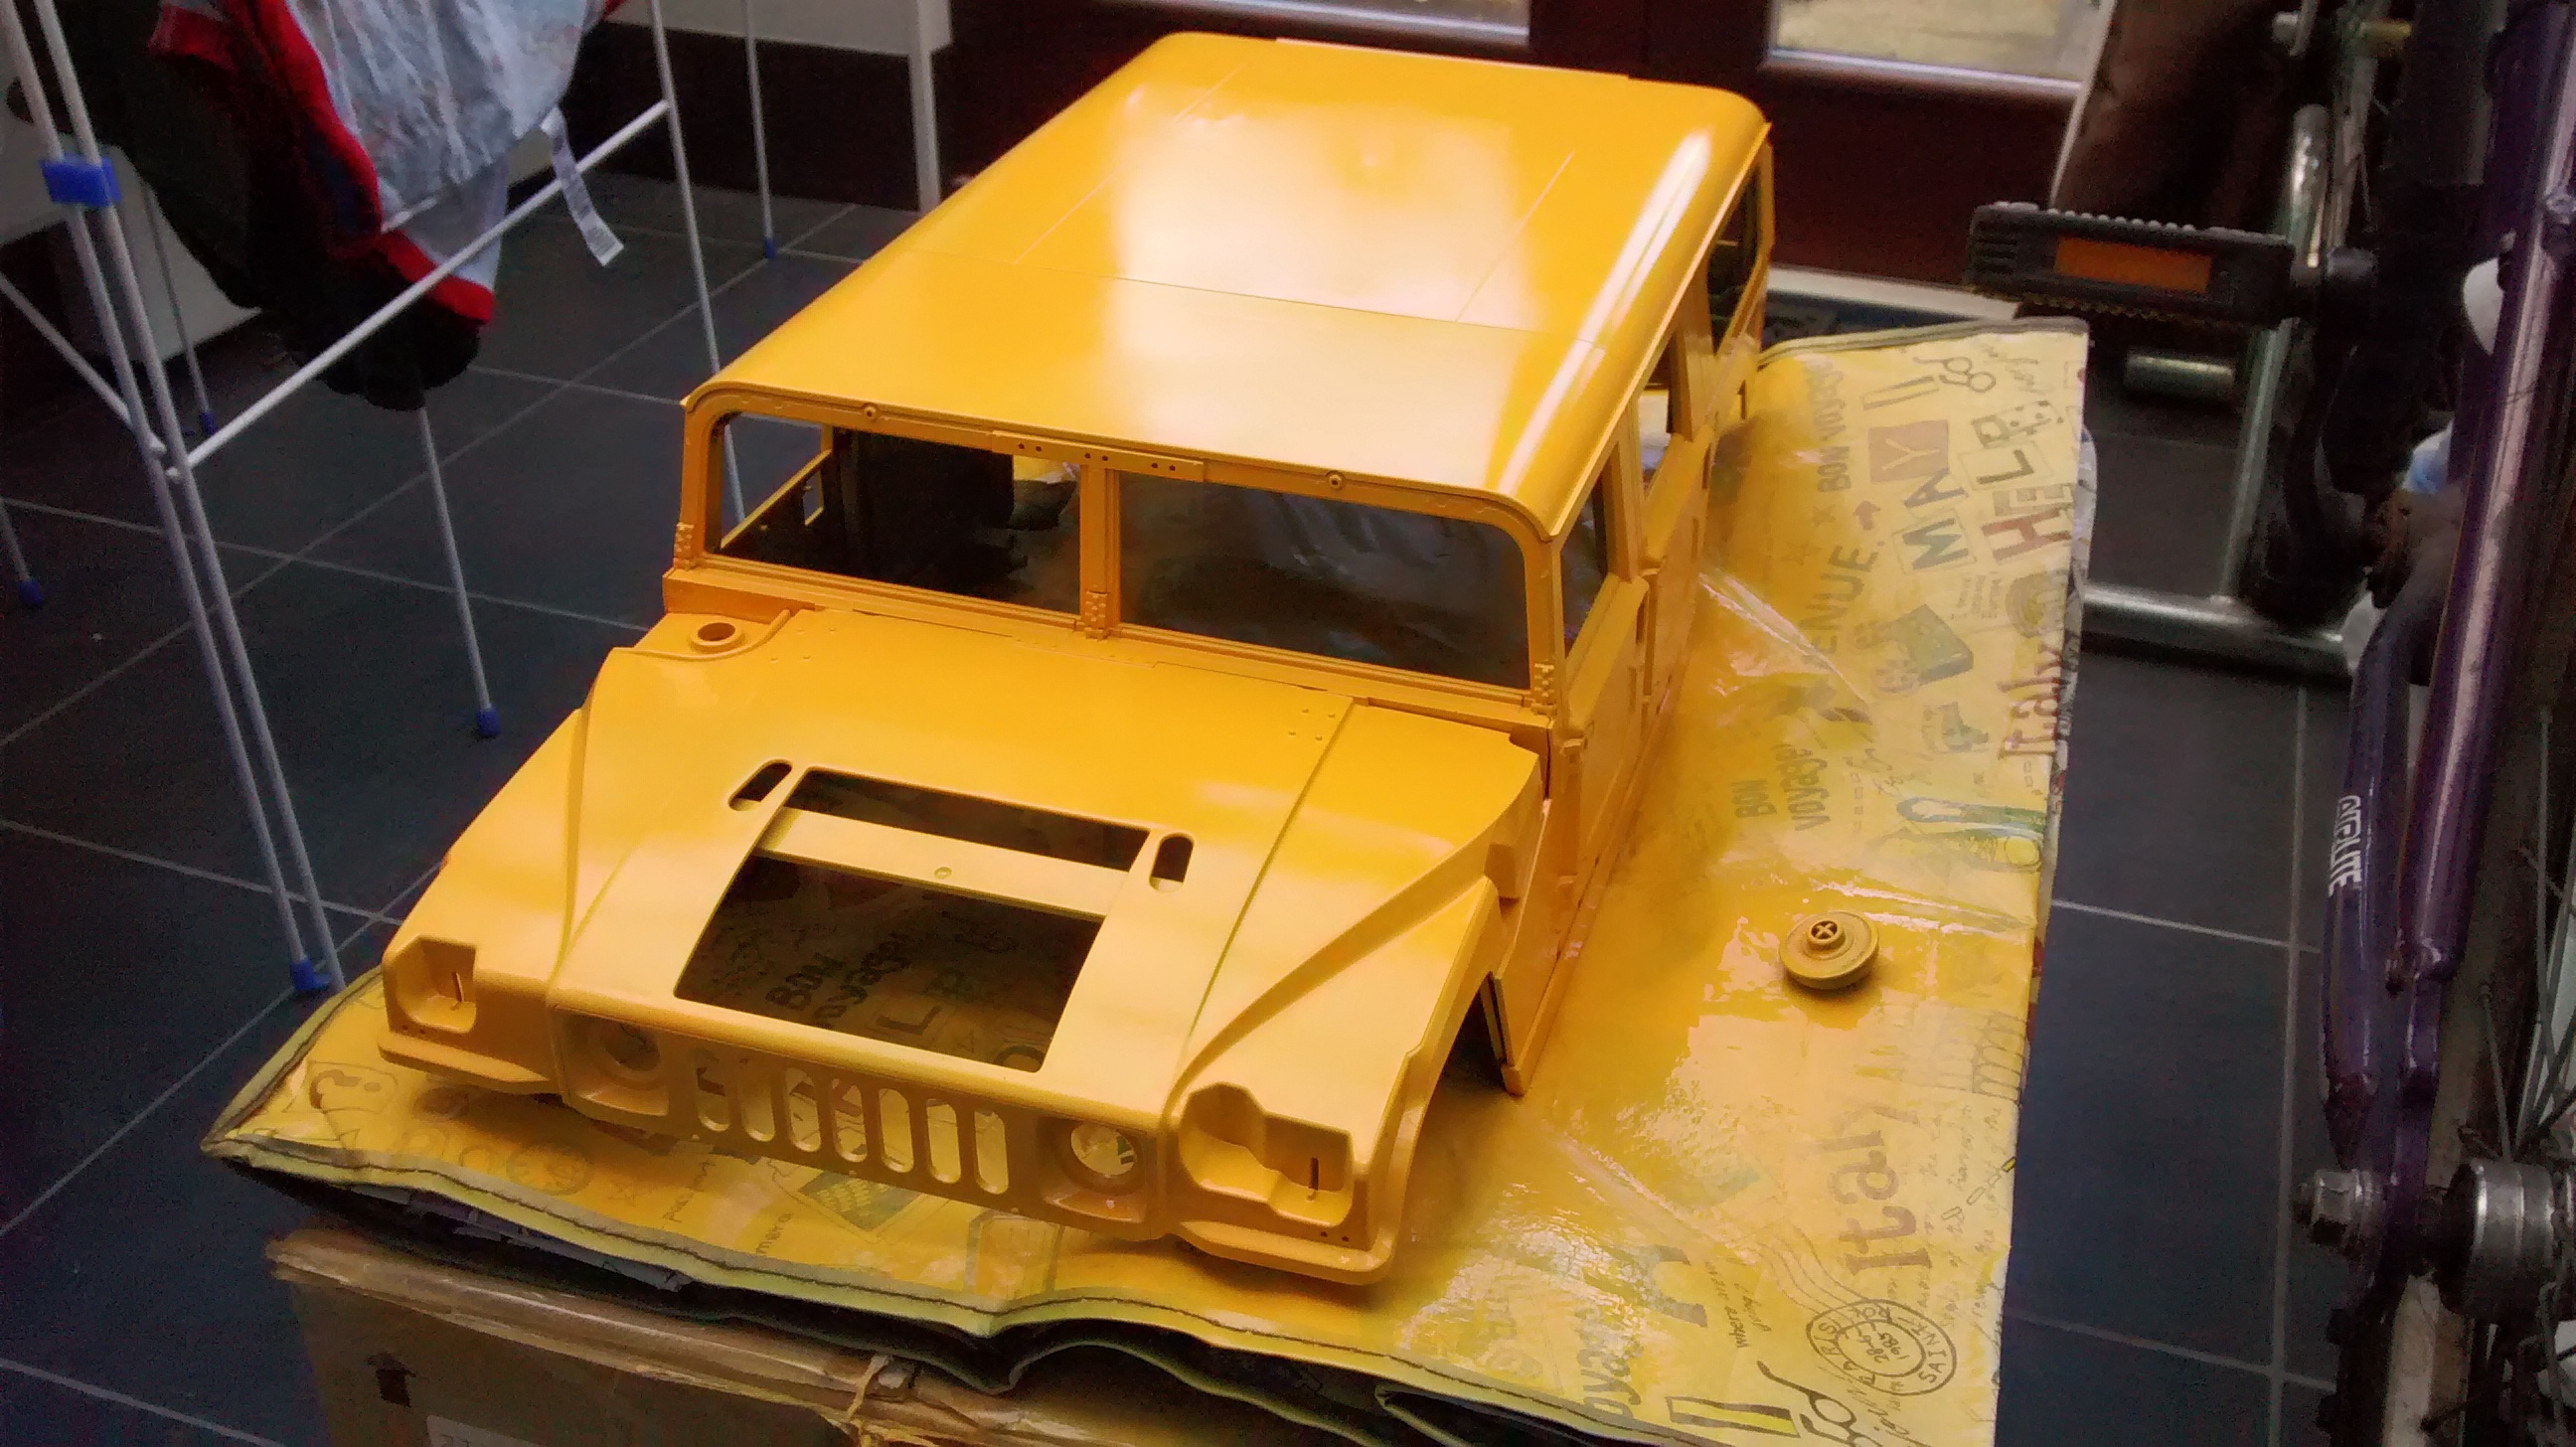
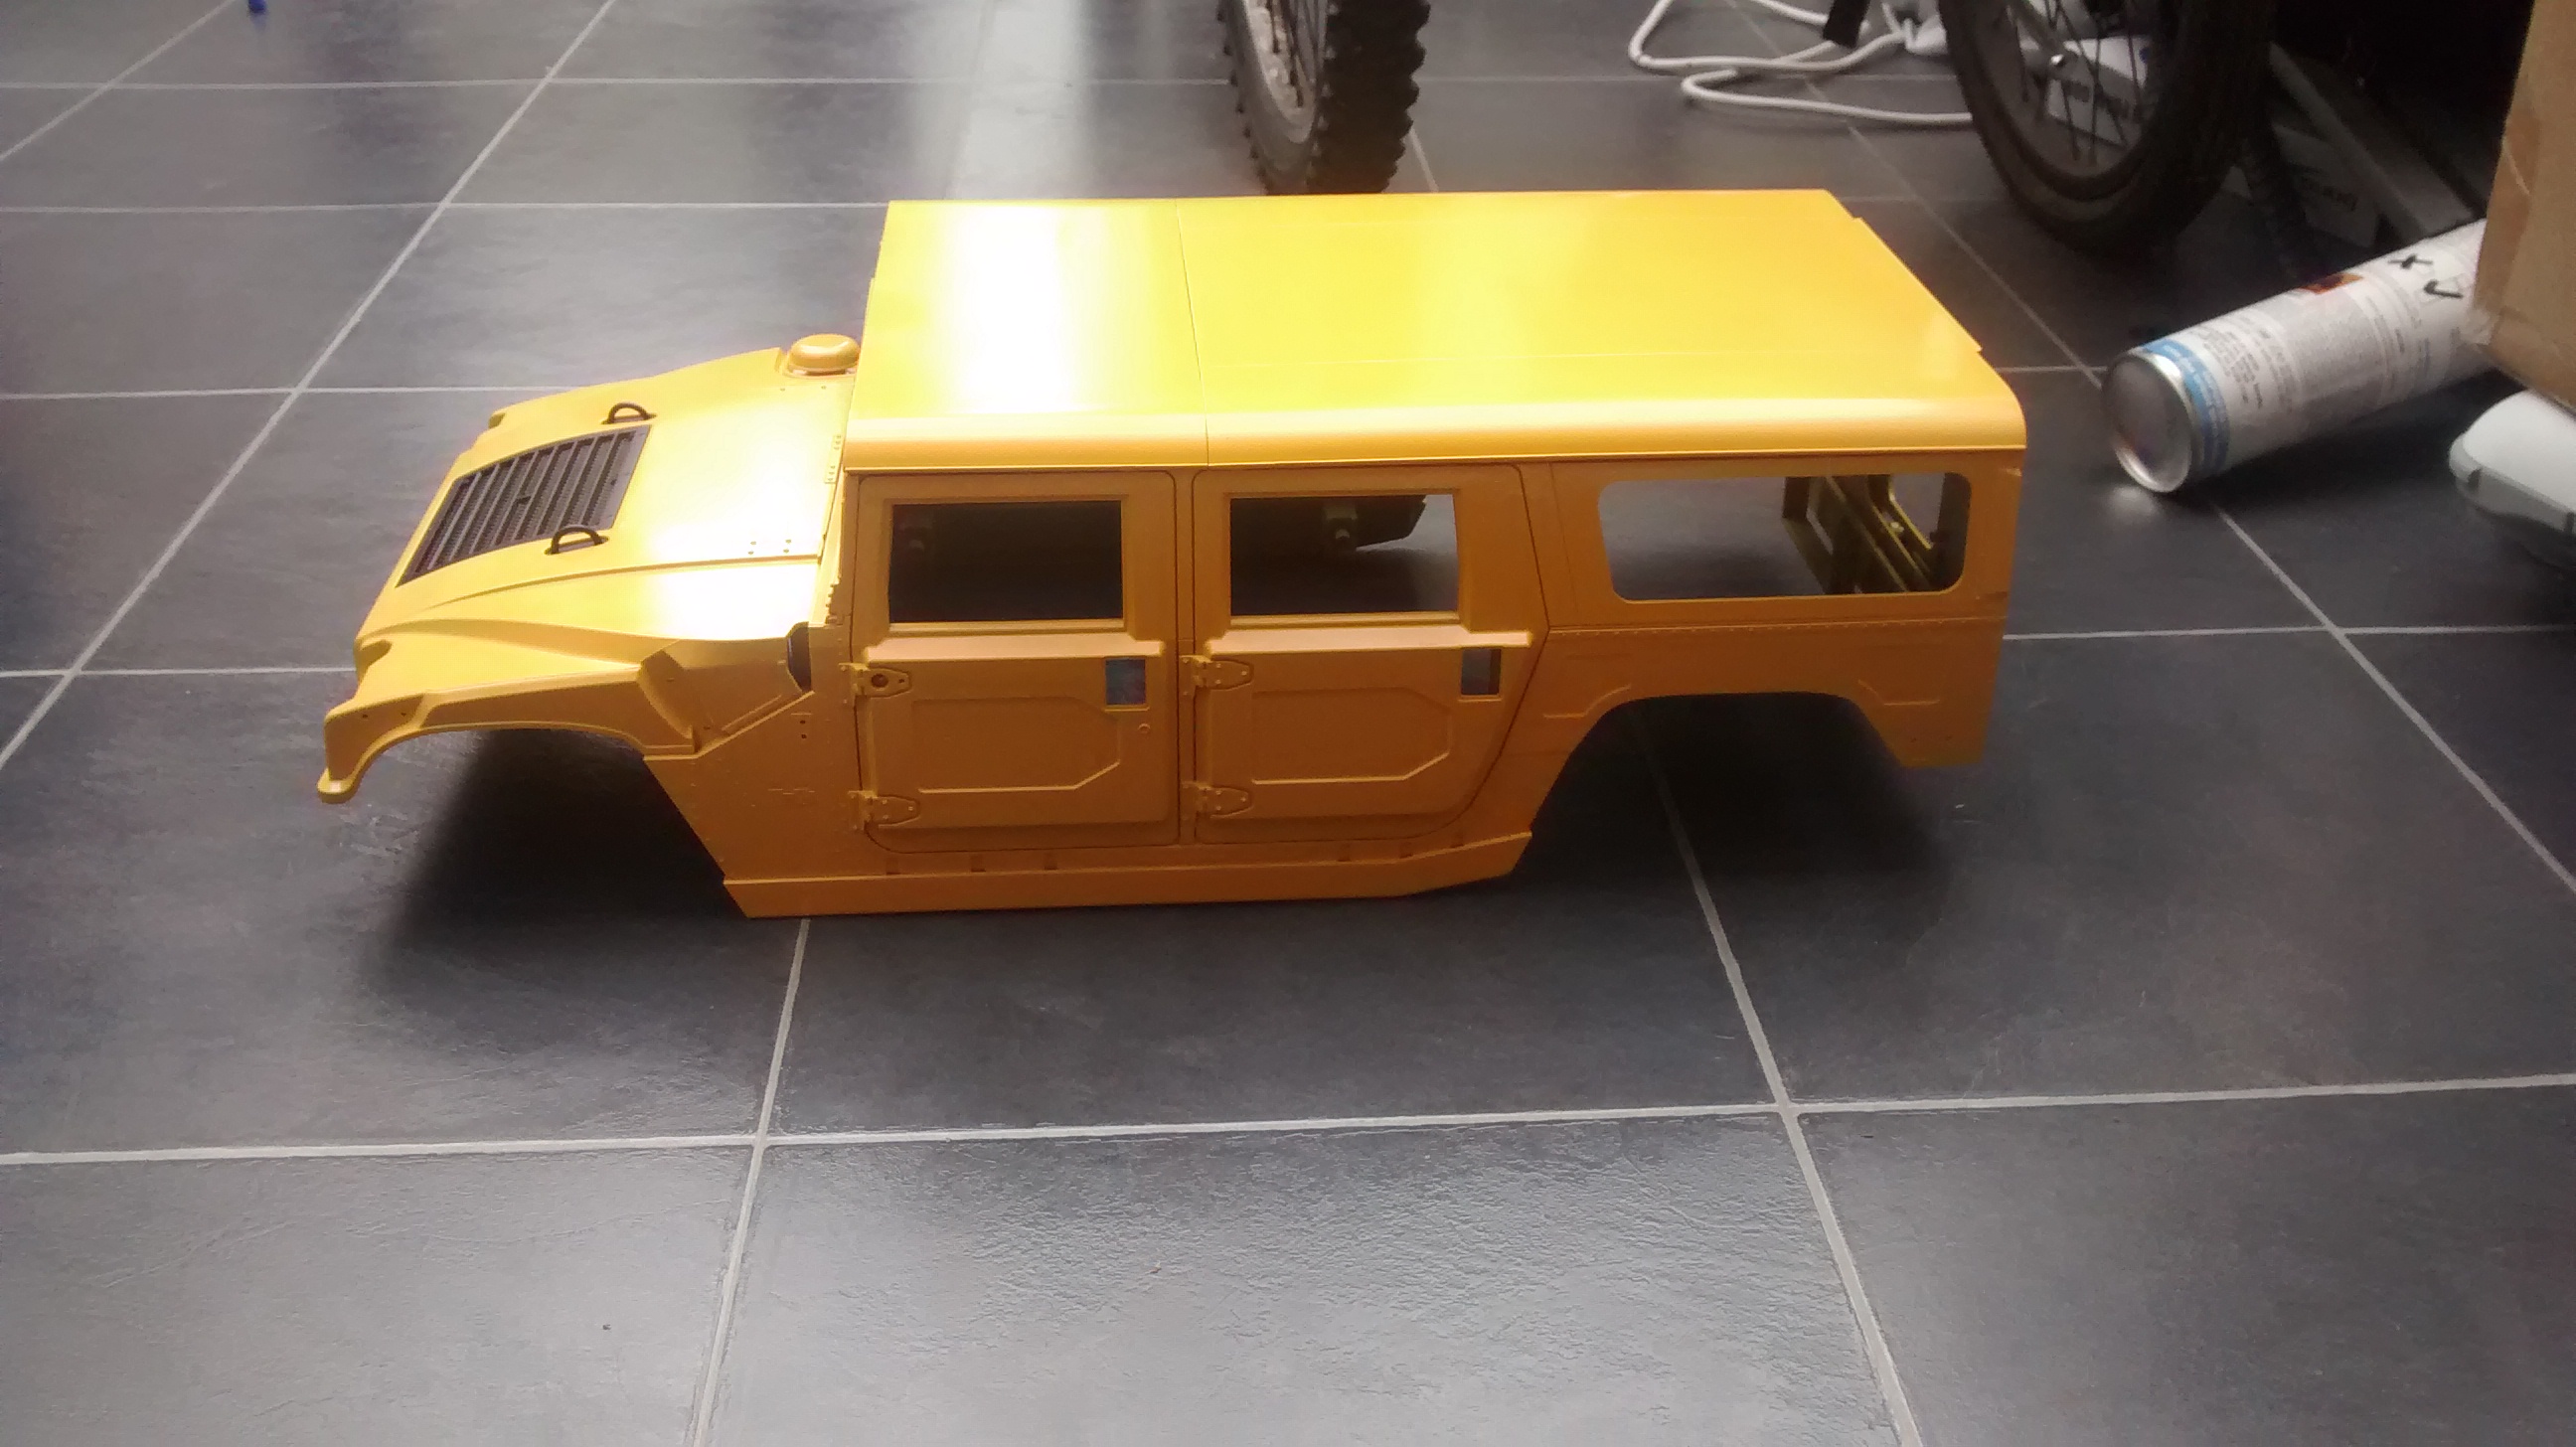
I have finished working on the body of the Hummer H1 model. There are a few spots to touch up with paint but aside from that it is complete.

On the front of the vehicle I have added the logos, windscreen wipers and lights above the windscreen.

IMAG0497

One of the most noticeable additions is that I have added the tinted window panels.

These really enhance the look of the model. Some of these panels will need to be removed however when running the car in order to provide adequate cooling for the engine.

IMAG0496

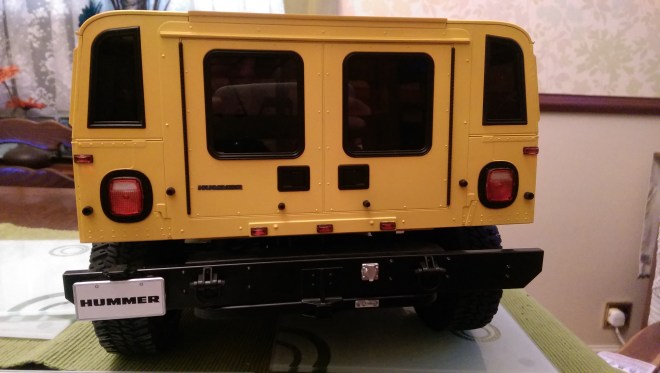
On the rear of the vehicle I have added the indicators, small rear lights, number plate and plug socket.

IMAG0491

The aerial, side indicators and Hummer logo have also been attached at this stage.

Adding the lights really enhanced the look of the model and I am very pleased with how they come out using clear red/orange paint.

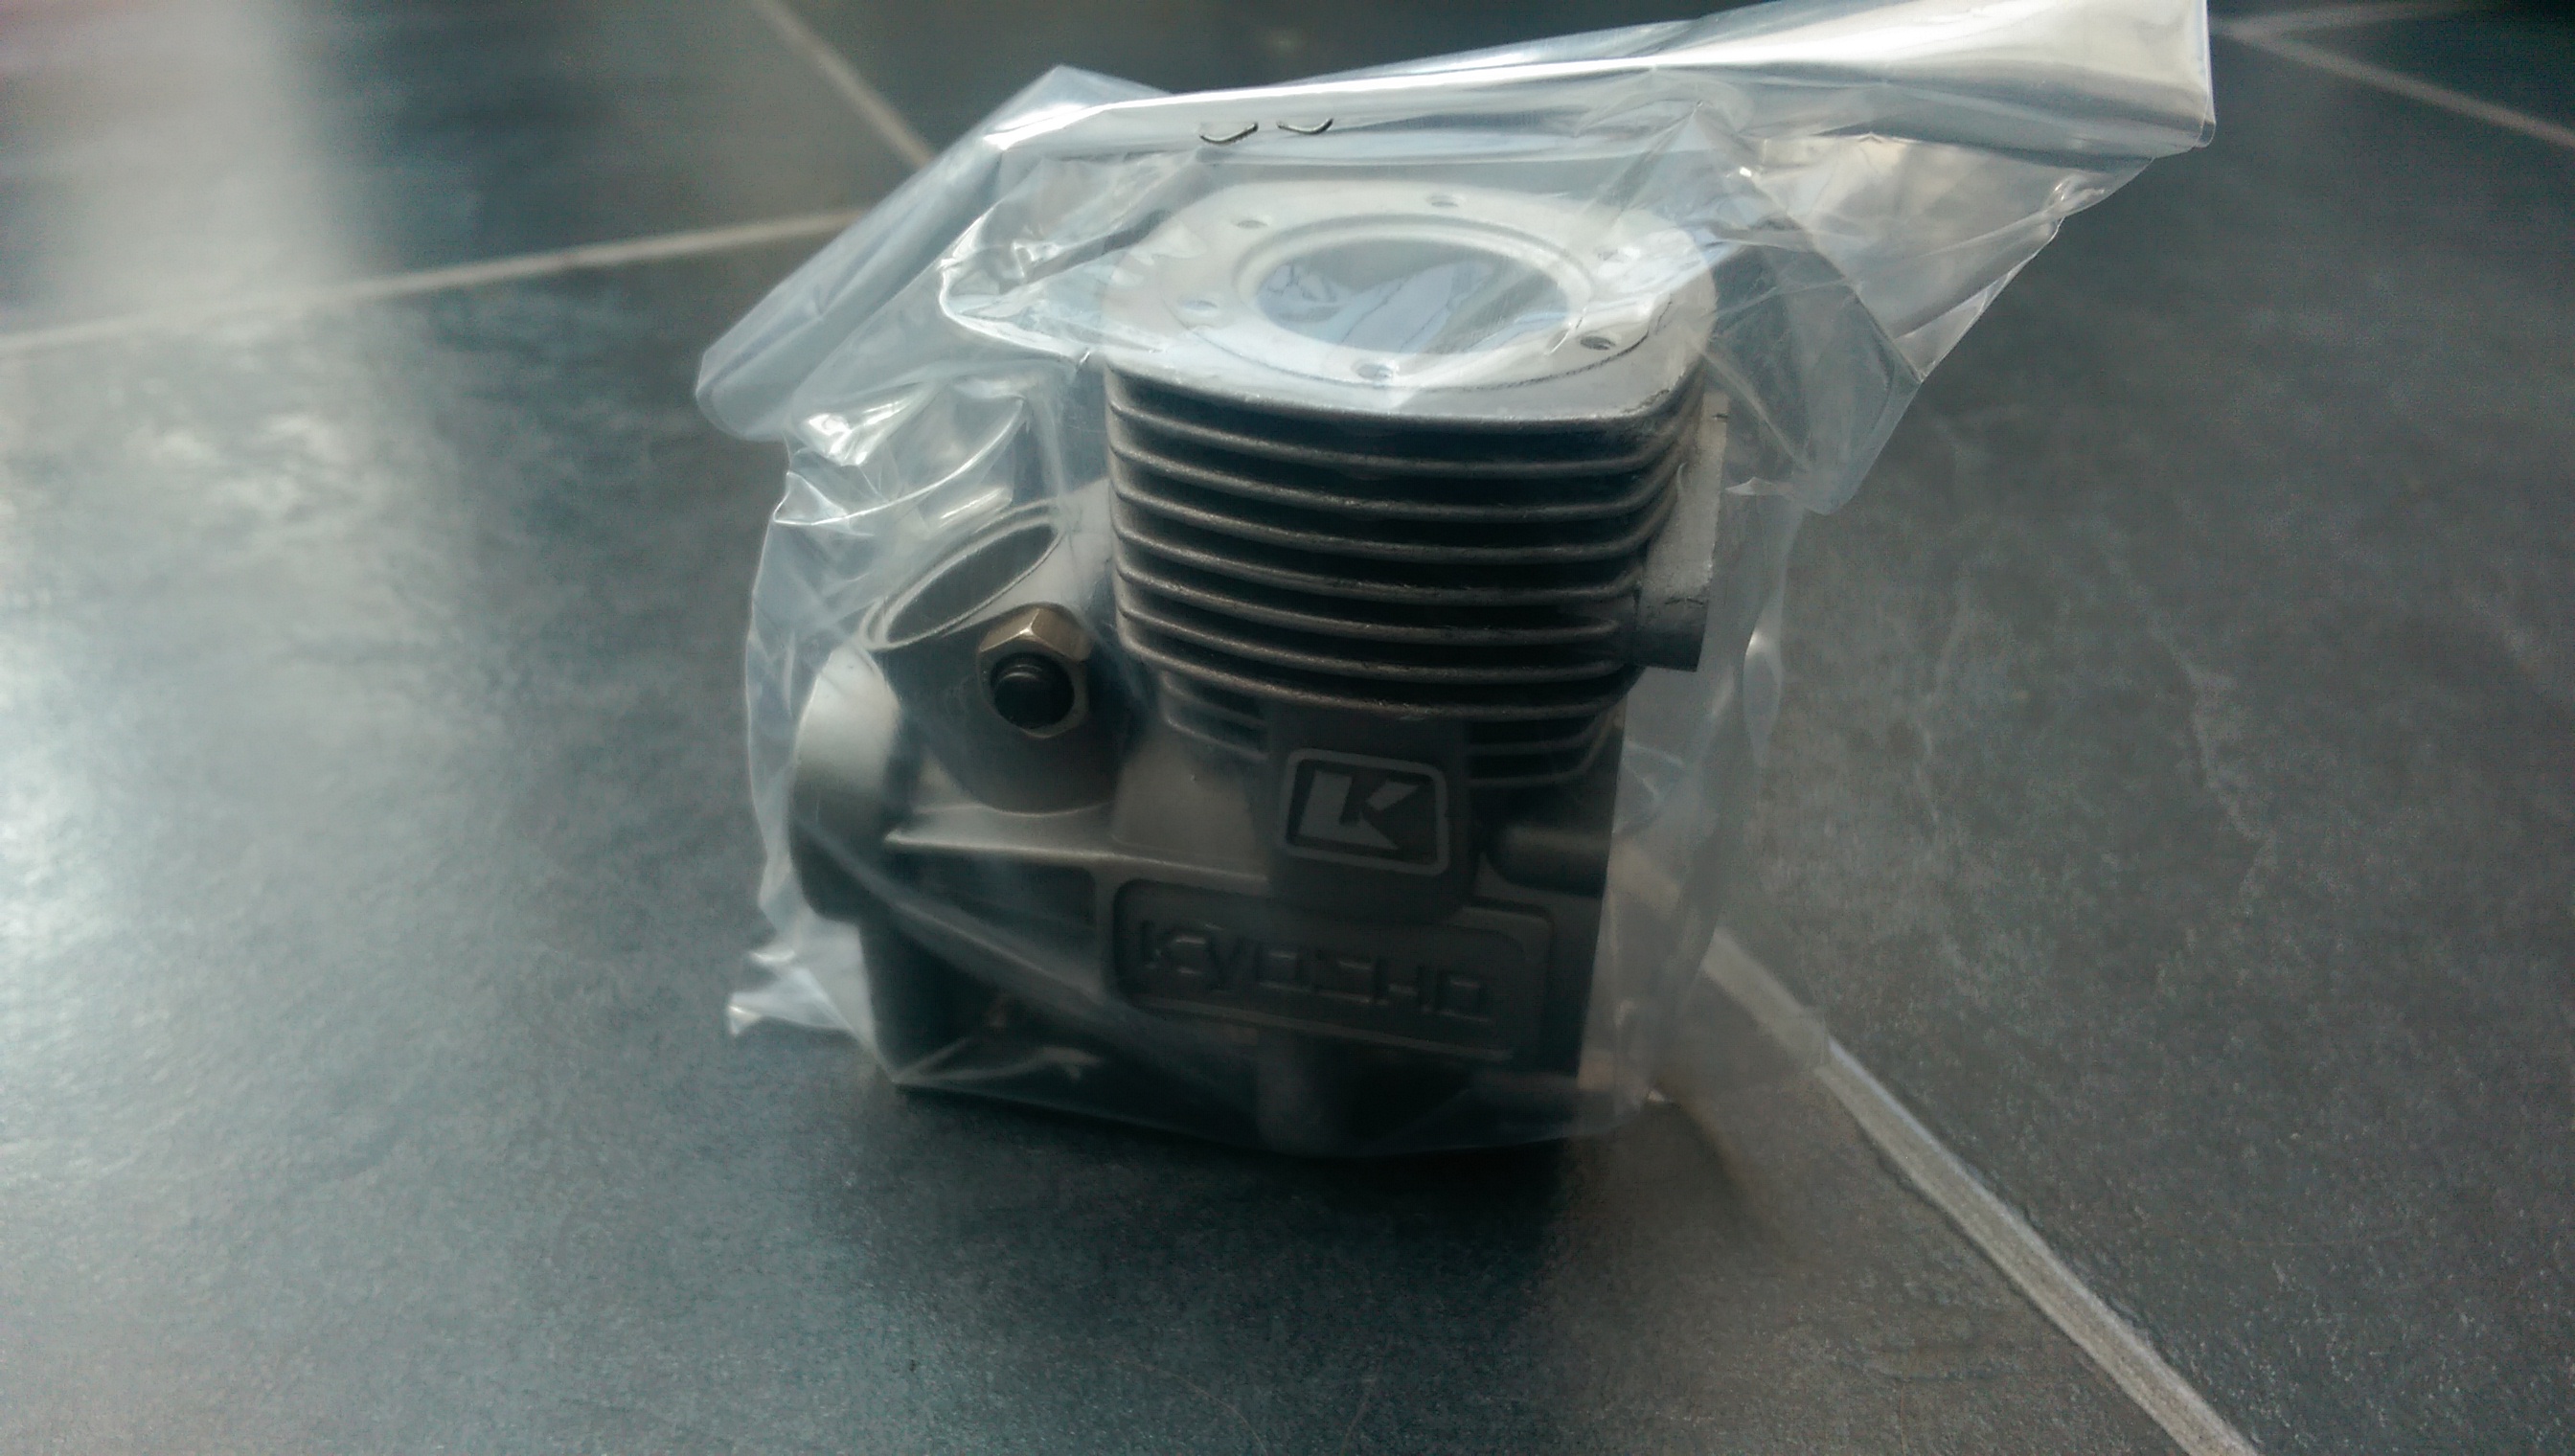
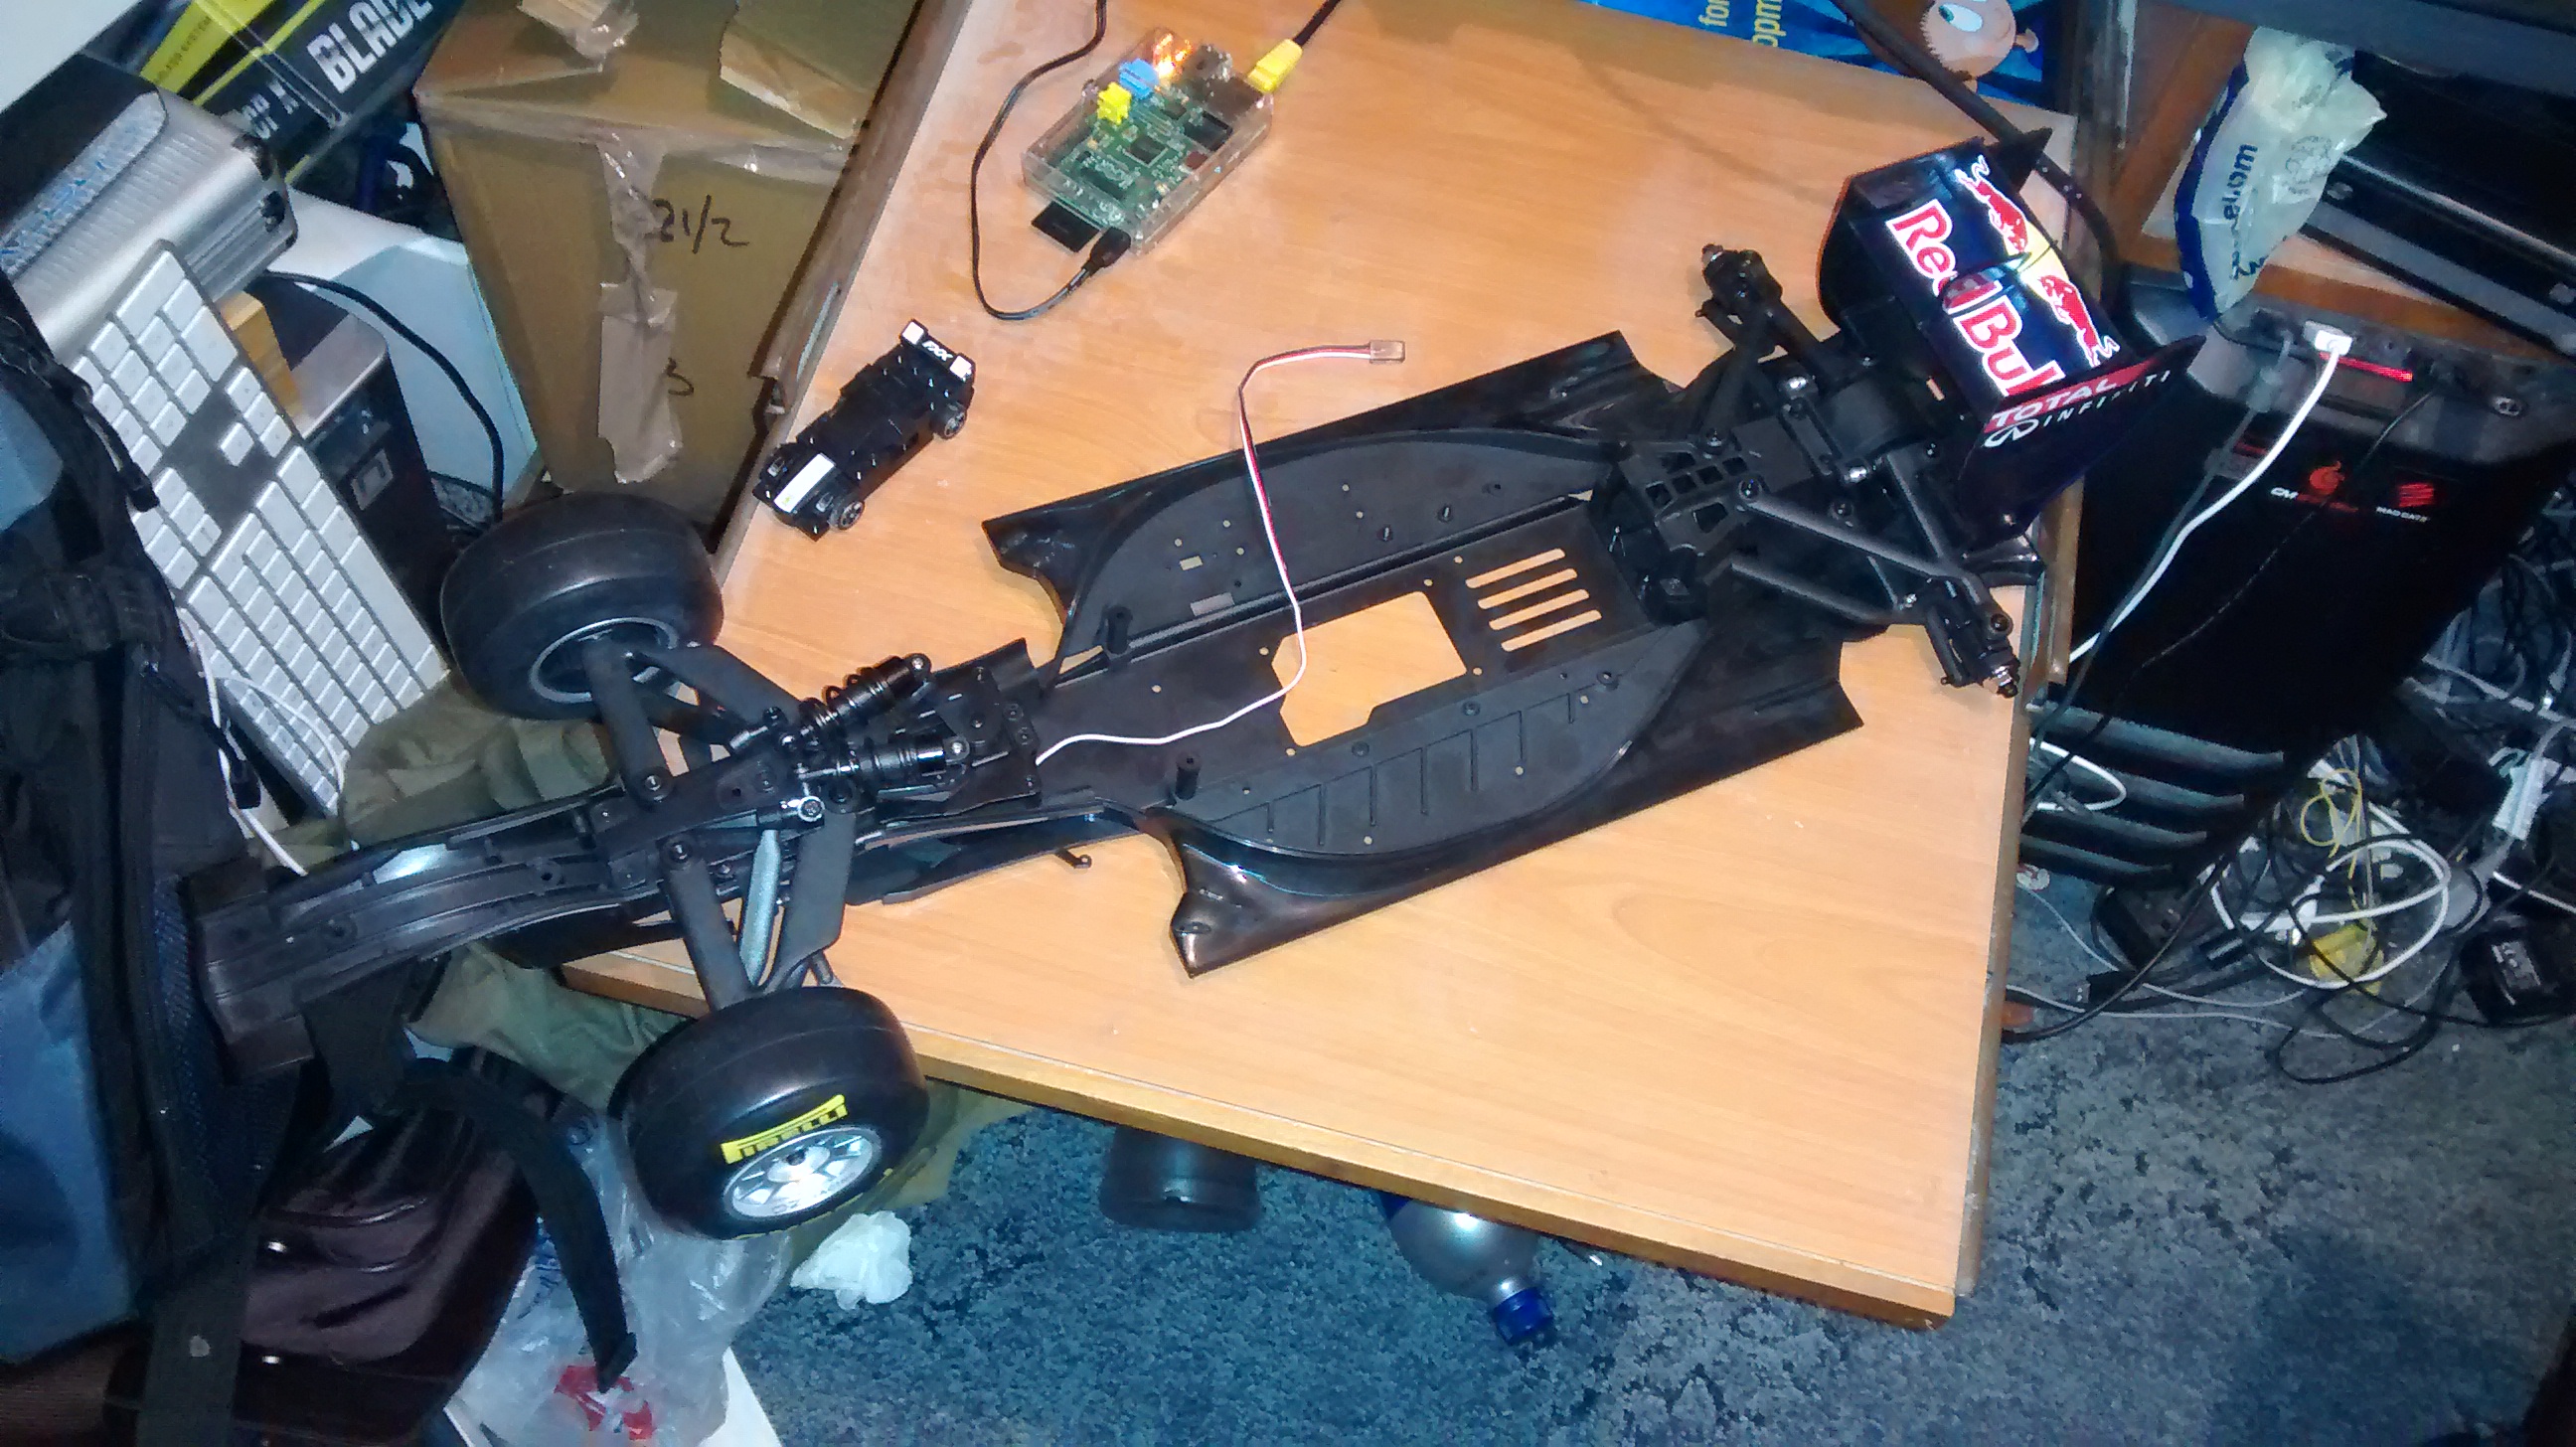
Now all that is left for this model is the engine, exhaust and radio equipment.
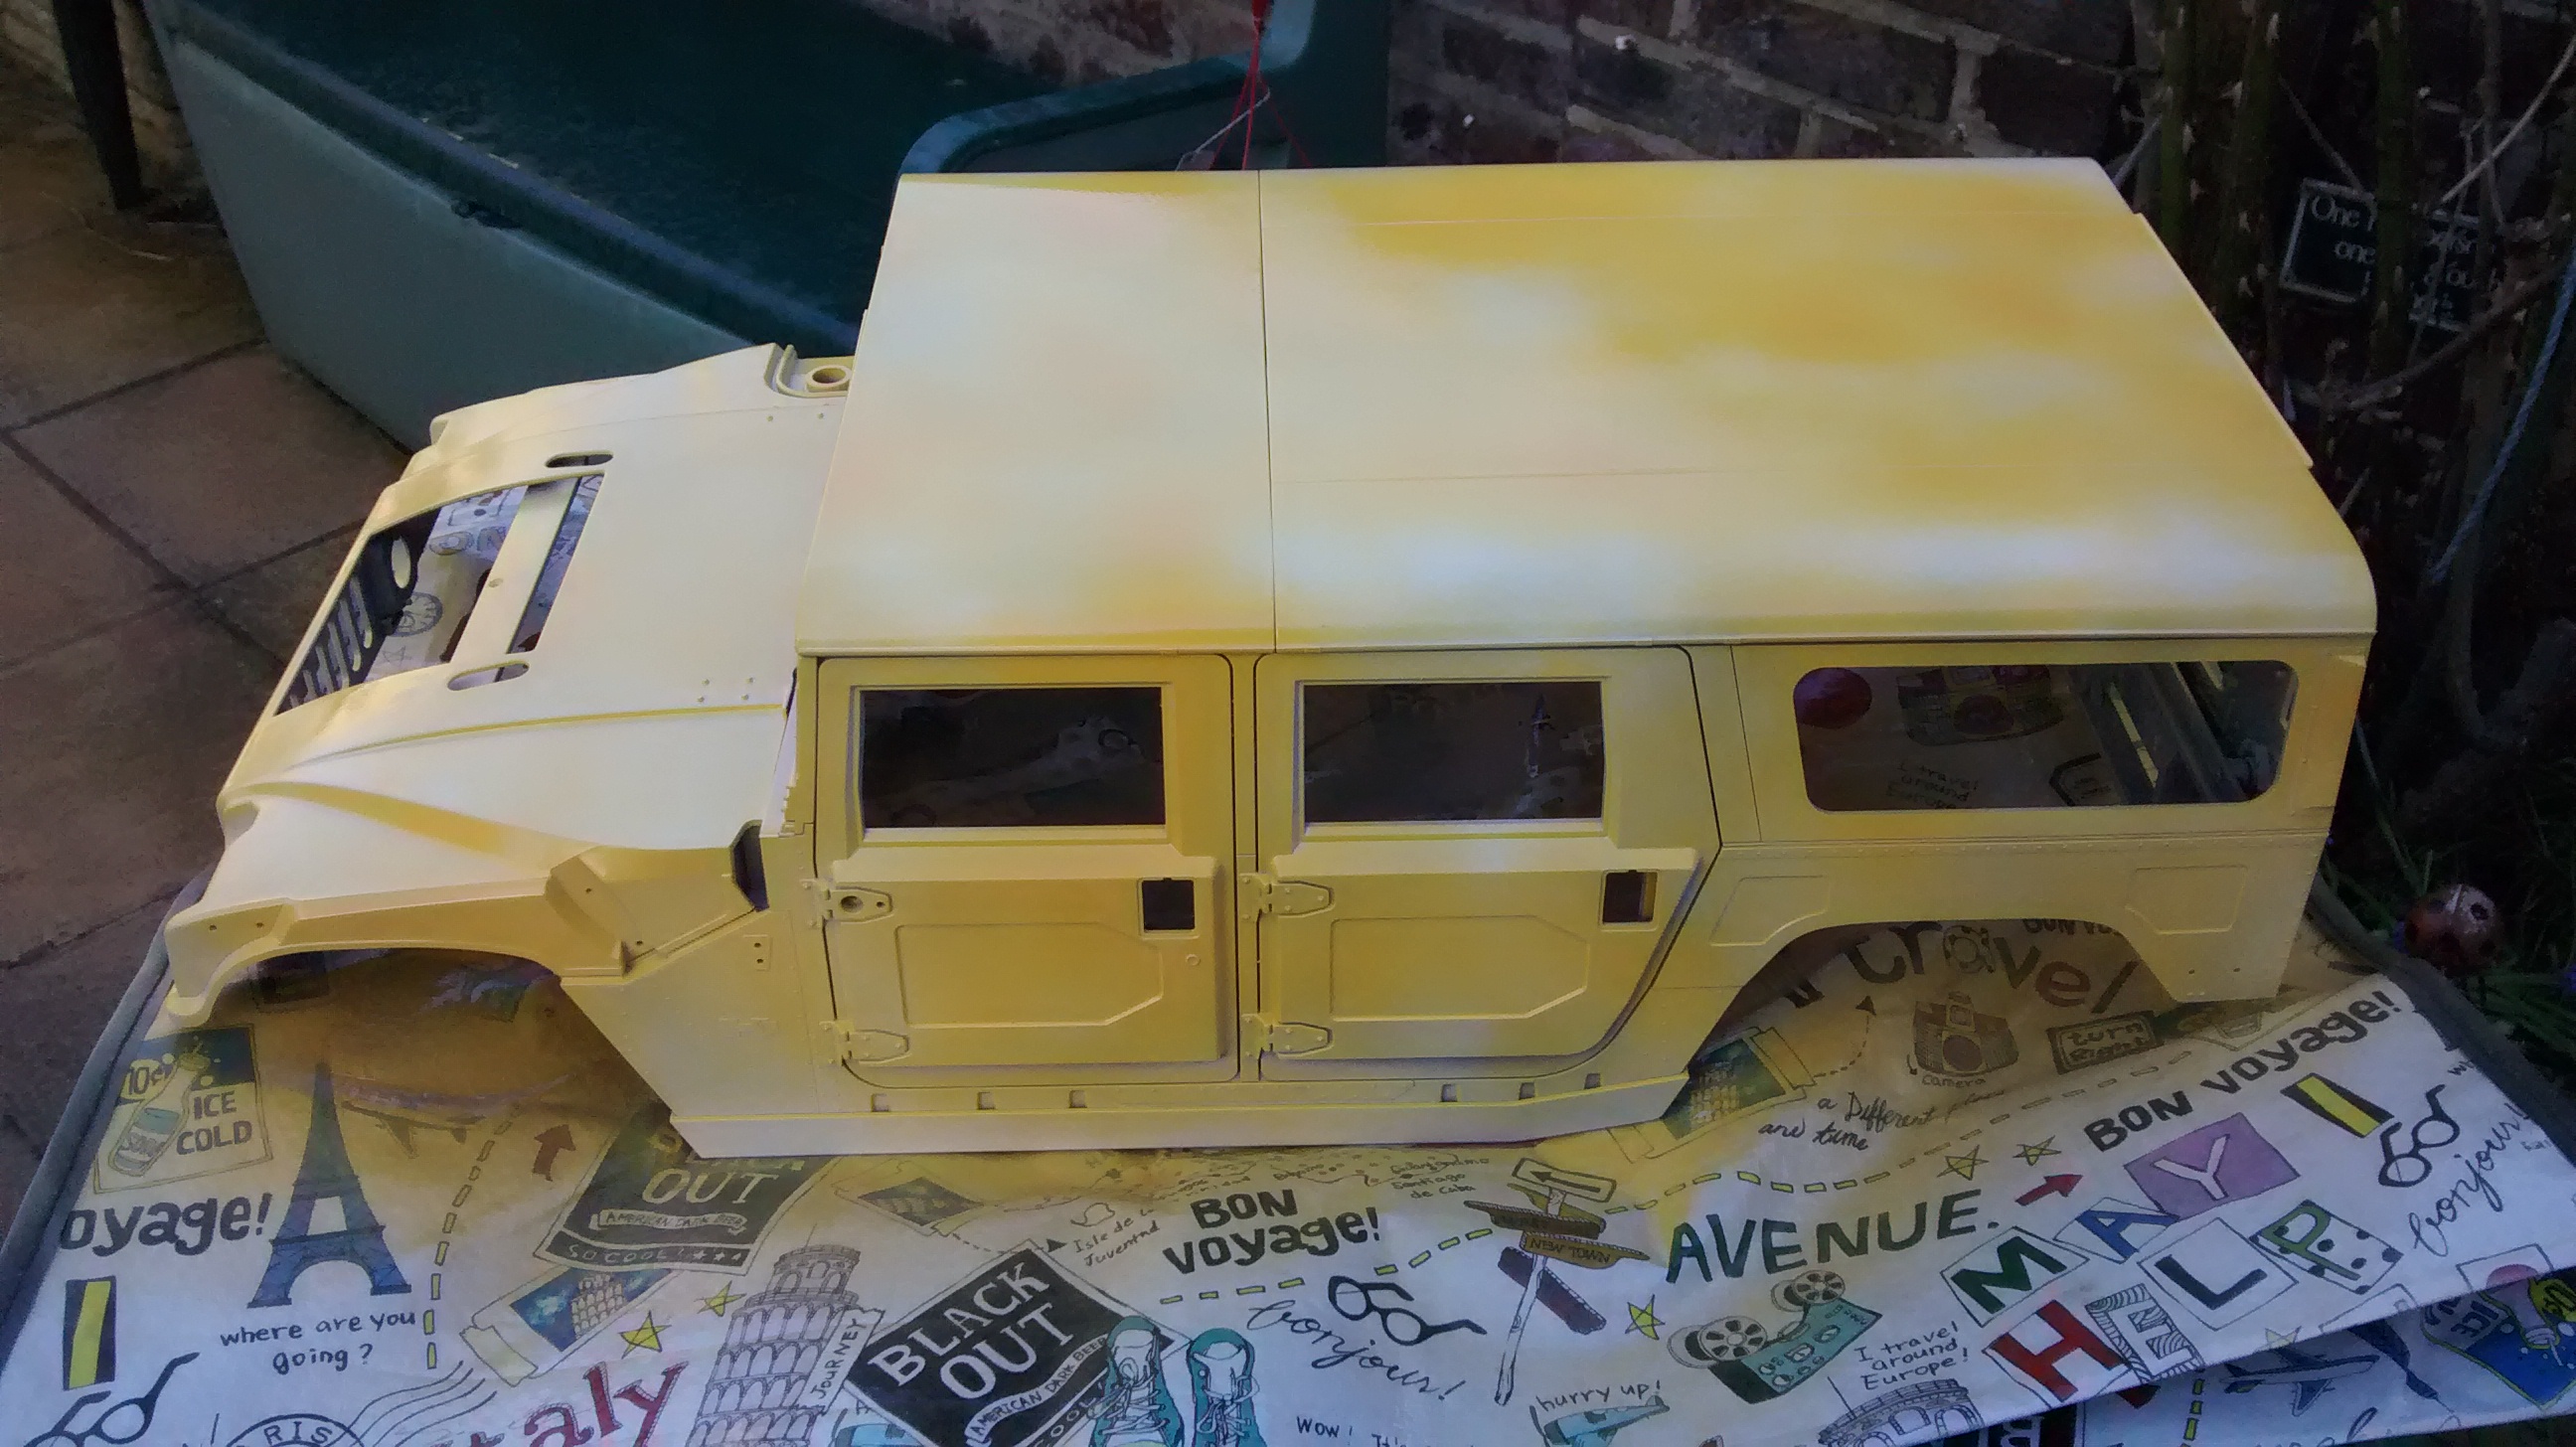
 

First parts of engine have arrived for my Kyosho Red Bull 7 build

The crankcase is the first part of the GX21 Nitro engine which will power my Red Bull 7 model. The GX21 is a 2 stroke engine capable of producing about 1.8bhp.

IMAG0099

The crankcase currently contains the carburetor attaching screw and two ball bearings.

IMAG0102

With the next batch of parts I get the crankshaft piston, cylinder head and rear engine plate.

IMAG0103

Hummer H1 Body

I finally got started on my 1:8 Kyosho Hummer H1 Subscription.

IMG_20140505_174039482

At the moment I have ignored that actual components of the car itself and worked on the body.

IMG_20140316_143547518

Making the side frames

IMG_20140316_152000047

Pegs are useful for holding the part in place whilst the plastic cement sets.


IMG_20140316_160432110

The frame is now ready for the panels to be attached.

IMG_20140320_213401866

Panels attached and ready for painting.

IMG_20140323_152559515

I started by spraying some mist coats

IMG_20140323_154743841


I decided to paint the Hummer the classic yellow they are often seen in.

IMG_20140505_174052280

Side view


Red Bull 7 Progress

IMG_20140309_202626098

I have fitted the rear wheel hubs and dog bones to the car.

The rear wing has also been fitted although this is the display wing. A separate (more durable?) wing is provided for driving around with.

Volkswagen Wheelie camper complete

Volkswagen Wheelie camper complete

Here is finished model with body shell fitted. I still want to add some sponsor stickers at some point but this is it with most of the Tamiya stickers applied.

I am not a fan of the Stickers that come with Tamiya body shells especially the ones for the windows.

I have not given the model a proper test outside yet but in the quick go I did have with it I noticed the motor is too much for the wheelie bar. Full throttle will put the truck on its roof almost instantly.

I found the sweet spot for wheeling was around 80% throttle.

After landing a wheelie you can then apply full throttle to speed up as the front will not lift again until you slow down.

E Gemini Hovercraft Kit Unboxing

My biggest undertaking so far.

Hull and fan duct
Hull and fan duct

This is a model hovercraft kit I have just received.

It looks to be both a unique and challenging build.

You can find out more about the kit here.