Locking the rear differential on my tt01

One of the most important things to do when setting a car up for drifting is to lock the rear diff.

There are many mods around the internet detailing different ways of doing this (using glue etc) bit I decided to just buy a replacement part to do the job.

IMG_20140413_210305646This is a single part made to replace the differential gears in a tt01 forcing the wheels to spin at the same speed.

IMG_20140413_210516571

The differential gears are removed…

IMG_20140413_210918065

… and replaced with the part locking the differential.


New Work Rims and Drift Tyres for tt01 / Silvia coppermix

Recently I have been doing some work on my tt01 to finish upgrading and repair it.

Here I have brought some work rims and fitted HPI super drift tyres to them to give the wheels a more customised look than the Tamiya ones that came with the model.

IMG_20140413_164554380

Fitting the tyres to rims is easier said than done. You can heat up the tyres in a saucepan to make them soft enough to snap right on but I have not been brave enough to attempt that yet.

IMG_20140413_164613800

I use a screw driver to work my way round the wheel fitting it into the tyre a bit at a time.IMG_20140420_183742629_HDR

The wheels come with a sticker sheet but at the moment I think they look better as they are without the stickers.

You can see the real wheels here

Some More Adventurous Quadcopter Flying (H107CHD)

Another flight with my H107CHD quadcopter.

This time it was sunny with a slight breeze.

I have continued to get used to flying this quadcopter with faster flying more turns and low altitude flight.

H107CHD Quadcopter Fareham flight

Here is a new video of another flight in my Hubsan H107CHD Quadcopter.

Weather was overcast with a little wind. I took it up a bit higher this time and got some nice views.

Volkswagen Wheelie camper complete

Volkswagen Wheelie camper complete

Here is finished model with body shell fitted. I still want to add some sponsor stickers at some point but this is it with most of the Tamiya stickers applied.

I am not a fan of the Stickers that come with Tamiya body shells especially the ones for the windows.

I have not given the model a proper test outside yet but in the quick go I did have with it I noticed the motor is too much for the wheelie bar. Full throttle will put the truck on its roof almost instantly.

I found the sweet spot for wheeling was around 80% throttle.

After landing a wheelie you can then apply full throttle to speed up as the front will not lift again until you slow down.

I have created a monster!

Over the last few evenings I finally got round to building the Volkswagen Wheelie Camper that I got in the Modelzone closing down sale.

IMG_20140213_215453633

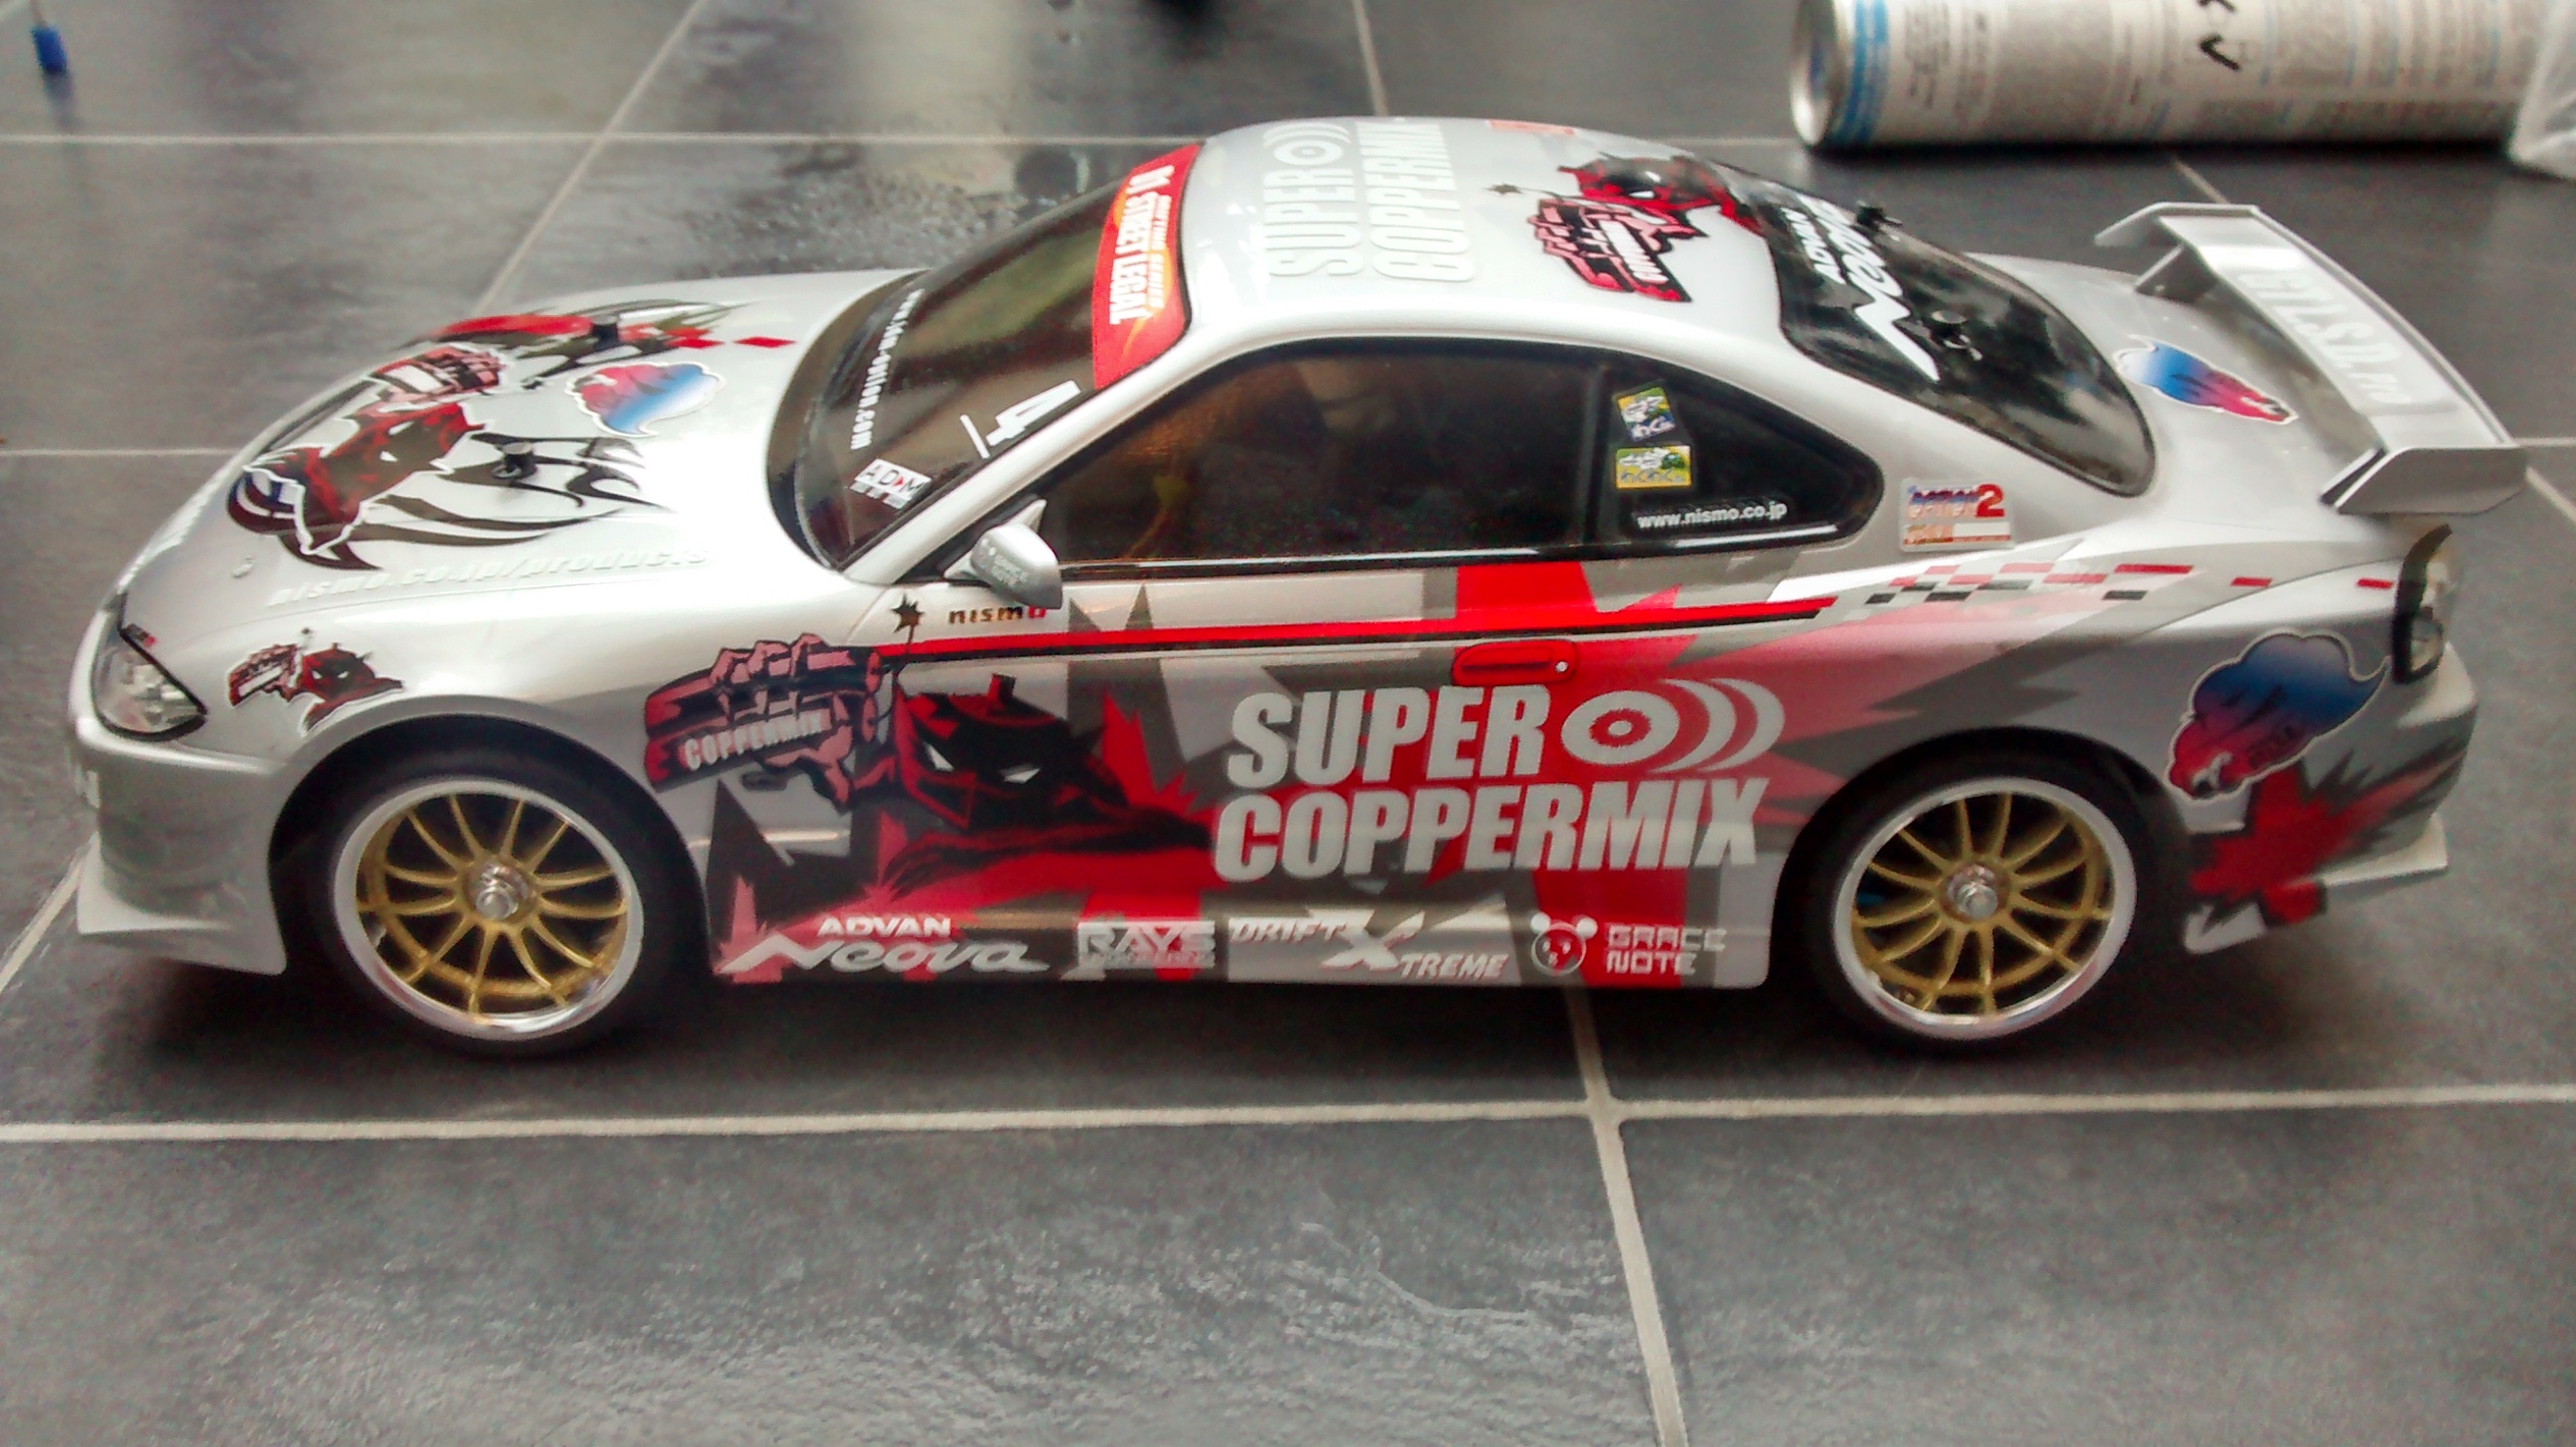
The Car is complete except the body post mounts and the stickers on the bodyshell.

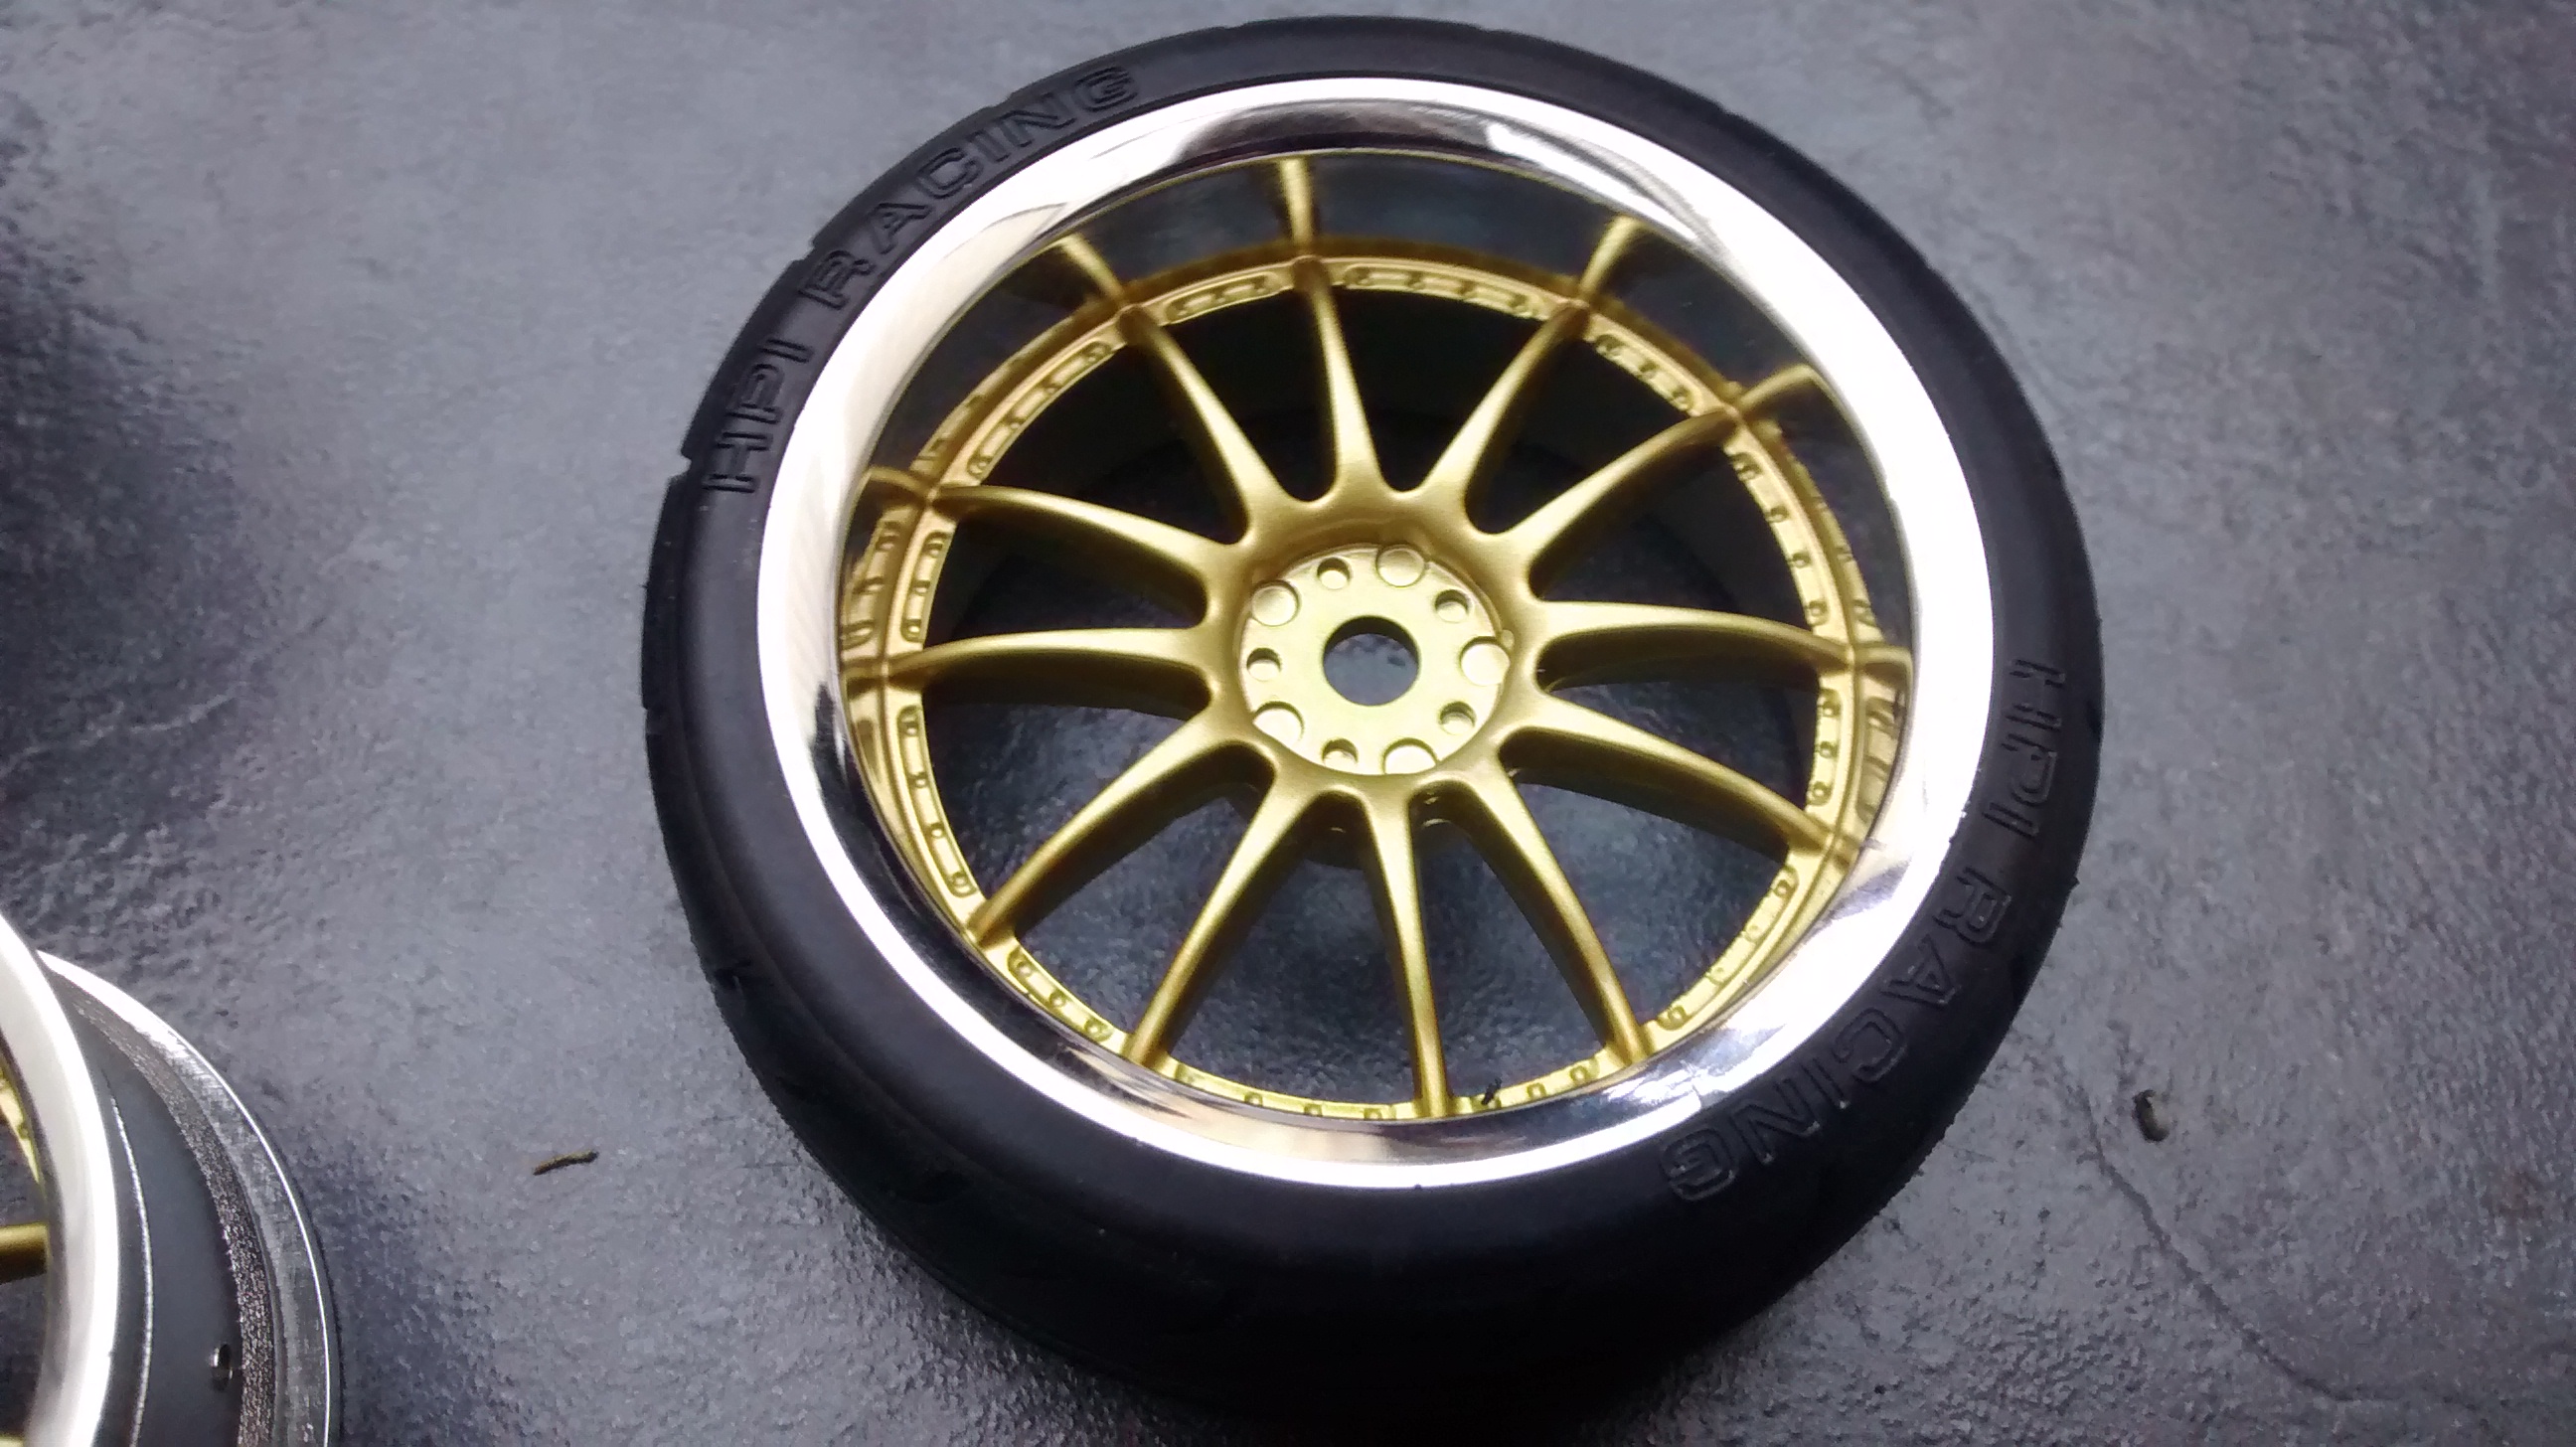
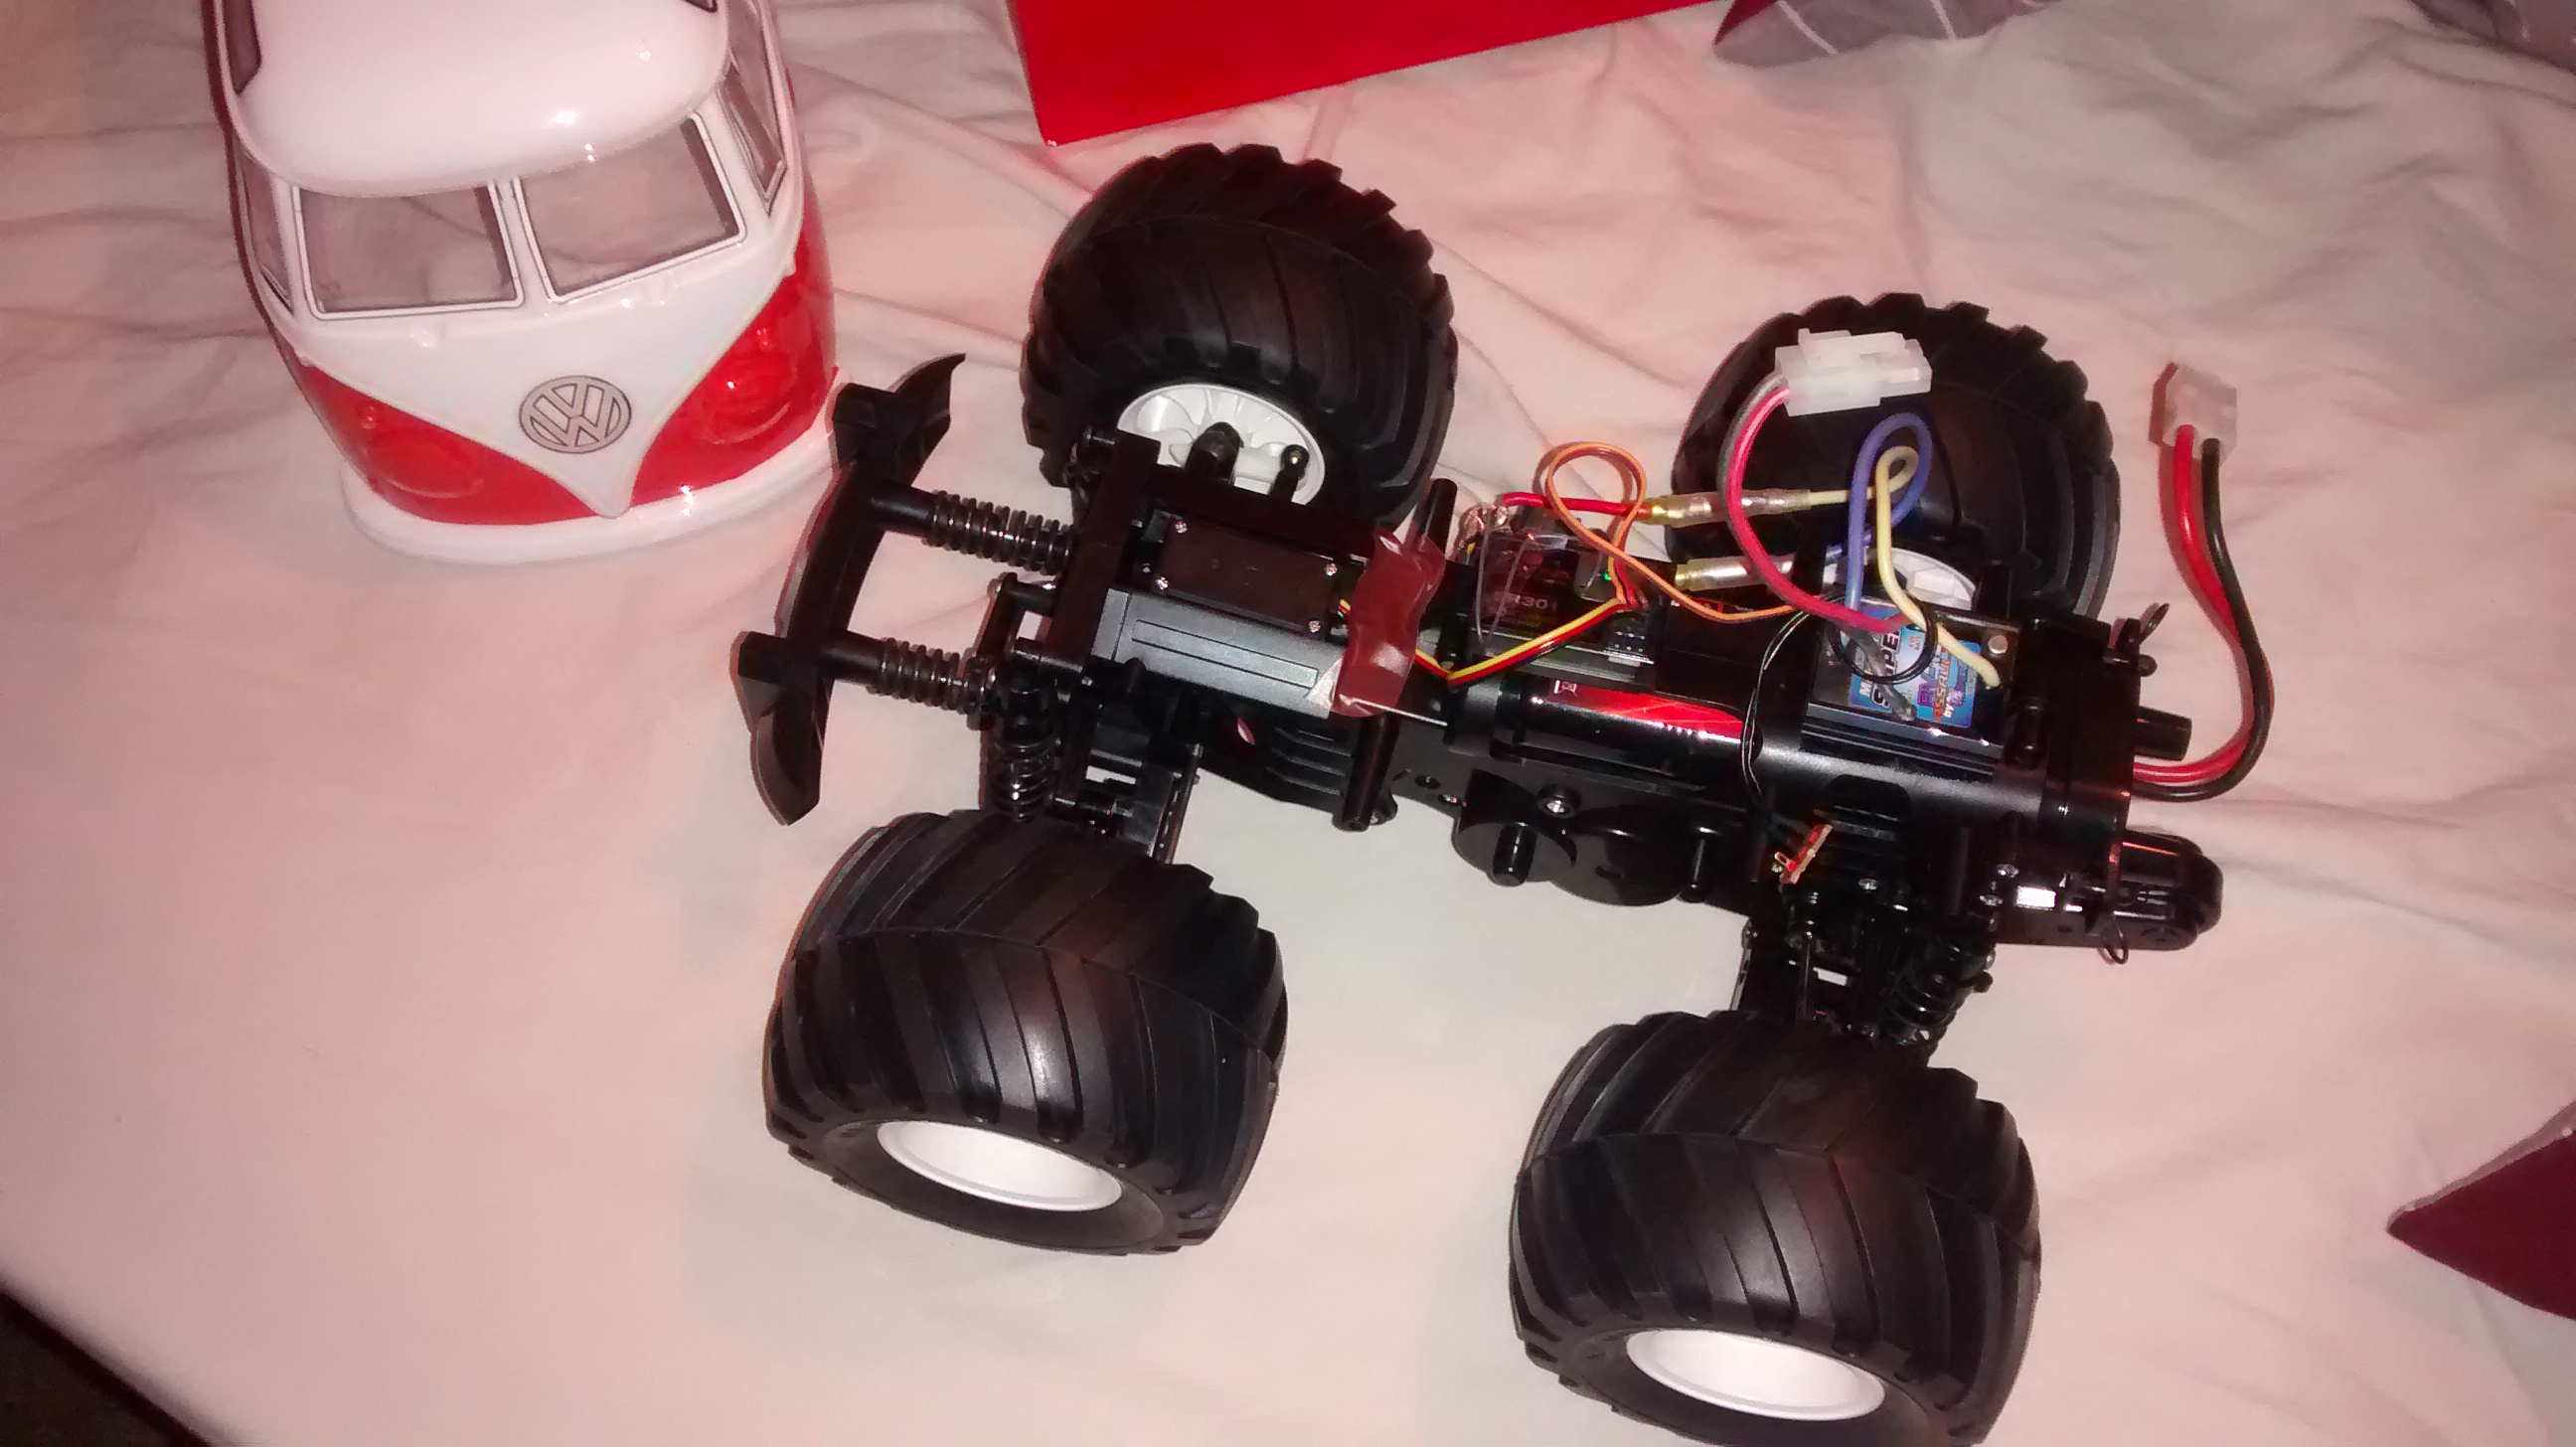
I have replaced all bearings and bushings with ball race bearings and upgraded the motor to a 12×2. This of course also required a different ESC as well.

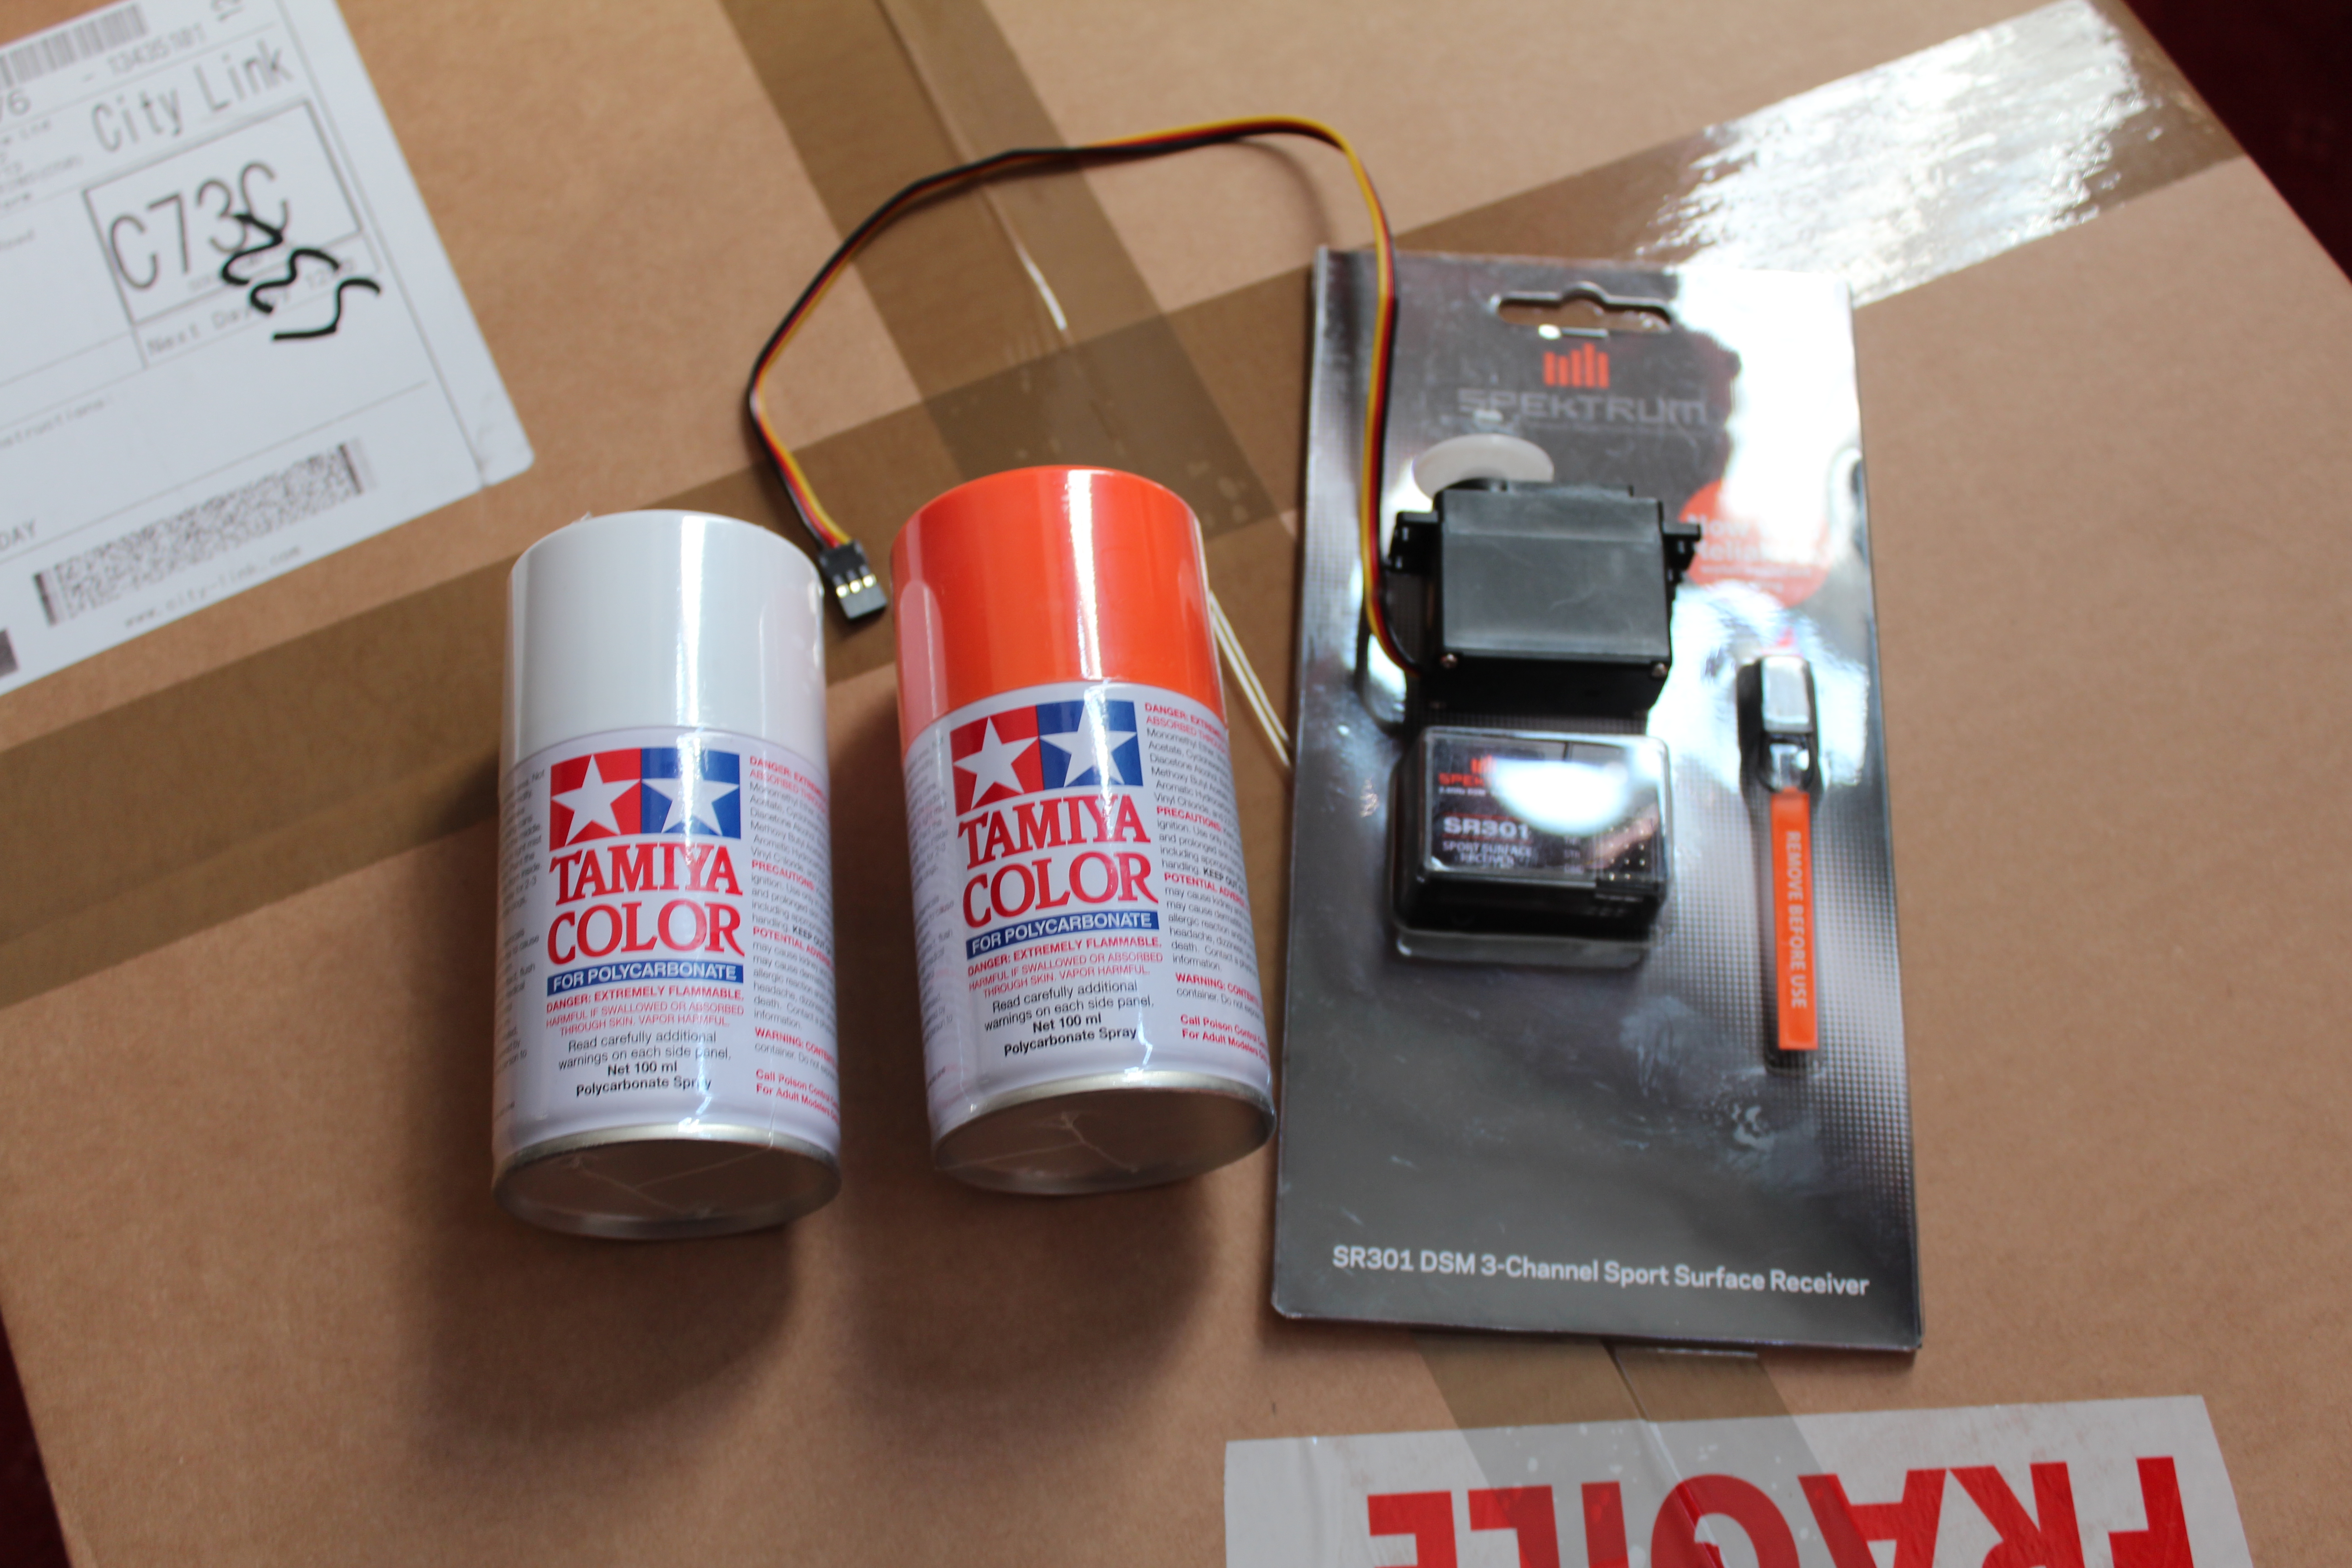
I gave it a Spektrum splash proof receiver as Spektrum is the only radio technology I use if I can help it. This means I can bind and control all my models from a single transmitter.

Tamiya were a bit cheeky with this kit as it said it included a ball race option pack but there were not enough bearings to go around. Luckily I have a bag of them so this was not an issue.

I made the mistake of giving this a quick test indoors. This lead to it hoping off the spot doing a back flip and smashing the on/off switch.

To fix this I had to solder the wires together where the switch once existed.

I think I will finish mounting the shell before playing with it anymore!

Tamiya Volkswagon Camper Monster Truck

I picked up this kit last week in the modelzone sale but only just received the additional parts needed to complete the model.

It was about half the going price online and eBay.

The box shows it painted white and red but I decided to go for white and orange instead.

IMG_5502

The free bonus parts included are ball race bearings. Its pretty handy seeing as the first thing I usually do is replace Tamiya’s crappy plastic/bronze bushings with bearings.

IMG_5504

Aside from the paint, I also needed to order a servo for the steering and a radio receiver. As usual I went for a Spektrum receiver in the hope of unifying all my radio gear under one compatible type.

E Gemini Hovercraft Kit Unboxing

My biggest undertaking so far.

Hull and fan duct
Hull and fan duct

This is a model hovercraft kit I have just received.

It looks to be both a unique and challenging build.

You can find out more about the kit here.

Twin Hammers new body and accessories

IMG_5446

I wanted to make my Twin Hammers more unique so I started by replacing the standard plastic body with a set of aluminium body panels.

WP_000519

I decided to paint the panels in a basic desert camo scheme of sand and earth.

WP_000521

Some decals were applied to the side panels to add a bit of detail.

IMG_5447

I also replaced the vehicle race number plates on the back of the vehicle with recovery boards. These are also aluminium and were painted desert yellow.

WP_000553

To complete the new look I ordered a pack of rock crawler accessories from eBay and strapped some gear to the roof and recovery boards with bungee chords .

IMG_5448