
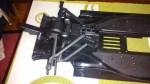
I have fitted the front differential, arms and gear reduction hubs.

I have temporarily fitted the wheels and placed the body to see what it looks like so far.


I have fitted the front differential, arms and gear reduction hubs.
I have temporarily fitted the wheels and placed the body to see what it looks like so far.
I finally got started on my 1:8 Kyosho Hummer H1 Subscription.

At the moment I have ignored that actual components of the car itself and worked on the body.

Making the side frames

Pegs are useful for holding the part in place whilst the plastic cement sets.
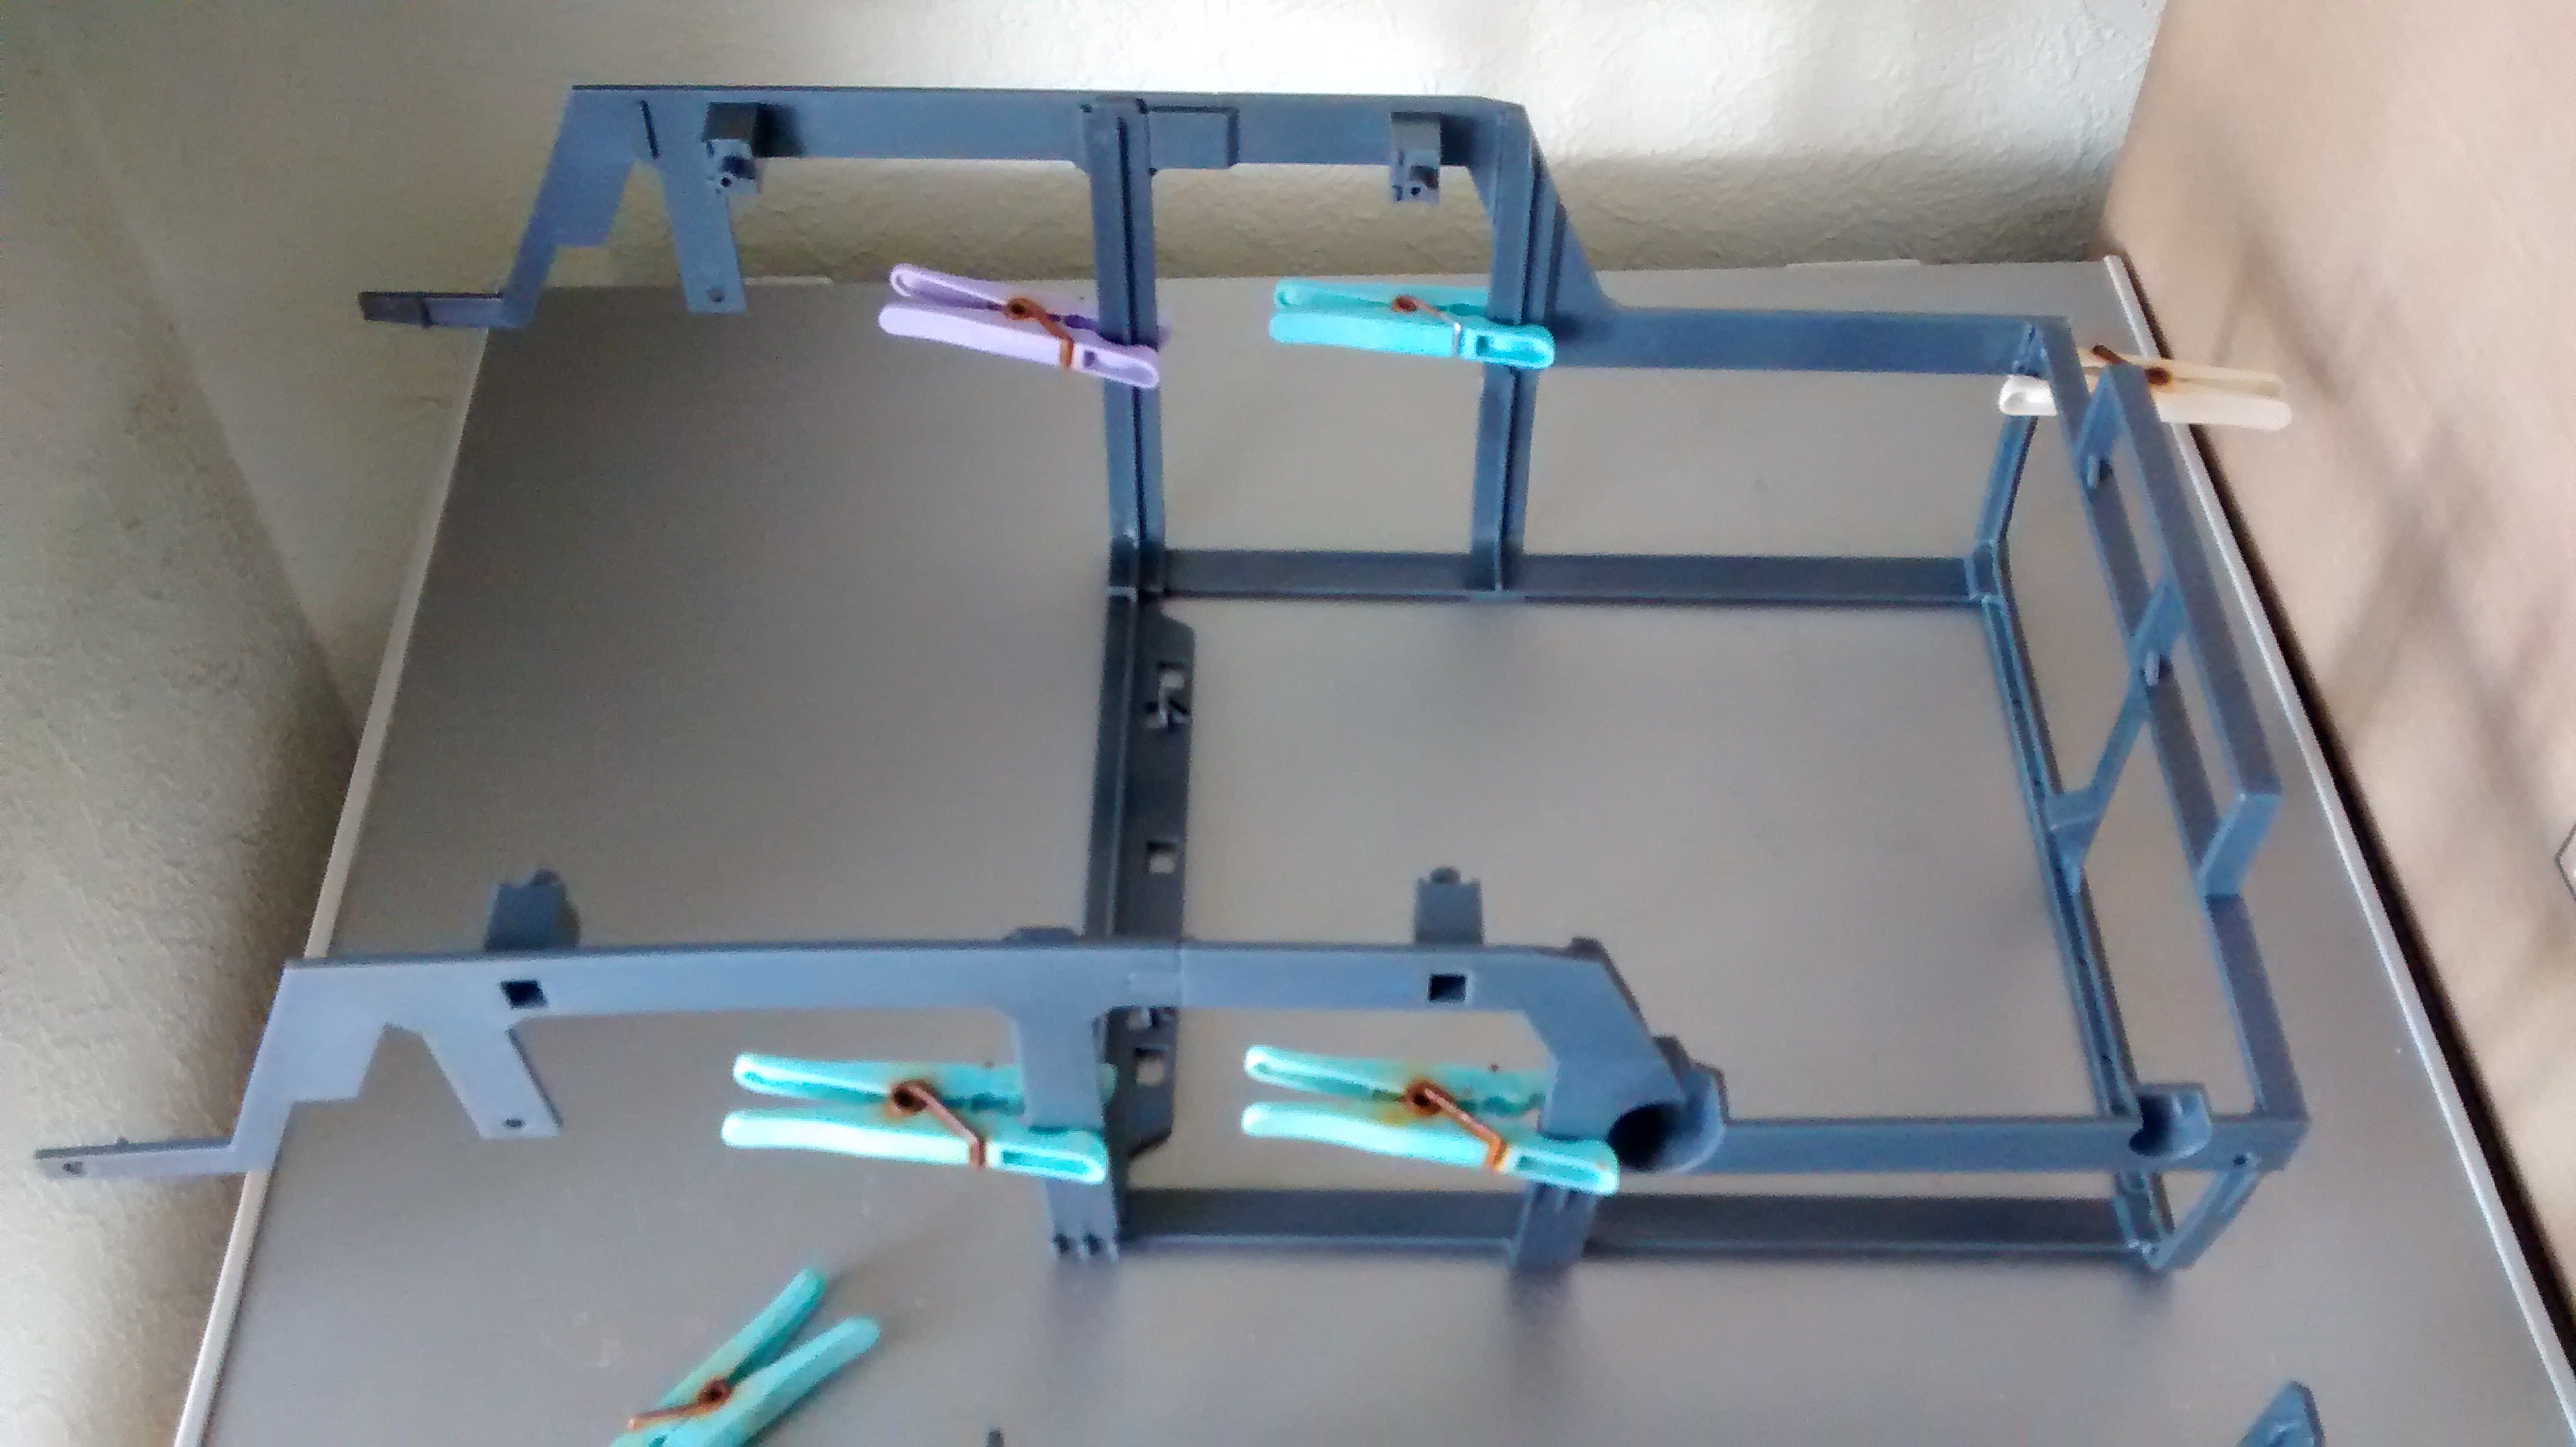
The frame is now ready for the panels to be attached.
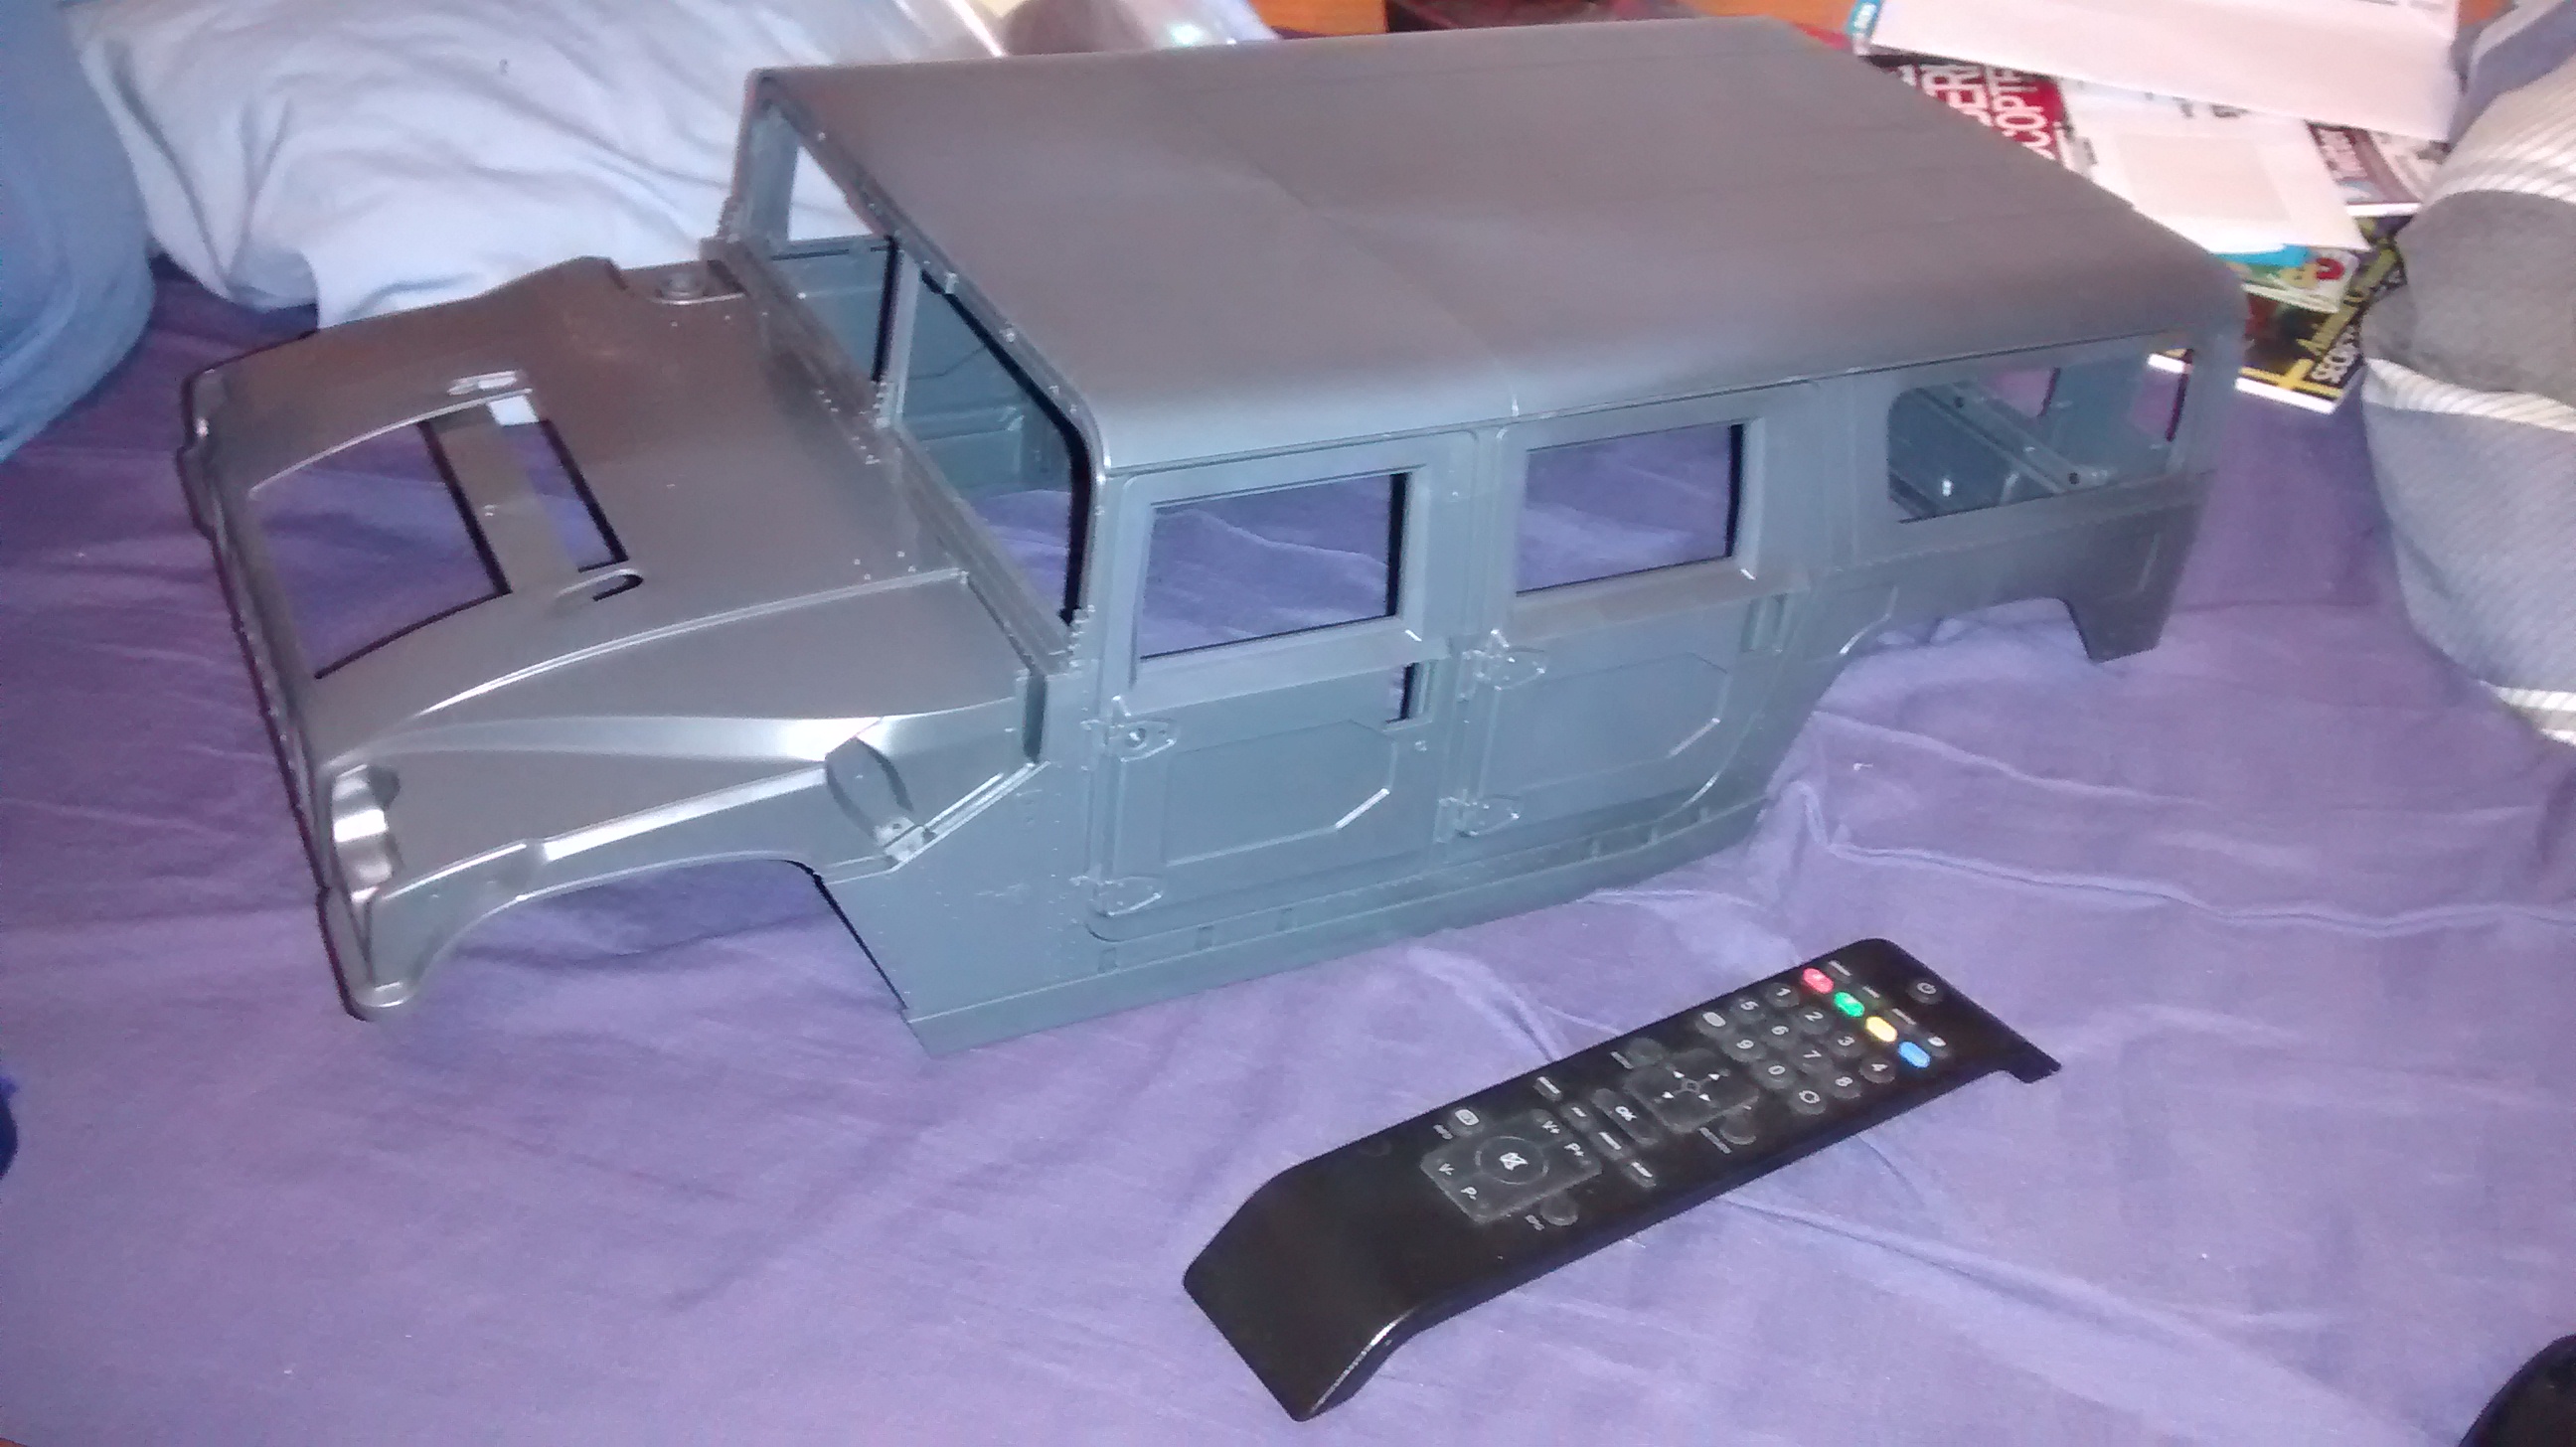
Panels attached and ready for painting.
I started by spraying some mist coats
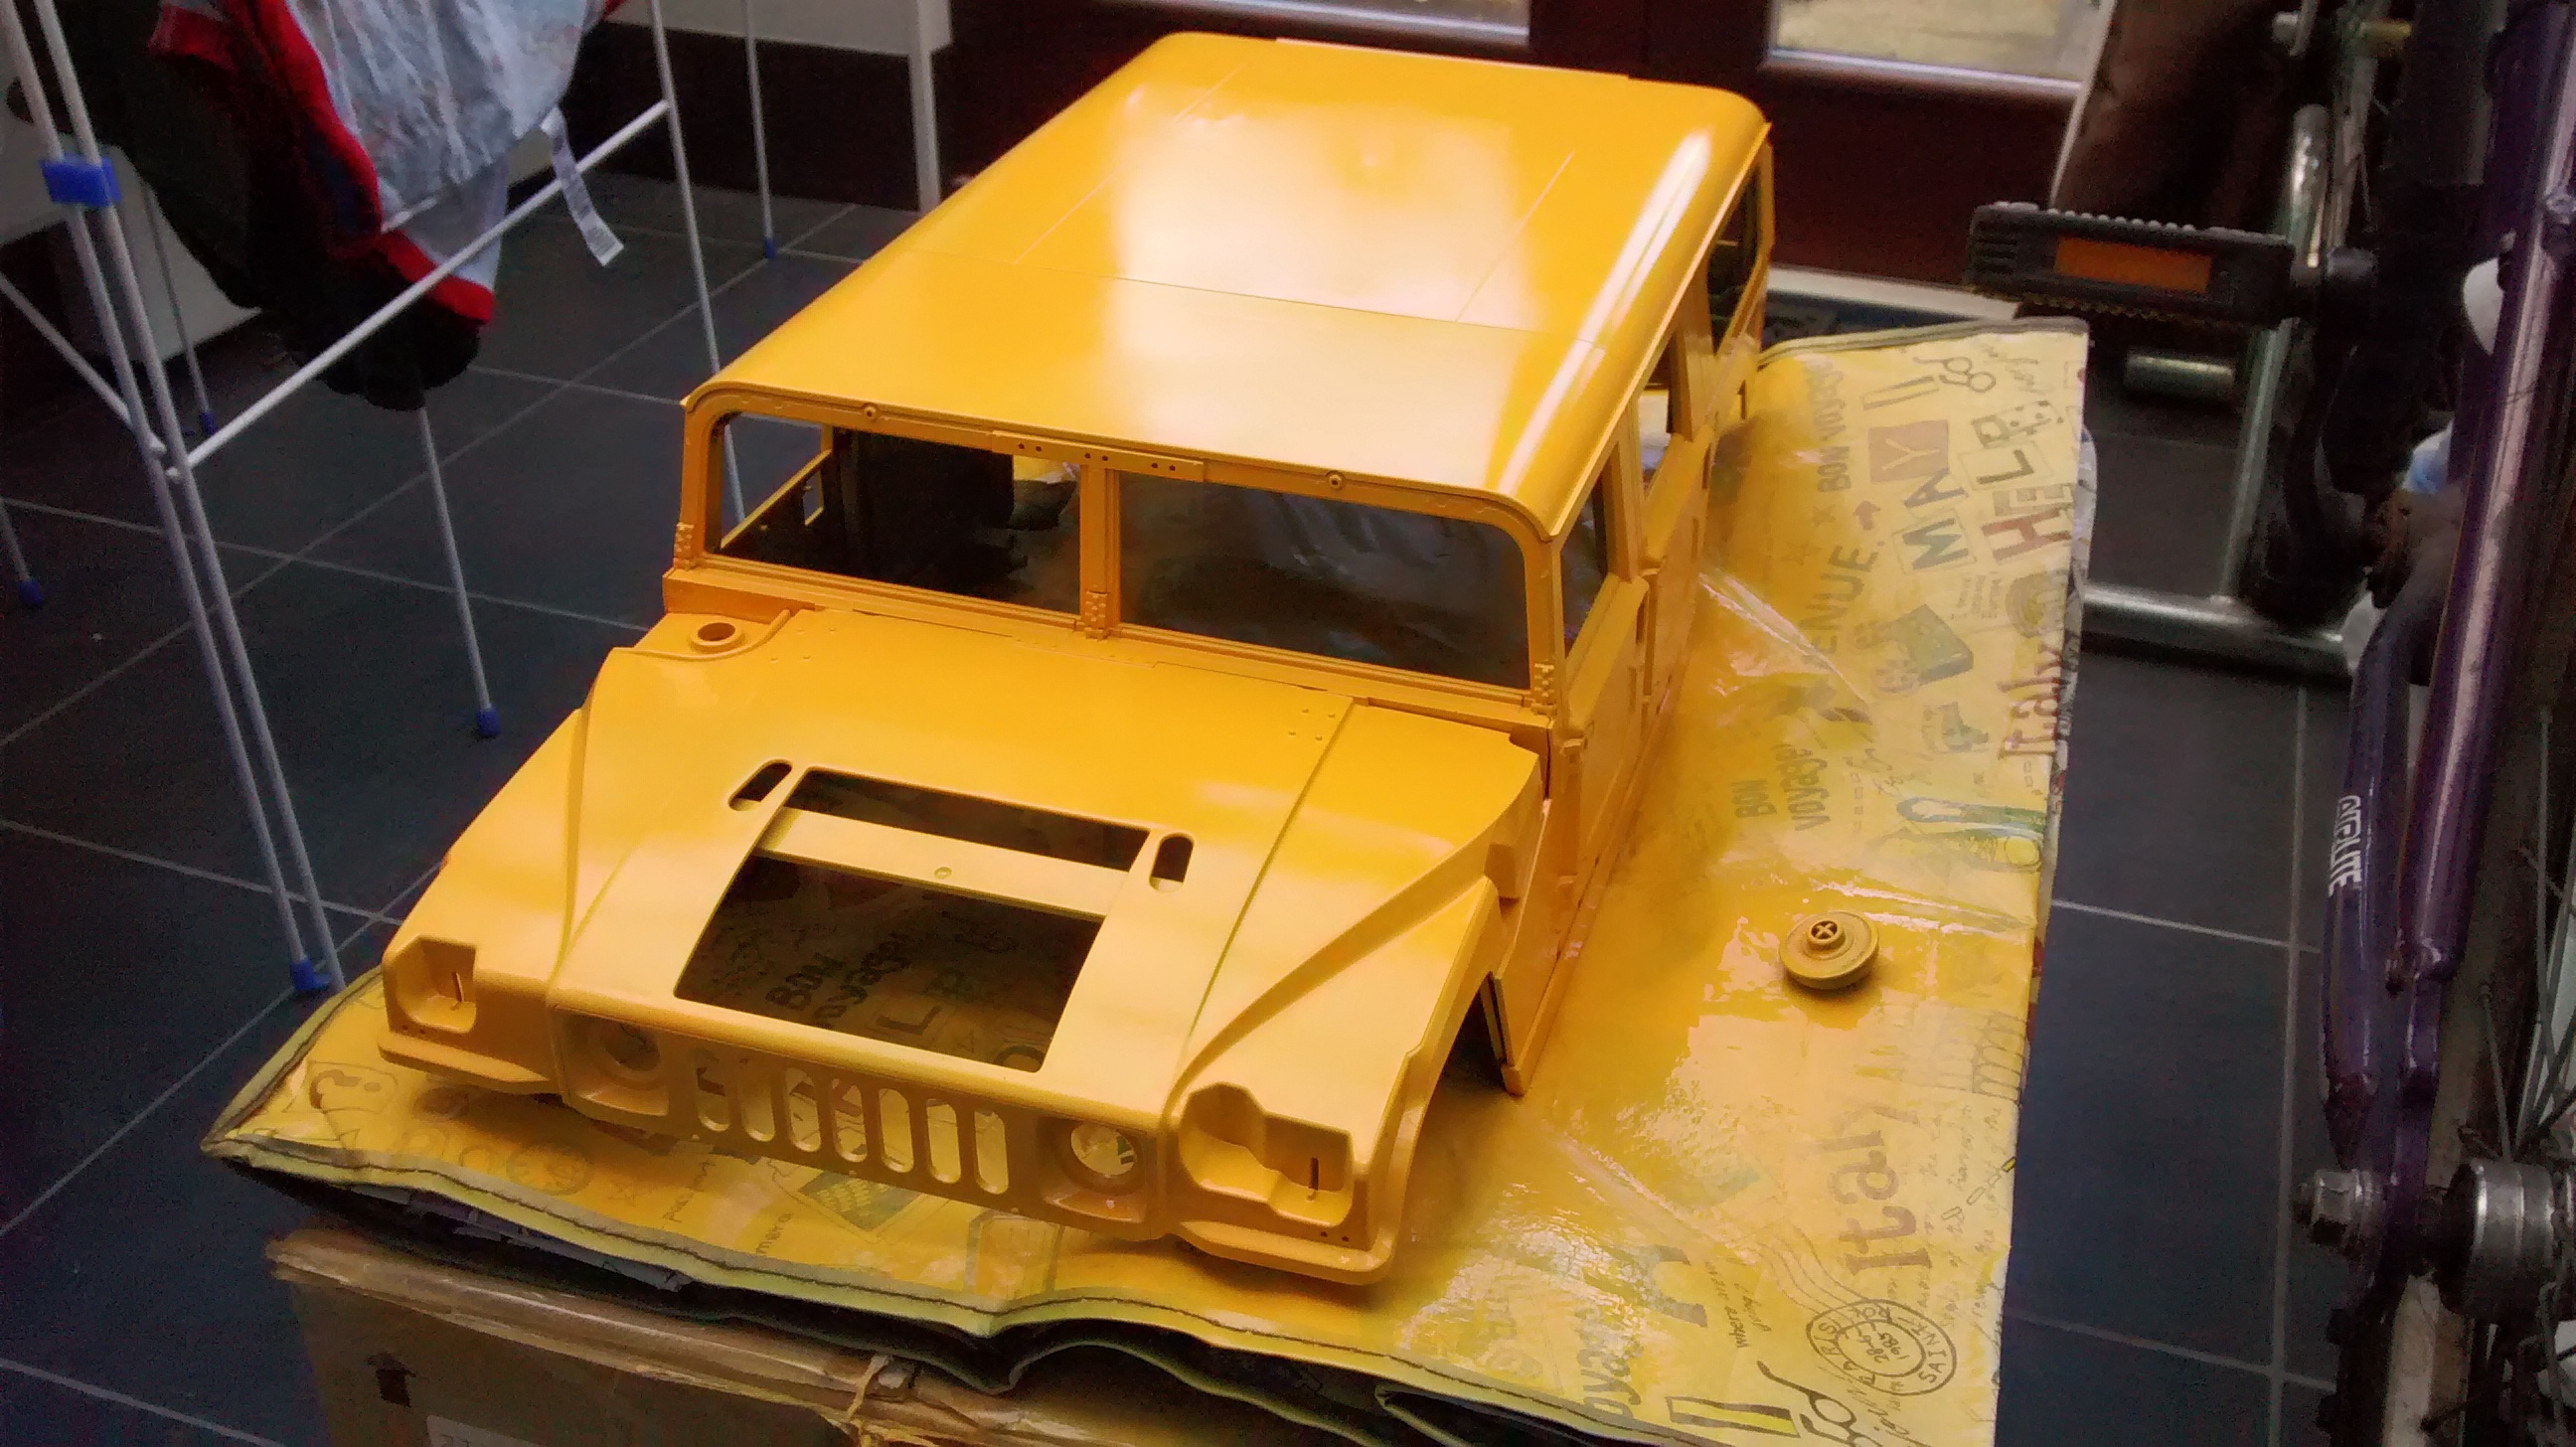
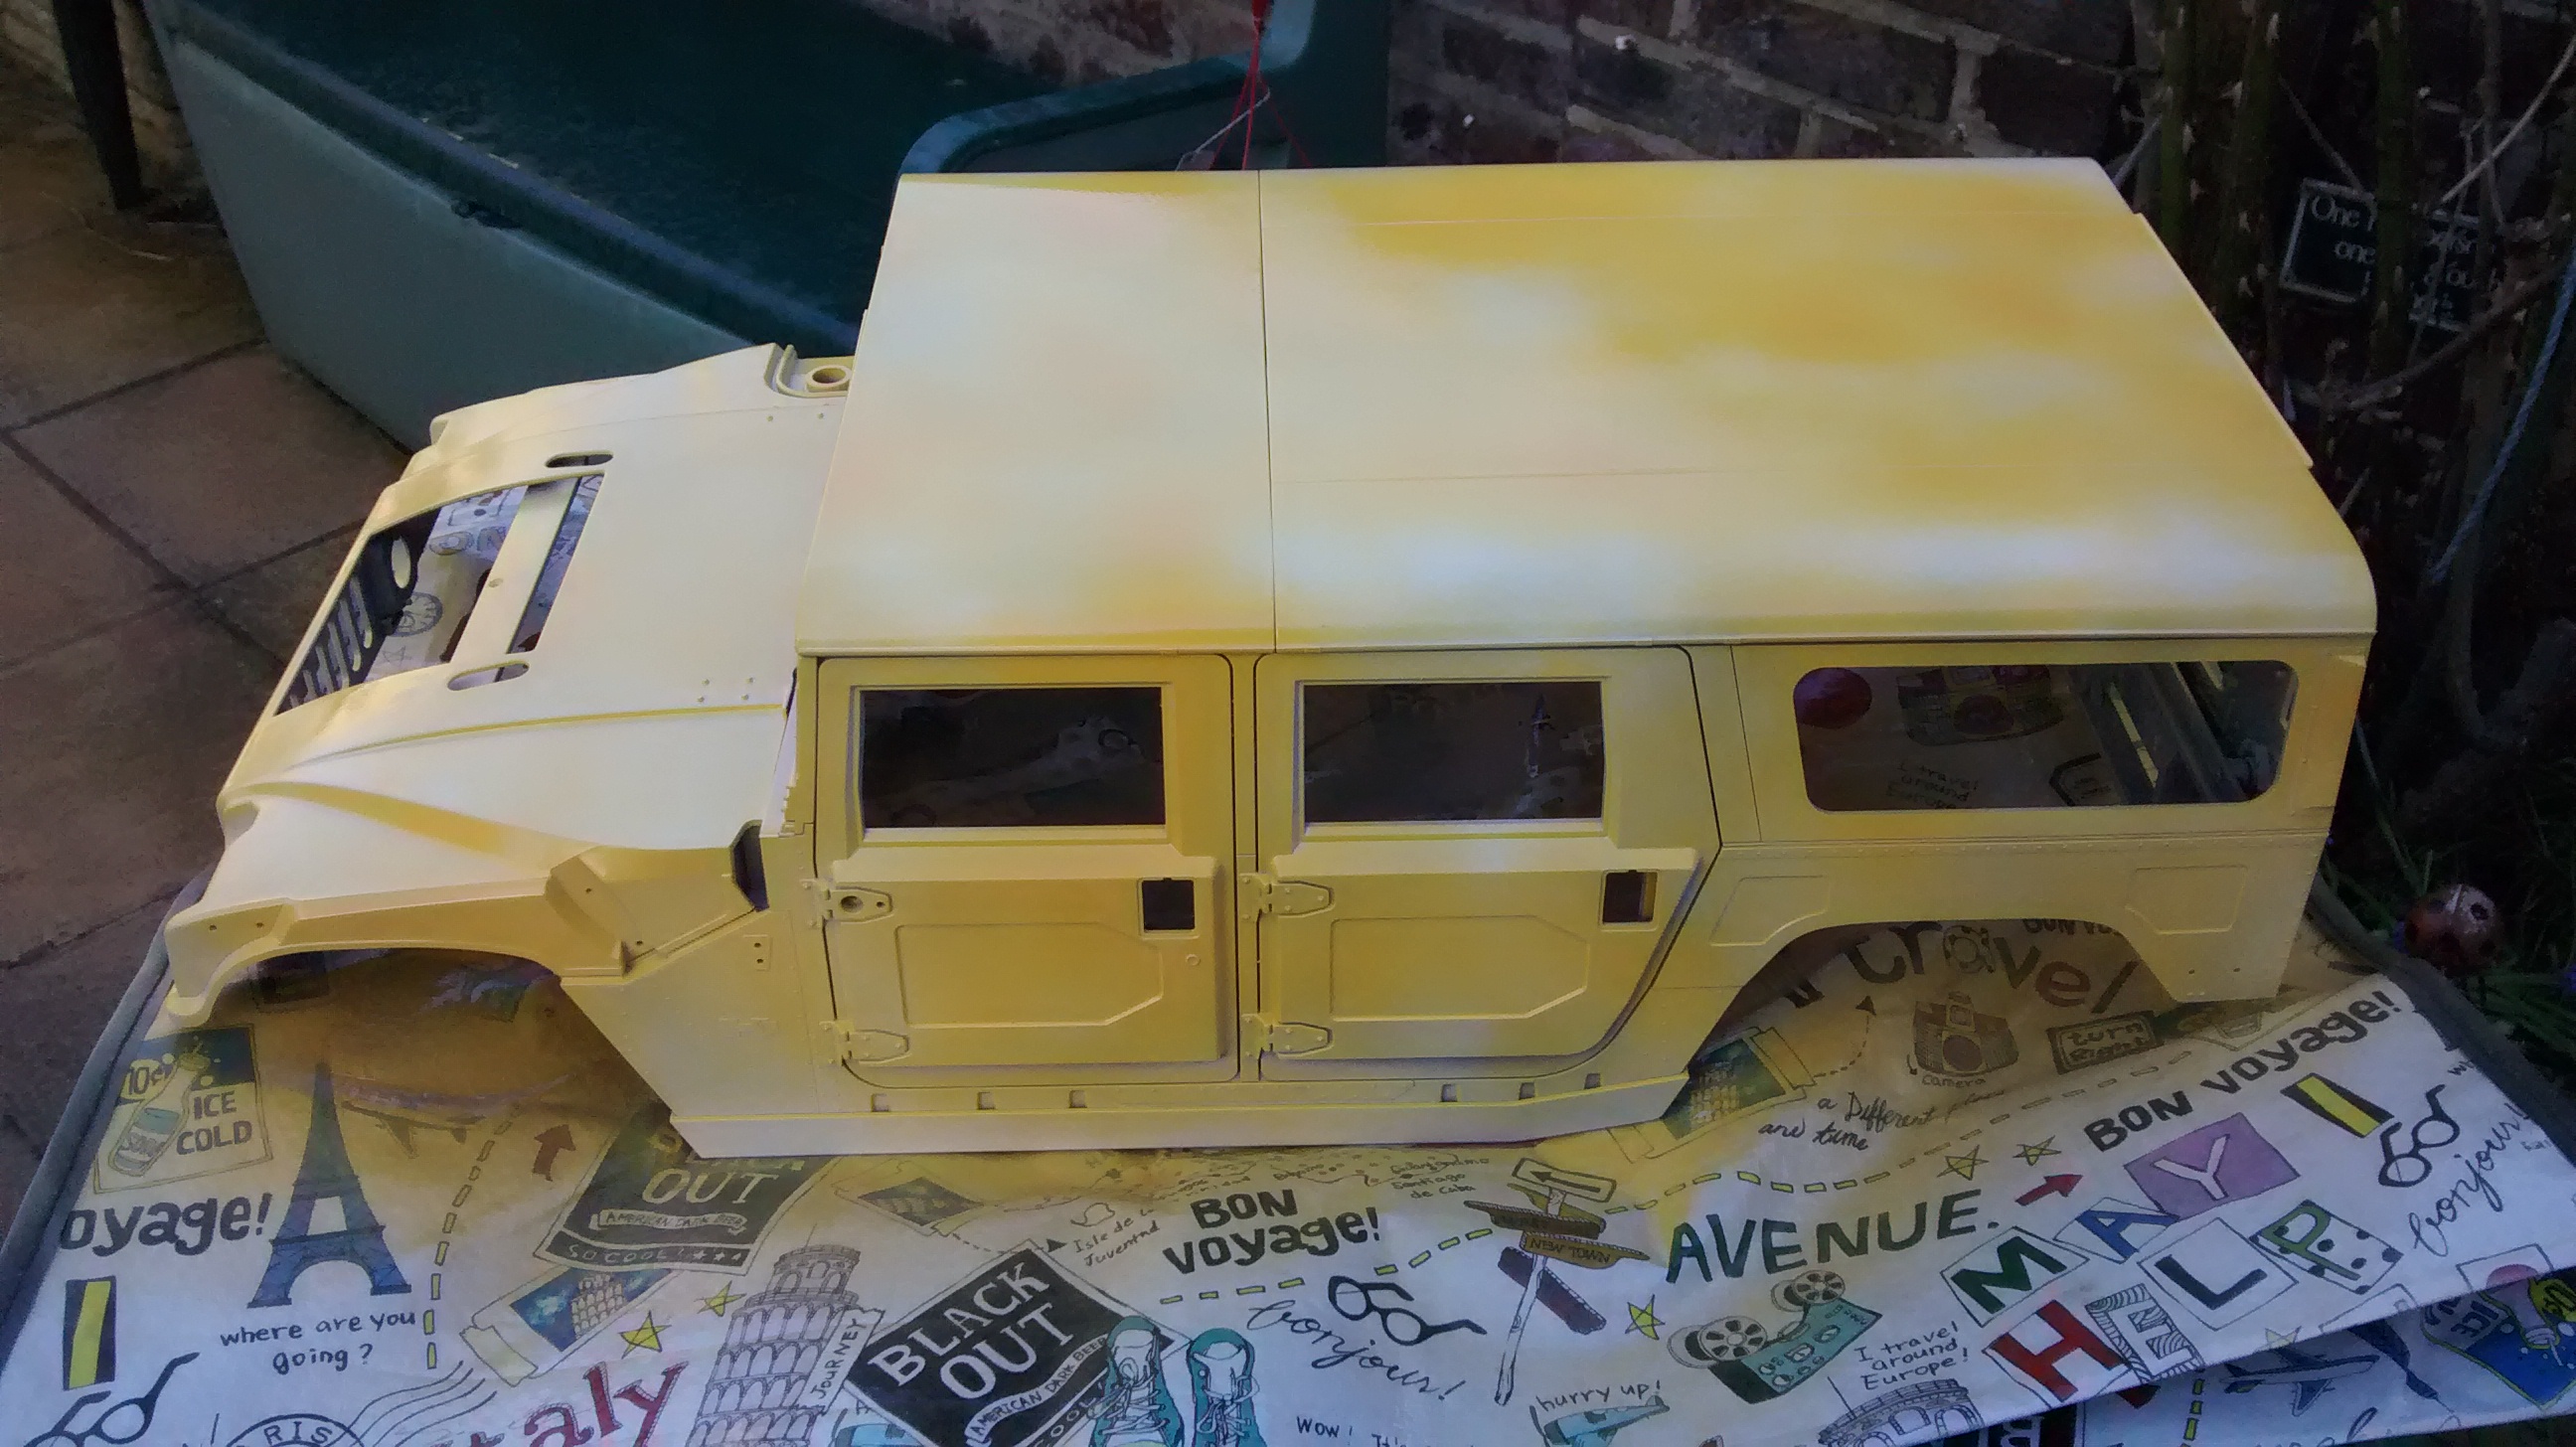
I decided to paint the Hummer the classic yellow they are often seen in.
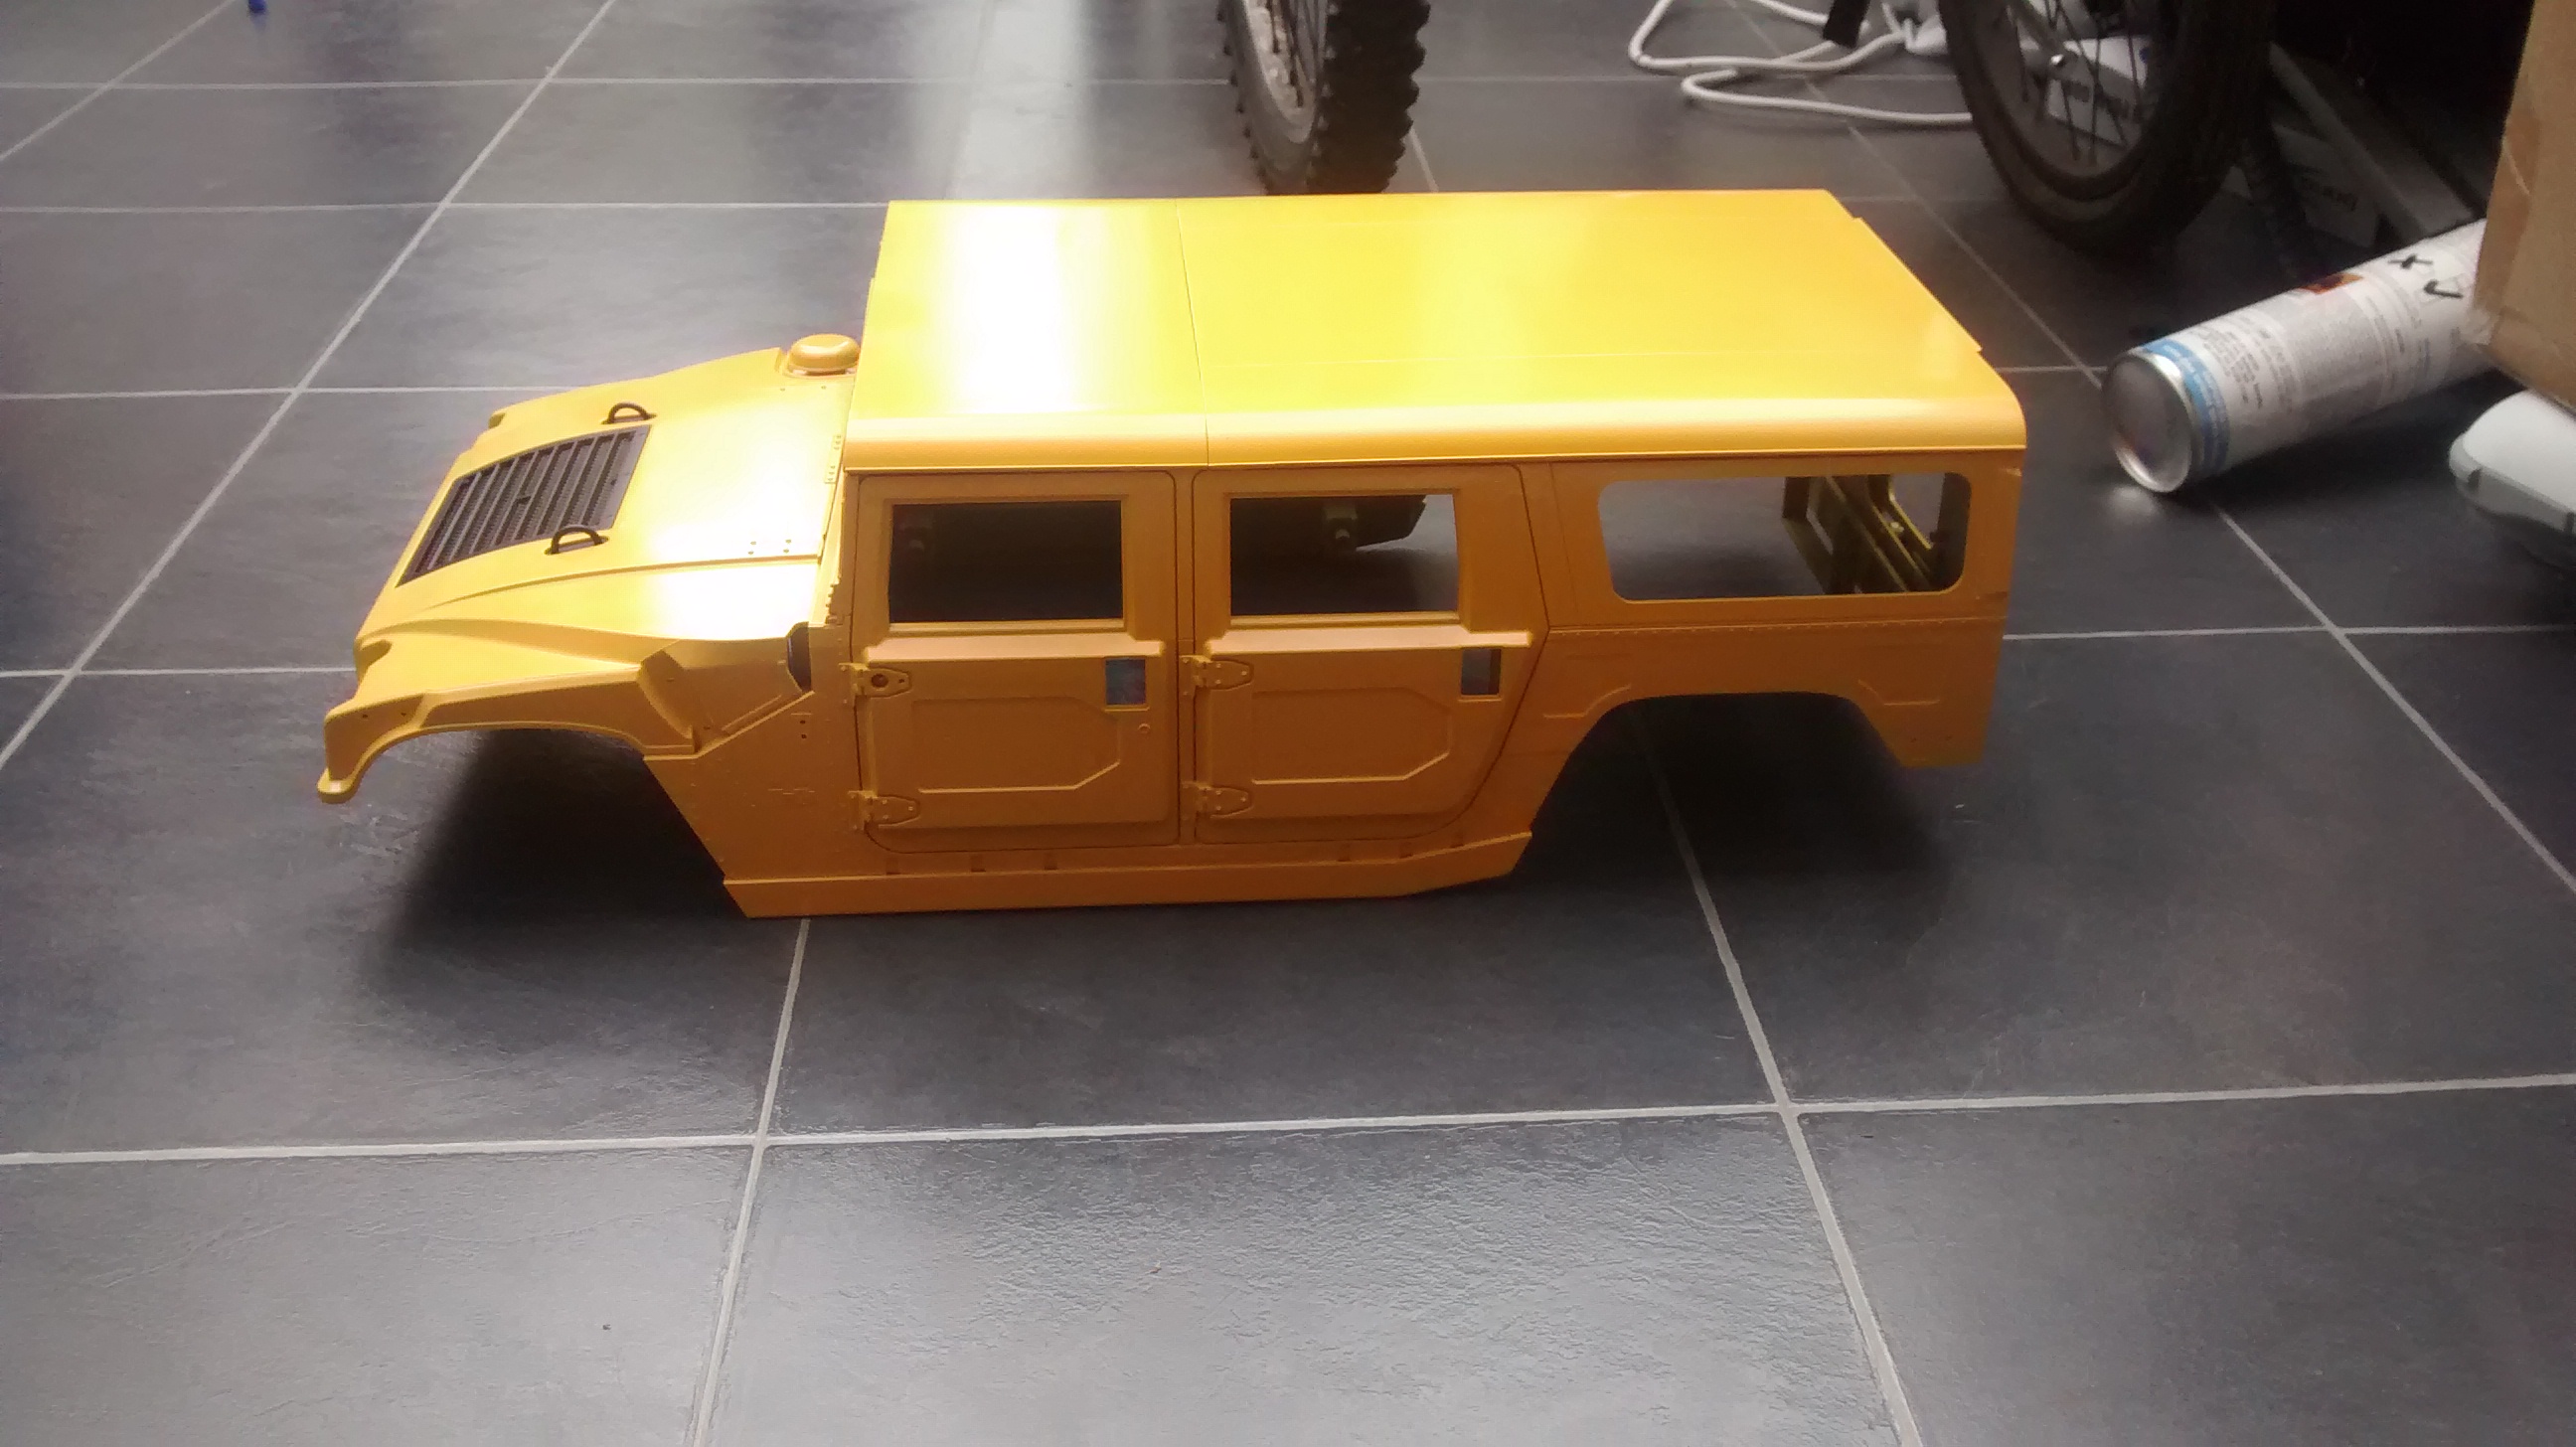
Side view
I have fitted the rear wheel hubs and dog bones to the car.
The rear wing has also been fitted although this is the display wing. A separate (more durable?) wing is provided for driving around with.
I finished building my robot today. It was a comparatively quick build compared to RC and model kits I am used to making.
I will make a full post of the build and the technology behind it later but for now here is a video of me calibrating the servos that control the robots head.
I needed to find the right values in order to make sure the robot looks where I want it to.
The robot uses a Seeeduino which is an Arduino compatible controller board and has ultra sonic sensors for eyes.

Here is finished model with body shell fitted. I still want to add some sponsor stickers at some point but this is it with most of the Tamiya stickers applied.
I am not a fan of the Stickers that come with Tamiya body shells especially the ones for the windows.
I have not given the model a proper test outside yet but in the quick go I did have with it I noticed the motor is too much for the wheelie bar. Full throttle will put the truck on its roof almost instantly.
I found the sweet spot for wheeling was around 80% throttle.
After landing a wheelie you can then apply full throttle to speed up as the front will not lift again until you slow down.
Over the last few evenings I finally got round to building the Volkswagen Wheelie Camper that I got in the Modelzone closing down sale.
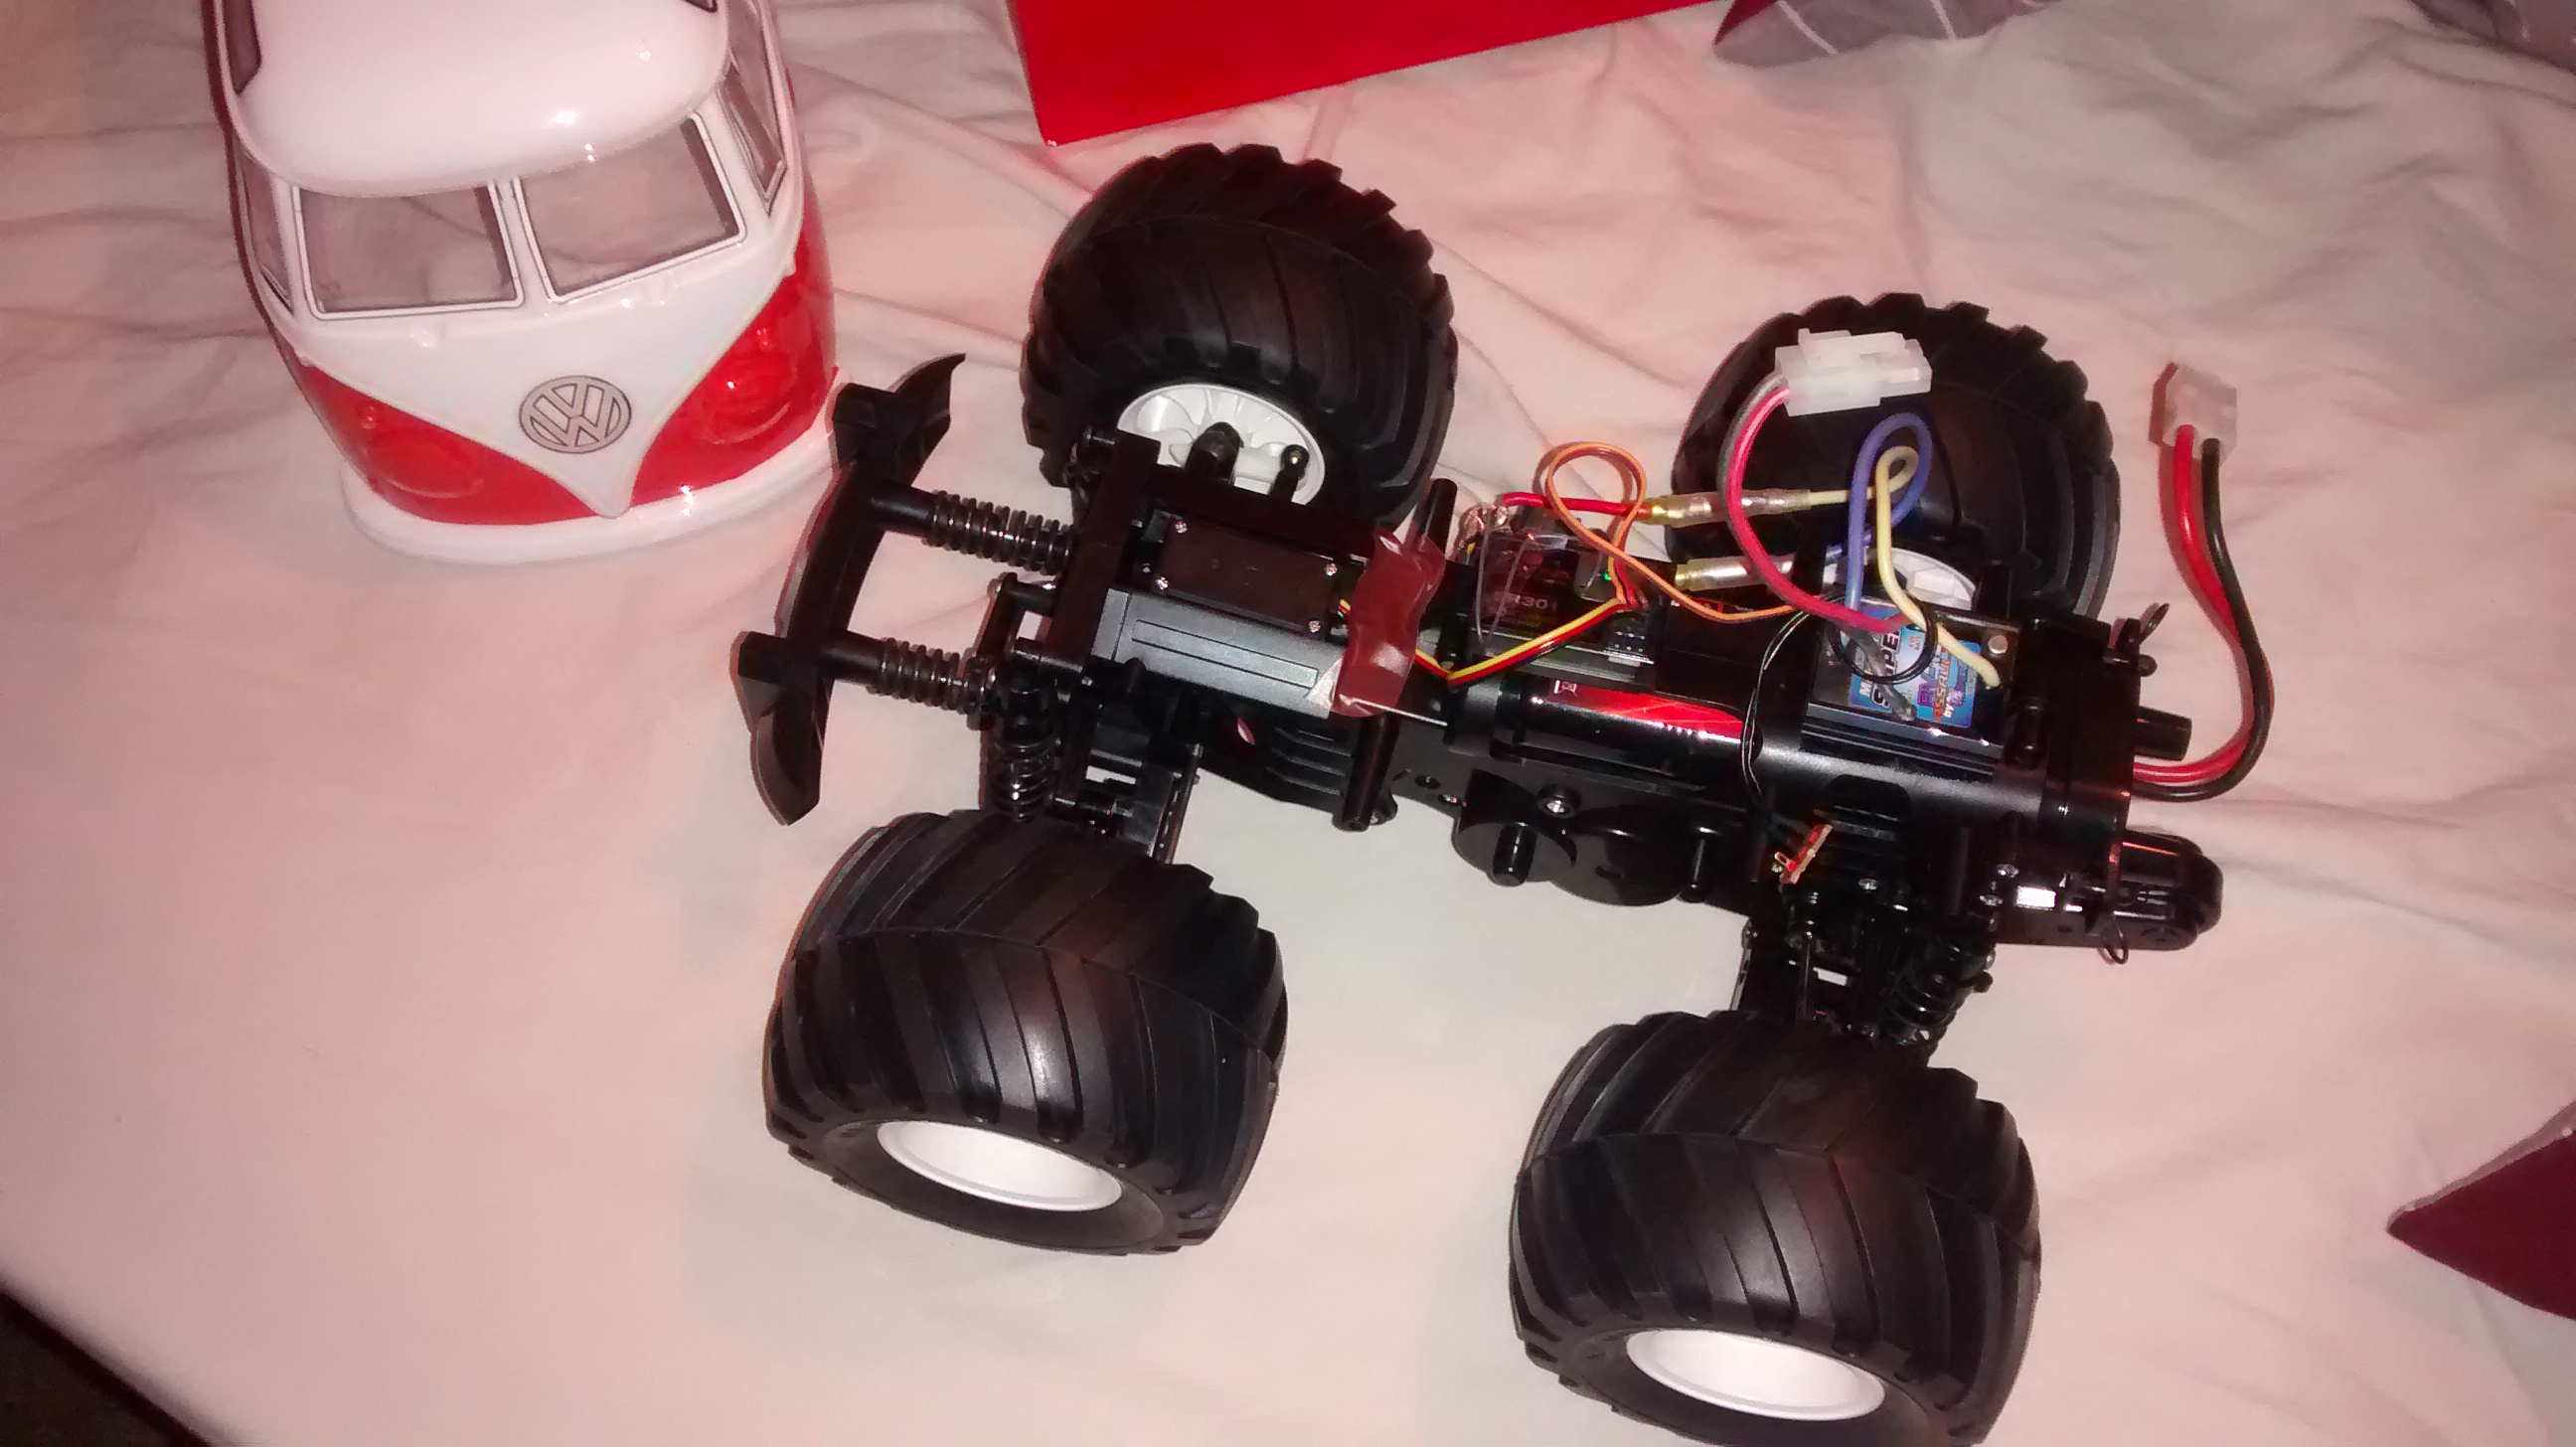
The Car is complete except the body post mounts and the stickers on the bodyshell.
I have replaced all bearings and bushings with ball race bearings and upgraded the motor to a 12×2. This of course also required a different ESC as well.
I gave it a Spektrum splash proof receiver as Spektrum is the only radio technology I use if I can help it. This means I can bind and control all my models from a single transmitter.
Tamiya were a bit cheeky with this kit as it said it included a ball race option pack but there were not enough bearings to go around. Luckily I have a bag of them so this was not an issue.
I made the mistake of giving this a quick test indoors. This lead to it hoping off the spot doing a back flip and smashing the on/off switch.
To fix this I had to solder the wires together where the switch once existed.
I think I will finish mounting the shell before playing with it anymore!
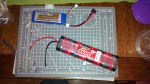
I have started working on my E Gemini hovercraft.
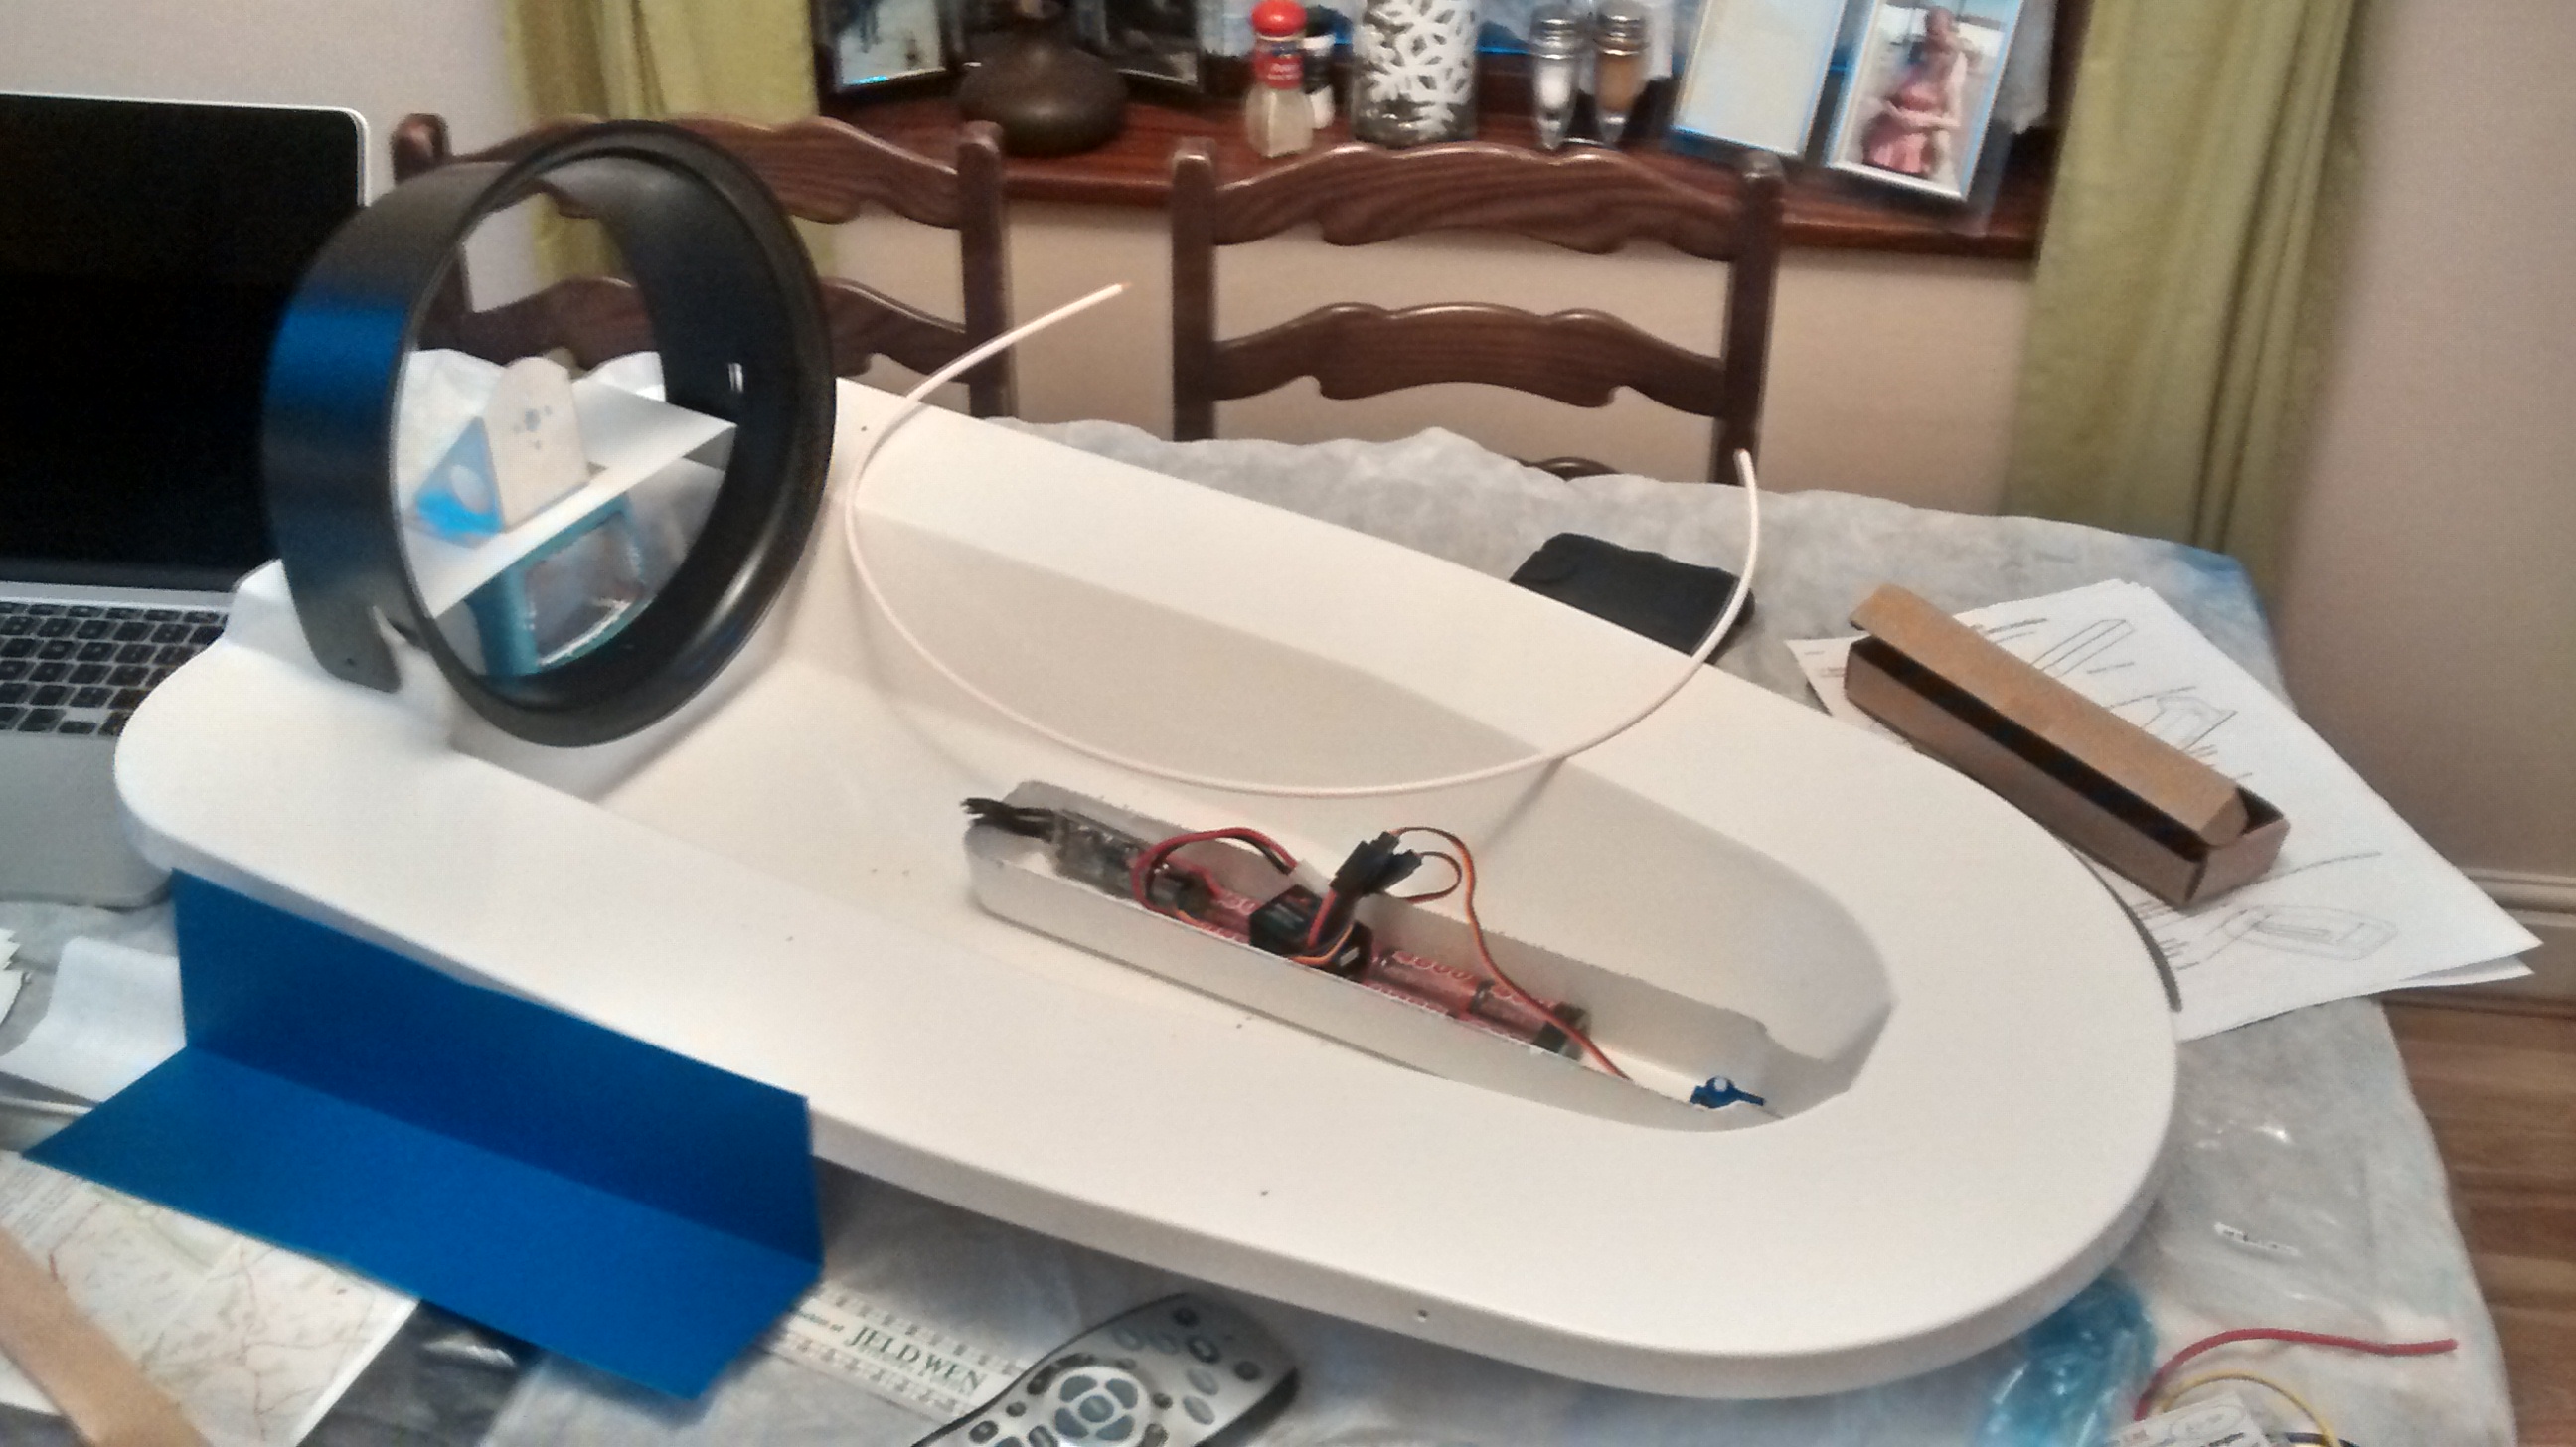
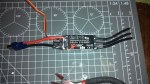
Most of the plastic pieces have been trimmed and the electronics tray has been mounted into the hull with silicon.
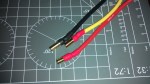
I have soldered the my connectors for the esc and battery pack replacing the Tamiya connector on the battery with a deans one.
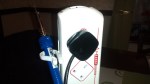
I chose to use a specktrum receiver in the hovercraft as it means I can use the same transmitter as I use on my cars. I have tested the electronics and everything is working perfectly.
Next I need to trim down the lower hull and start working on the rear of the craft.


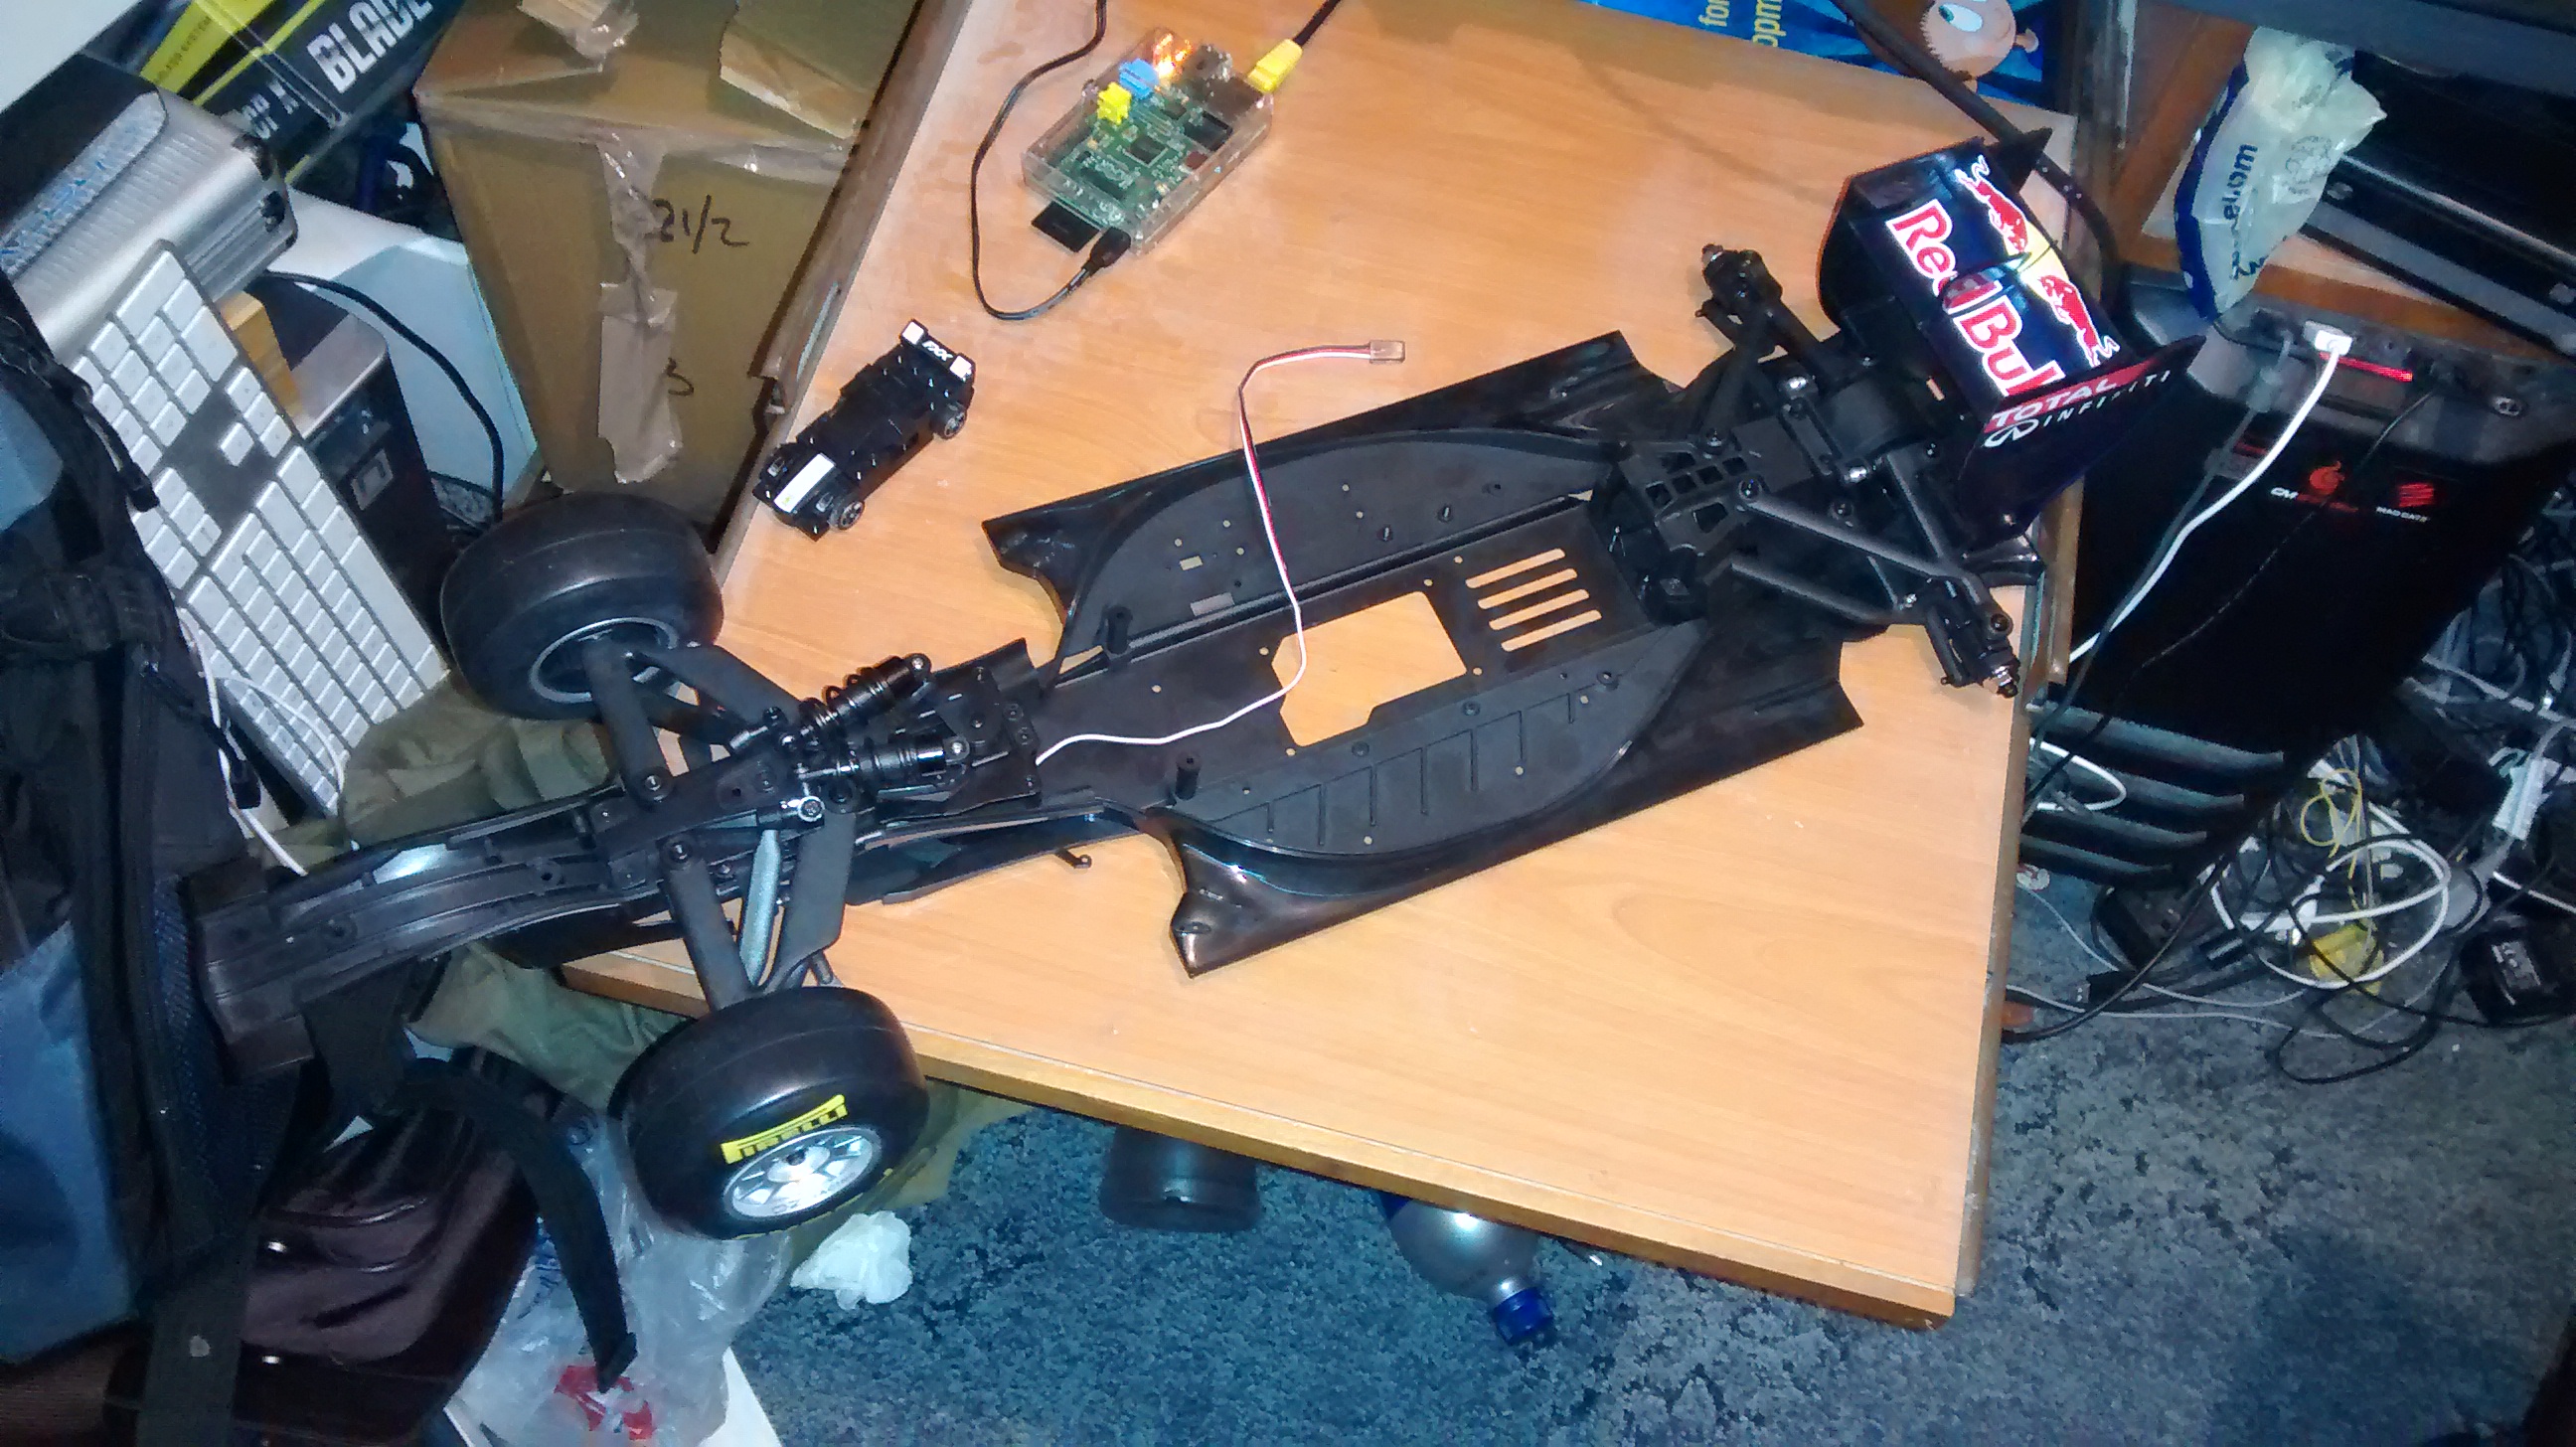
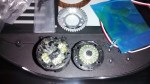
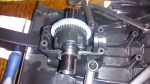
I have caught up with my RB7 subscription and built everything up to issue 44.
I decided to put aside recent issues until I had enough to finish and cover the differential instead of having to leave half finished bits on the side.
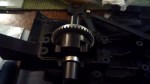
In this session I built and fitted the rear differential, differential housing and the rear suspension arms.


I picked up this kit last week in the modelzone sale but only just received the additional parts needed to complete the model.
It was about half the going price online and eBay.
The box shows it painted white and red but I decided to go for white and orange instead.

The free bonus parts included are ball race bearings. Its pretty handy seeing as the first thing I usually do is replace Tamiya’s crappy plastic/bronze bushings with bearings.
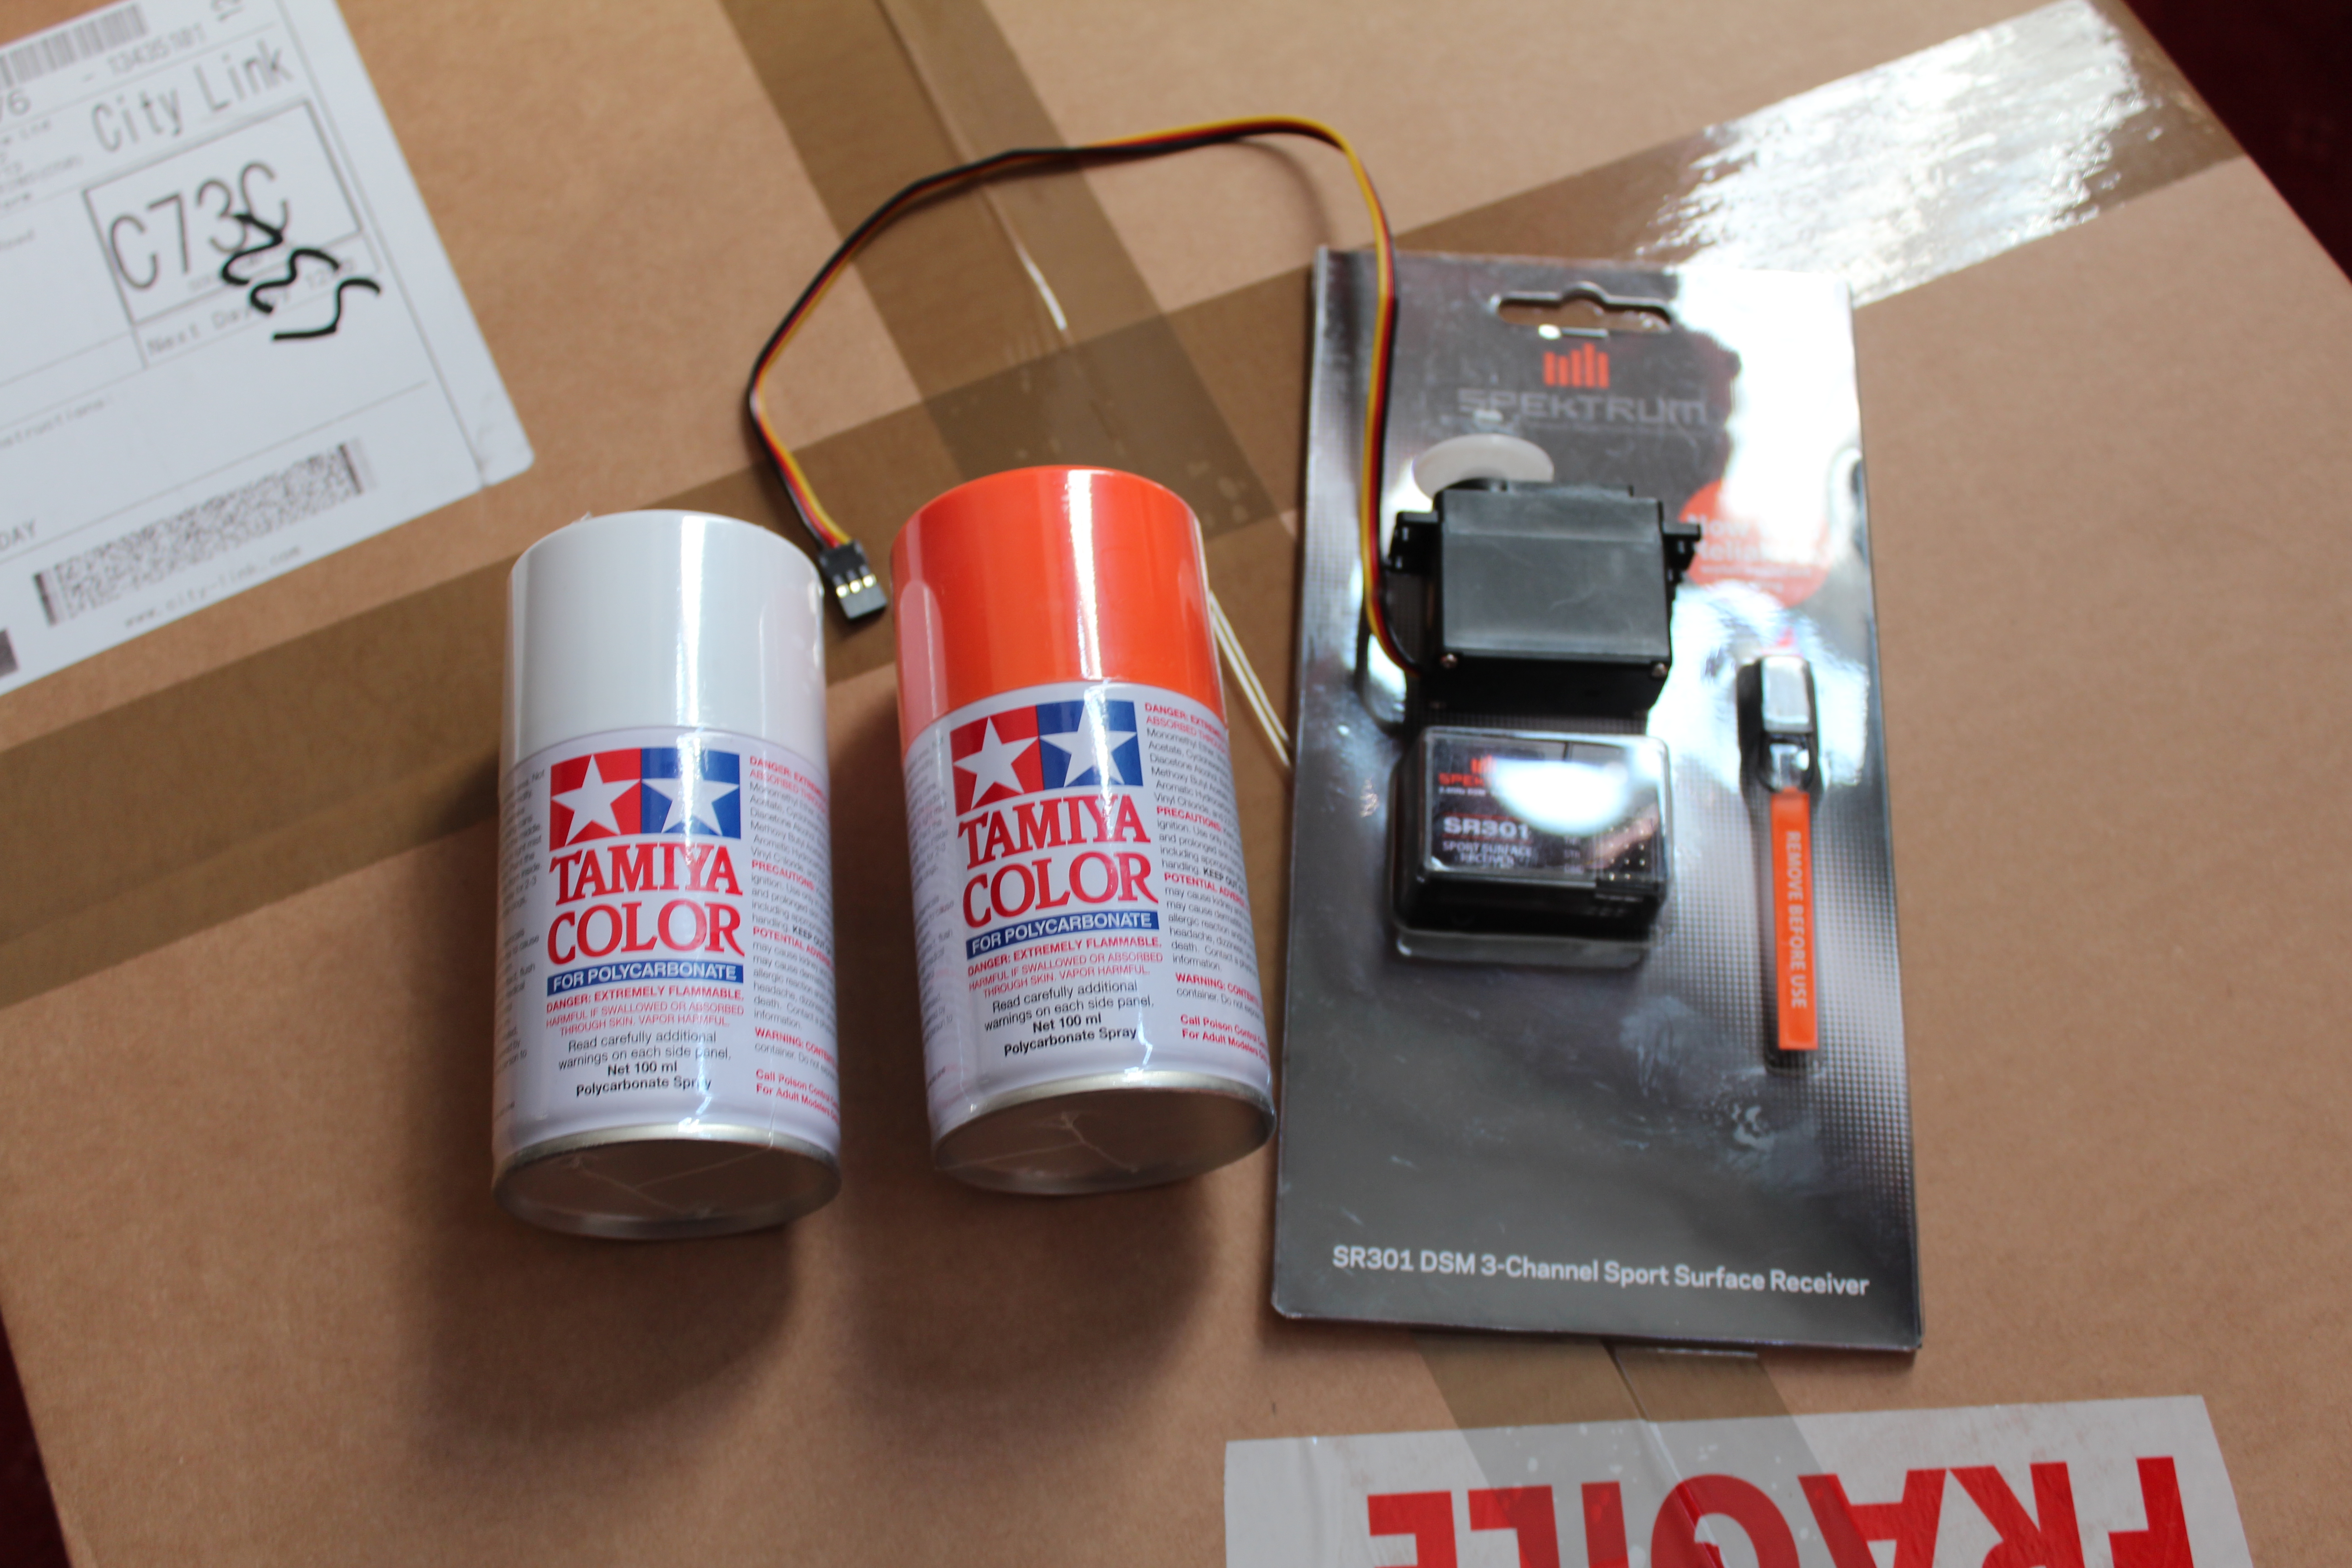
Aside from the paint, I also needed to order a servo for the steering and a radio receiver. As usual I went for a Spektrum receiver in the hope of unifying all my radio gear under one compatible type.
