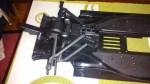
I have fitted the rear wheel hubs and dog bones to the car.
The rear wing has also been fitted although this is the display wing. A separate (more durable?) wing is provided for driving around with.
I have fitted the rear wheel hubs and dog bones to the car.
The rear wing has also been fitted although this is the display wing. A separate (more durable?) wing is provided for driving around with.

Here is finished model with body shell fitted. I still want to add some sponsor stickers at some point but this is it with most of the Tamiya stickers applied.
I am not a fan of the Stickers that come with Tamiya body shells especially the ones for the windows.
I have not given the model a proper test outside yet but in the quick go I did have with it I noticed the motor is too much for the wheelie bar. Full throttle will put the truck on its roof almost instantly.
I found the sweet spot for wheeling was around 80% throttle.
After landing a wheelie you can then apply full throttle to speed up as the front will not lift again until you slow down.
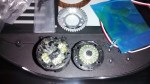
Over the last few evenings I finally got round to building the Volkswagen Wheelie Camper that I got in the Modelzone closing down sale.
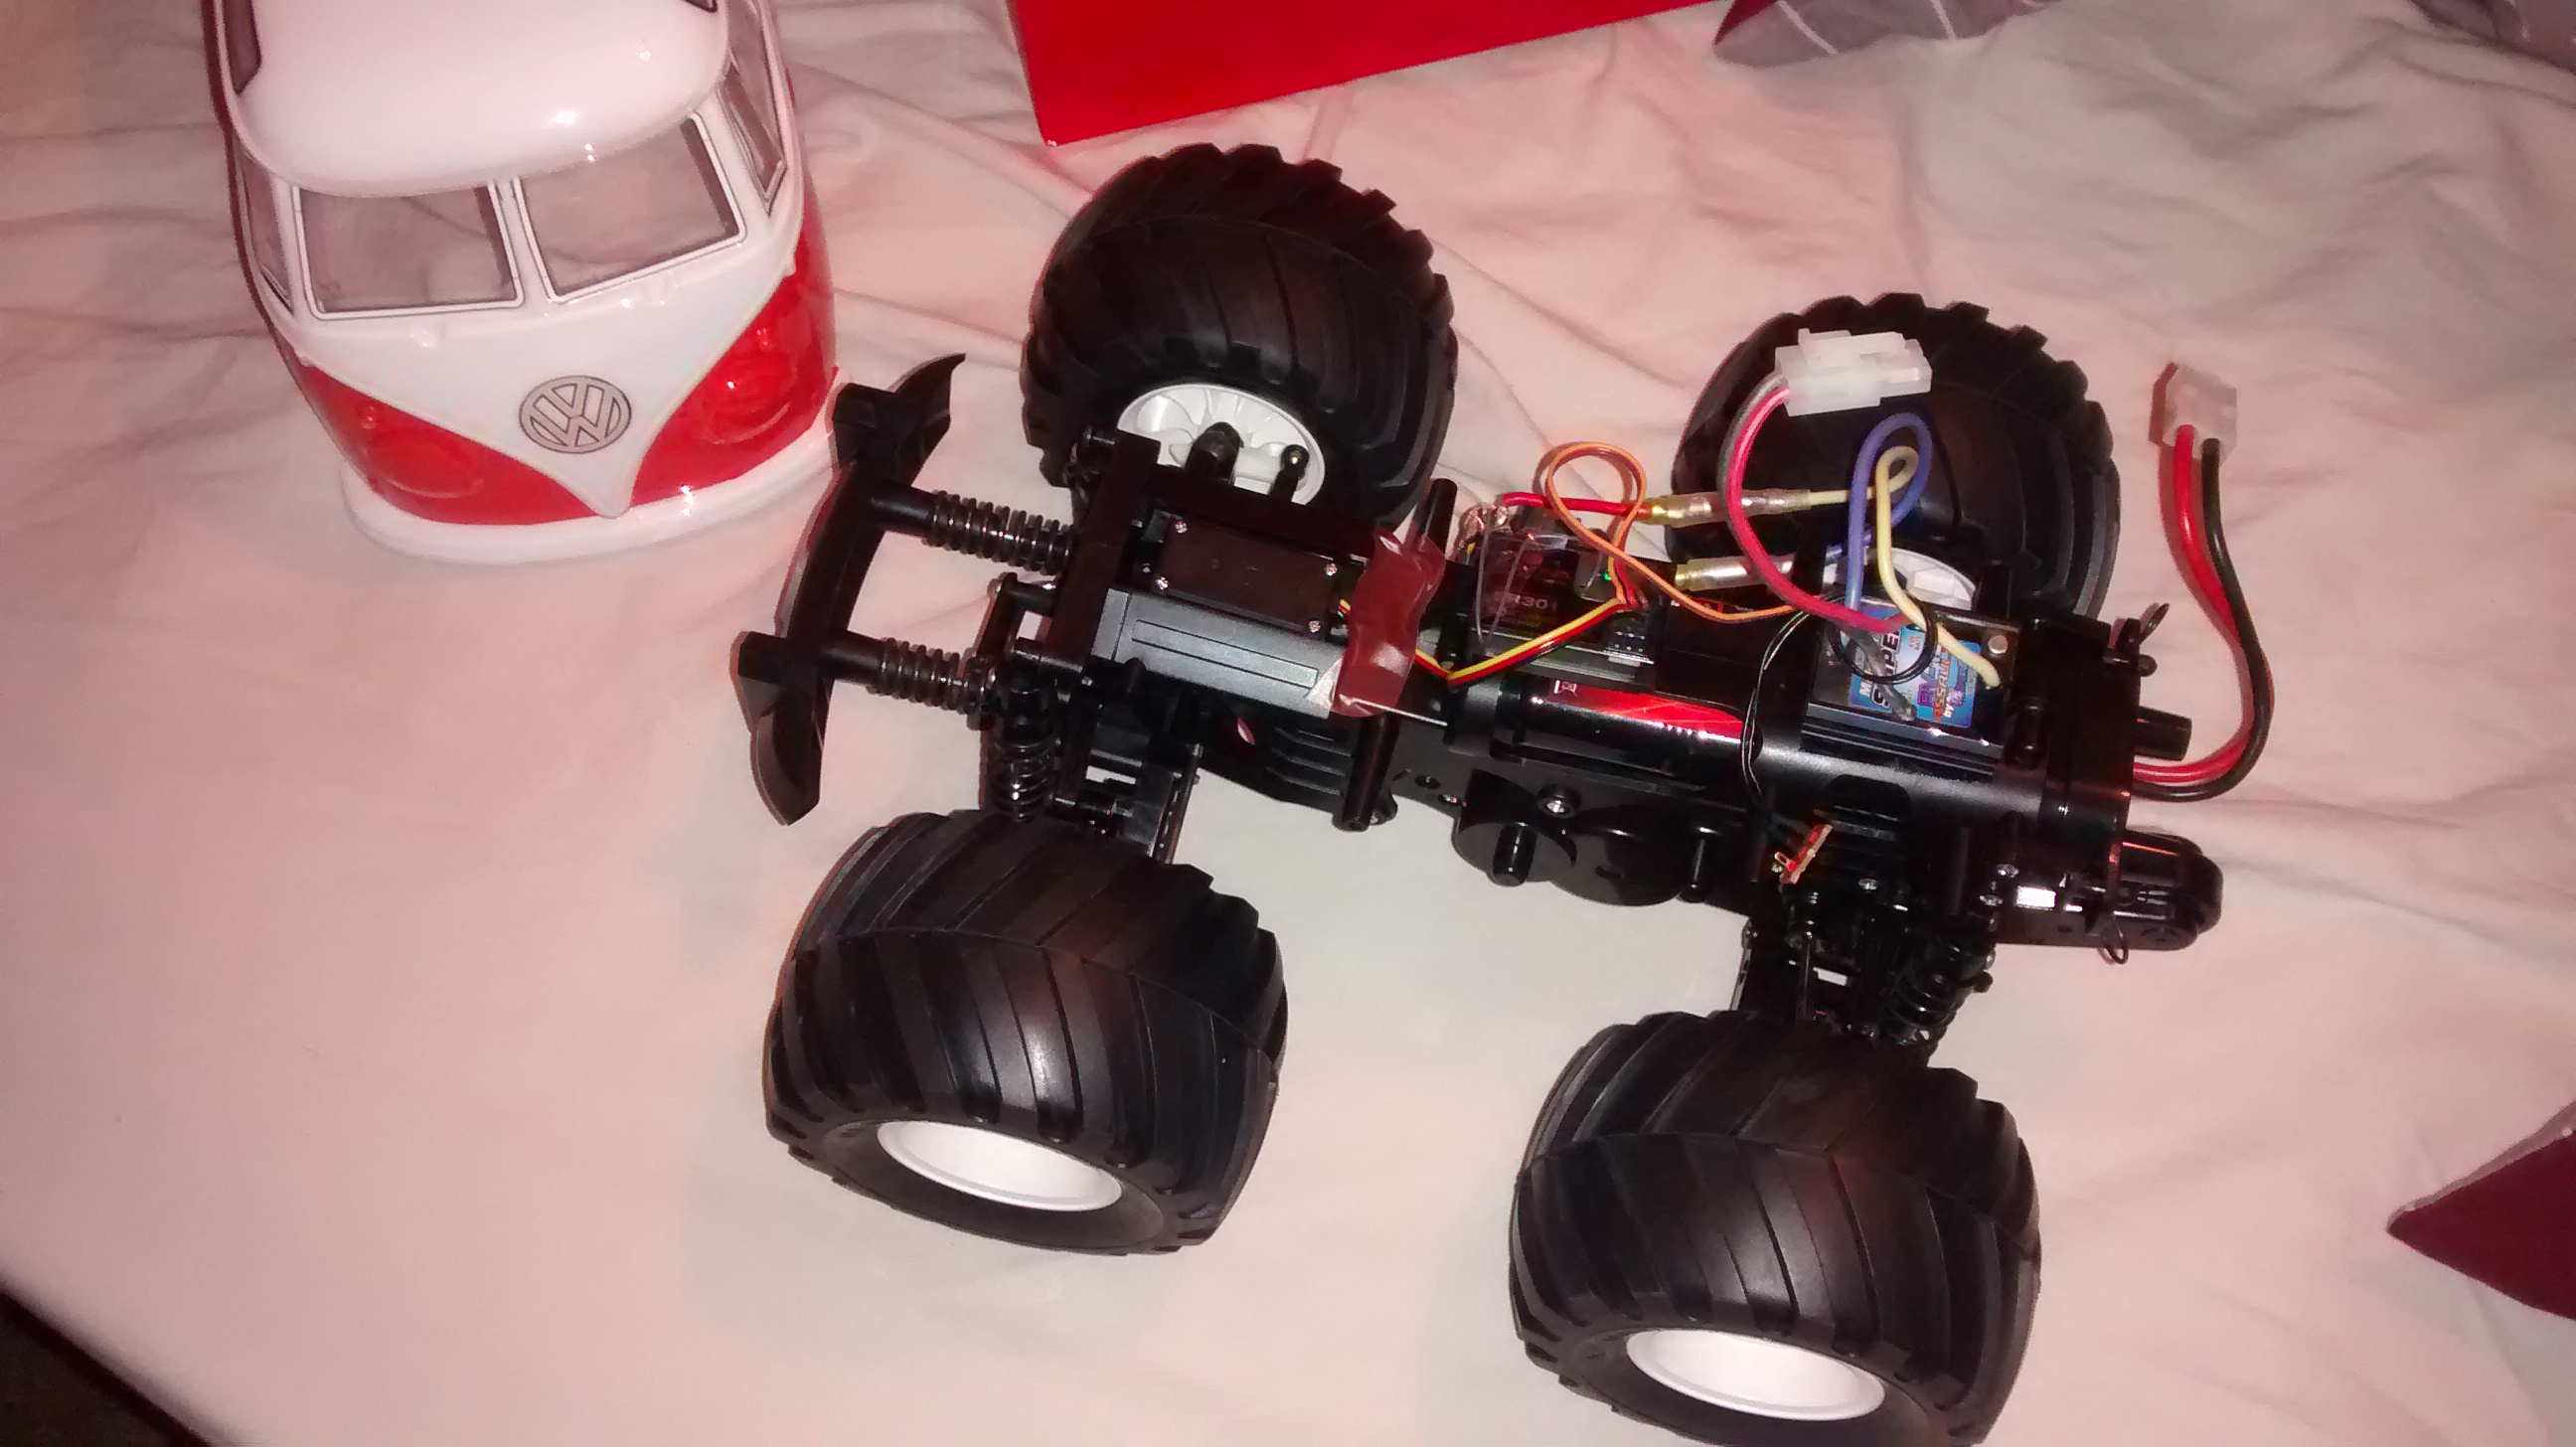
The Car is complete except the body post mounts and the stickers on the bodyshell.
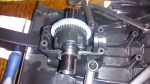
I have replaced all bearings and bushings with ball race bearings and upgraded the motor to a 12×2. This of course also required a different ESC as well.
I gave it a Spektrum splash proof receiver as Spektrum is the only radio technology I use if I can help it. This means I can bind and control all my models from a single transmitter.
Tamiya were a bit cheeky with this kit as it said it included a ball race option pack but there were not enough bearings to go around. Luckily I have a bag of them so this was not an issue.
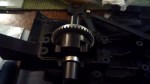
I made the mistake of giving this a quick test indoors. This lead to it hoping off the spot doing a back flip and smashing the on/off switch.
To fix this I had to solder the wires together where the switch once existed.
I think I will finish mounting the shell before playing with it anymore!
I just got round to bringing my Hyper 7 back into action. The pull starter stopped working a couple of months back so I have fitted a new one.

I checked the condition of the old start when I removed it as sometimes you can repair them but in this case it had snapped.

Usually pull starters can be a bit of a pain to replace because it either means removing a lot of parts to get to it or removing the engine itself. I managed to cheat a bit and just remove the rear diff and wheels.
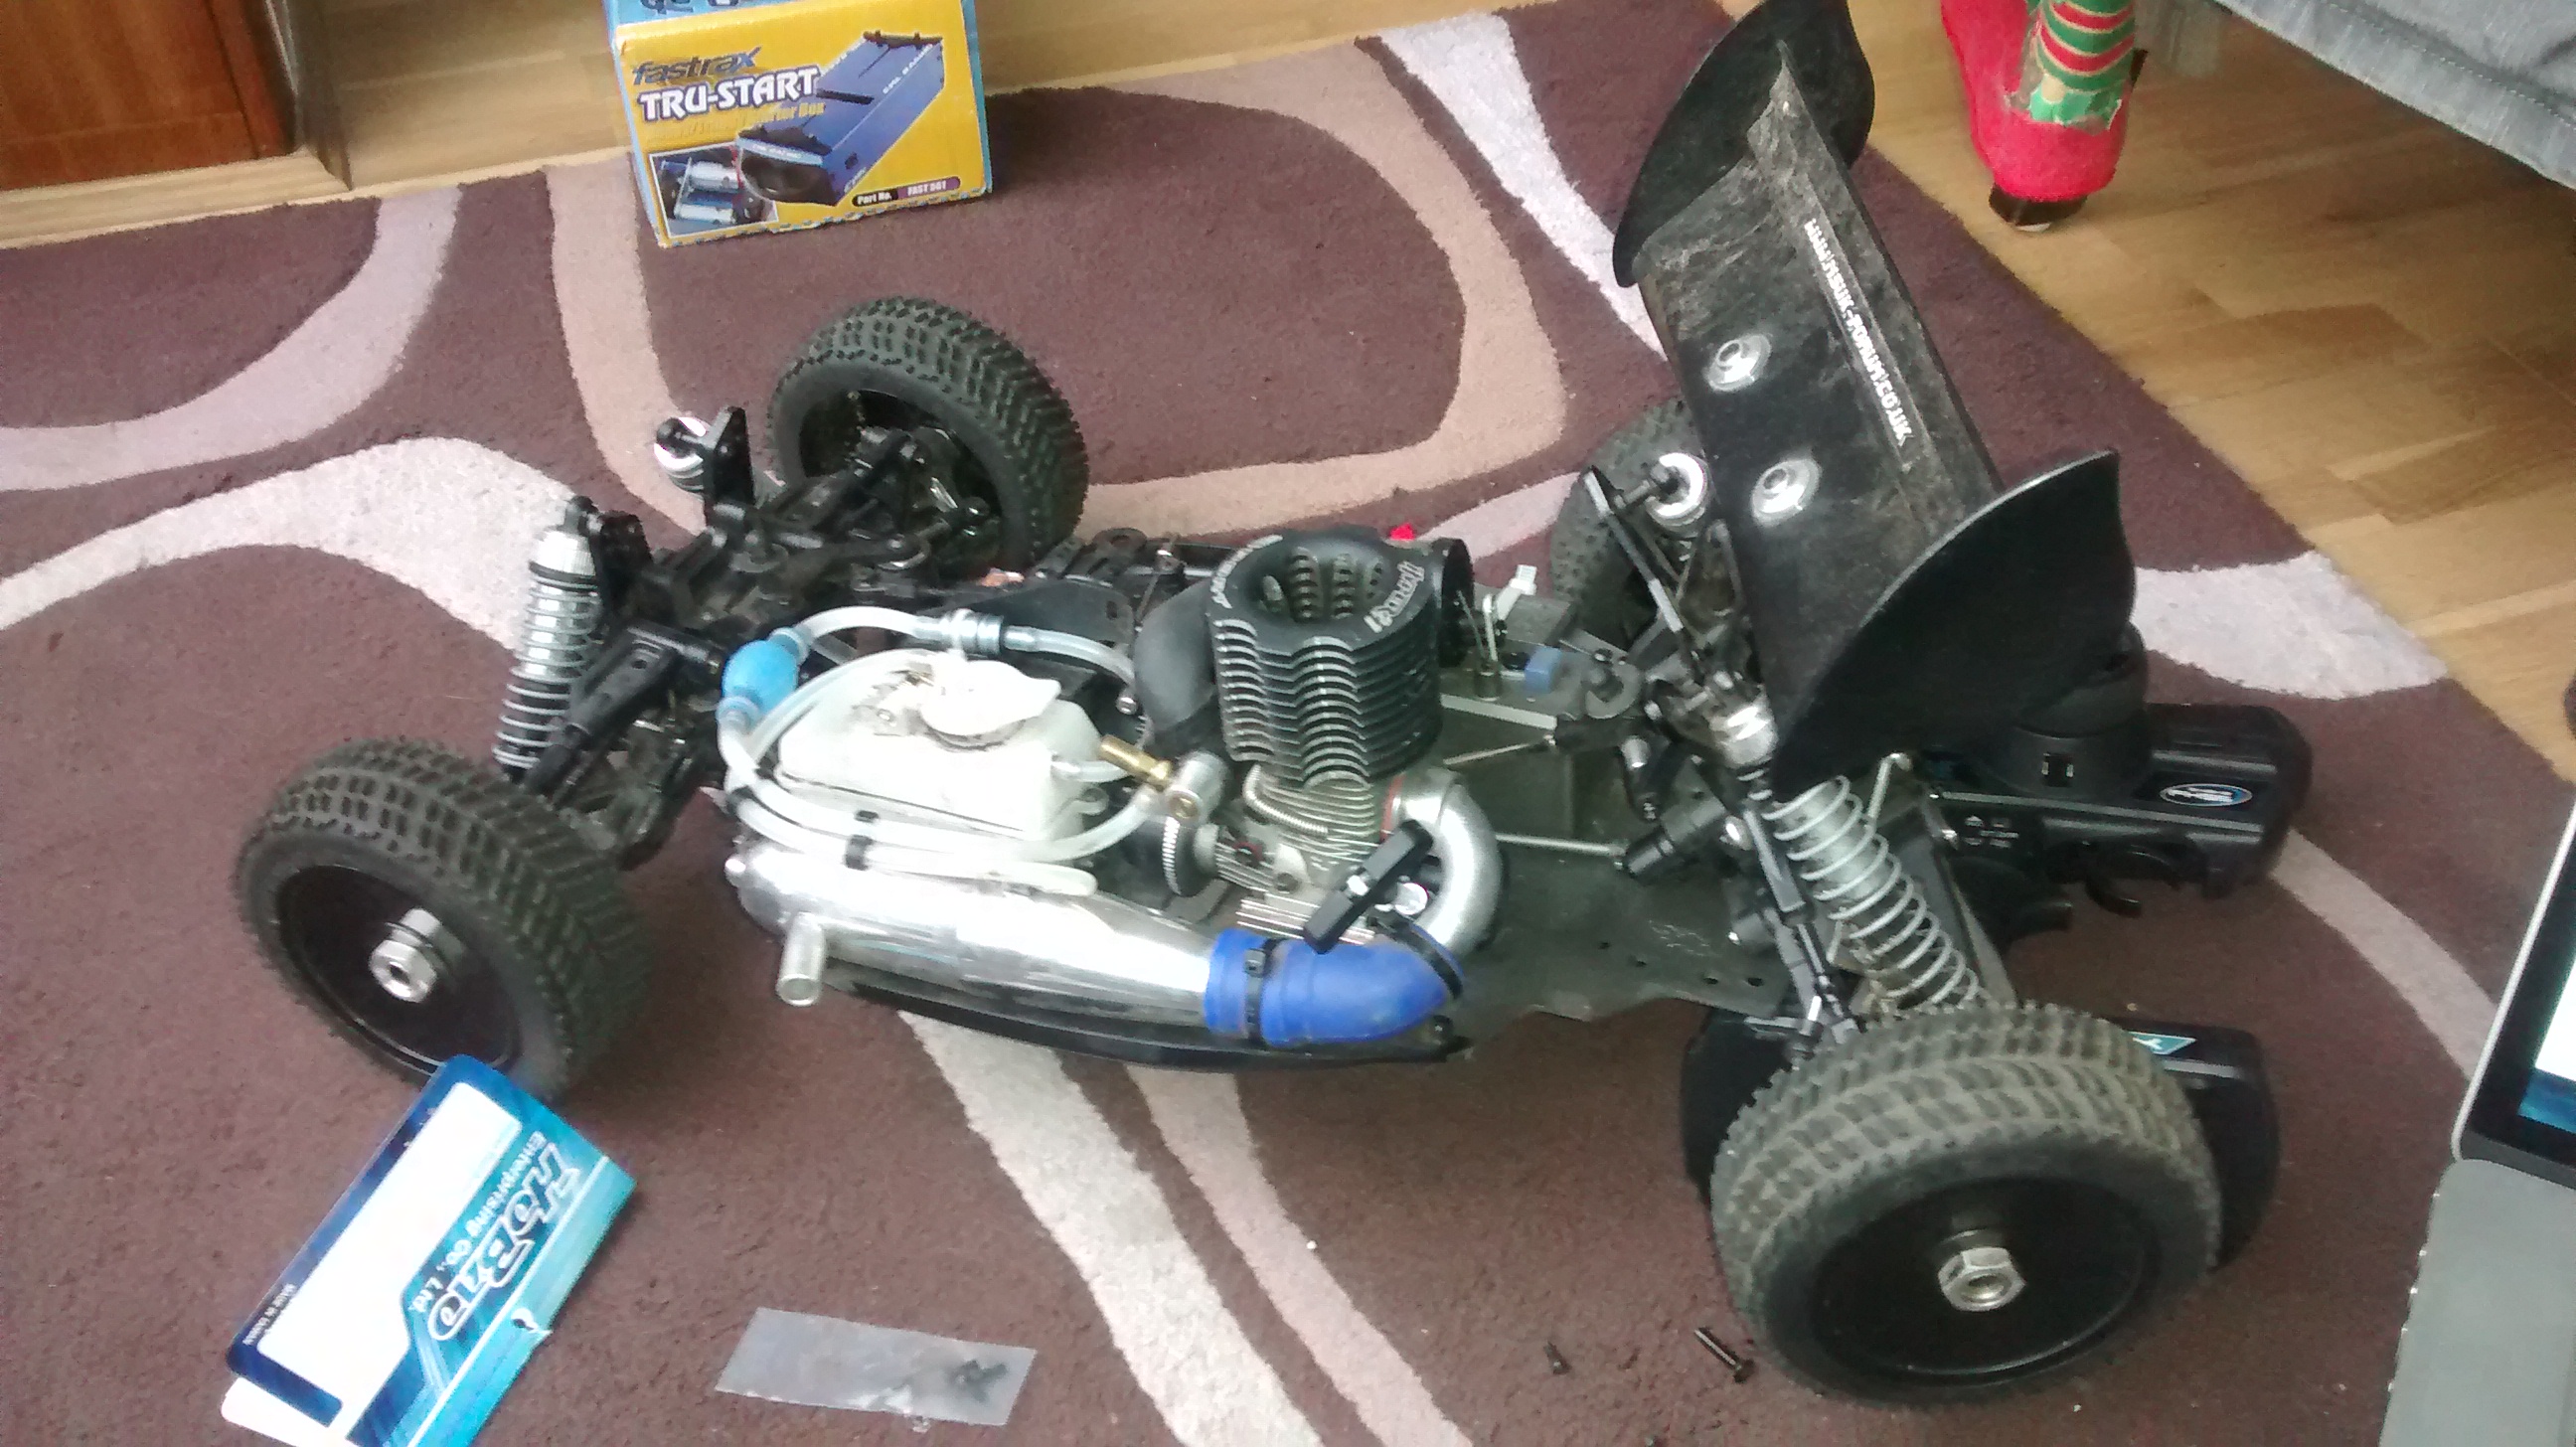
I had a bit of trouble testing my car after as it didn’t want to start in the cold but the hair dryer trick solved the problem.

I recorded a short video while driving with one hand of the buggy back in action.
I have started working on my E Gemini hovercraft.
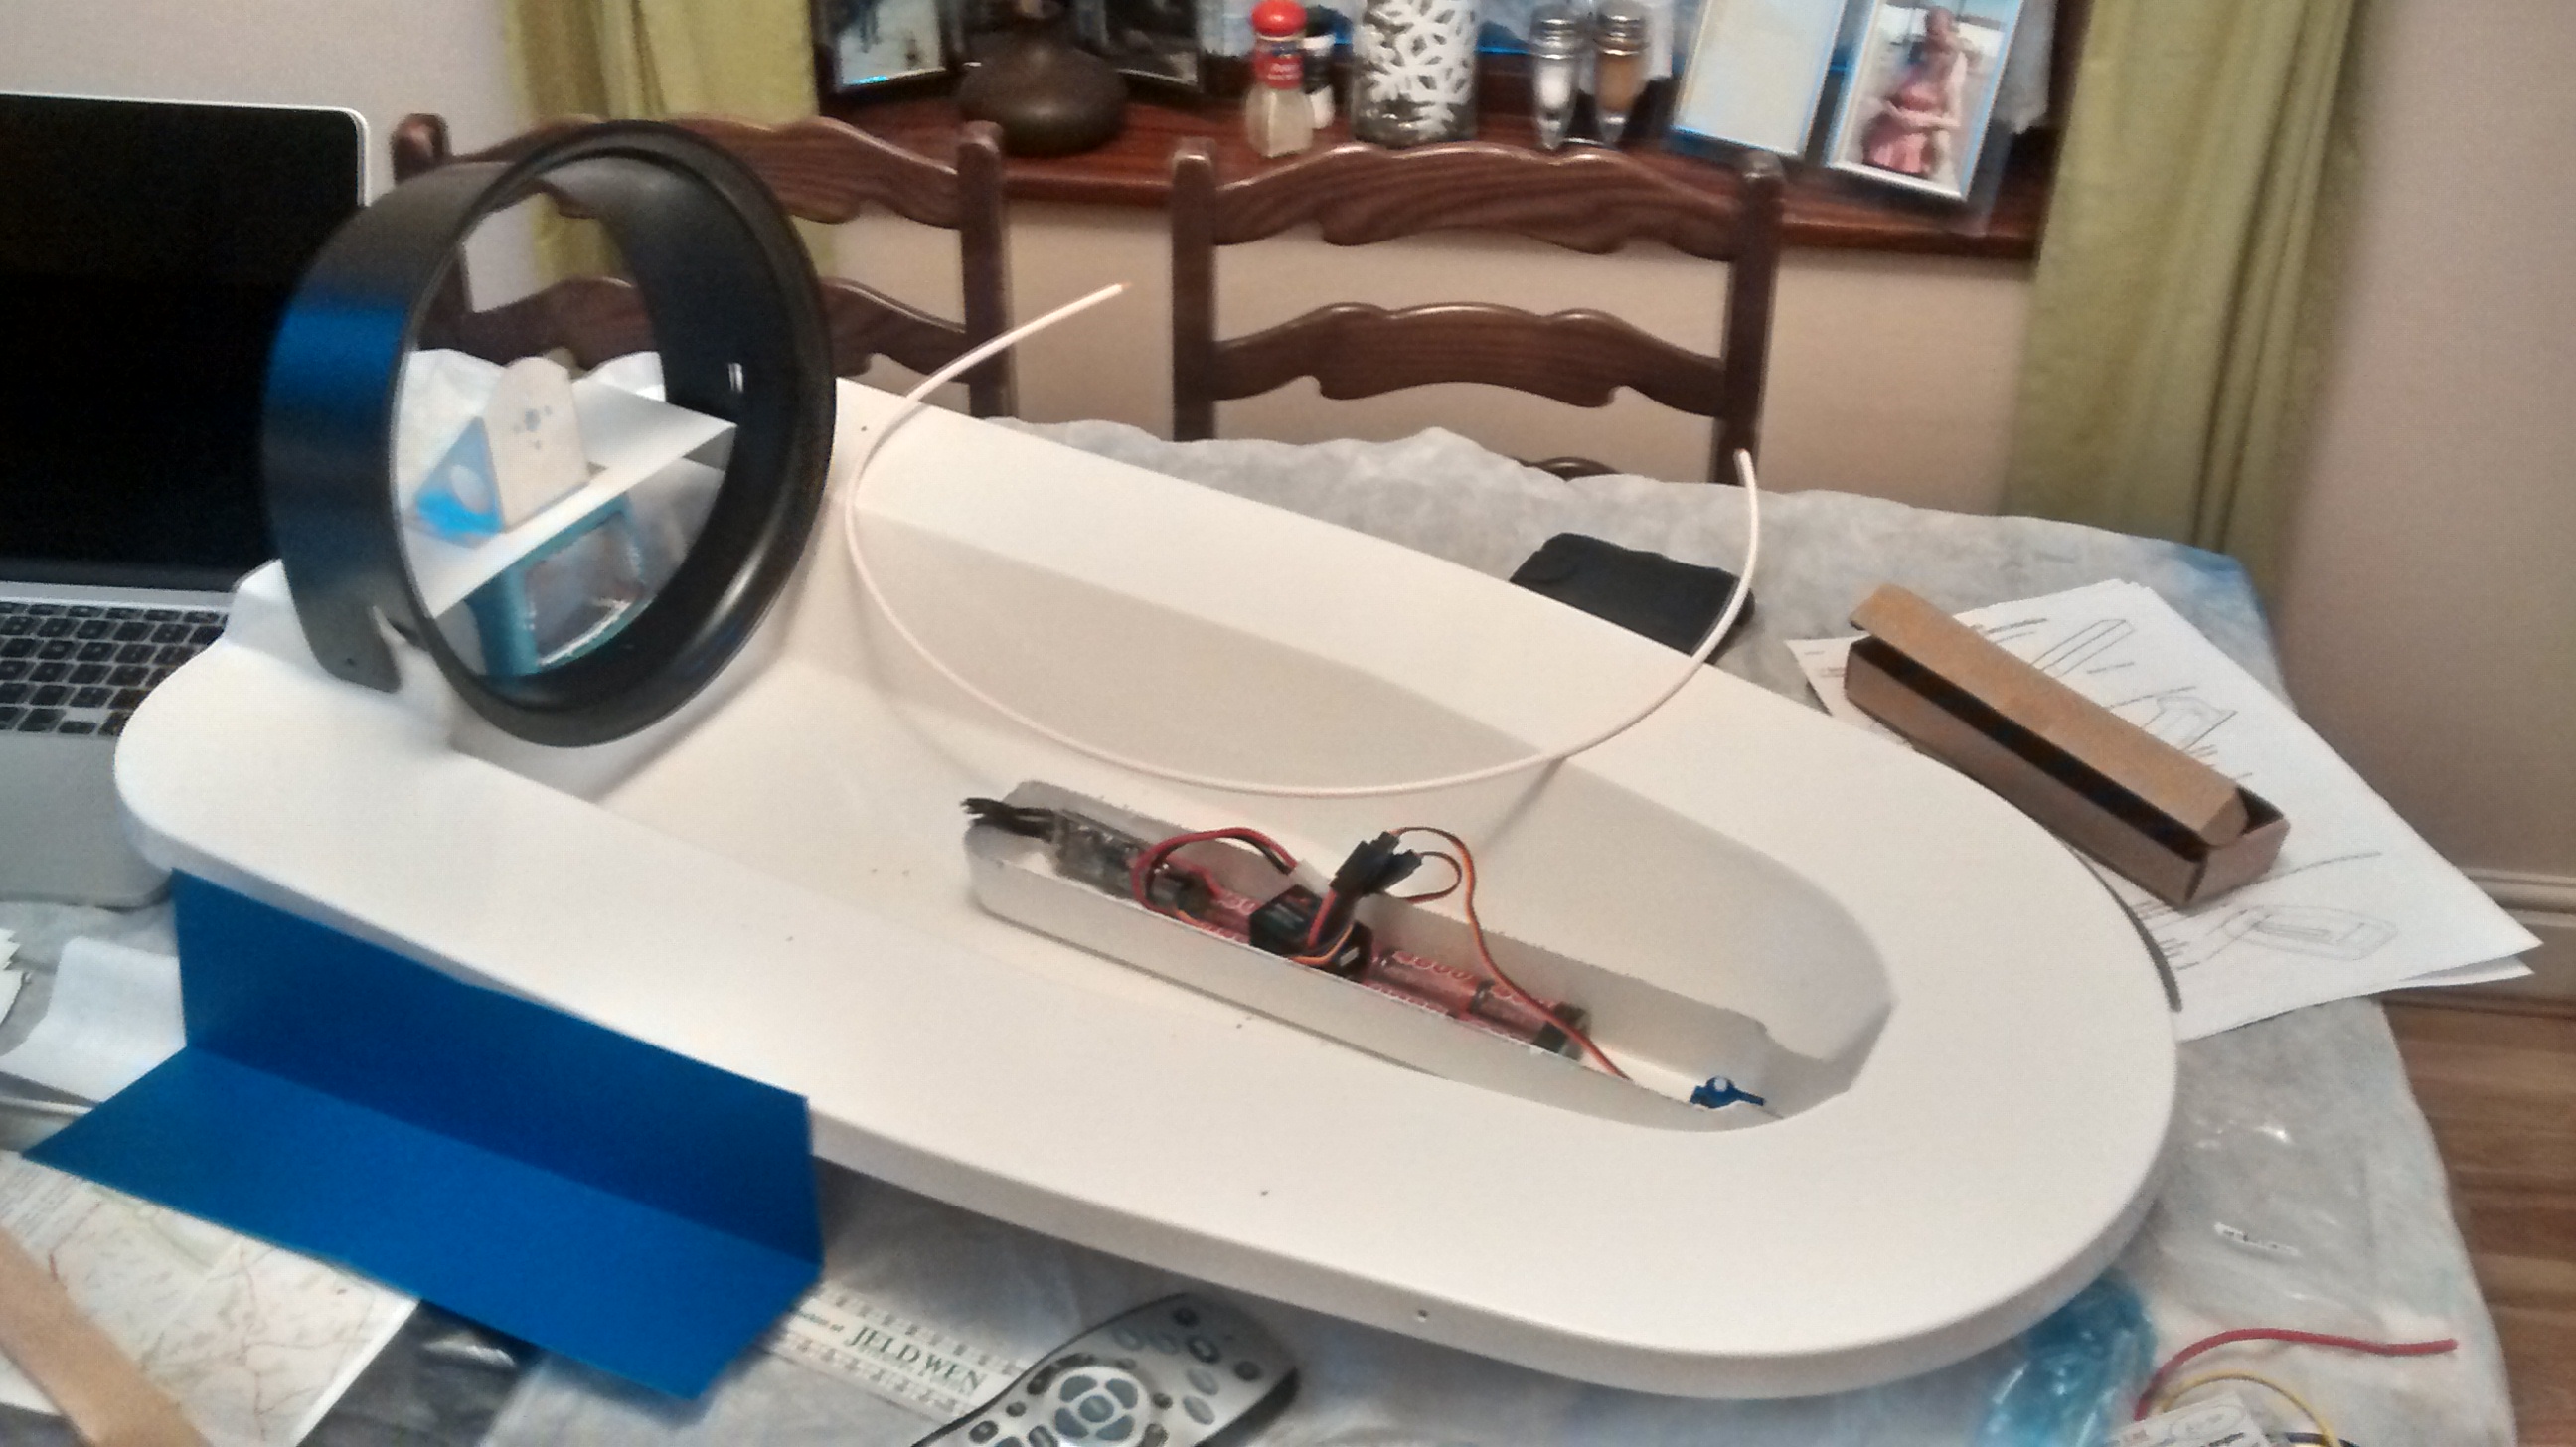
Most of the plastic pieces have been trimmed and the electronics tray has been mounted into the hull with silicon.
I have soldered the my connectors for the esc and battery pack replacing the Tamiya connector on the battery with a deans one.
I chose to use a specktrum receiver in the hovercraft as it means I can use the same transmitter as I use on my cars. I have tested the electronics and everything is working perfectly.
Next I need to trim down the lower hull and start working on the rear of the craft.


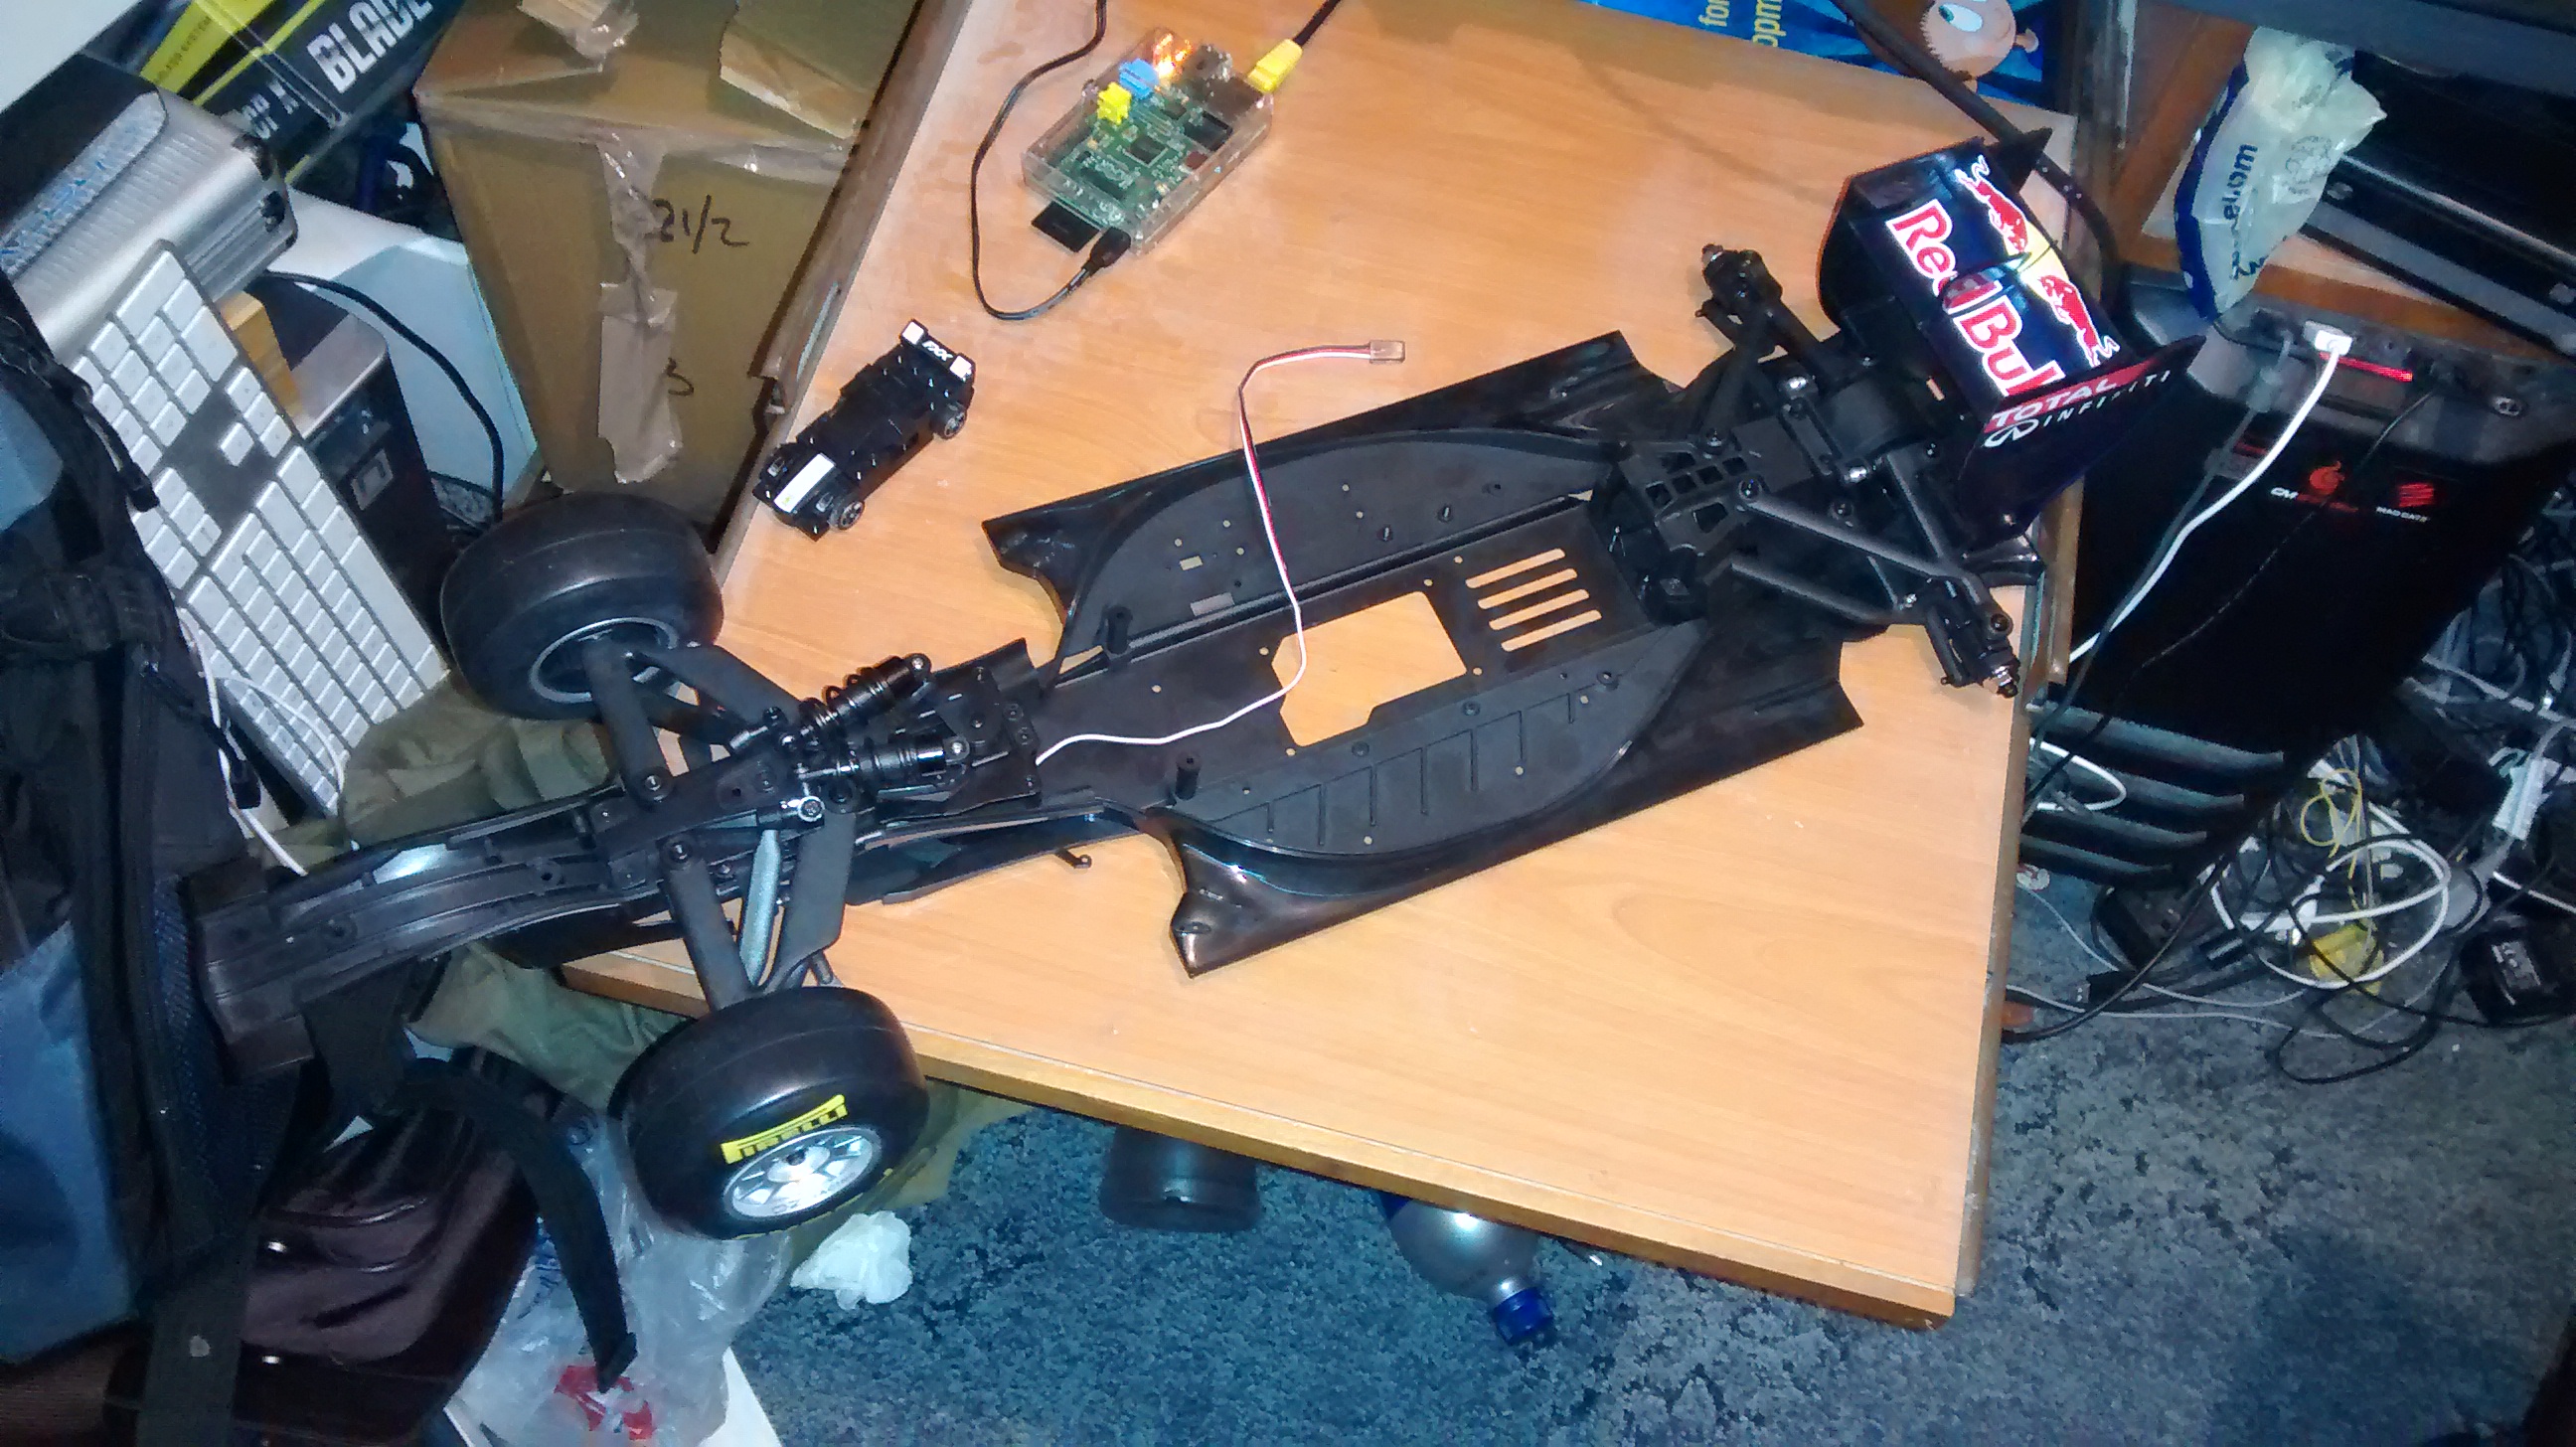
I have caught up with my RB7 subscription and built everything up to issue 44.
I decided to put aside recent issues until I had enough to finish and cover the differential instead of having to leave half finished bits on the side.
In this session I built and fitted the rear differential, differential housing and the rear suspension arms.


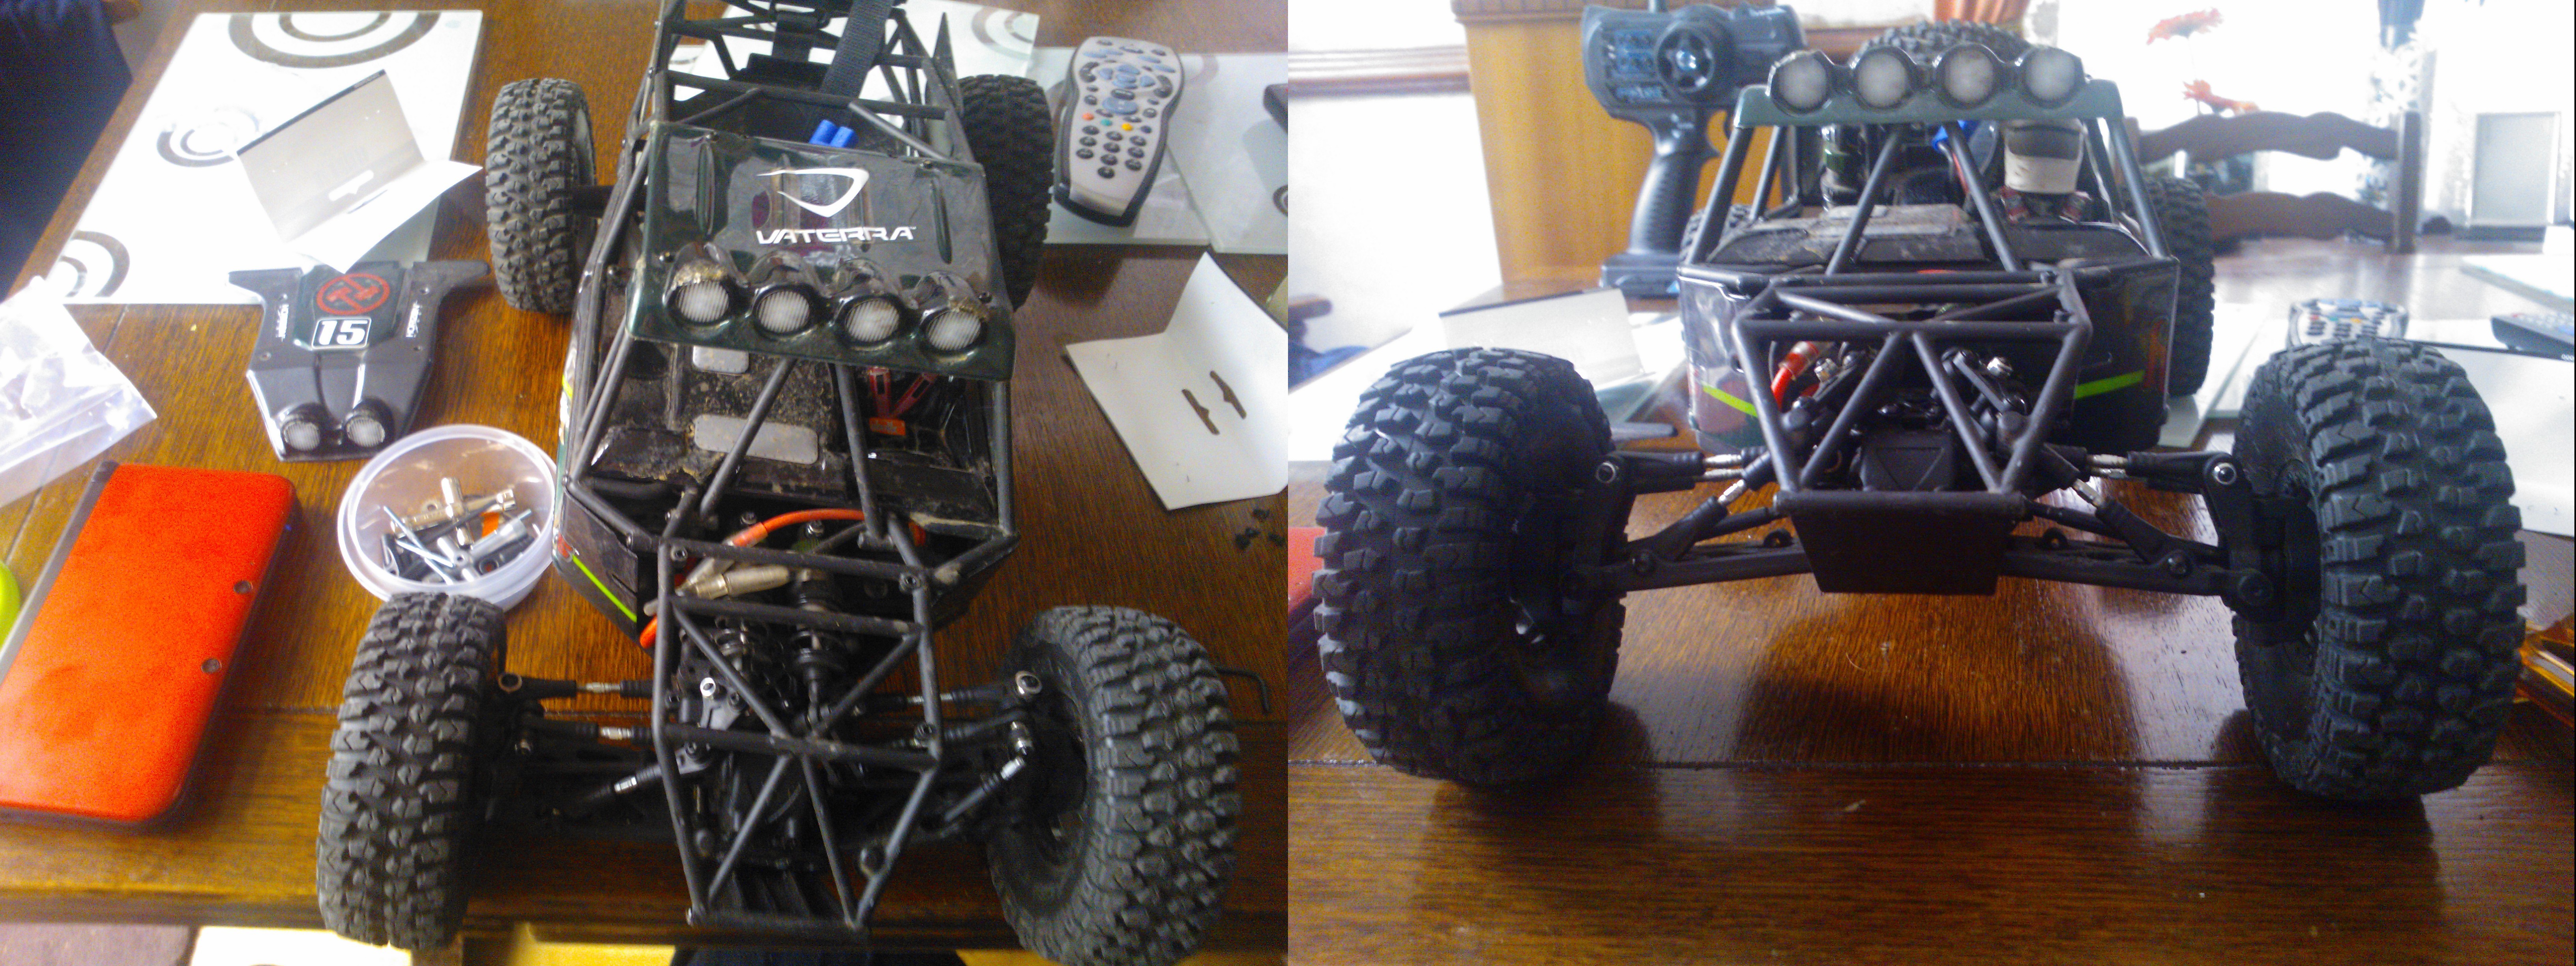
I wanted to make my Twin Hammers more unique so I started by replacing the standard plastic body with a set of aluminium body panels.

I decided to paint the panels in a basic desert camo scheme of sand and earth.
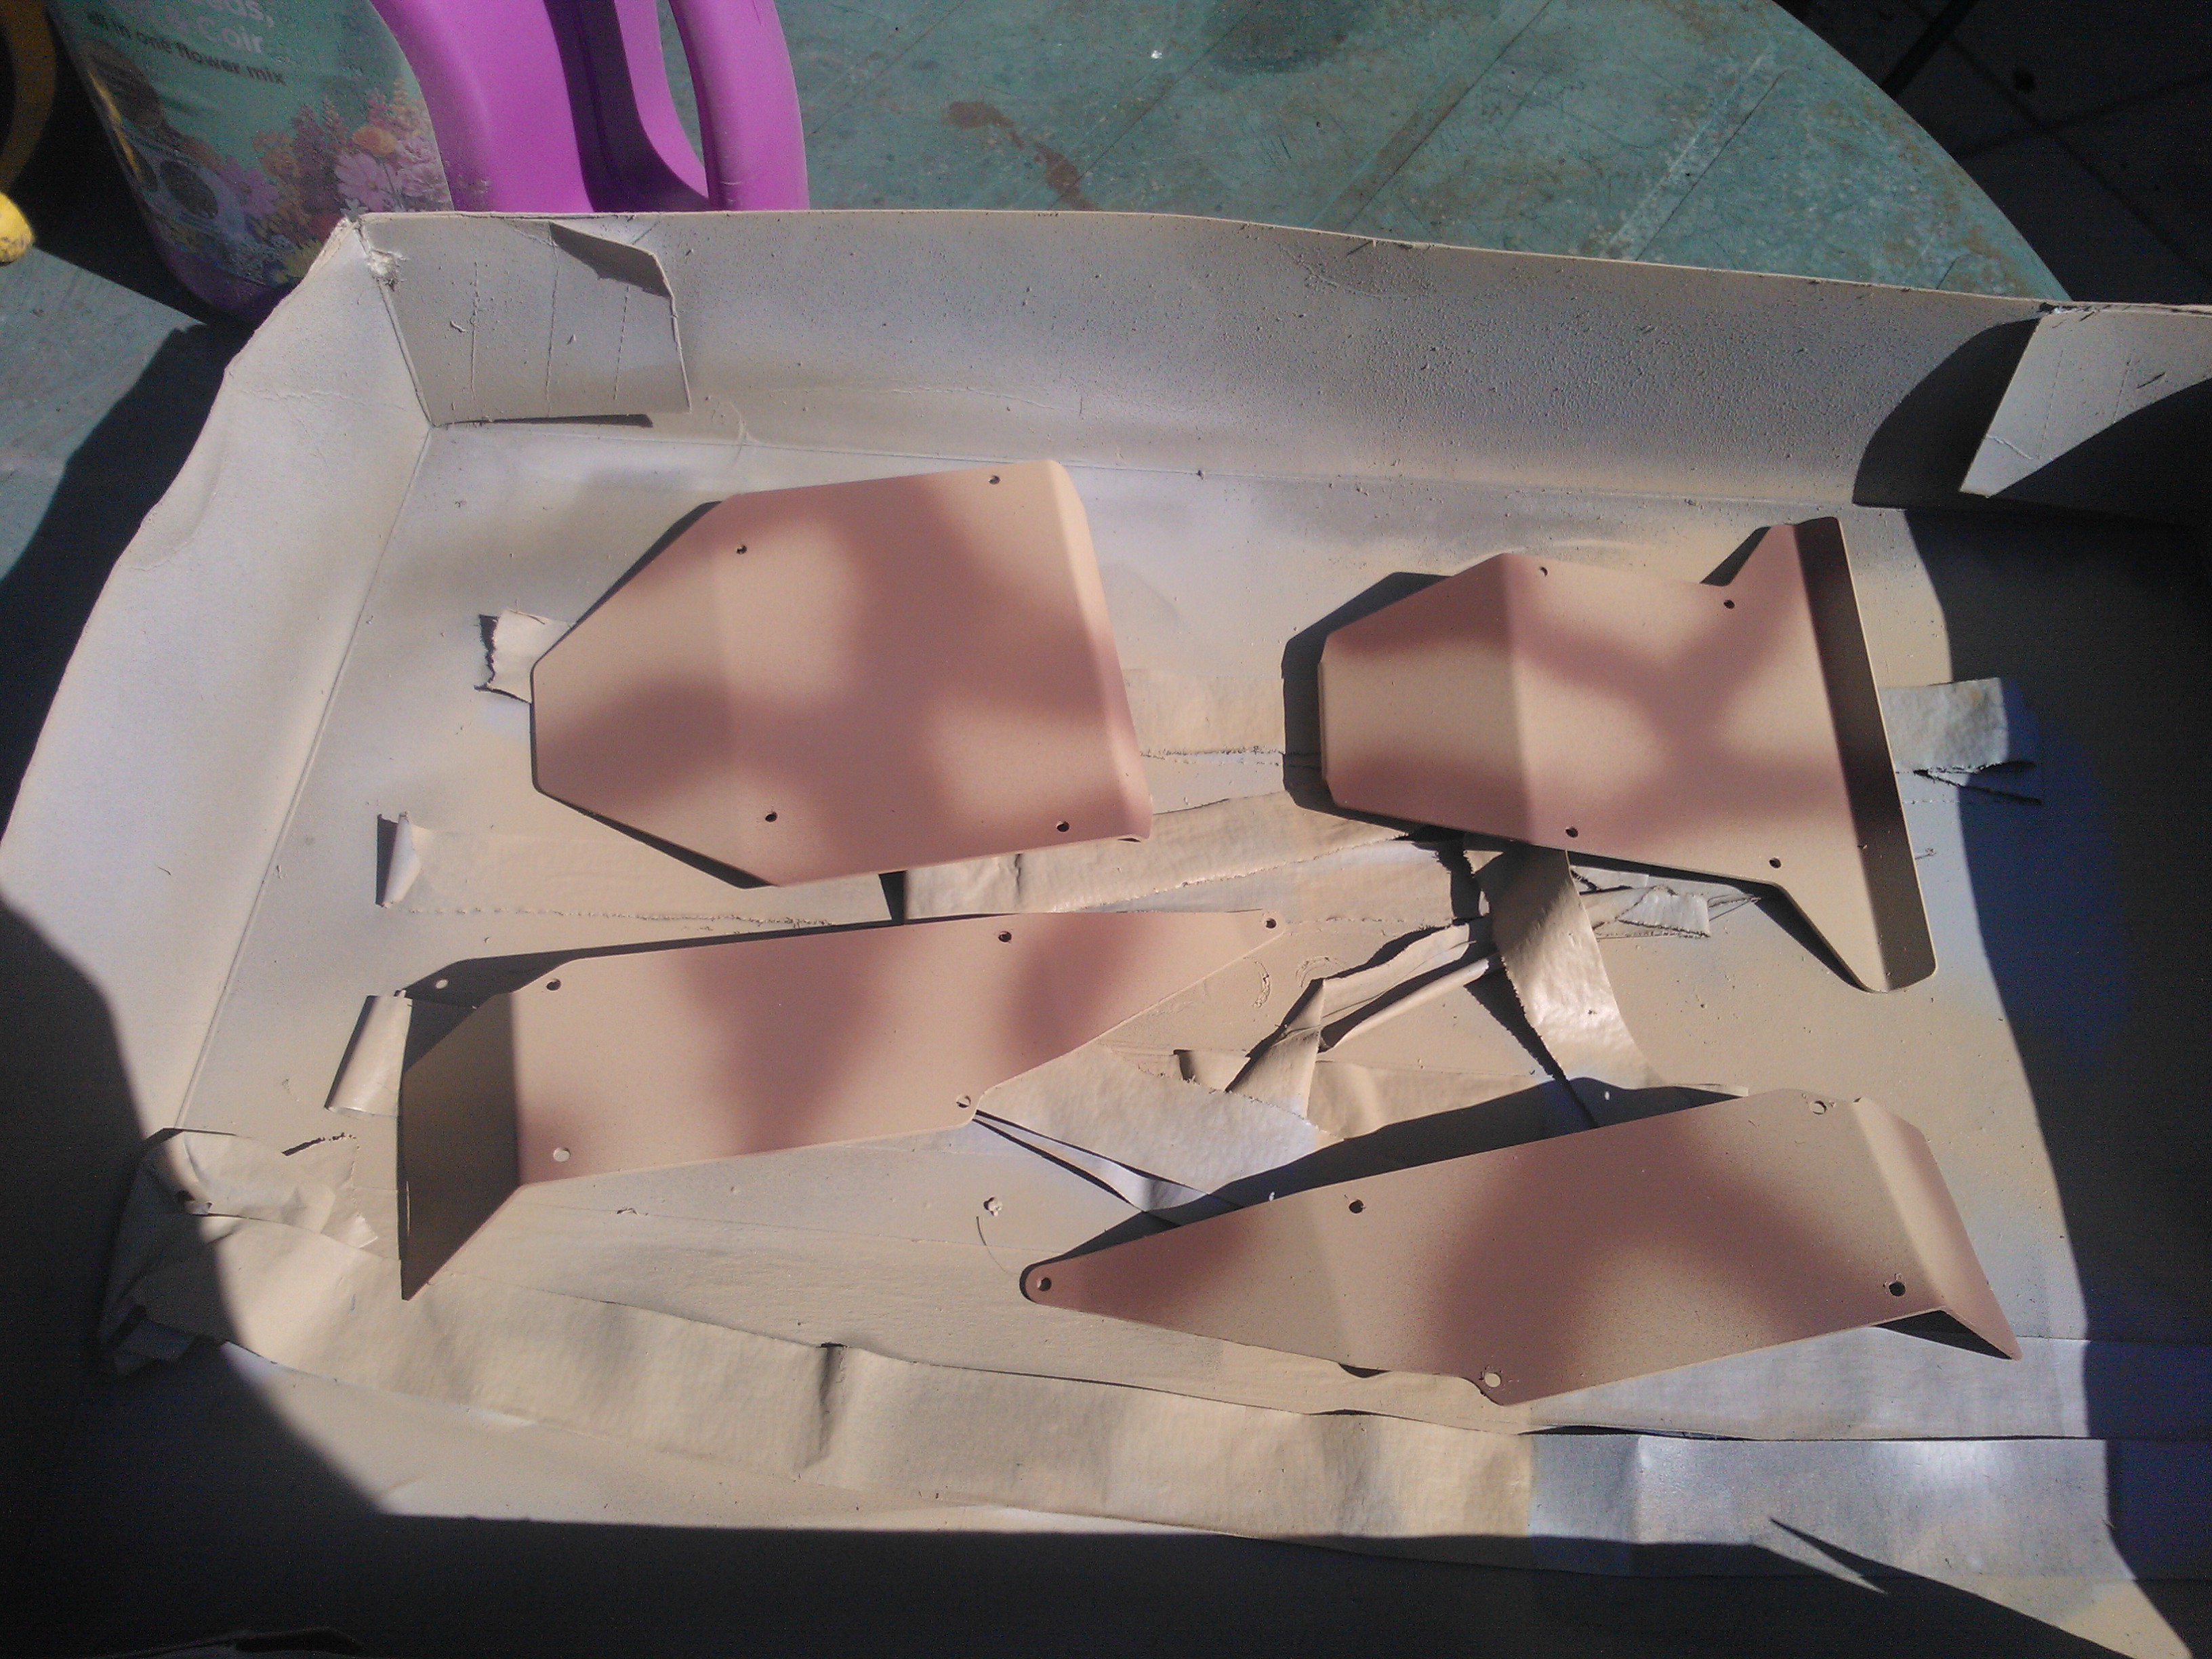
Some decals were applied to the side panels to add a bit of detail.
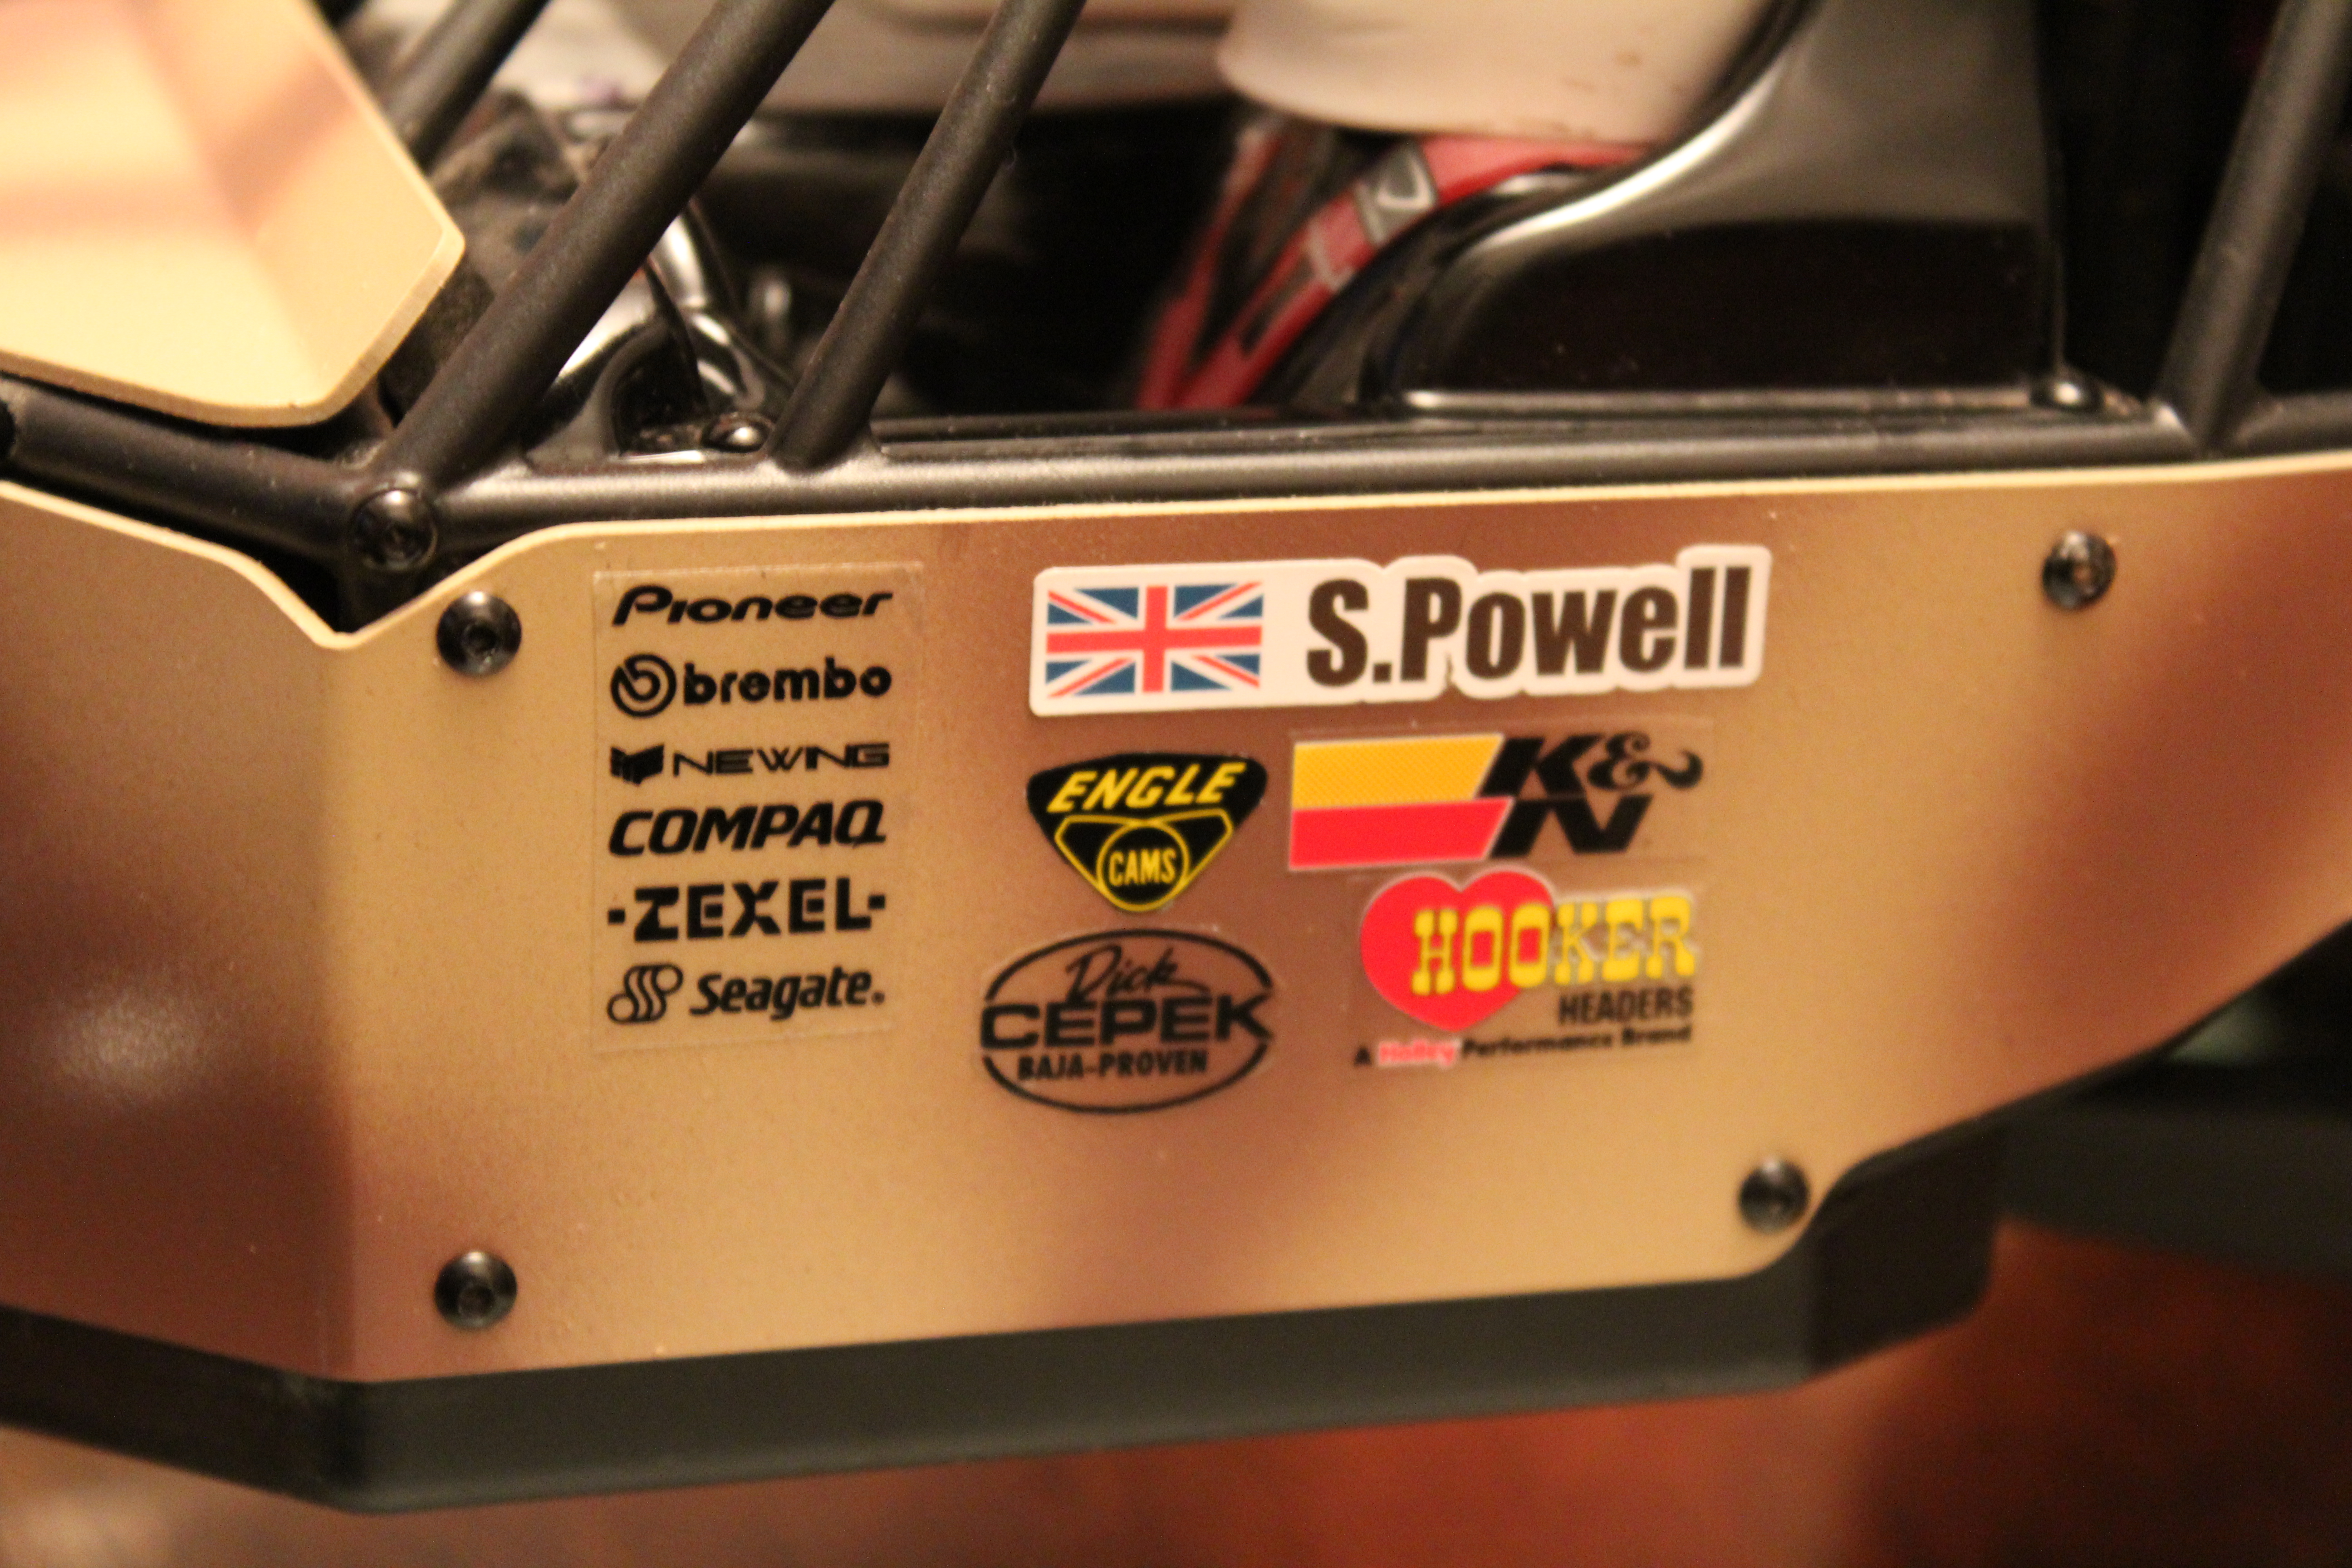
I also replaced the vehicle race number plates on the back of the vehicle with recovery boards. These are also aluminium and were painted desert yellow.

To complete the new look I ordered a pack of rock crawler accessories from eBay and strapped some gear to the roof and recovery boards with bungee chords .

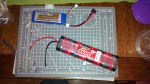
For the first time recently I ended up with an Electronic Speed Controller that did not have built in Low Voltage Protection but did support LIPO batteries. You should never let a LIPO battery drop below 3V (You should get rid of it if it does.)
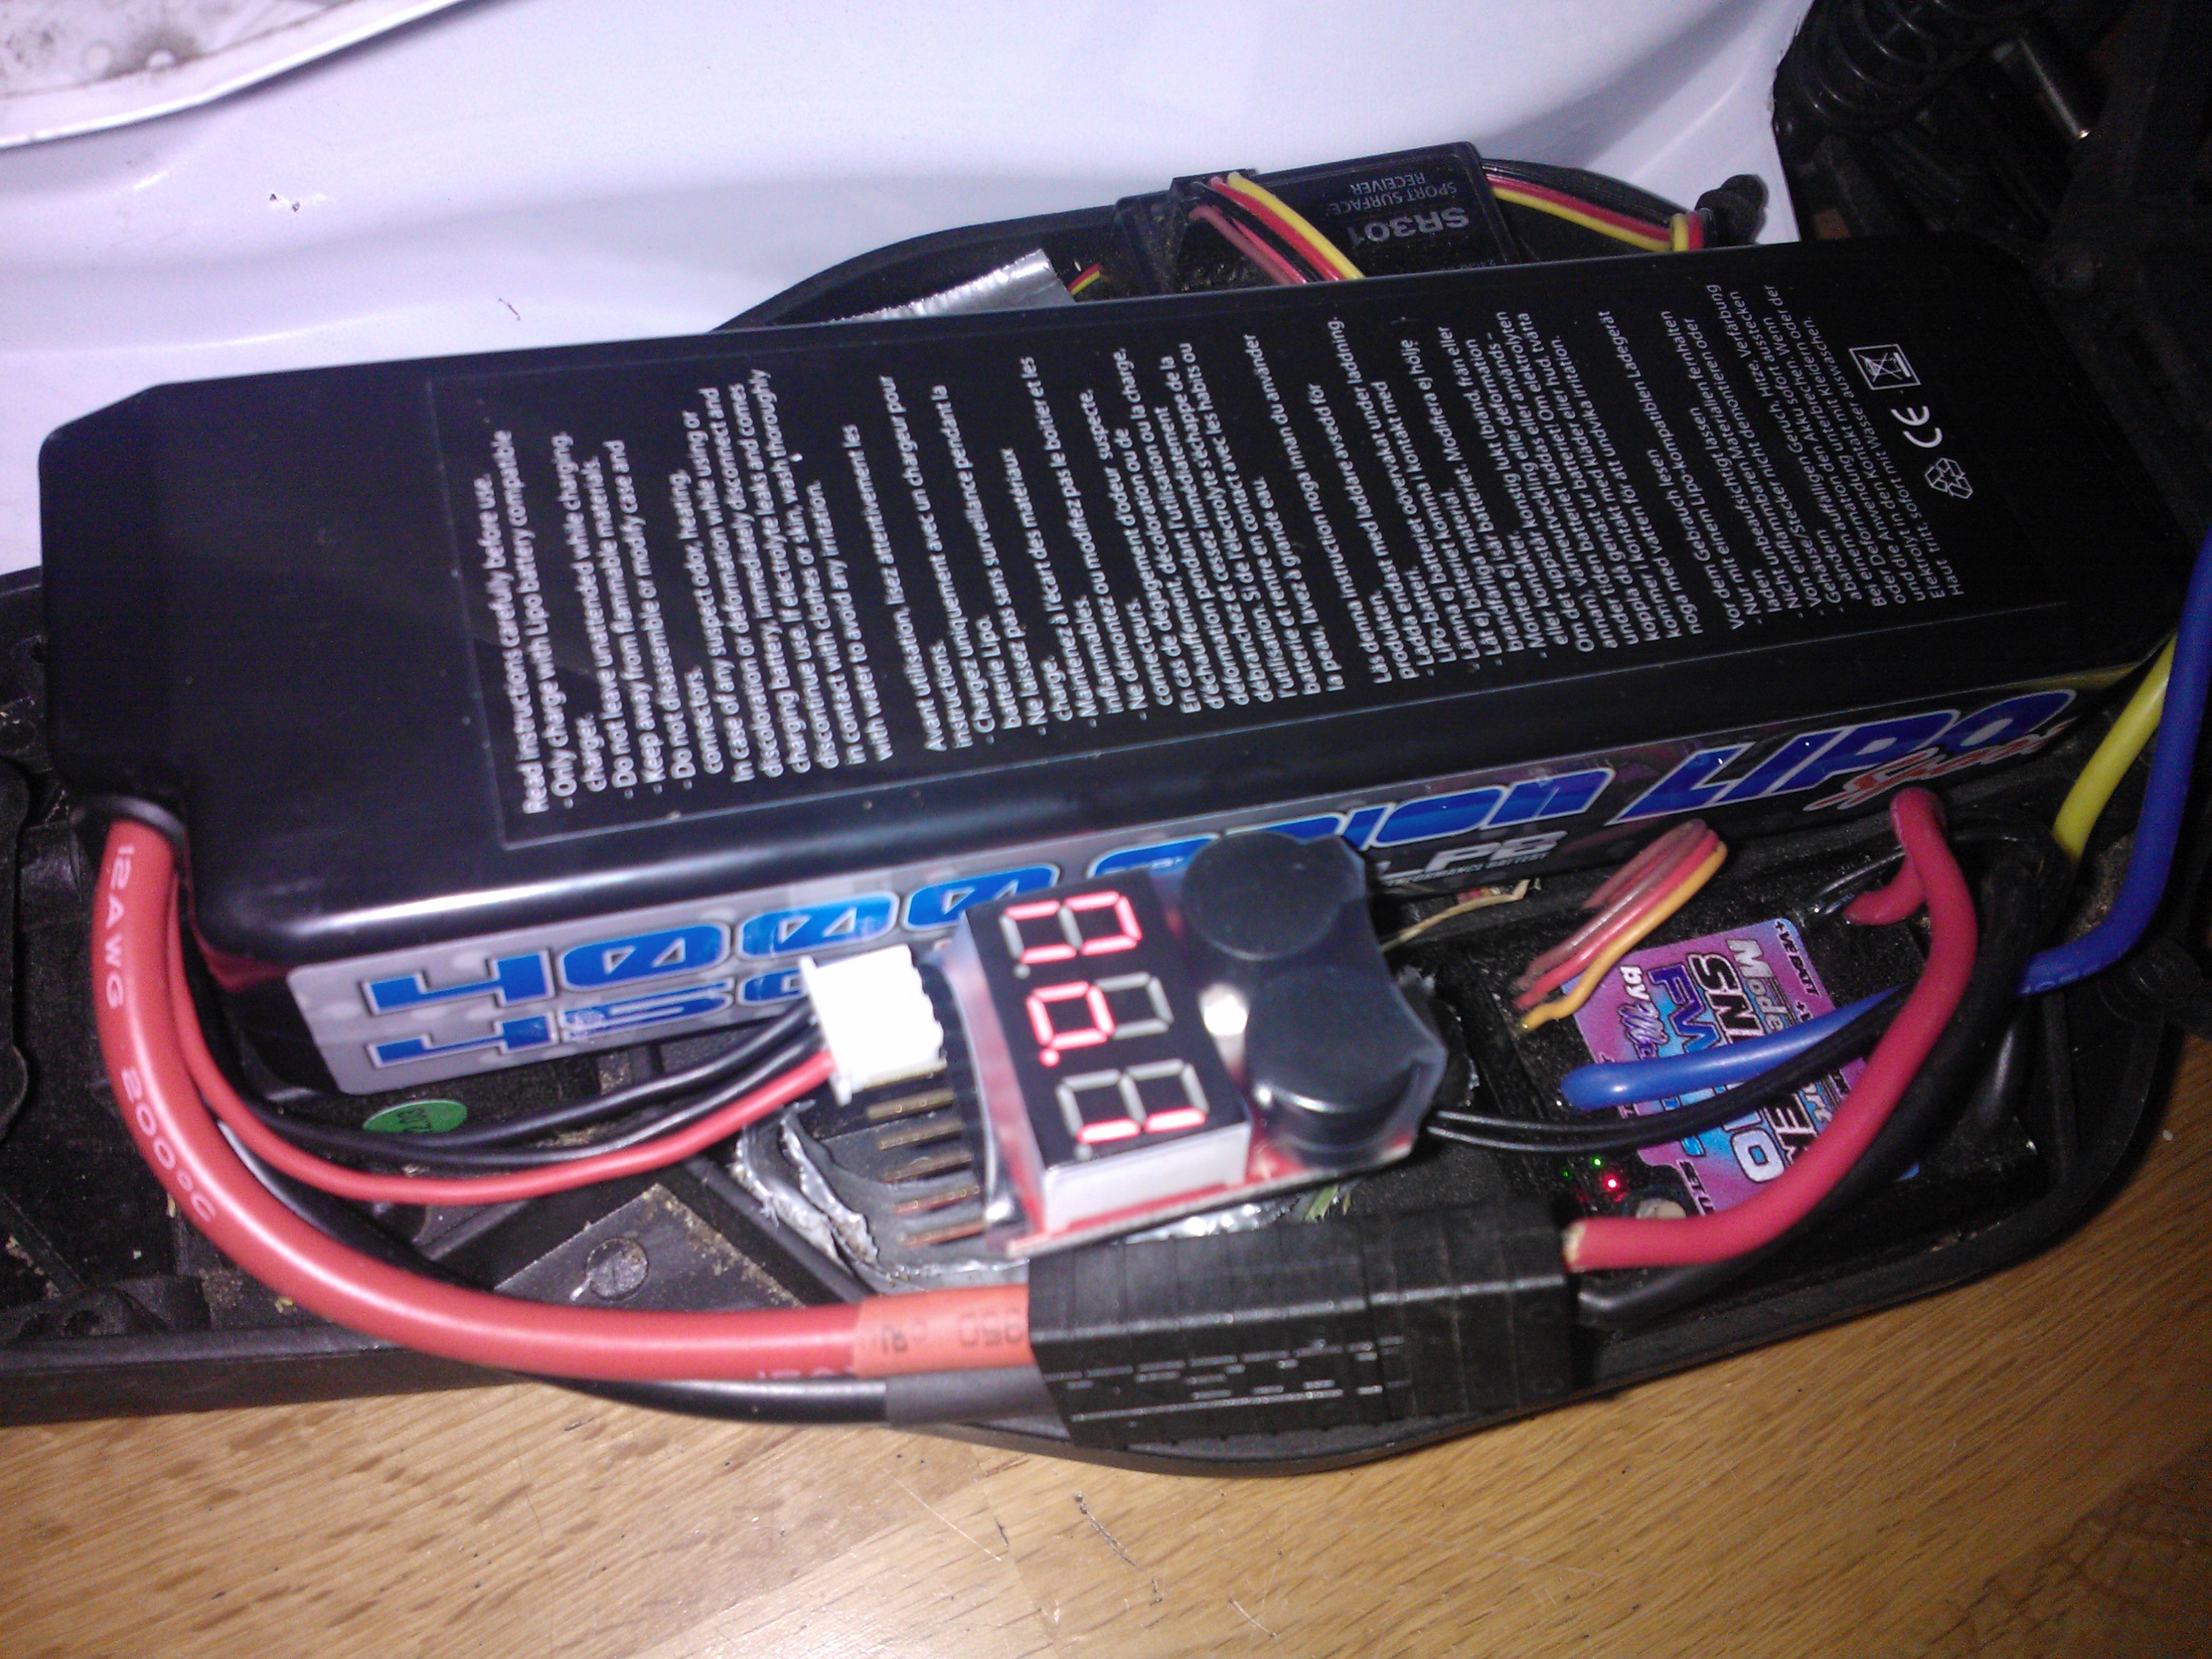
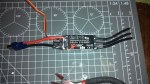
As the esc did not have LVP and independent solution was needed. After a little research I found these usually come as a little circuit board with an led screen that connects to the balance charger on a LIPO battery.
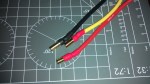
A LIPO battery generally has two connectors. One to connect to your model and one to charge the battery and balance the battery cells. The charge connector is not needed when the battery is in your model so you can leave a low voltage protection unit attached to it.

I managed to buy some units off ebay that work perfectly and only cost a few pounds each.
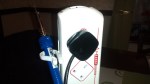
The units are simple enough. You give them a voltage you want them to warn you at and they will buzz when they drop down to it. They work well and I have never had any trouble hearing the buzzer.
Here is a video of them in action. The display even cycles through the voltage of each cell
My Twin Hammers had a head on crash with a monster truck. This shattered the monster truck chassis (my blackfoot) and snapped a metal tie rod on my Twin Hammers. I am not too fussed about the Blackfoot which still runs but its gearbox kinda just floats between the wheels. The Twin Hammers however being my flagship electric car I wanted up and running ASAP.
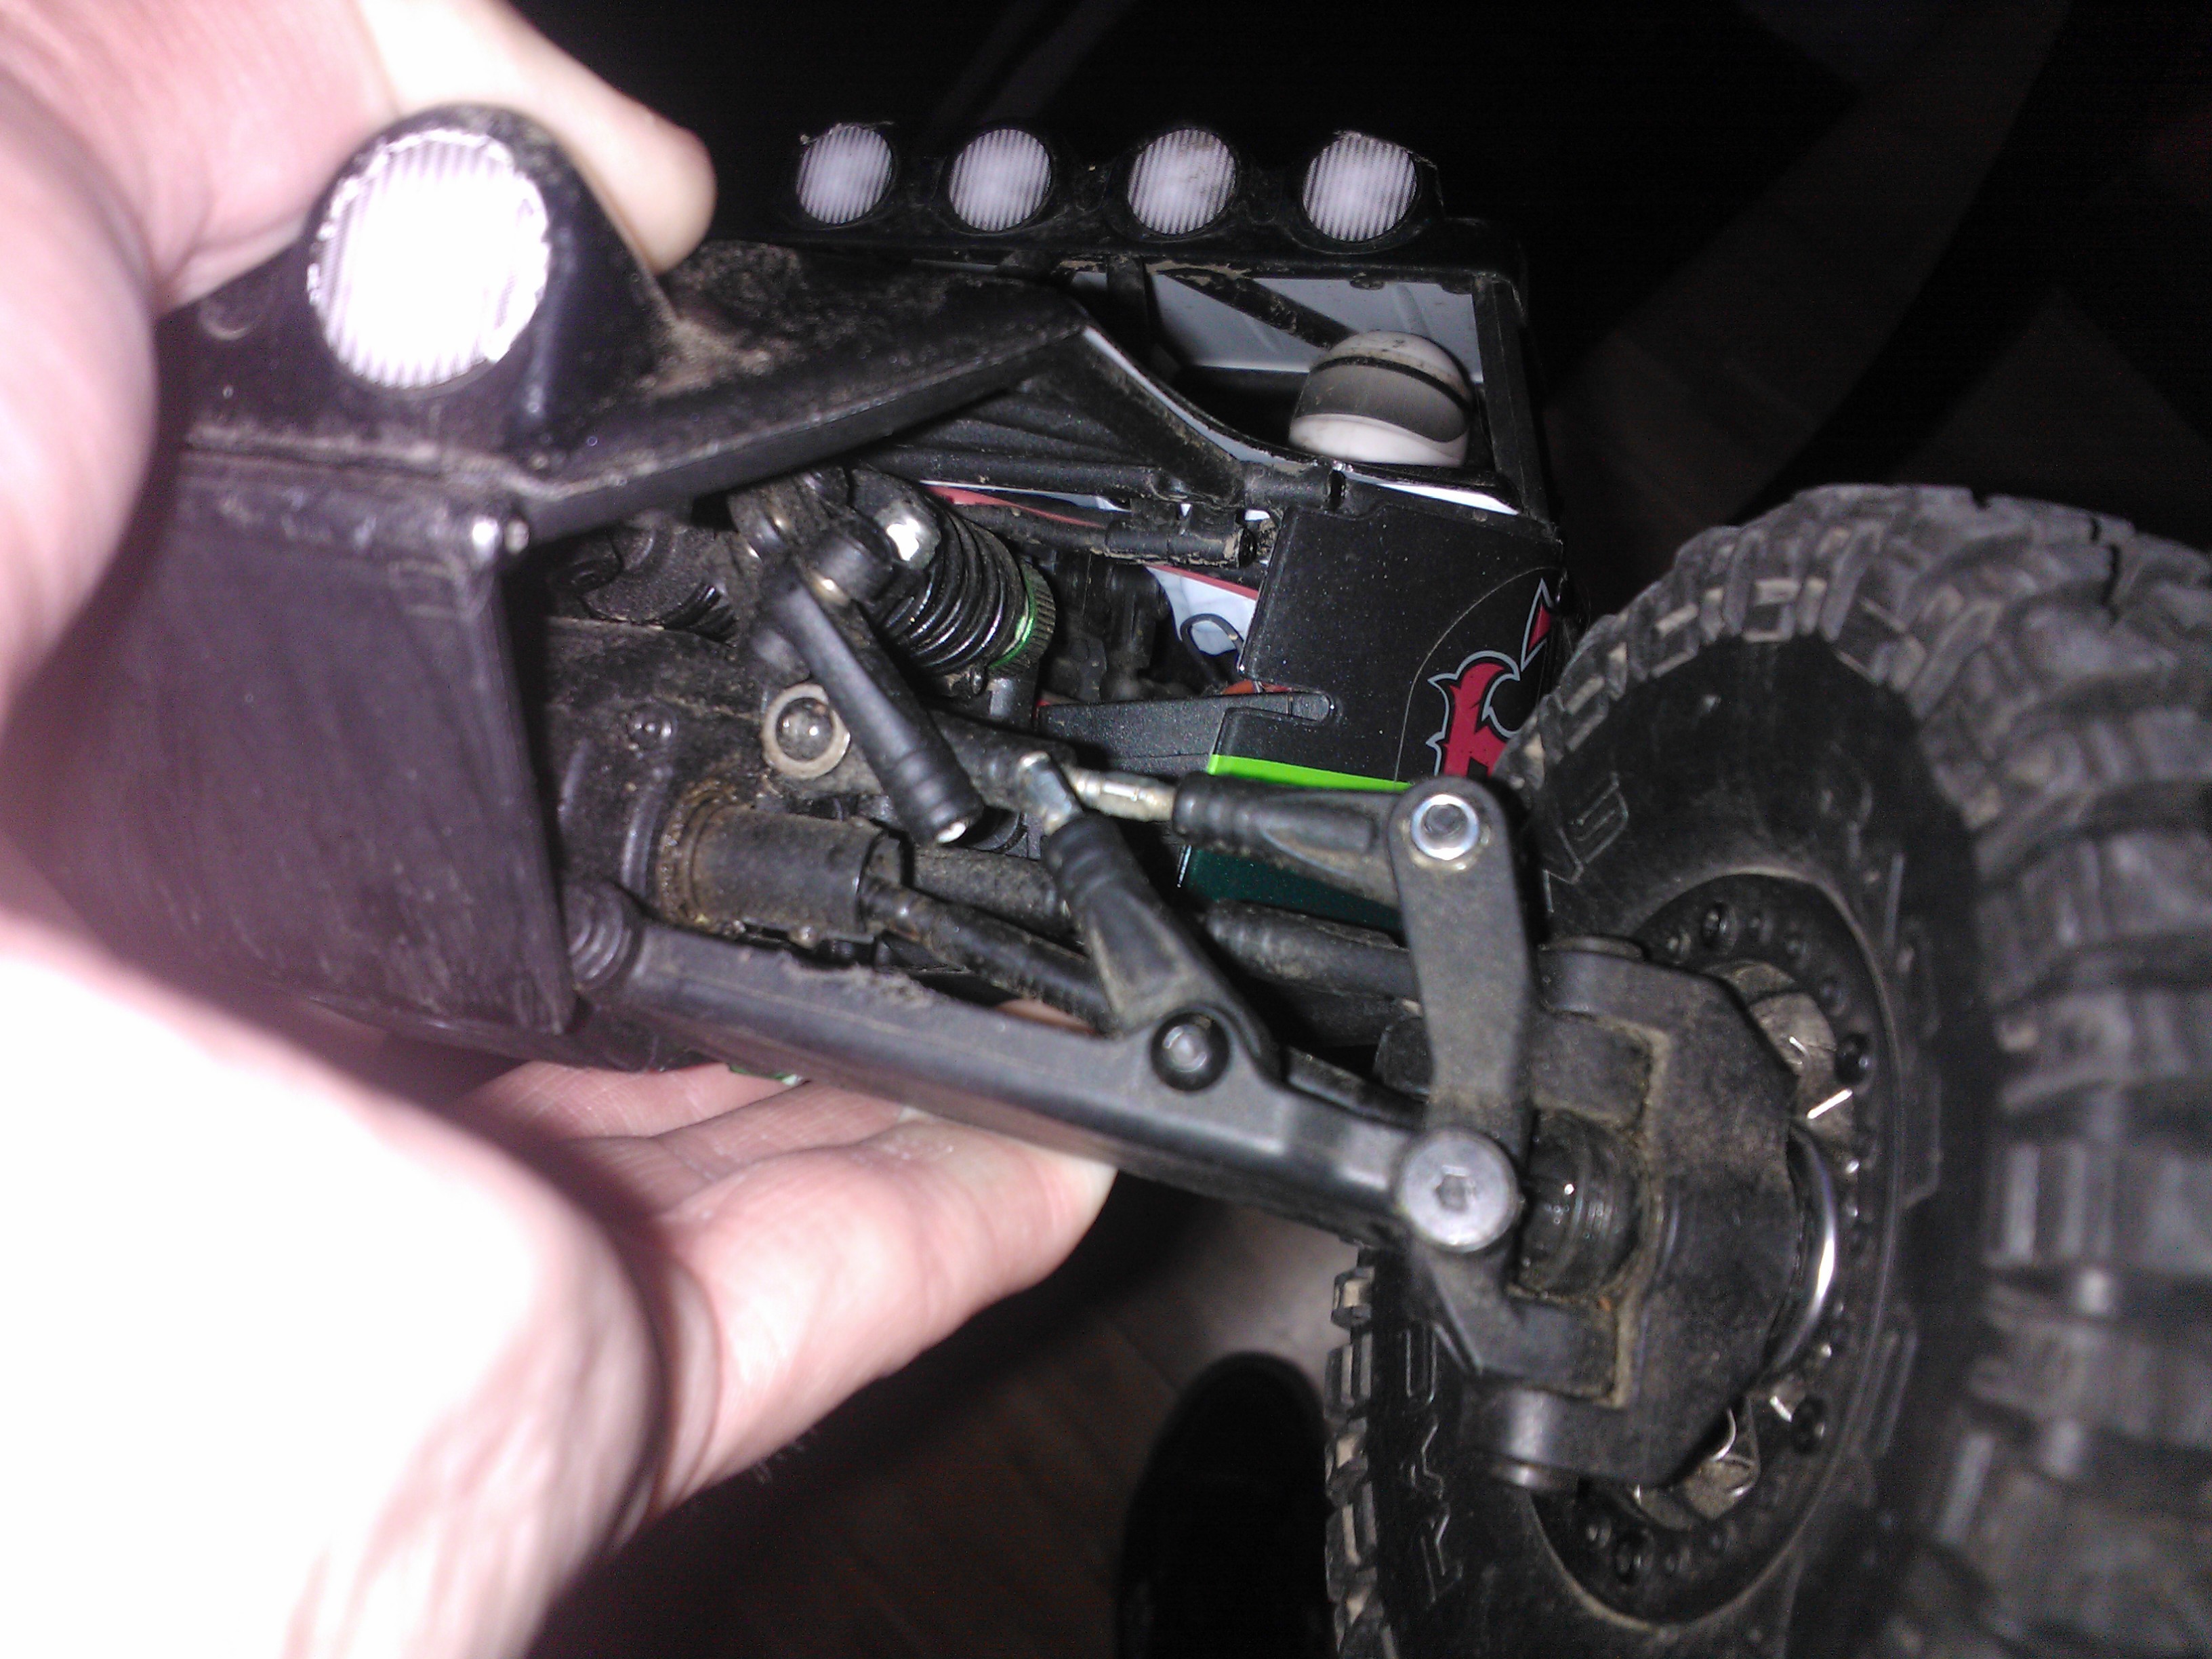
This was a nice test for me to see how easy it is to back order Vaterra parts. As a brand new company they have already shown they can make good cars but I had no idea how good their parts support would be.
I ordered a set of tie rods and rod ends from modelsport and had them in under a week. I needed the rod ends because the rod had actually snapped inside one of the current ones making it impossible to remove.
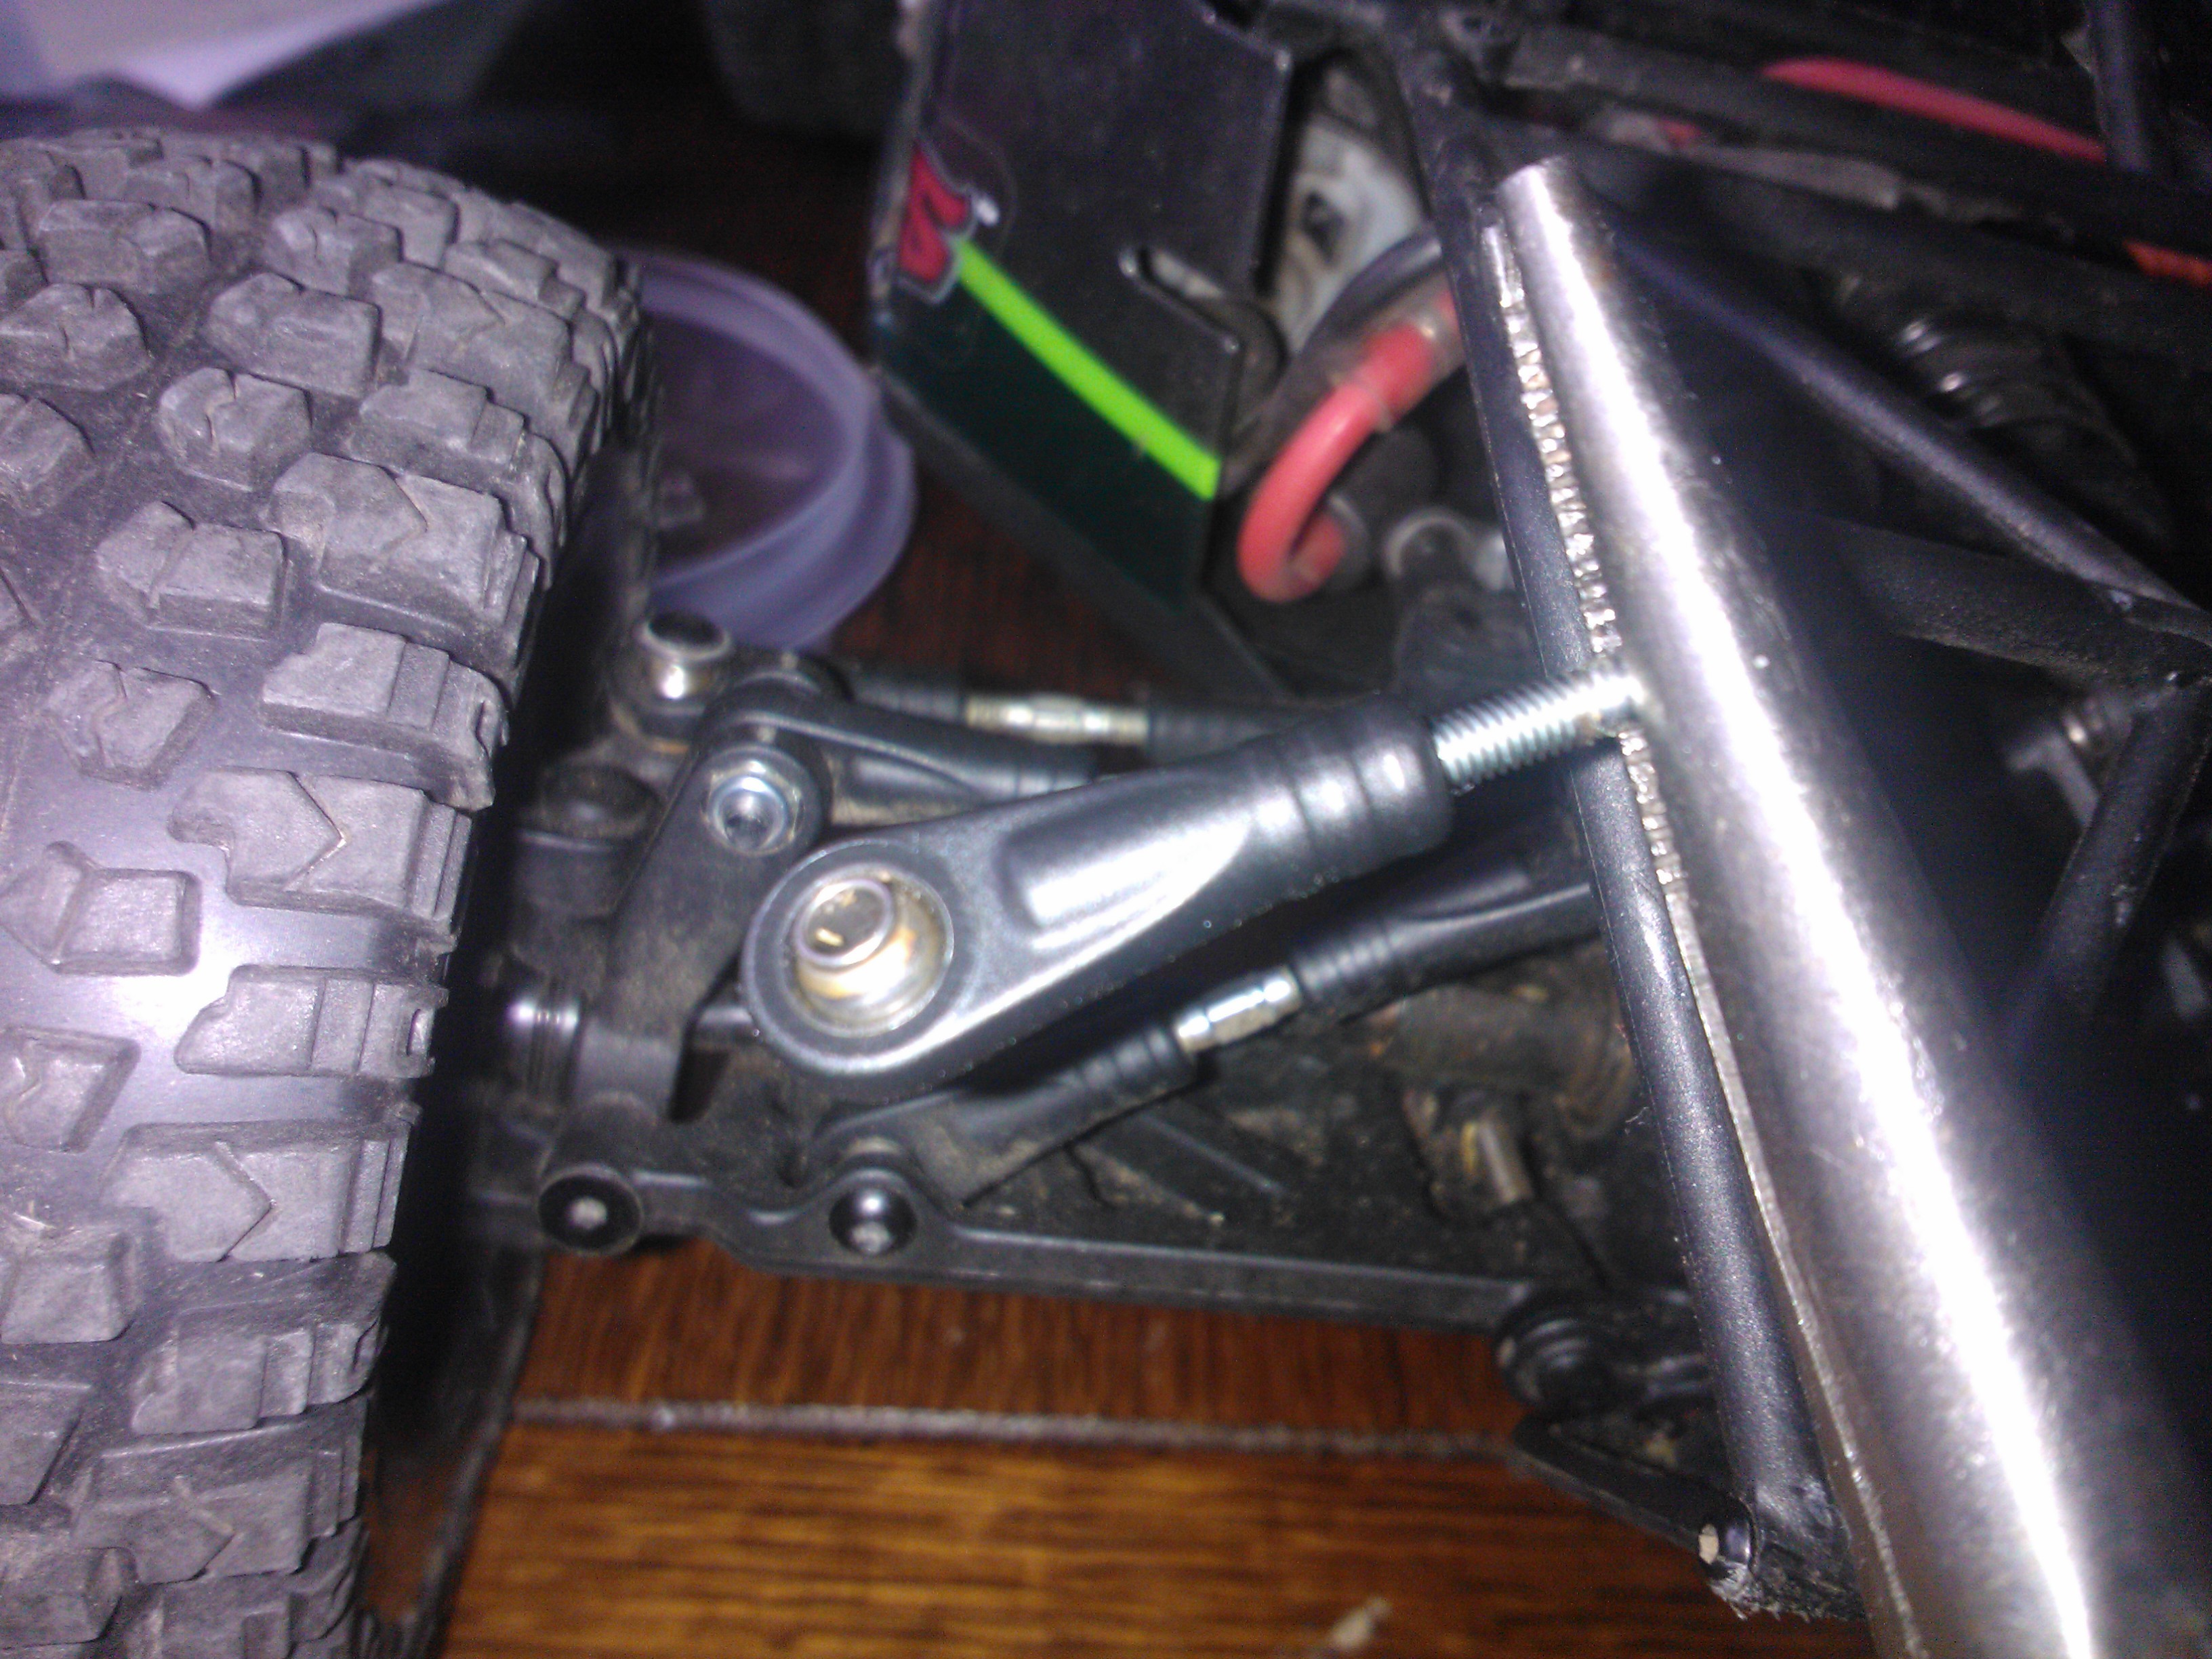
The repair was easy. All I had to do was remove the body, cut out the old tie rod ends and snap the new ones into place.
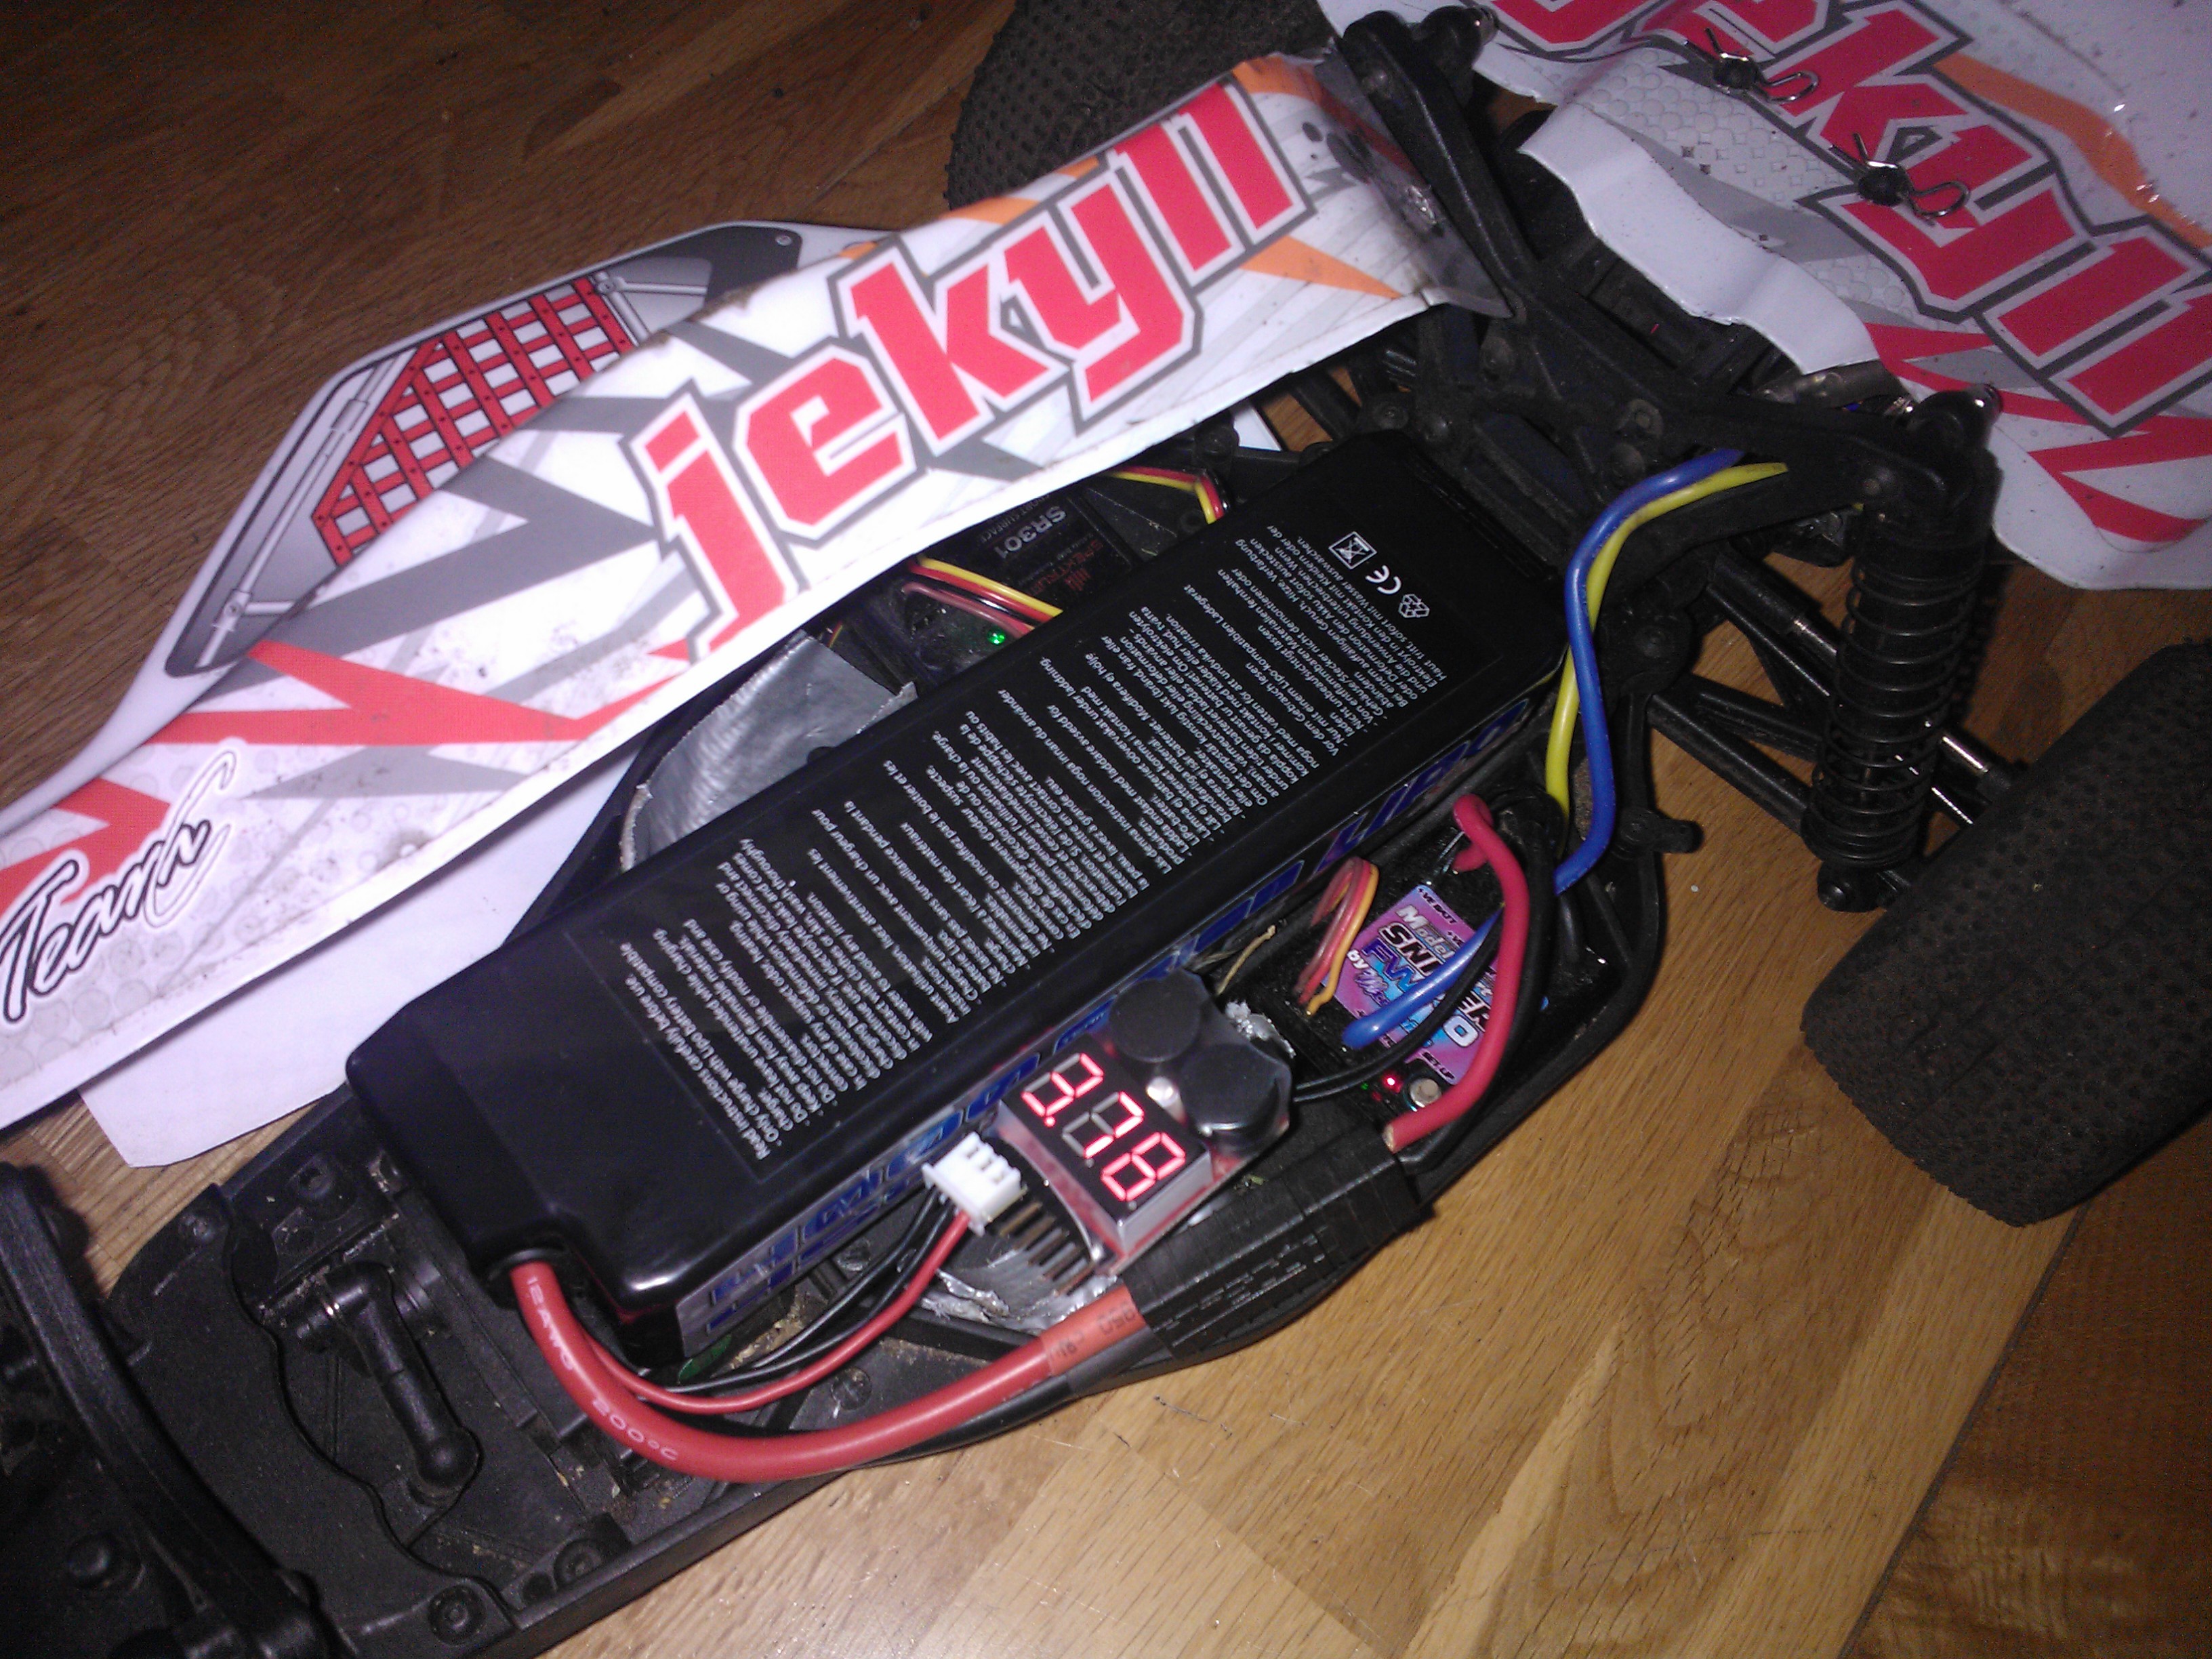
Testing my team C Jekyll buggy. I am impressed with the performance but it is overheating my esc so I need to sort that out.
13×3 Orion Motor.
Mtroniks 10t limit sniper esc
8.4v 5100 Orion Rocket Pack Nimh
Spektrum DSM radio.
