E Gemini Hovercraft Progress

I have started working on my E Gemini hovercraft.

Deciding where things should go

Most of the plastic pieces have been trimmed and the electronics tray has been mounted into the hull with silicon.

I have soldered the my connectors for the esc and battery pack replacing the Tamiya connector on the battery with a deans one.

I chose to use a specktrum receiver in the hovercraft as it means I can use the same transmitter as I use on my cars. I have tested the electronics and everything is working perfectly.

Next I need to trim down the lower hull and start working on the rear of the craft.

Tamiya Volkswagon Camper Monster Truck

I picked up this kit last week in the modelzone sale but only just received the additional parts needed to complete the model.

It was about half the going price online and eBay.

The box shows it painted white and red but I decided to go for white and orange instead.

IMG_5502

The free bonus parts included are ball race bearings. Its pretty handy seeing as the first thing I usually do is replace Tamiya’s crappy plastic/bronze bushings with bearings.

IMG_5504

Aside from the paint, I also needed to order a servo for the steering and a radio receiver. As usual I went for a Spektrum receiver in the hope of unifying all my radio gear under one compatible type.

E Gemini Hovercraft Kit Unboxing

My biggest undertaking so far.

Hull and fan duct
Hull and fan duct

This is a model hovercraft kit I have just received.

It looks to be both a unique and challenging build.

You can find out more about the kit here.

Tamiya 1:35 British Universal Carrier Progress

The Bren Gun Carrier is one of my favorite vehicles and its about time I got round to building one.

This is a nice kit as you get lots of accessories with it so you can customise the model to your liking. I have also been using this kit to practice improving the look of my figures.

There is still a lot of work to do here but its been an enjoyable build so far!

IMG_5471 IMG_5481

Red Bull 7 Build

The Red Bull 7 is finally starting to look like a car.

The steering is complete and servo attached. I also have the front suspension and rear wing made but not attached.

Image

Team C Jekyll Kit 13×3 Motor 8.4v Battery Ball-Raced

Testing my team C Jekyll buggy. I am impressed with the performance but it is overheating my esc so I need to sort that out.

13×3 Orion Motor.

Mtroniks 10t limit sniper esc

8.4v 5100 Orion Rocket Pack Nimh

Spektrum DSM radio.

Team C Racing Jekyll build

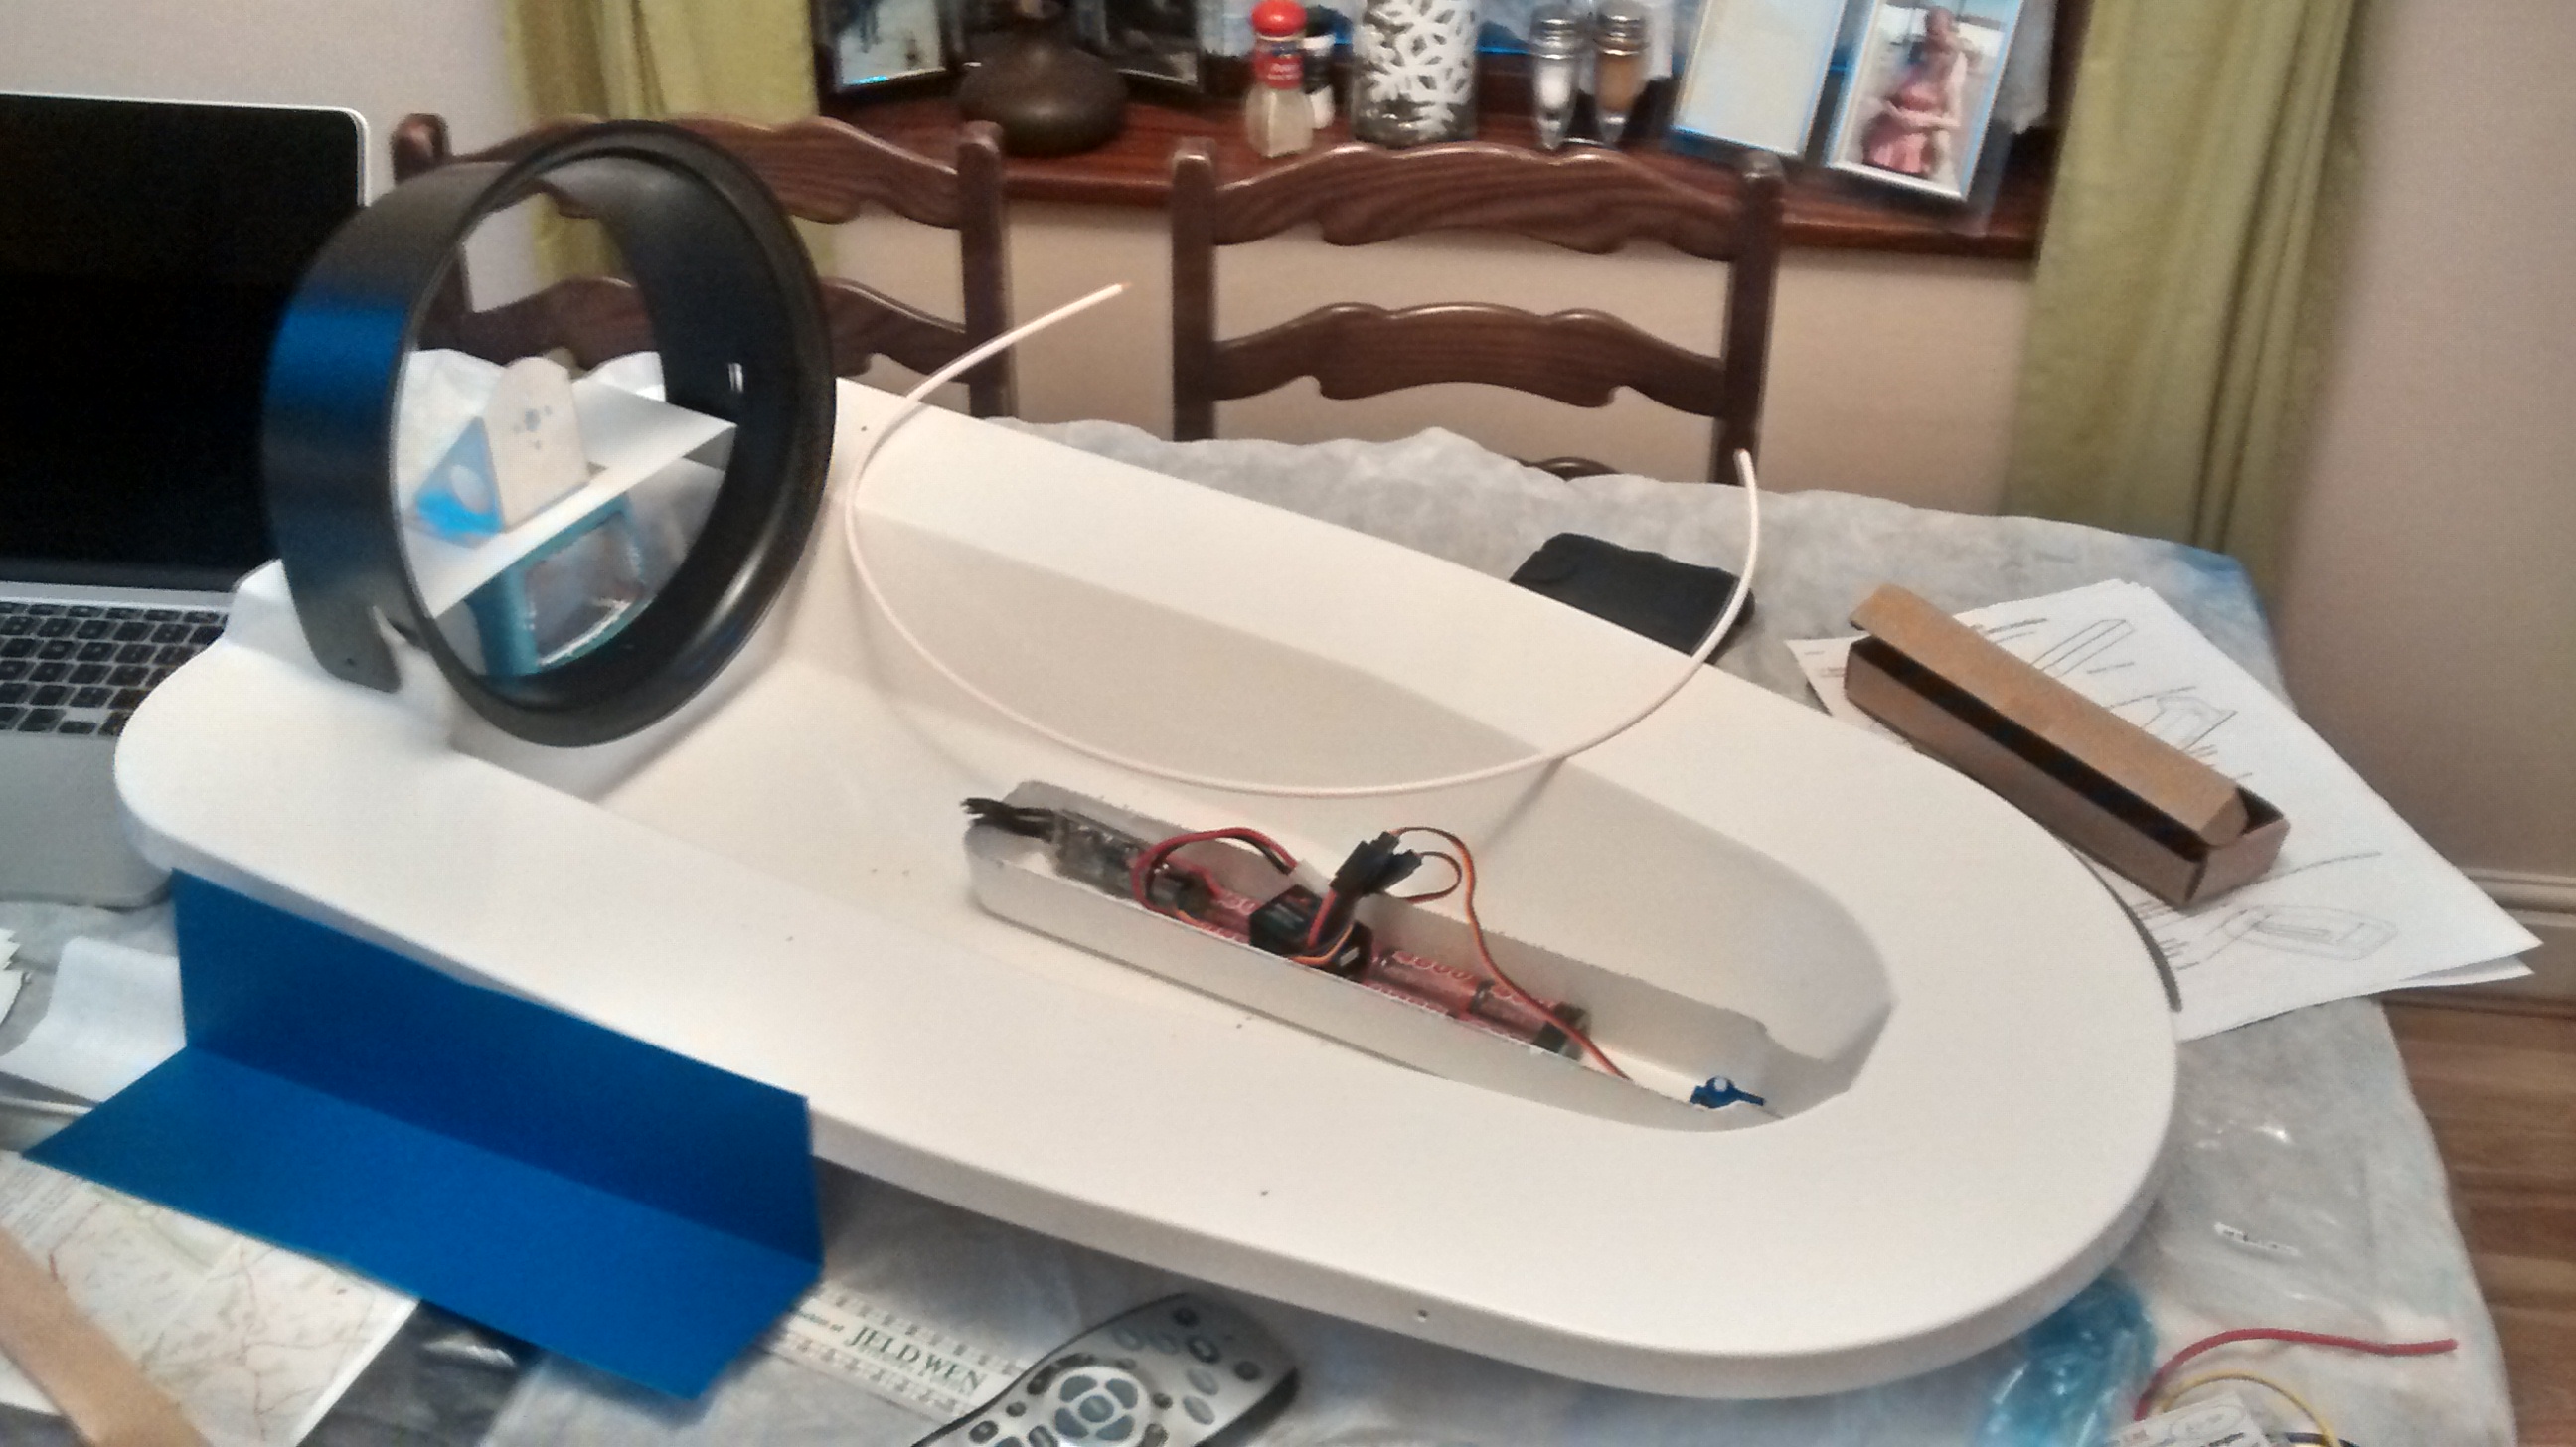
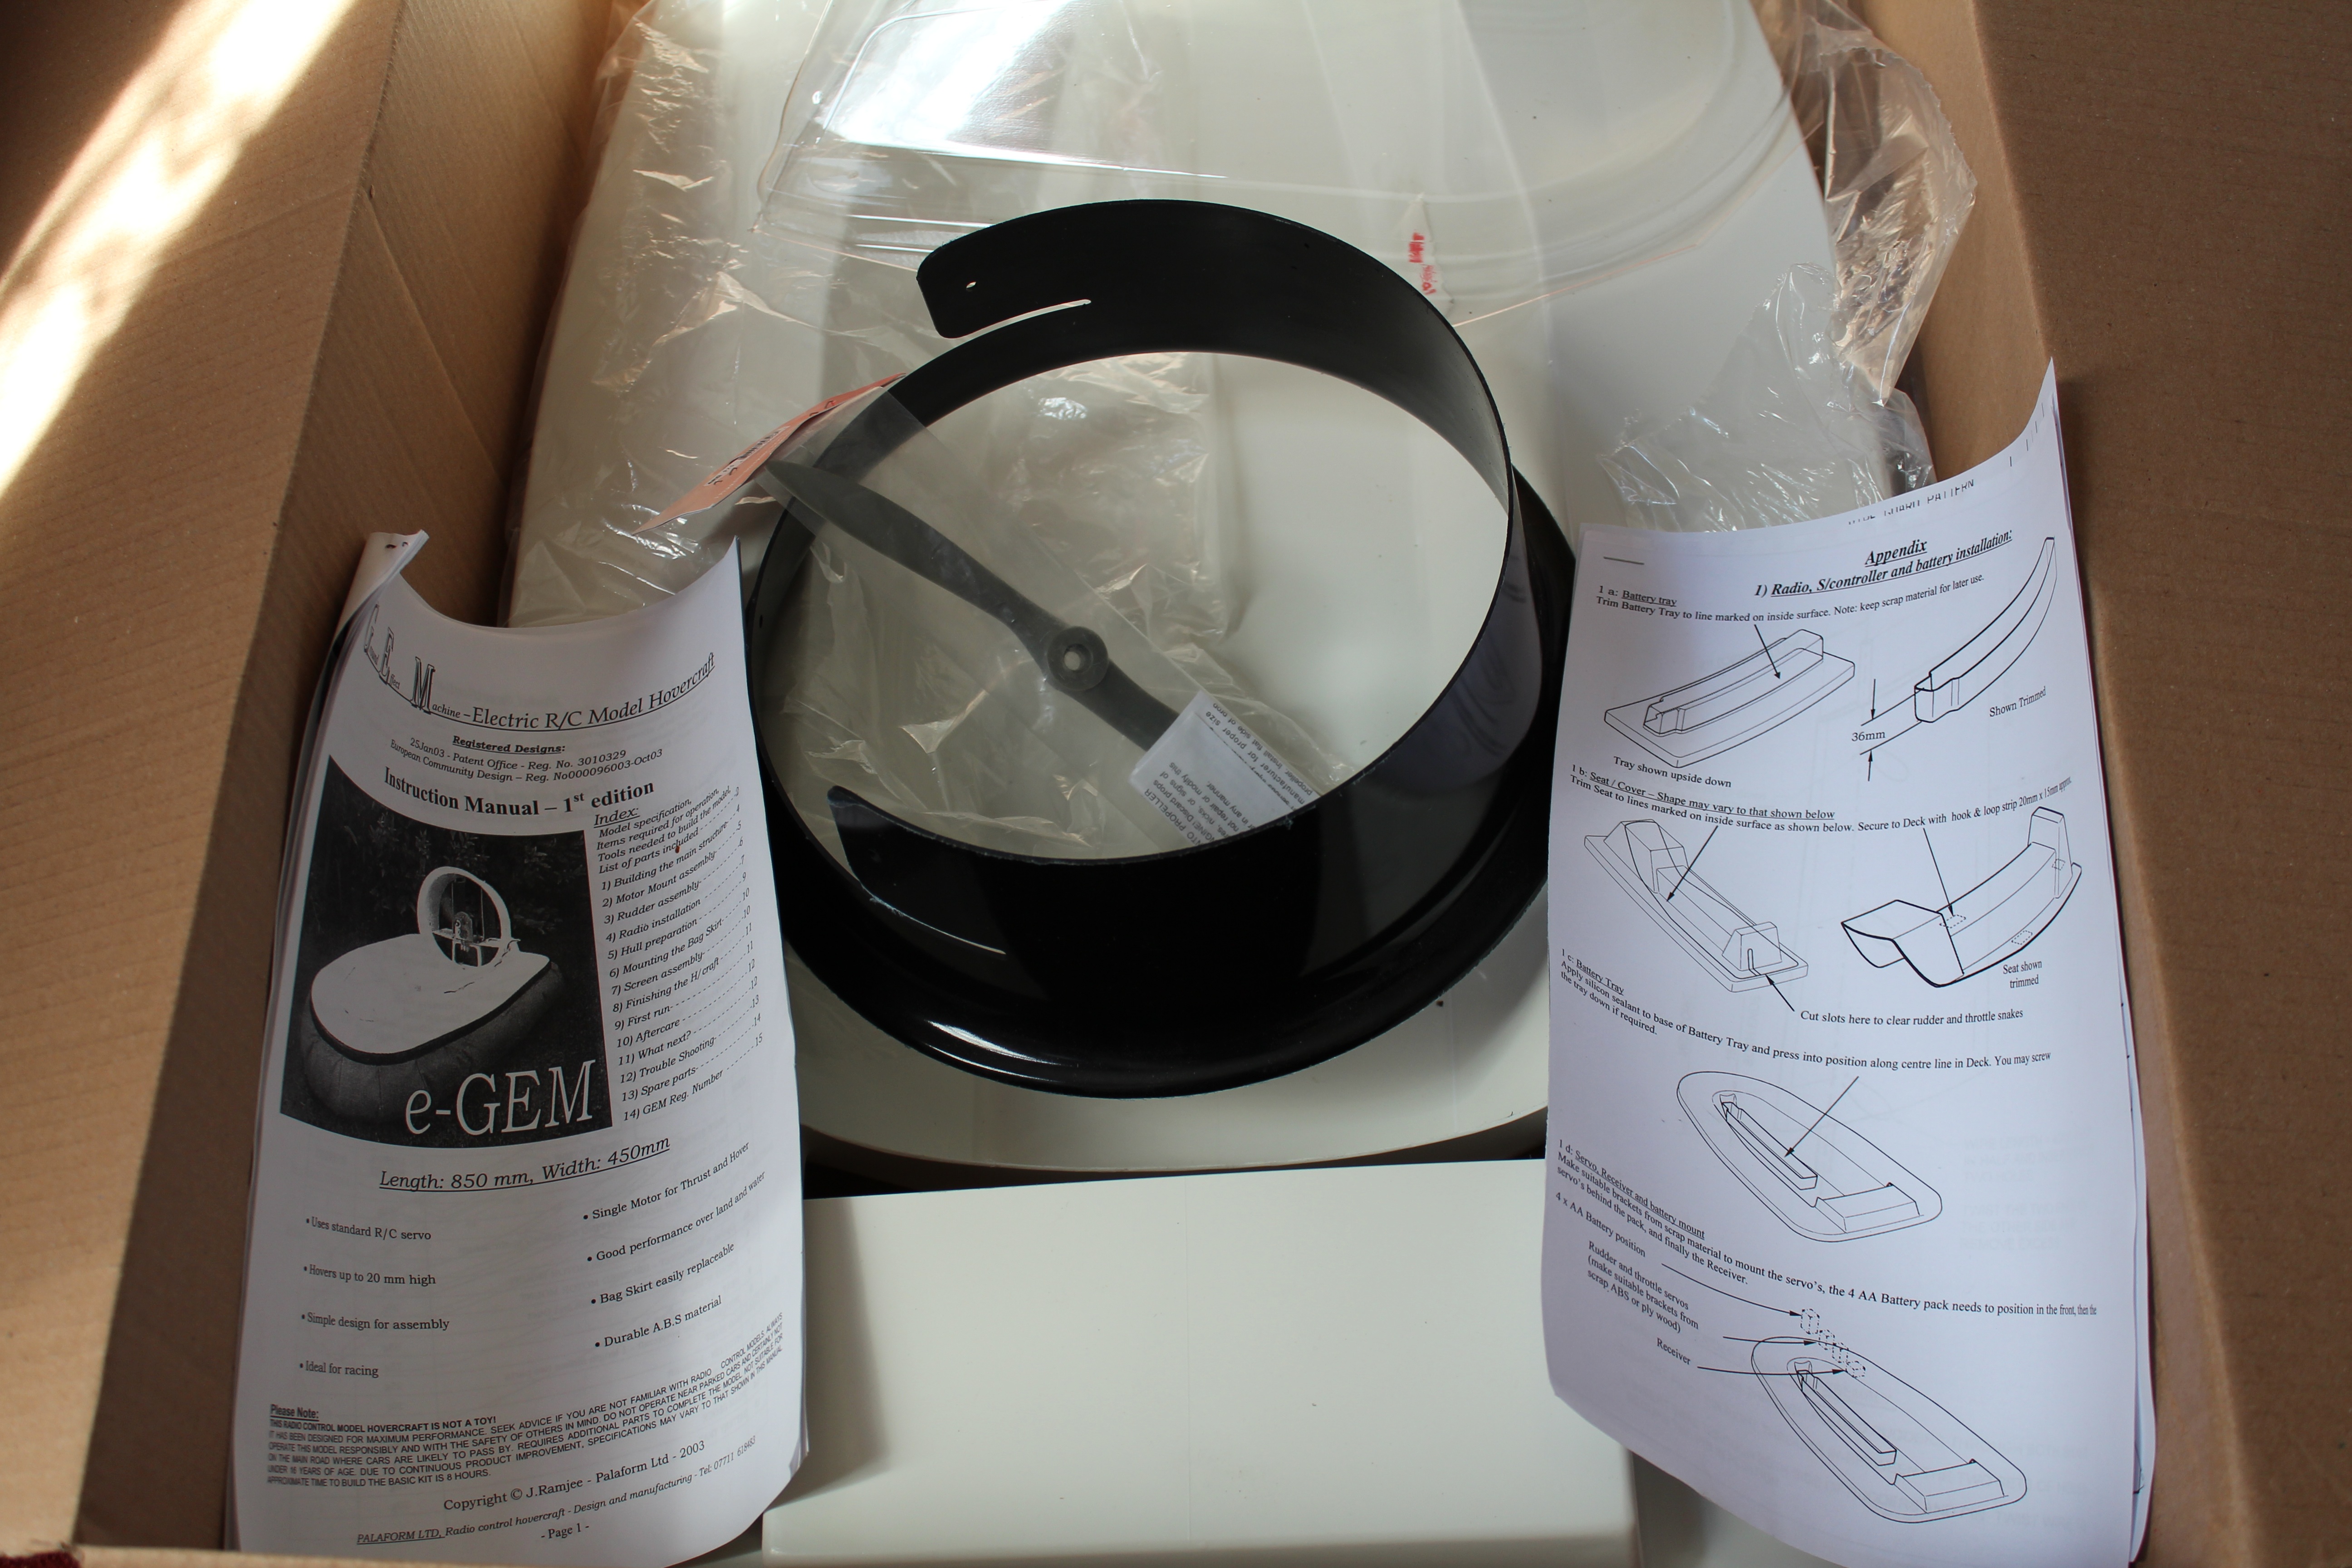
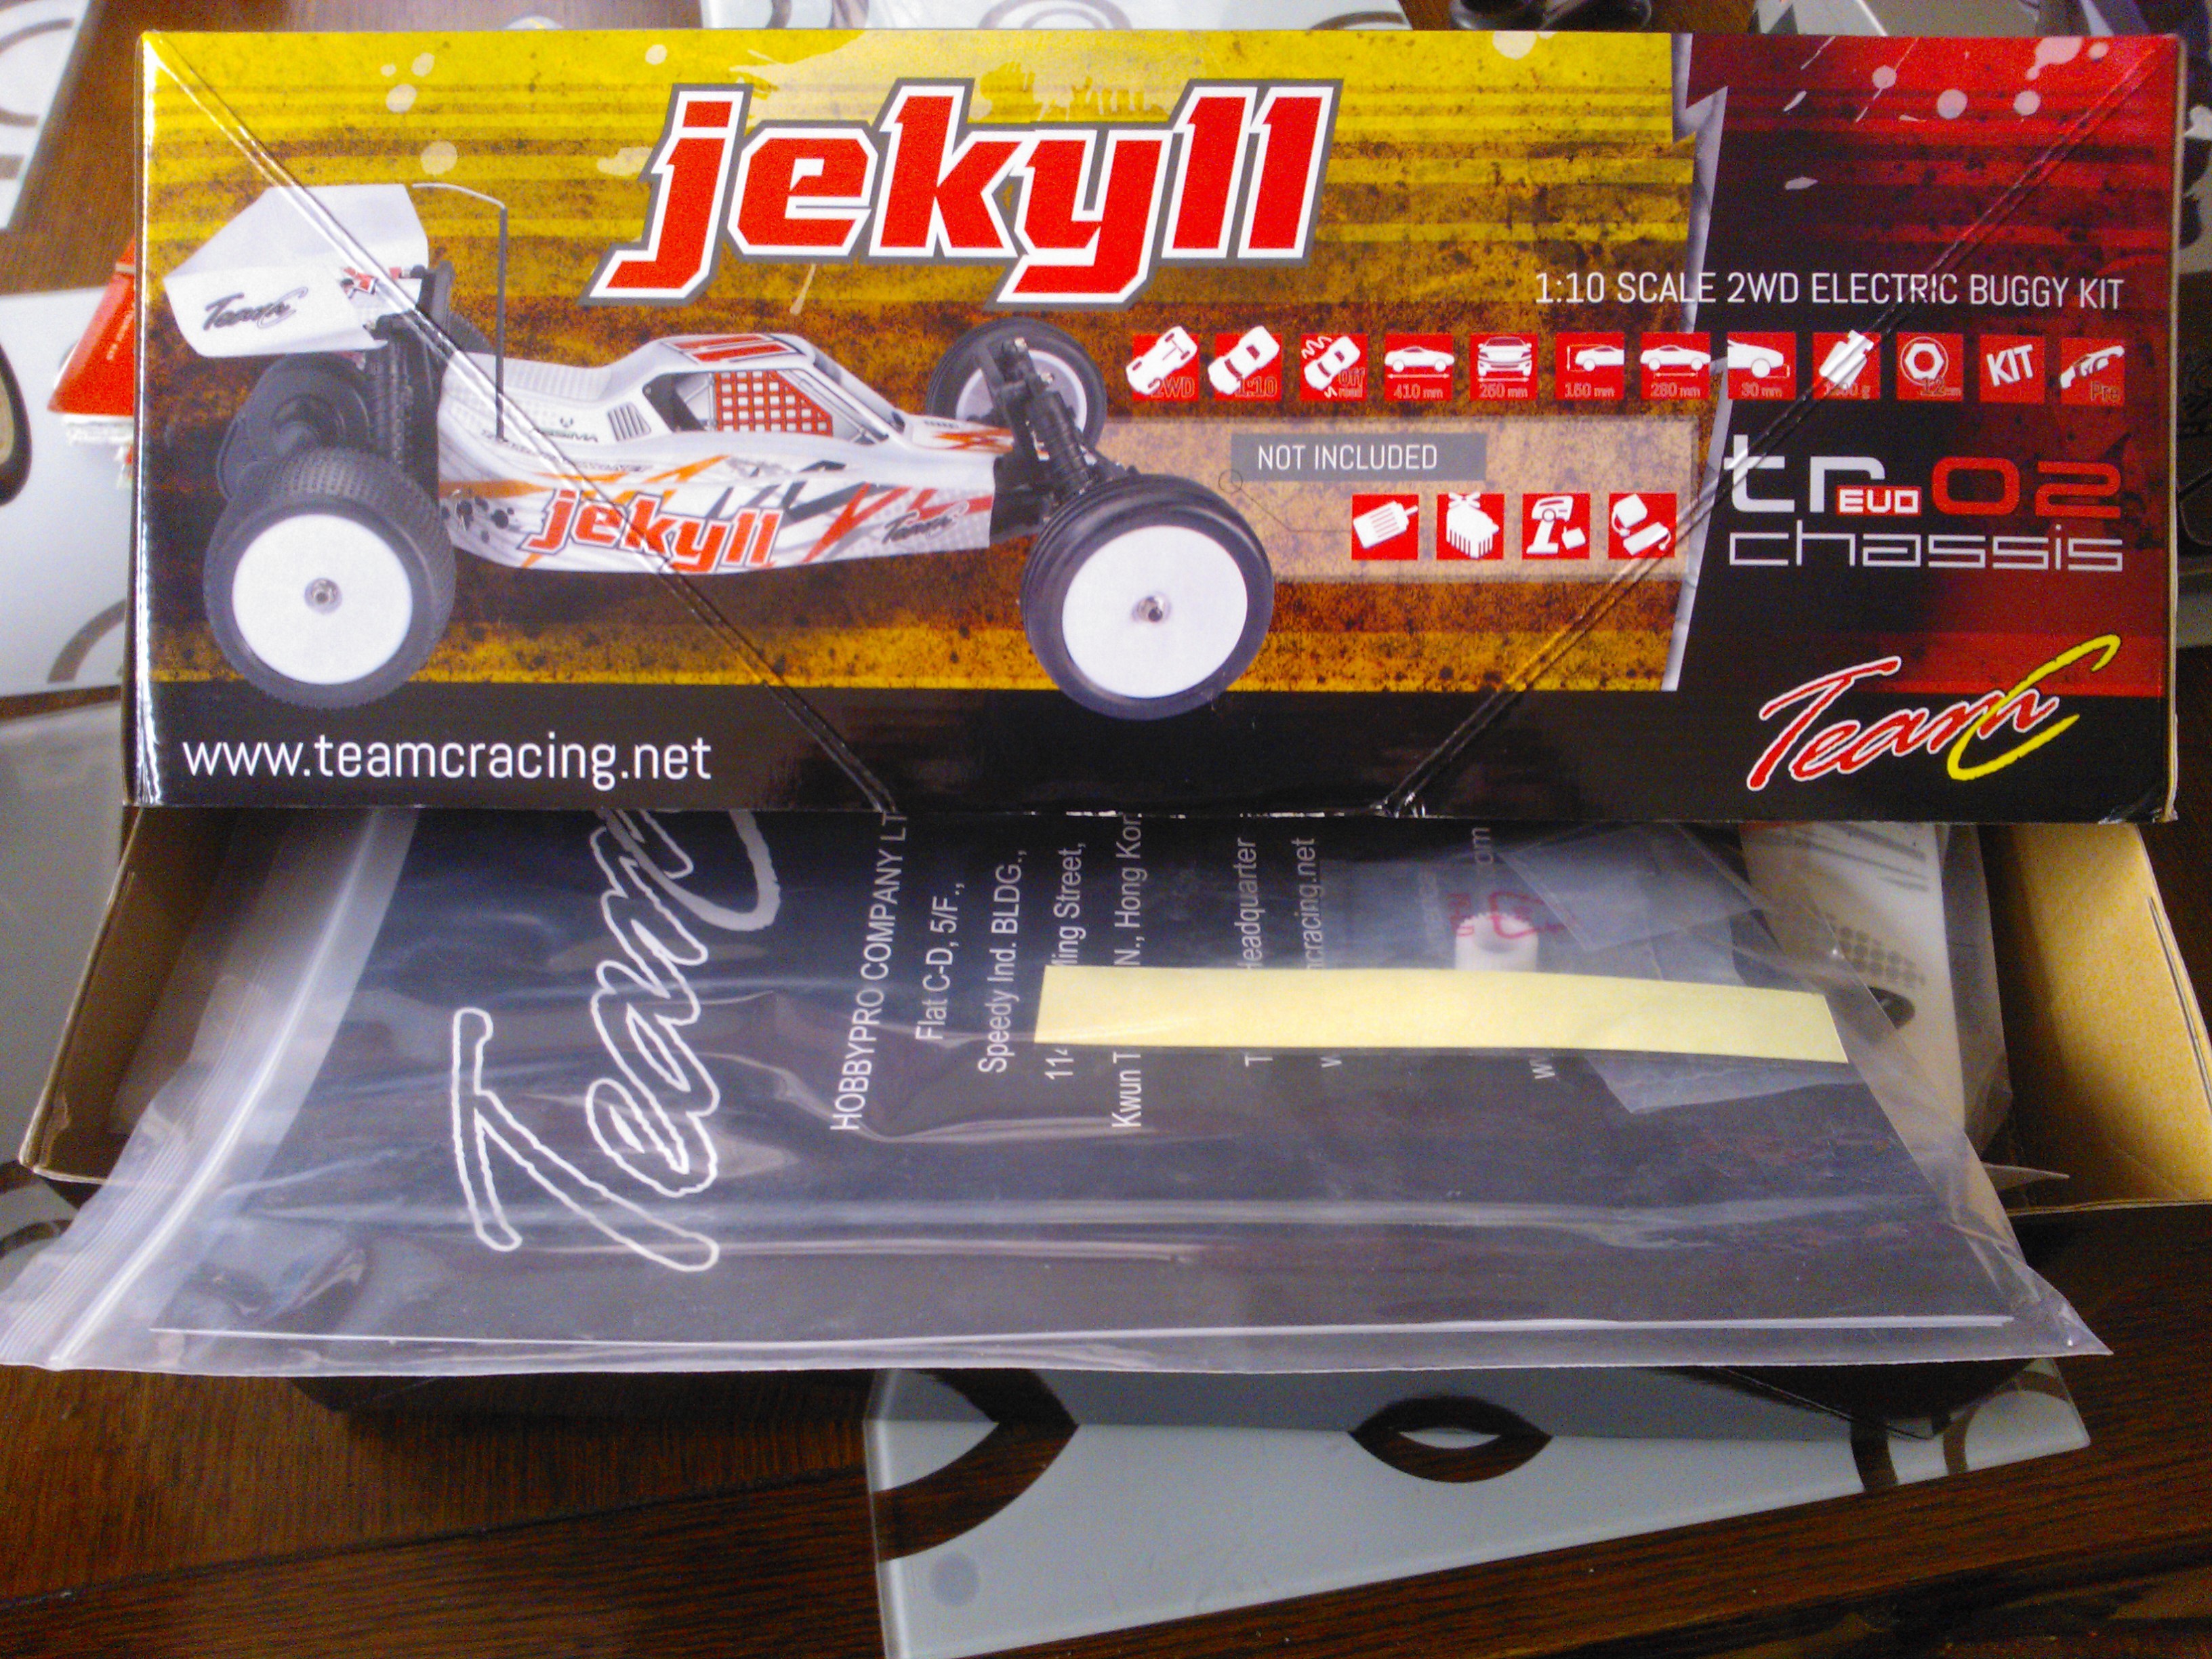
When I first saw this kit on modelsport I was intrigued. It was only £39 and I wanted to know just how good a car you would get for the price. You have to supply your own Electronic Speed Controller, Servo, Receiver and Motor bringing the total minimum build price to around £70- £80. I spent a bit more as I wanted to but some more decent bits in it.

WP_000358

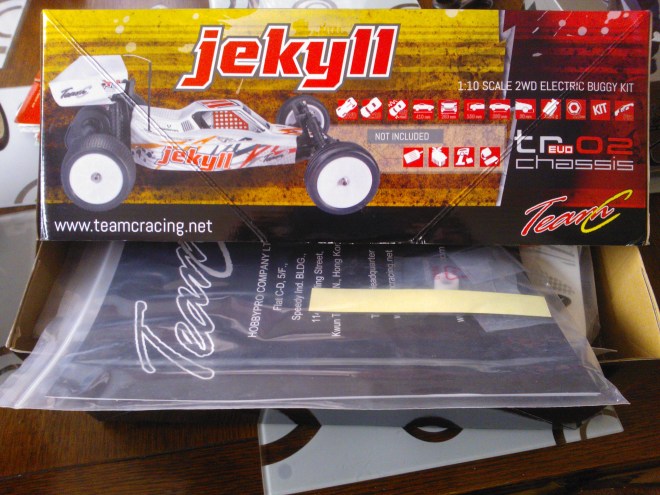
The packaging and parts were a decent quality considering the price and the manual was easy to follow. This would make a nice inexpensive first kit.

WP_000372

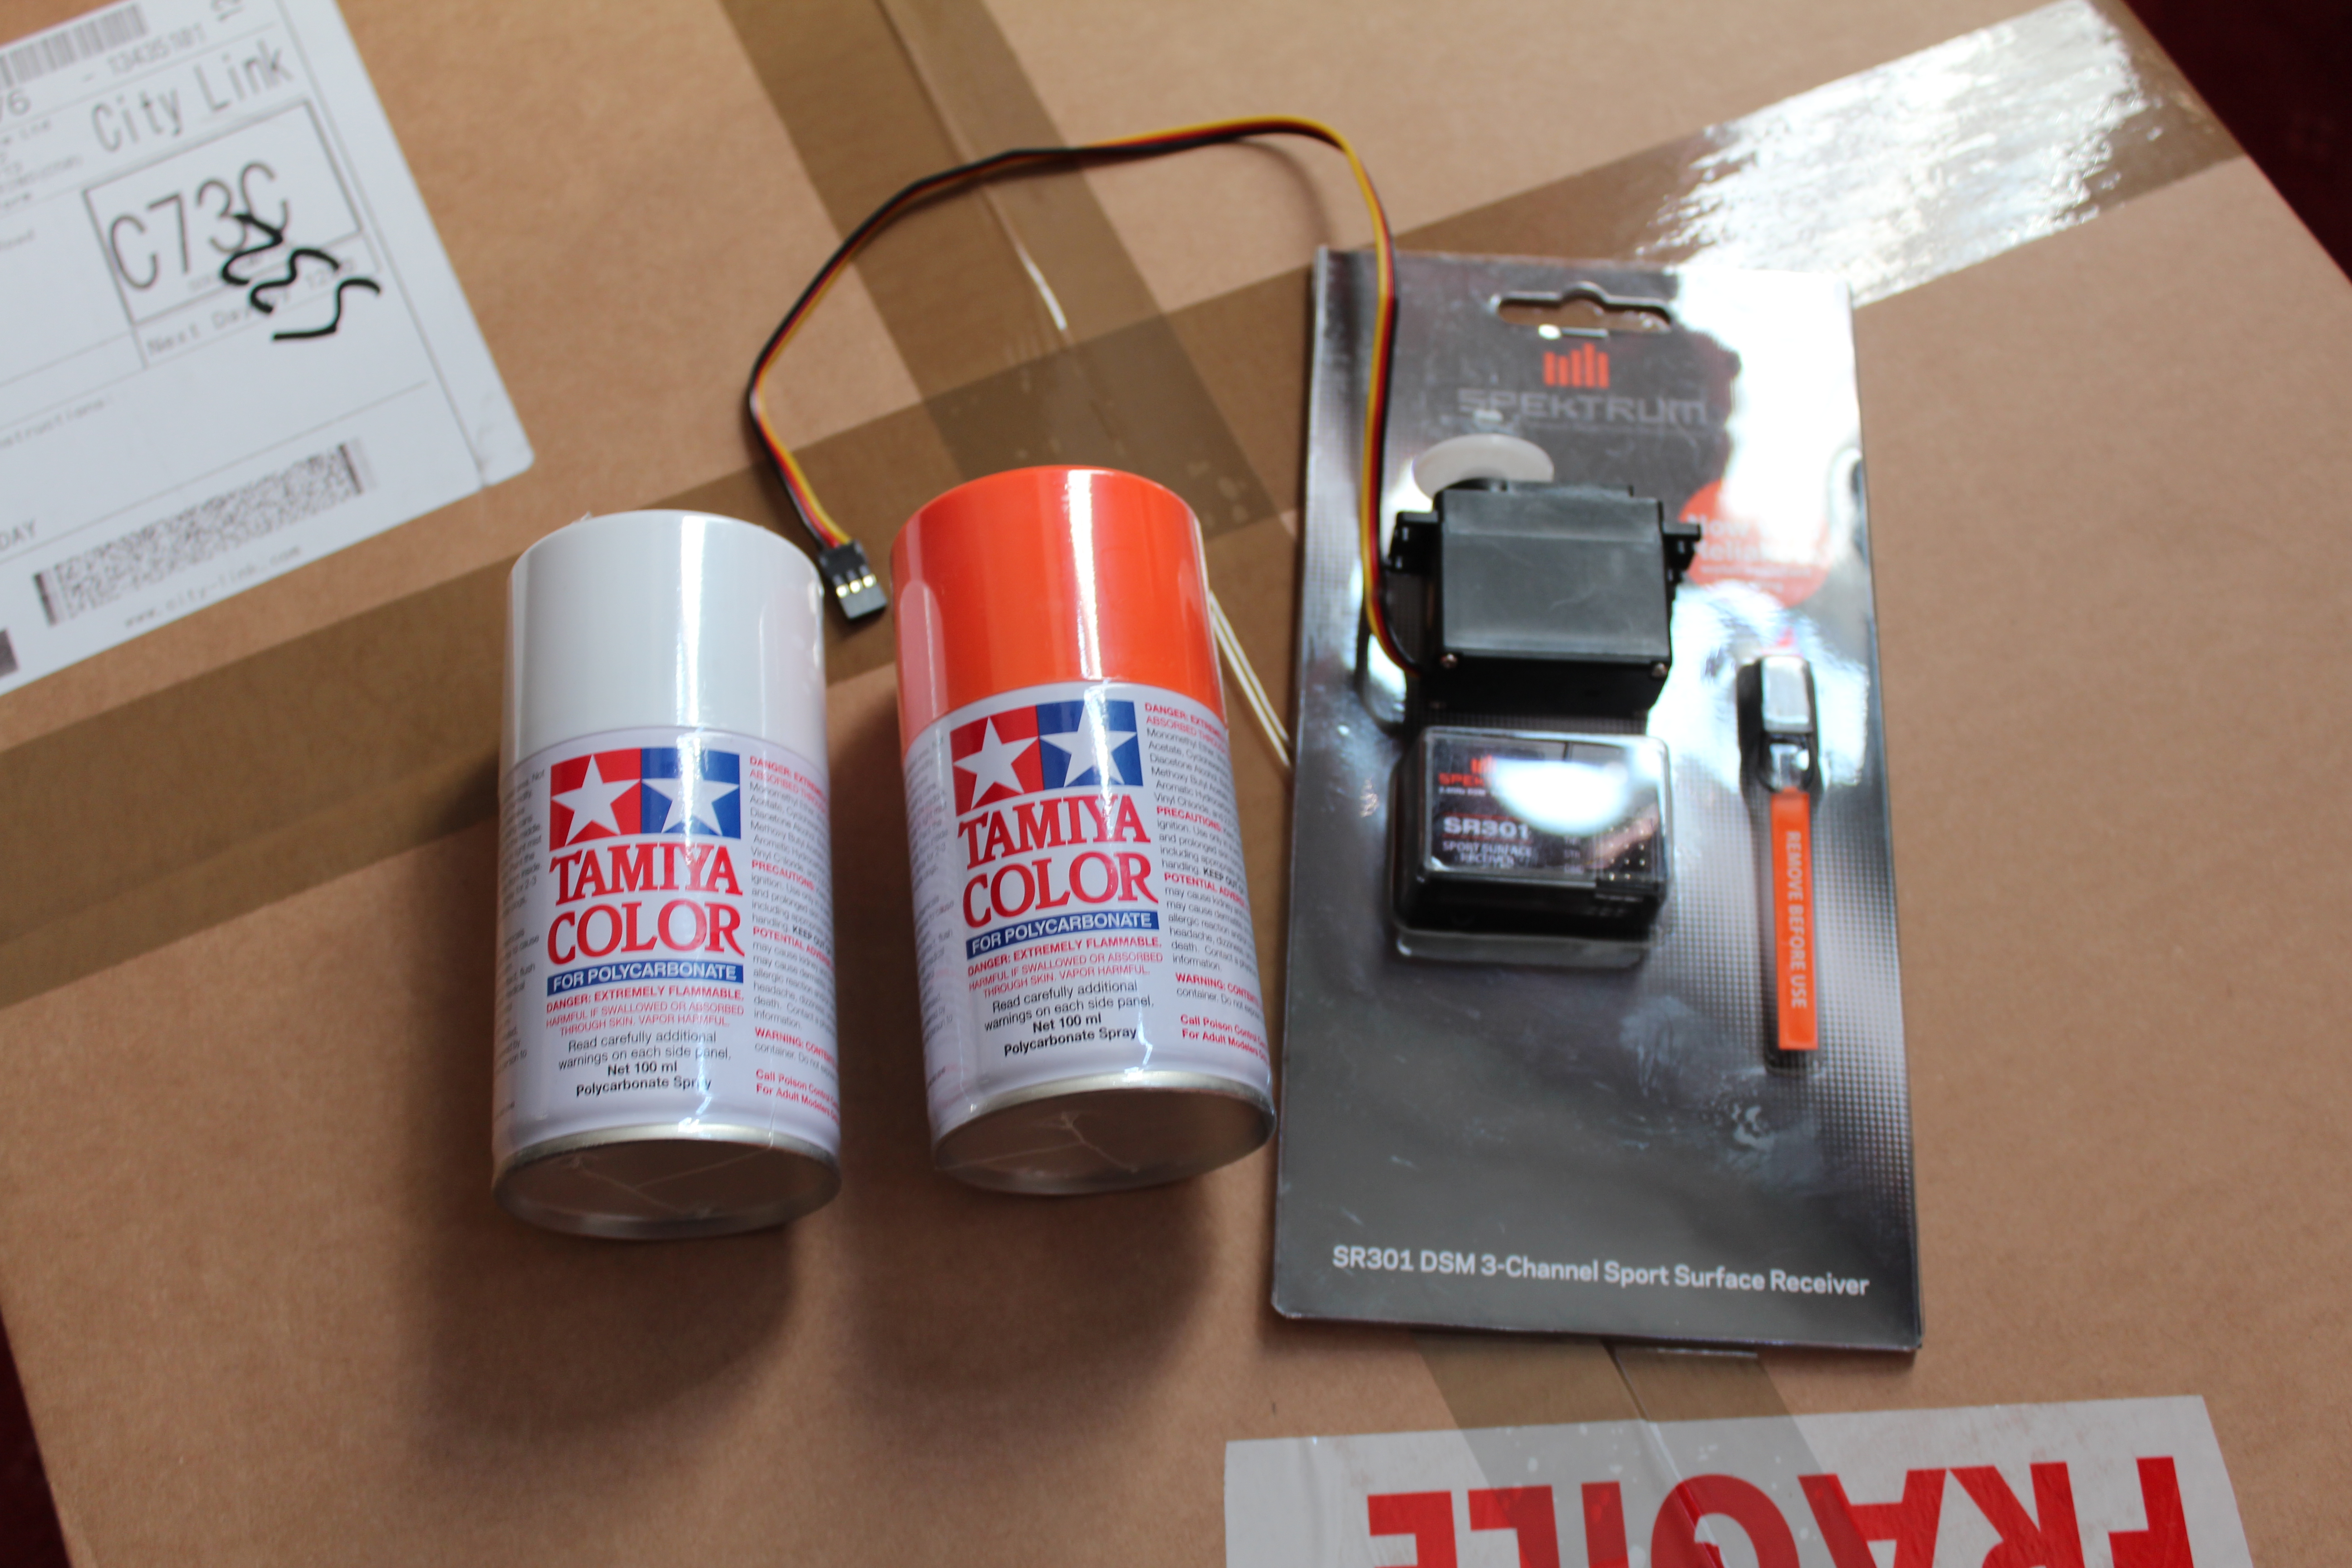
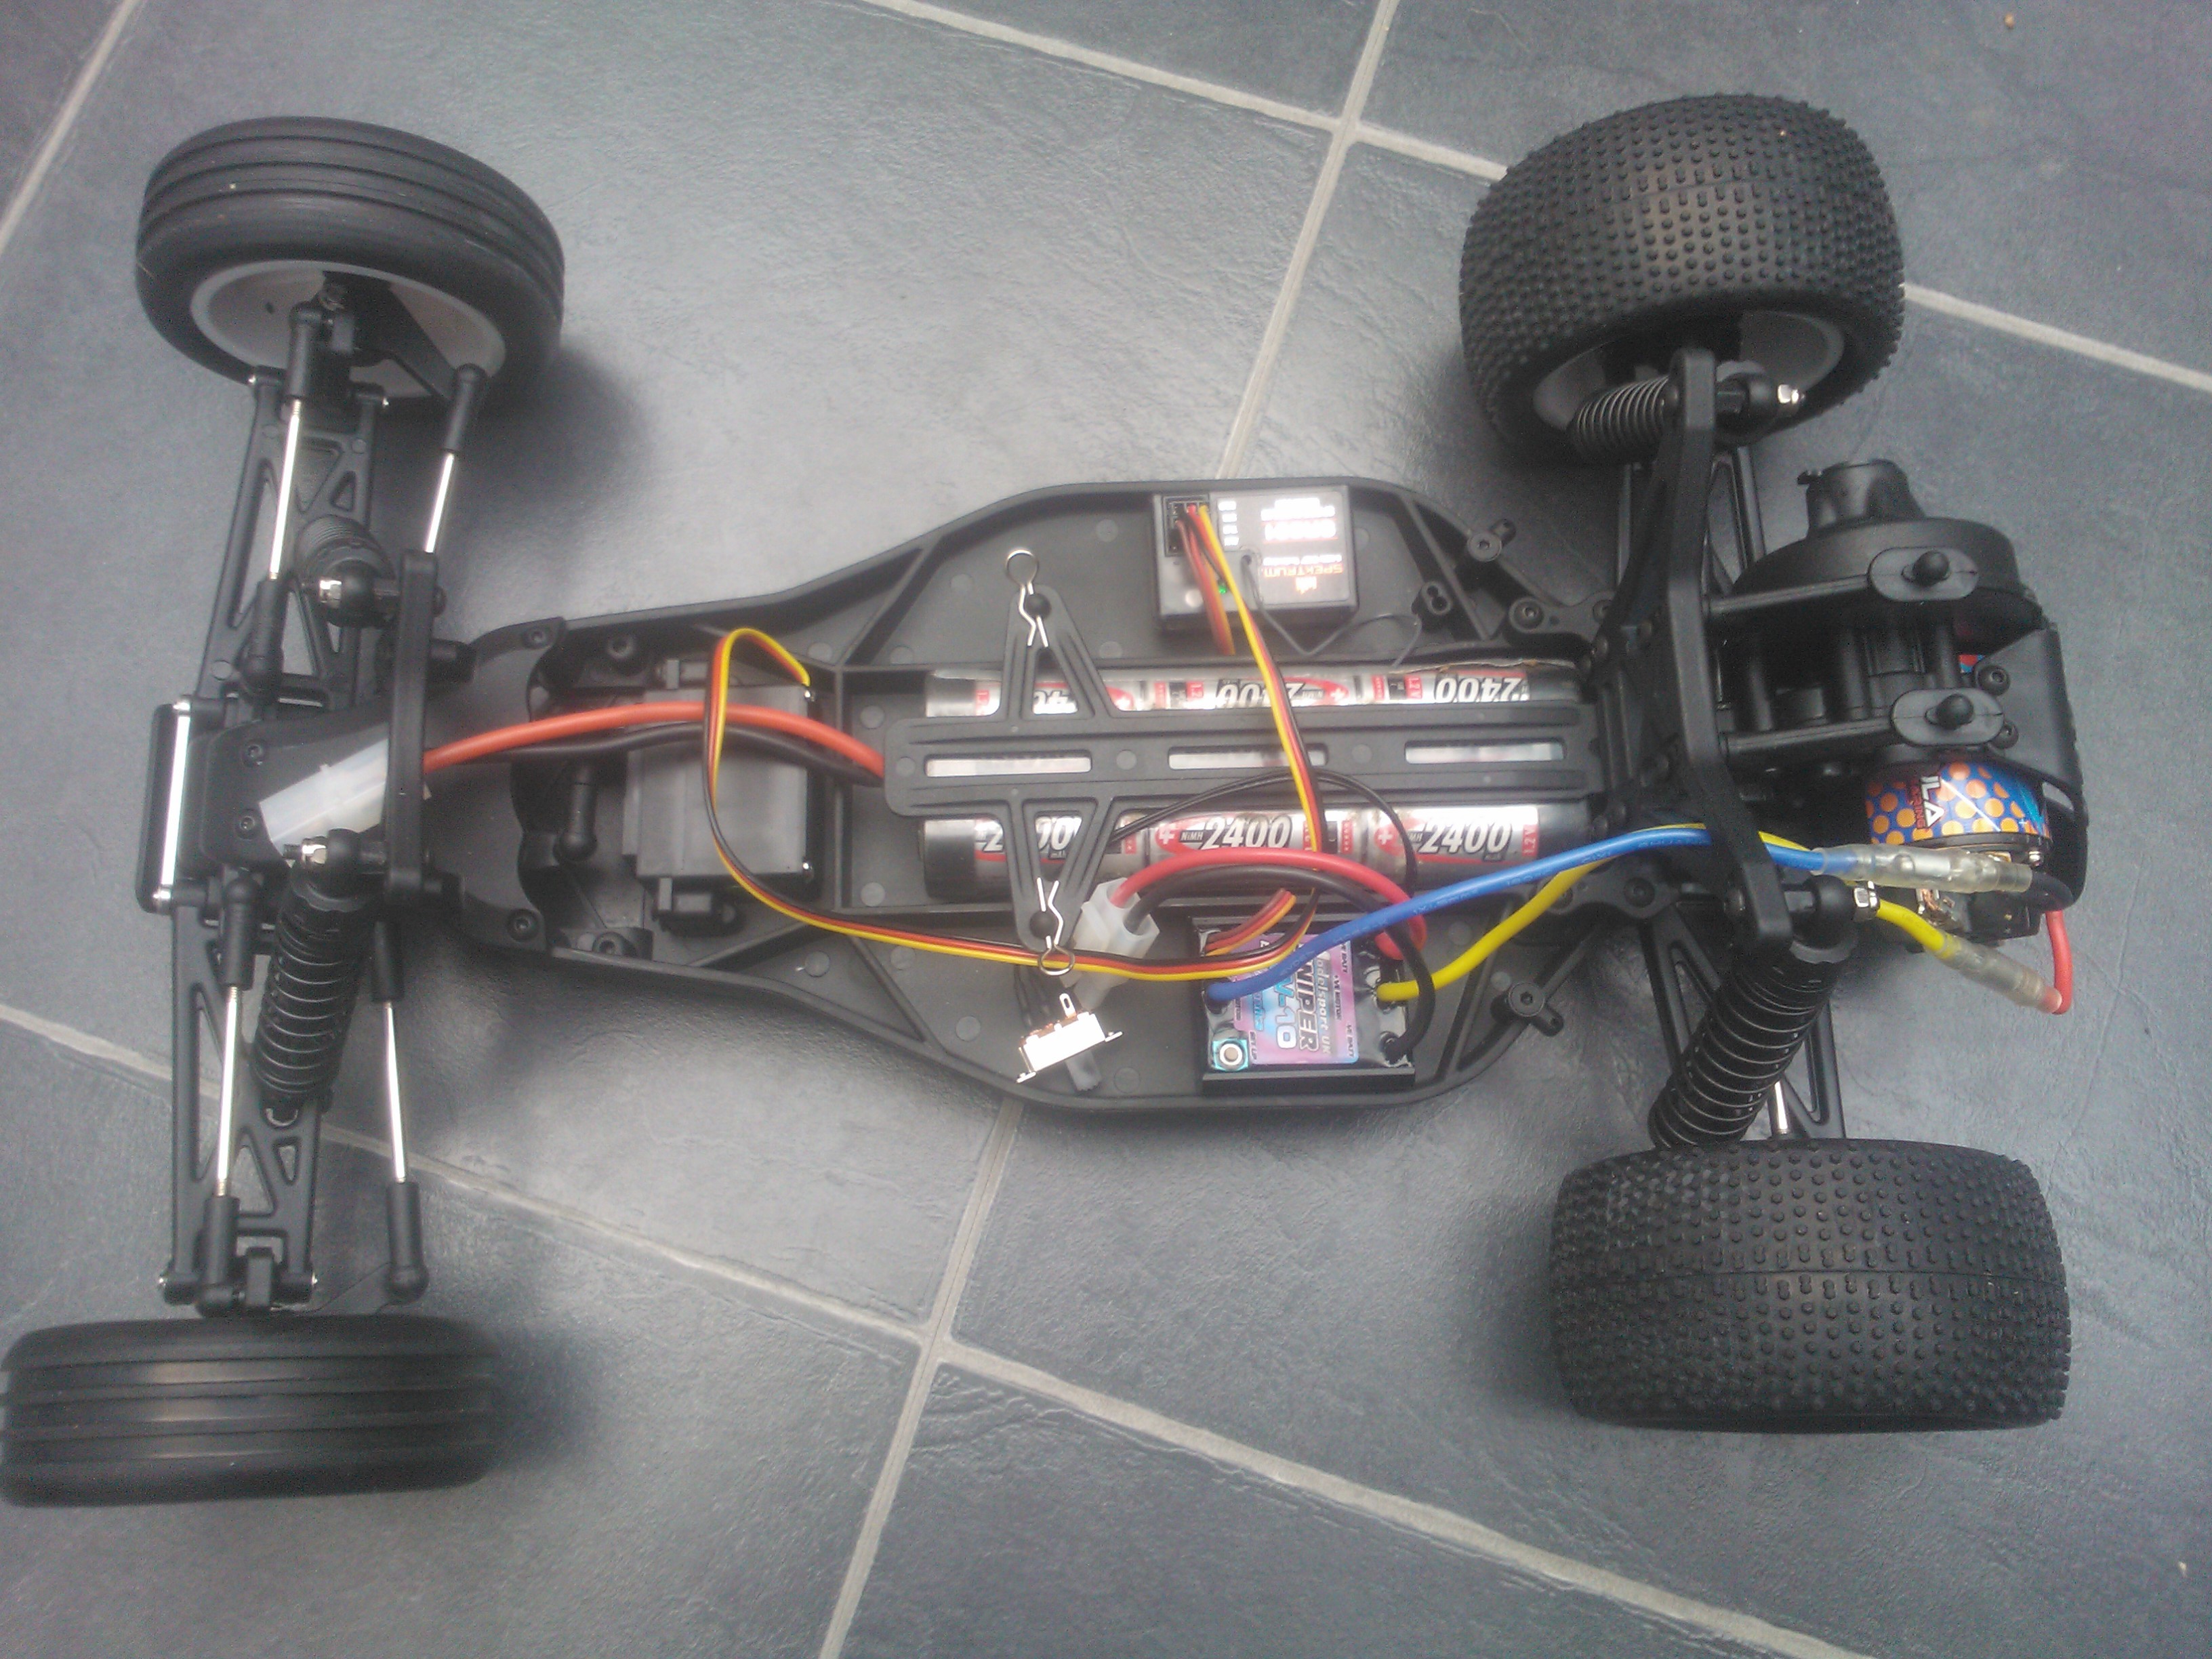
Things I used to complete the build:

  • hitec servo £6
  • 10 turn limit mtroniks sniper esc around £25
  • 13×3 Orion Motor £18
  • Spektrum 301 DSM coated reciever £23

WP_000376

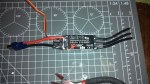
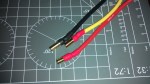
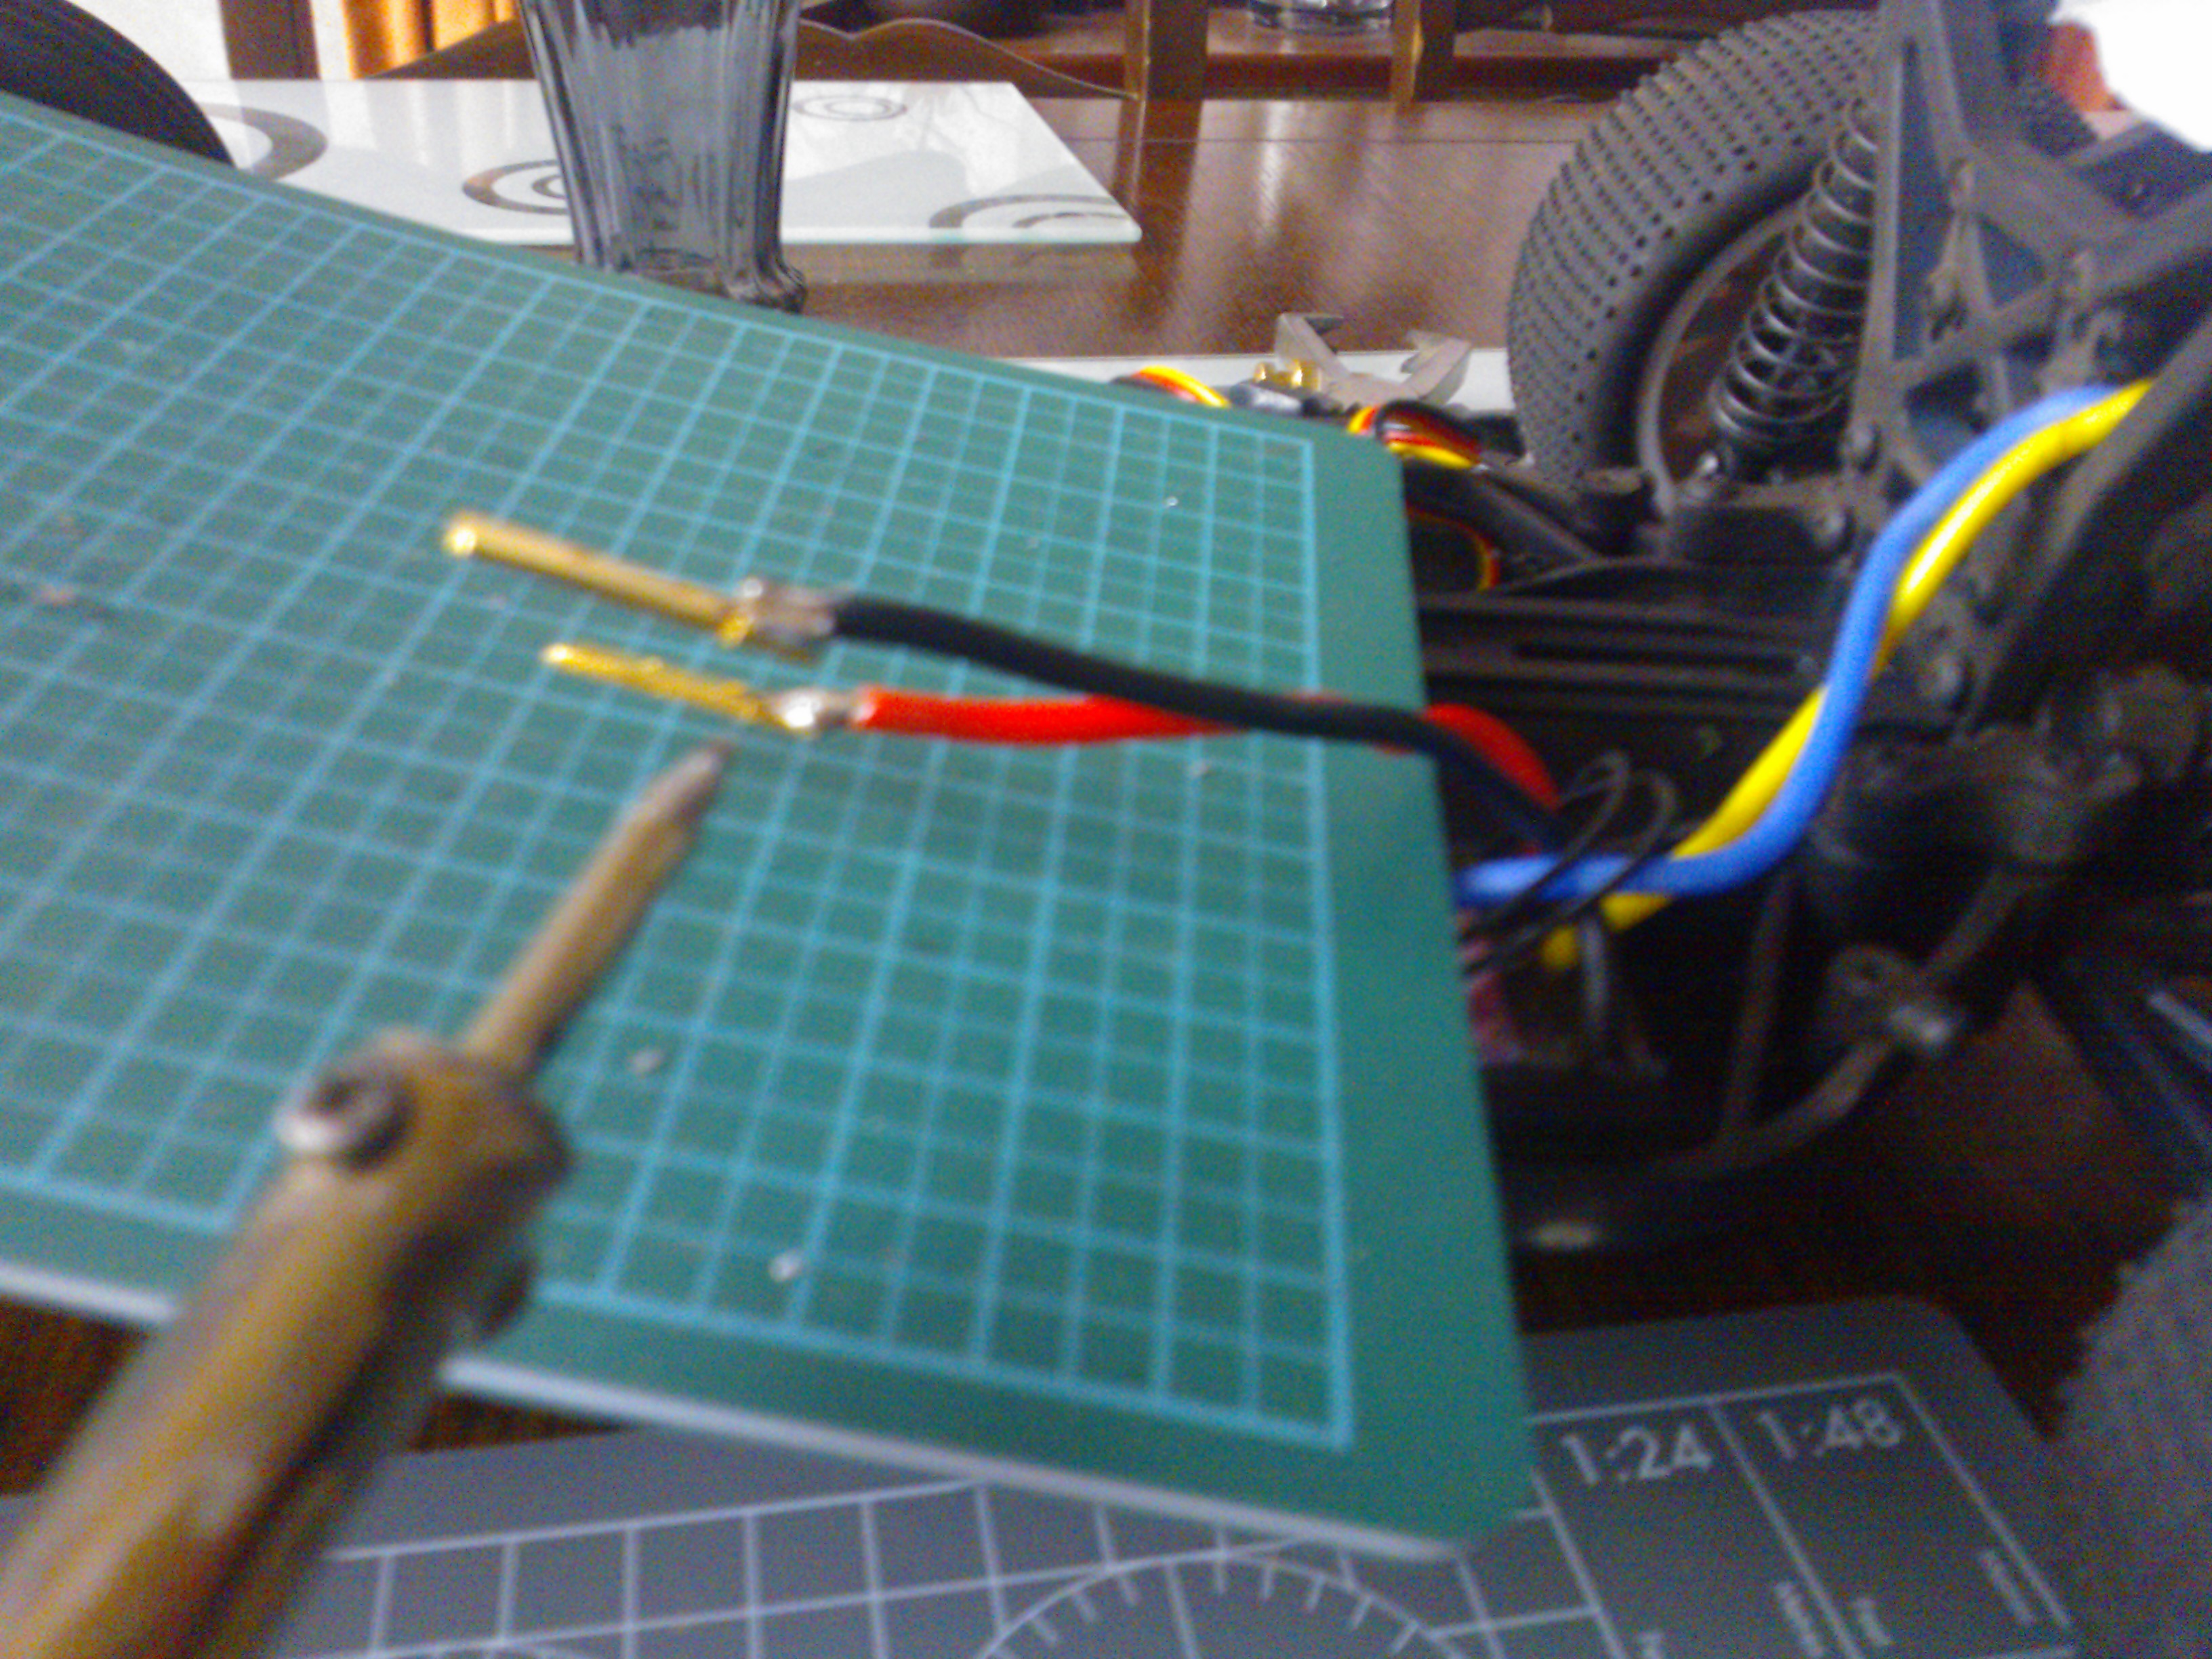
It seems I made a bad choice with the esc as the 13×3 motor seems to overheat it very easily, I am looking into a solution for that. On top of this I melted a battery connector to the esc so I ordered some traxxas connectors to deal with the current.

WP_000386Soldering the new connectors

WP_000384

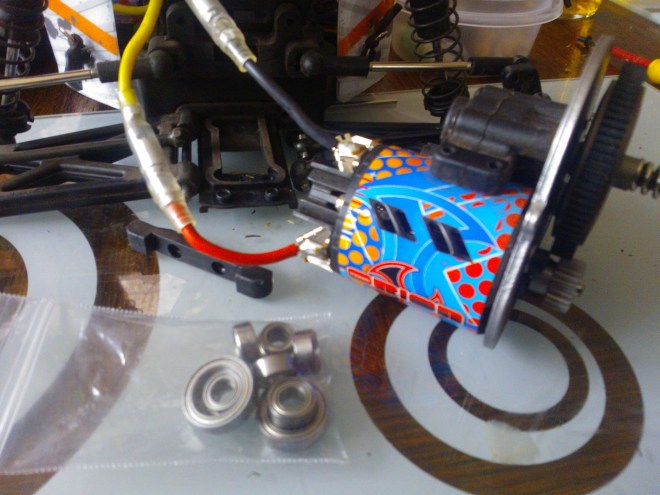
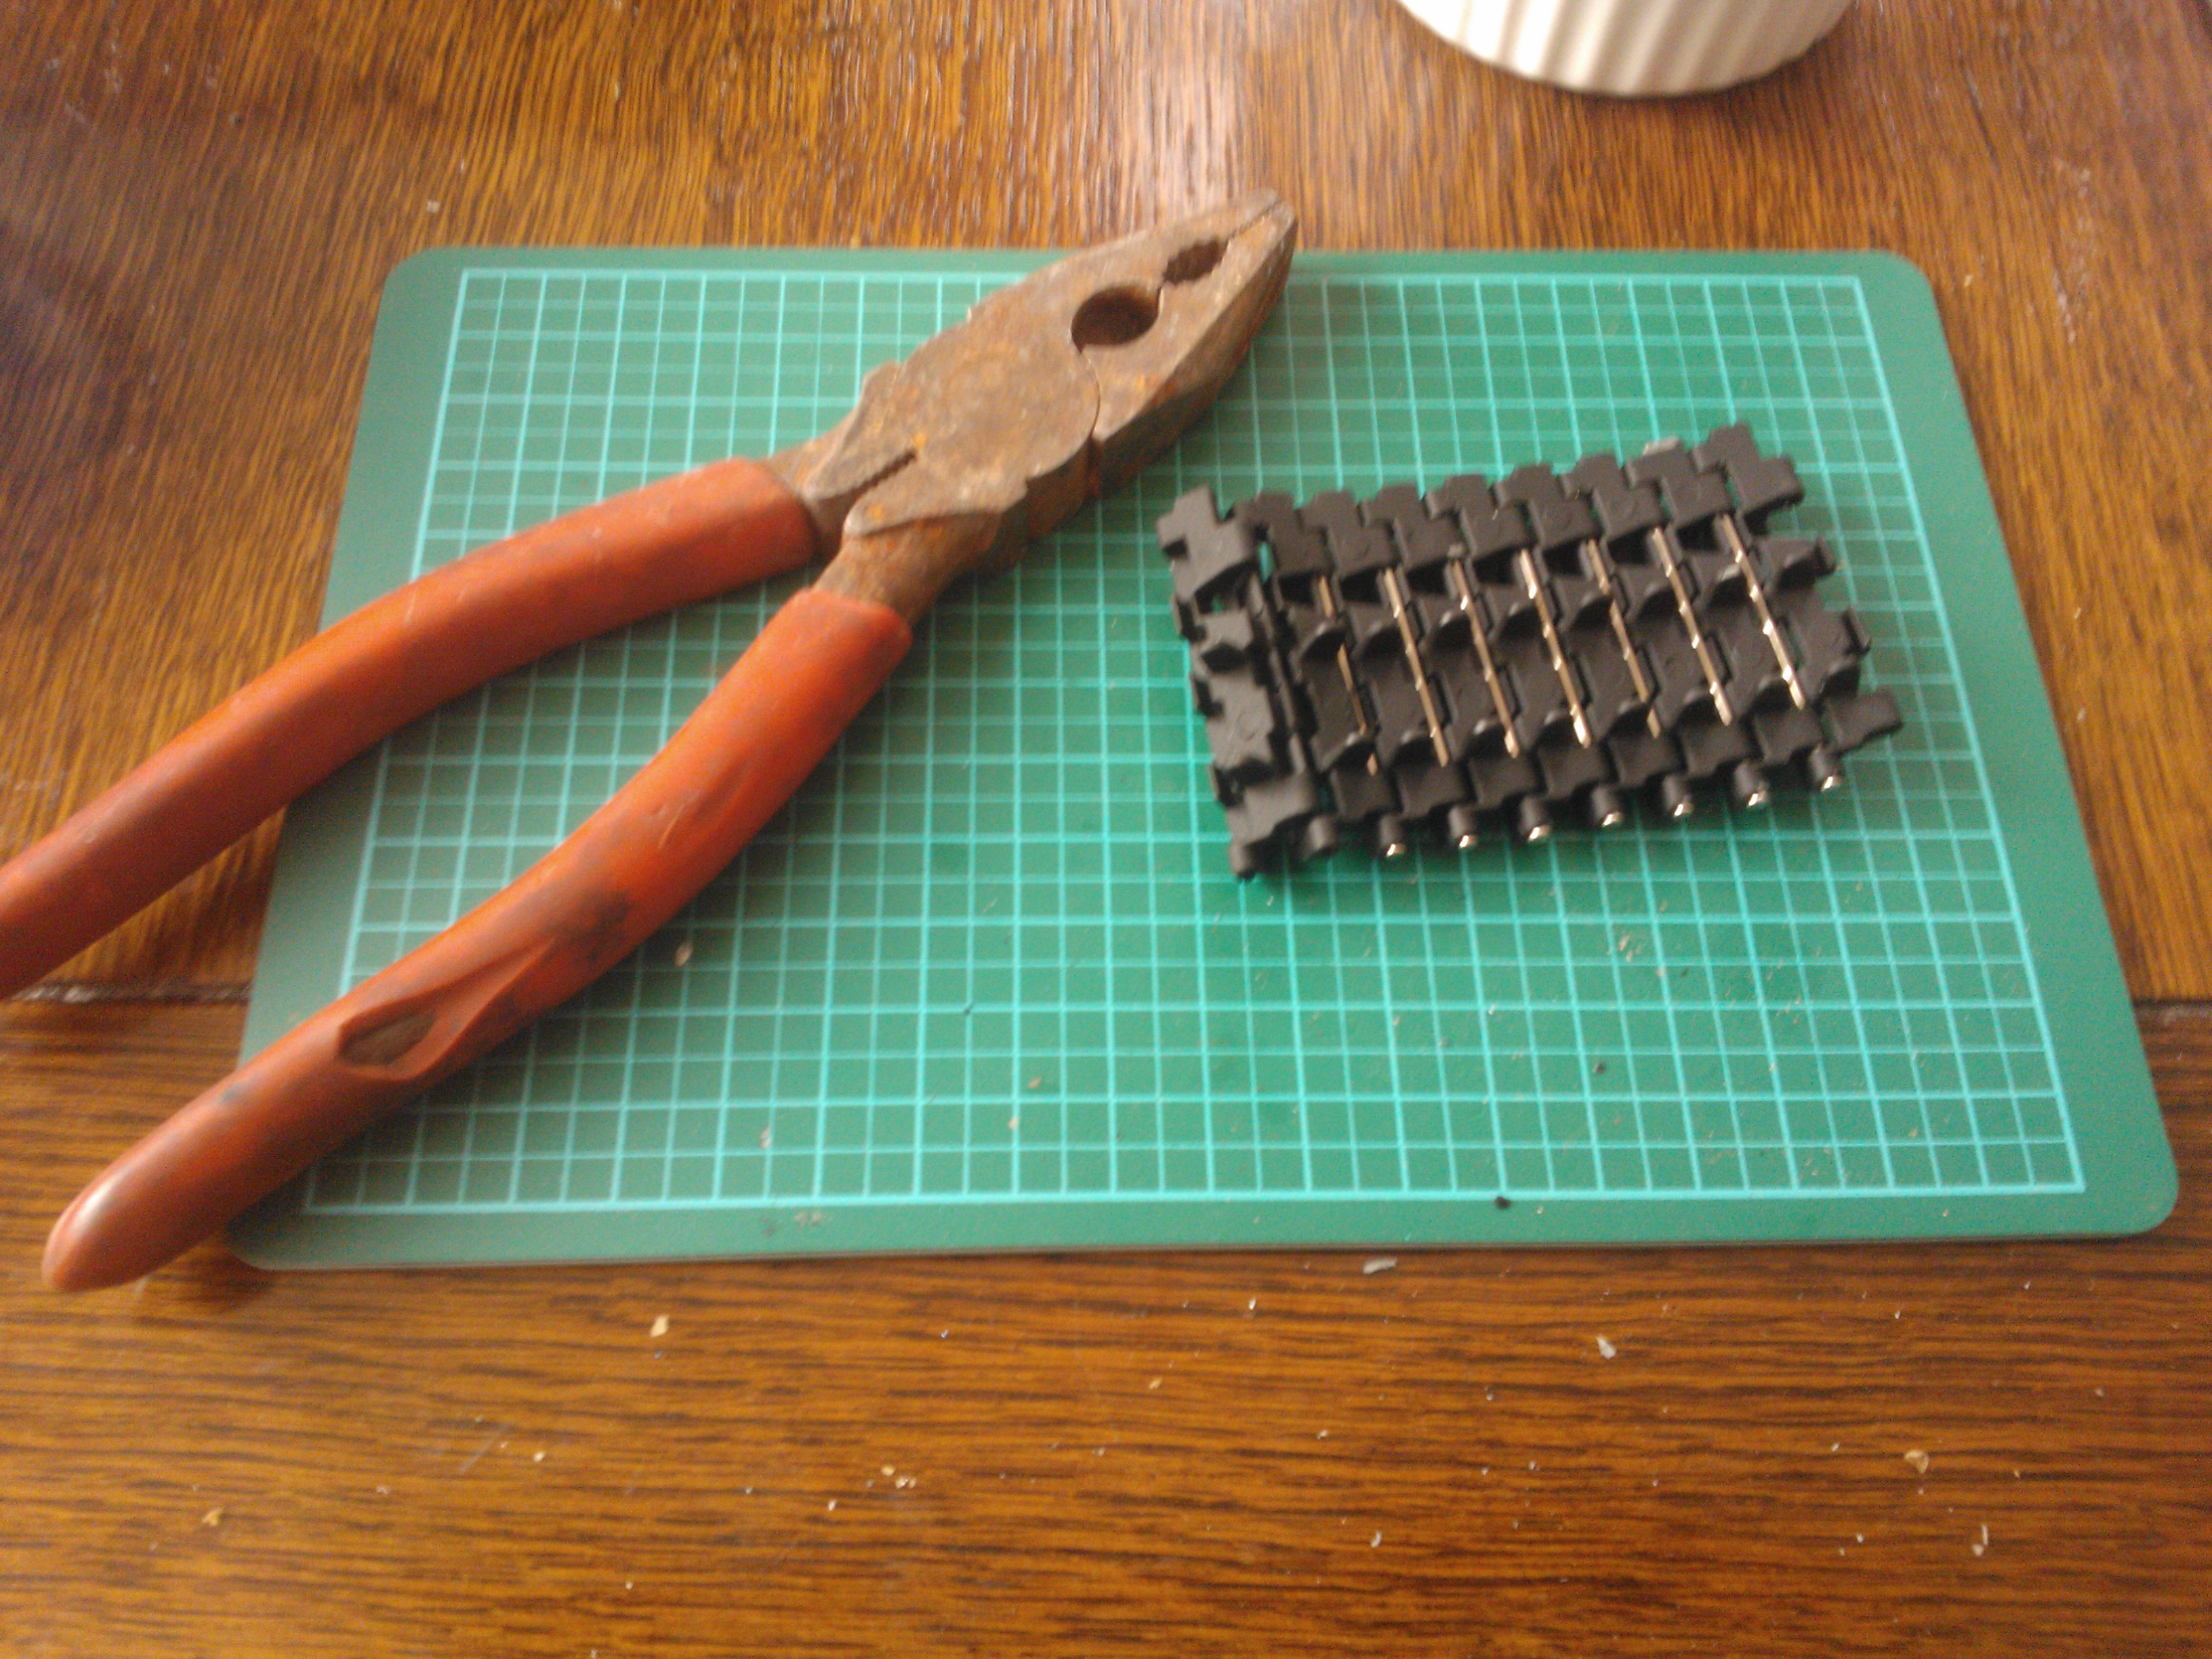
I also ordered a set of UK buggy bearings to ball race the kit. These replaced the bronze bushings that come as standard.

WP_000388

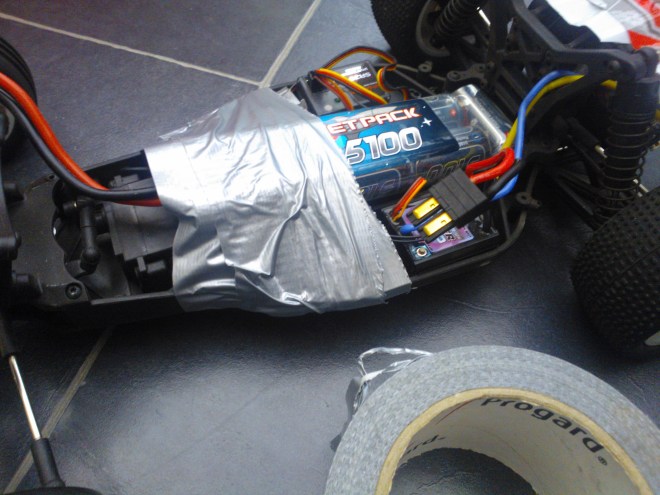
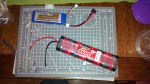
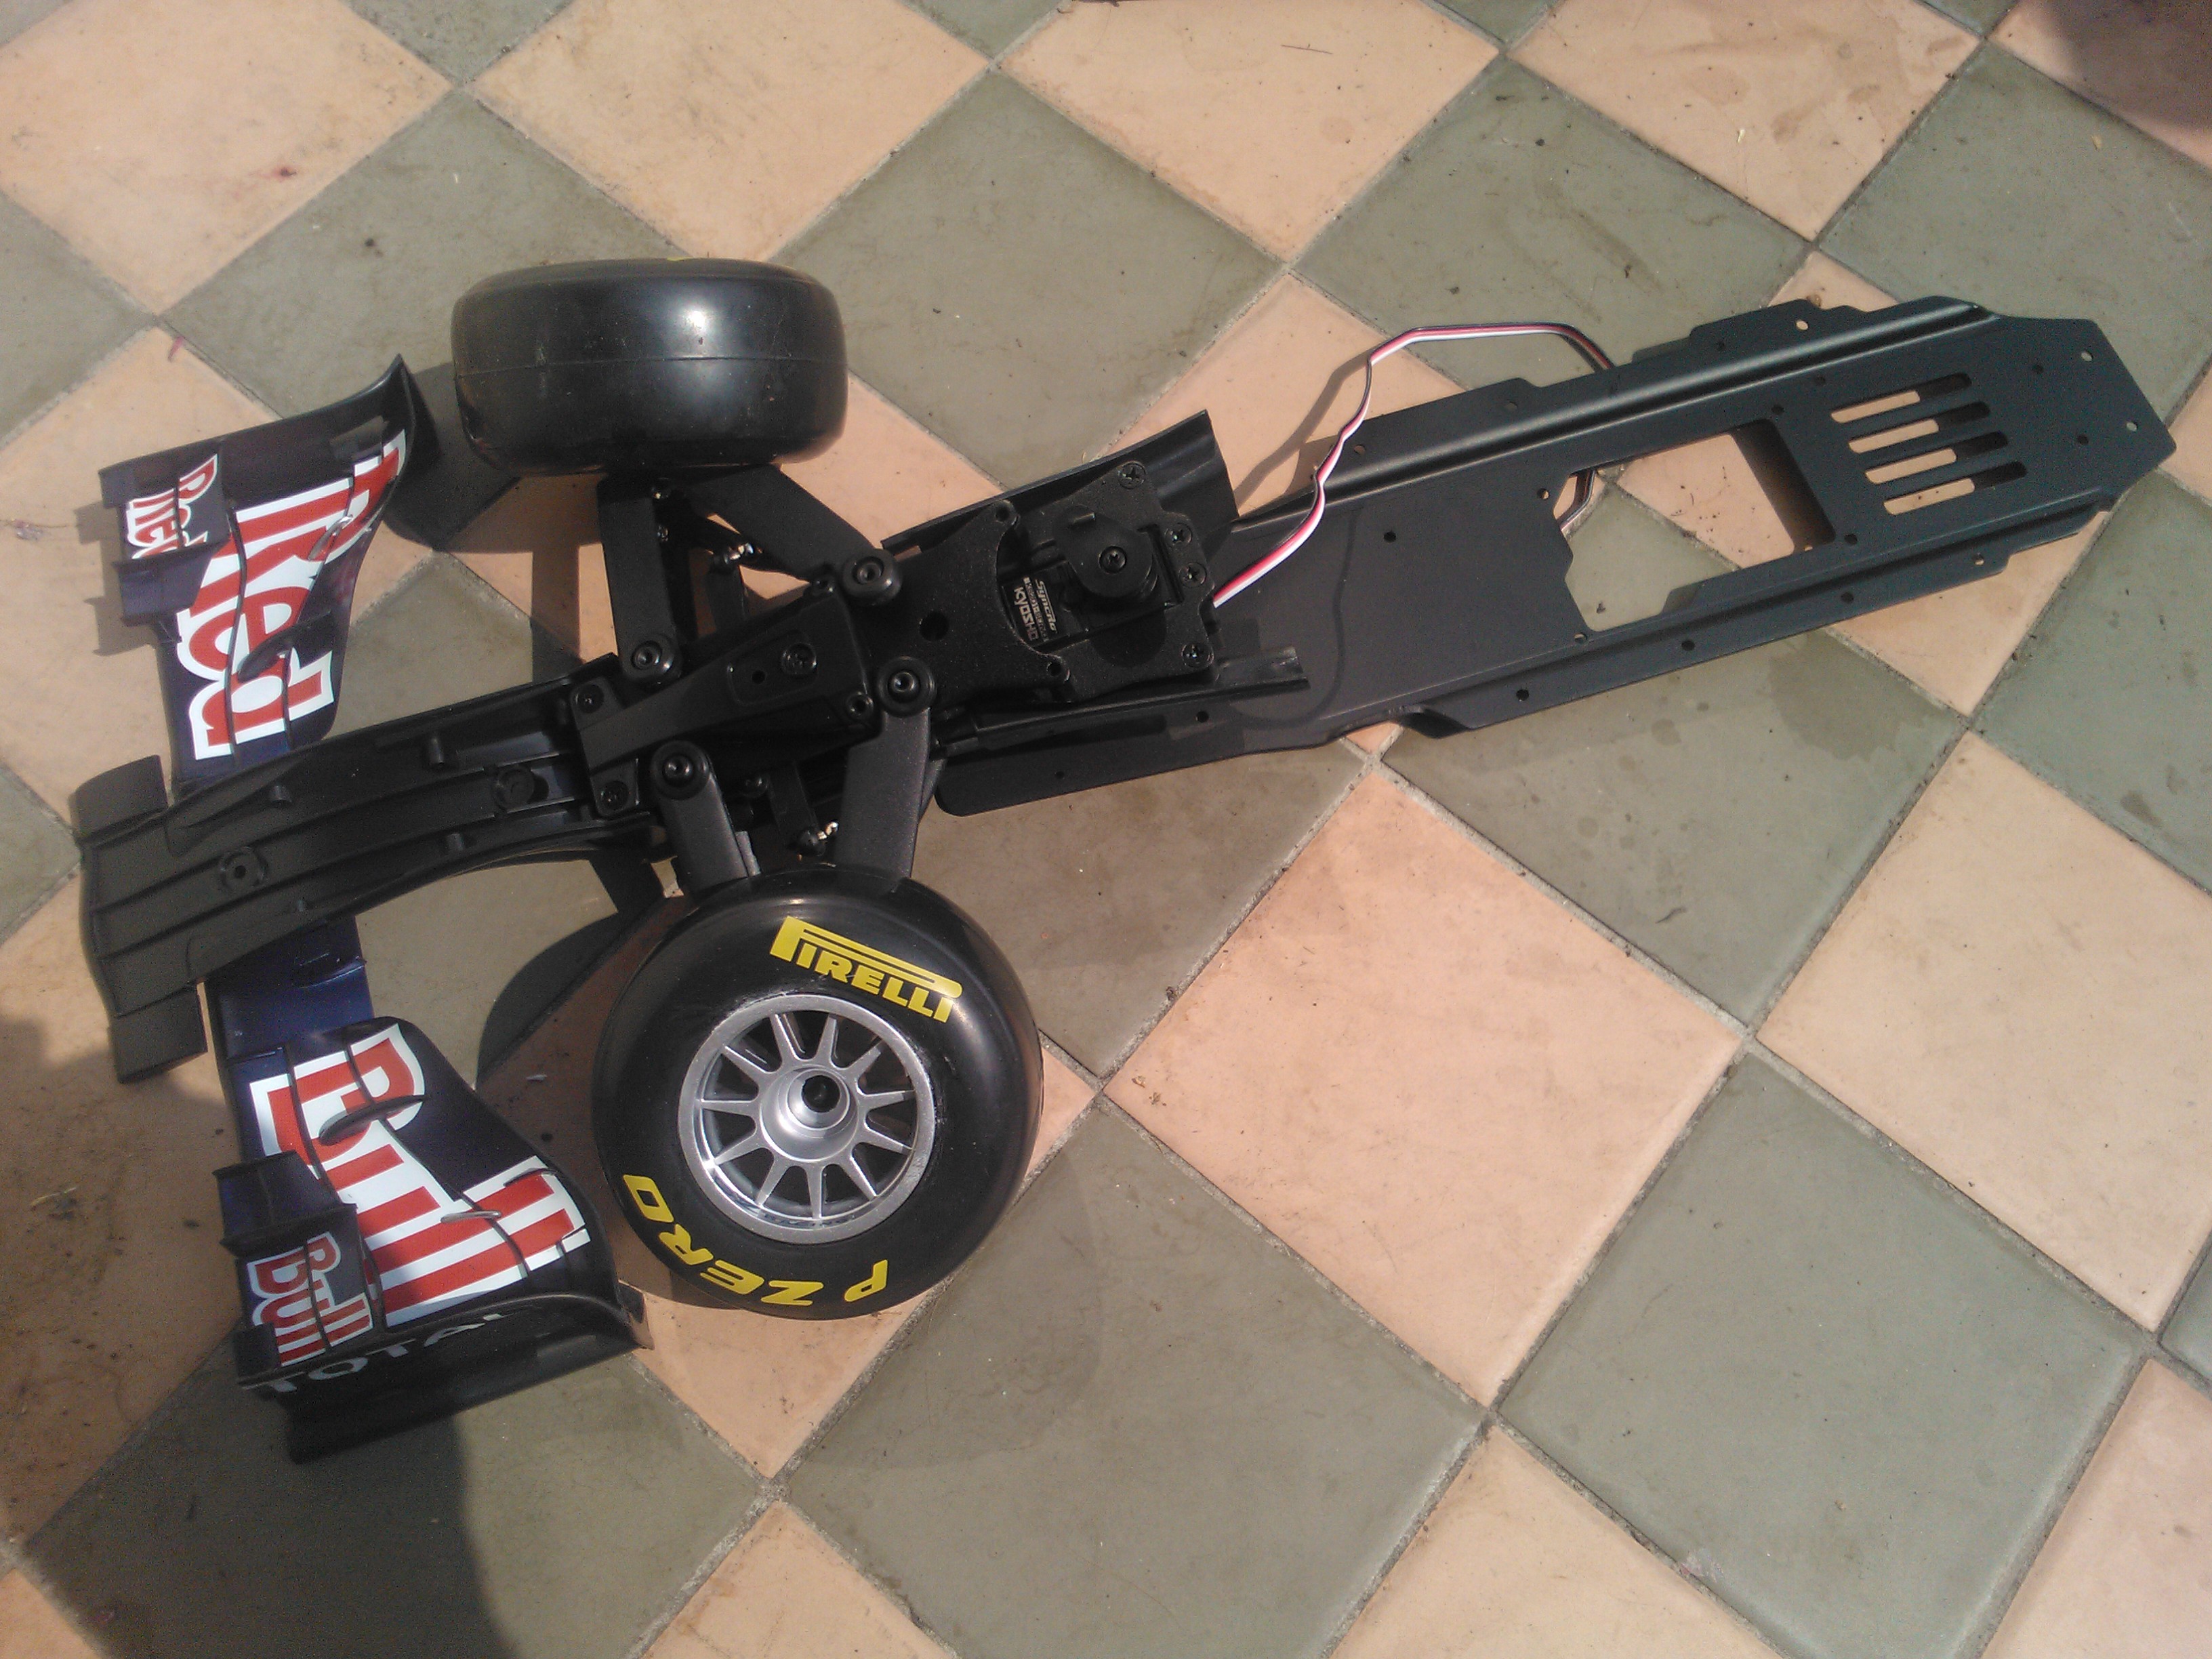
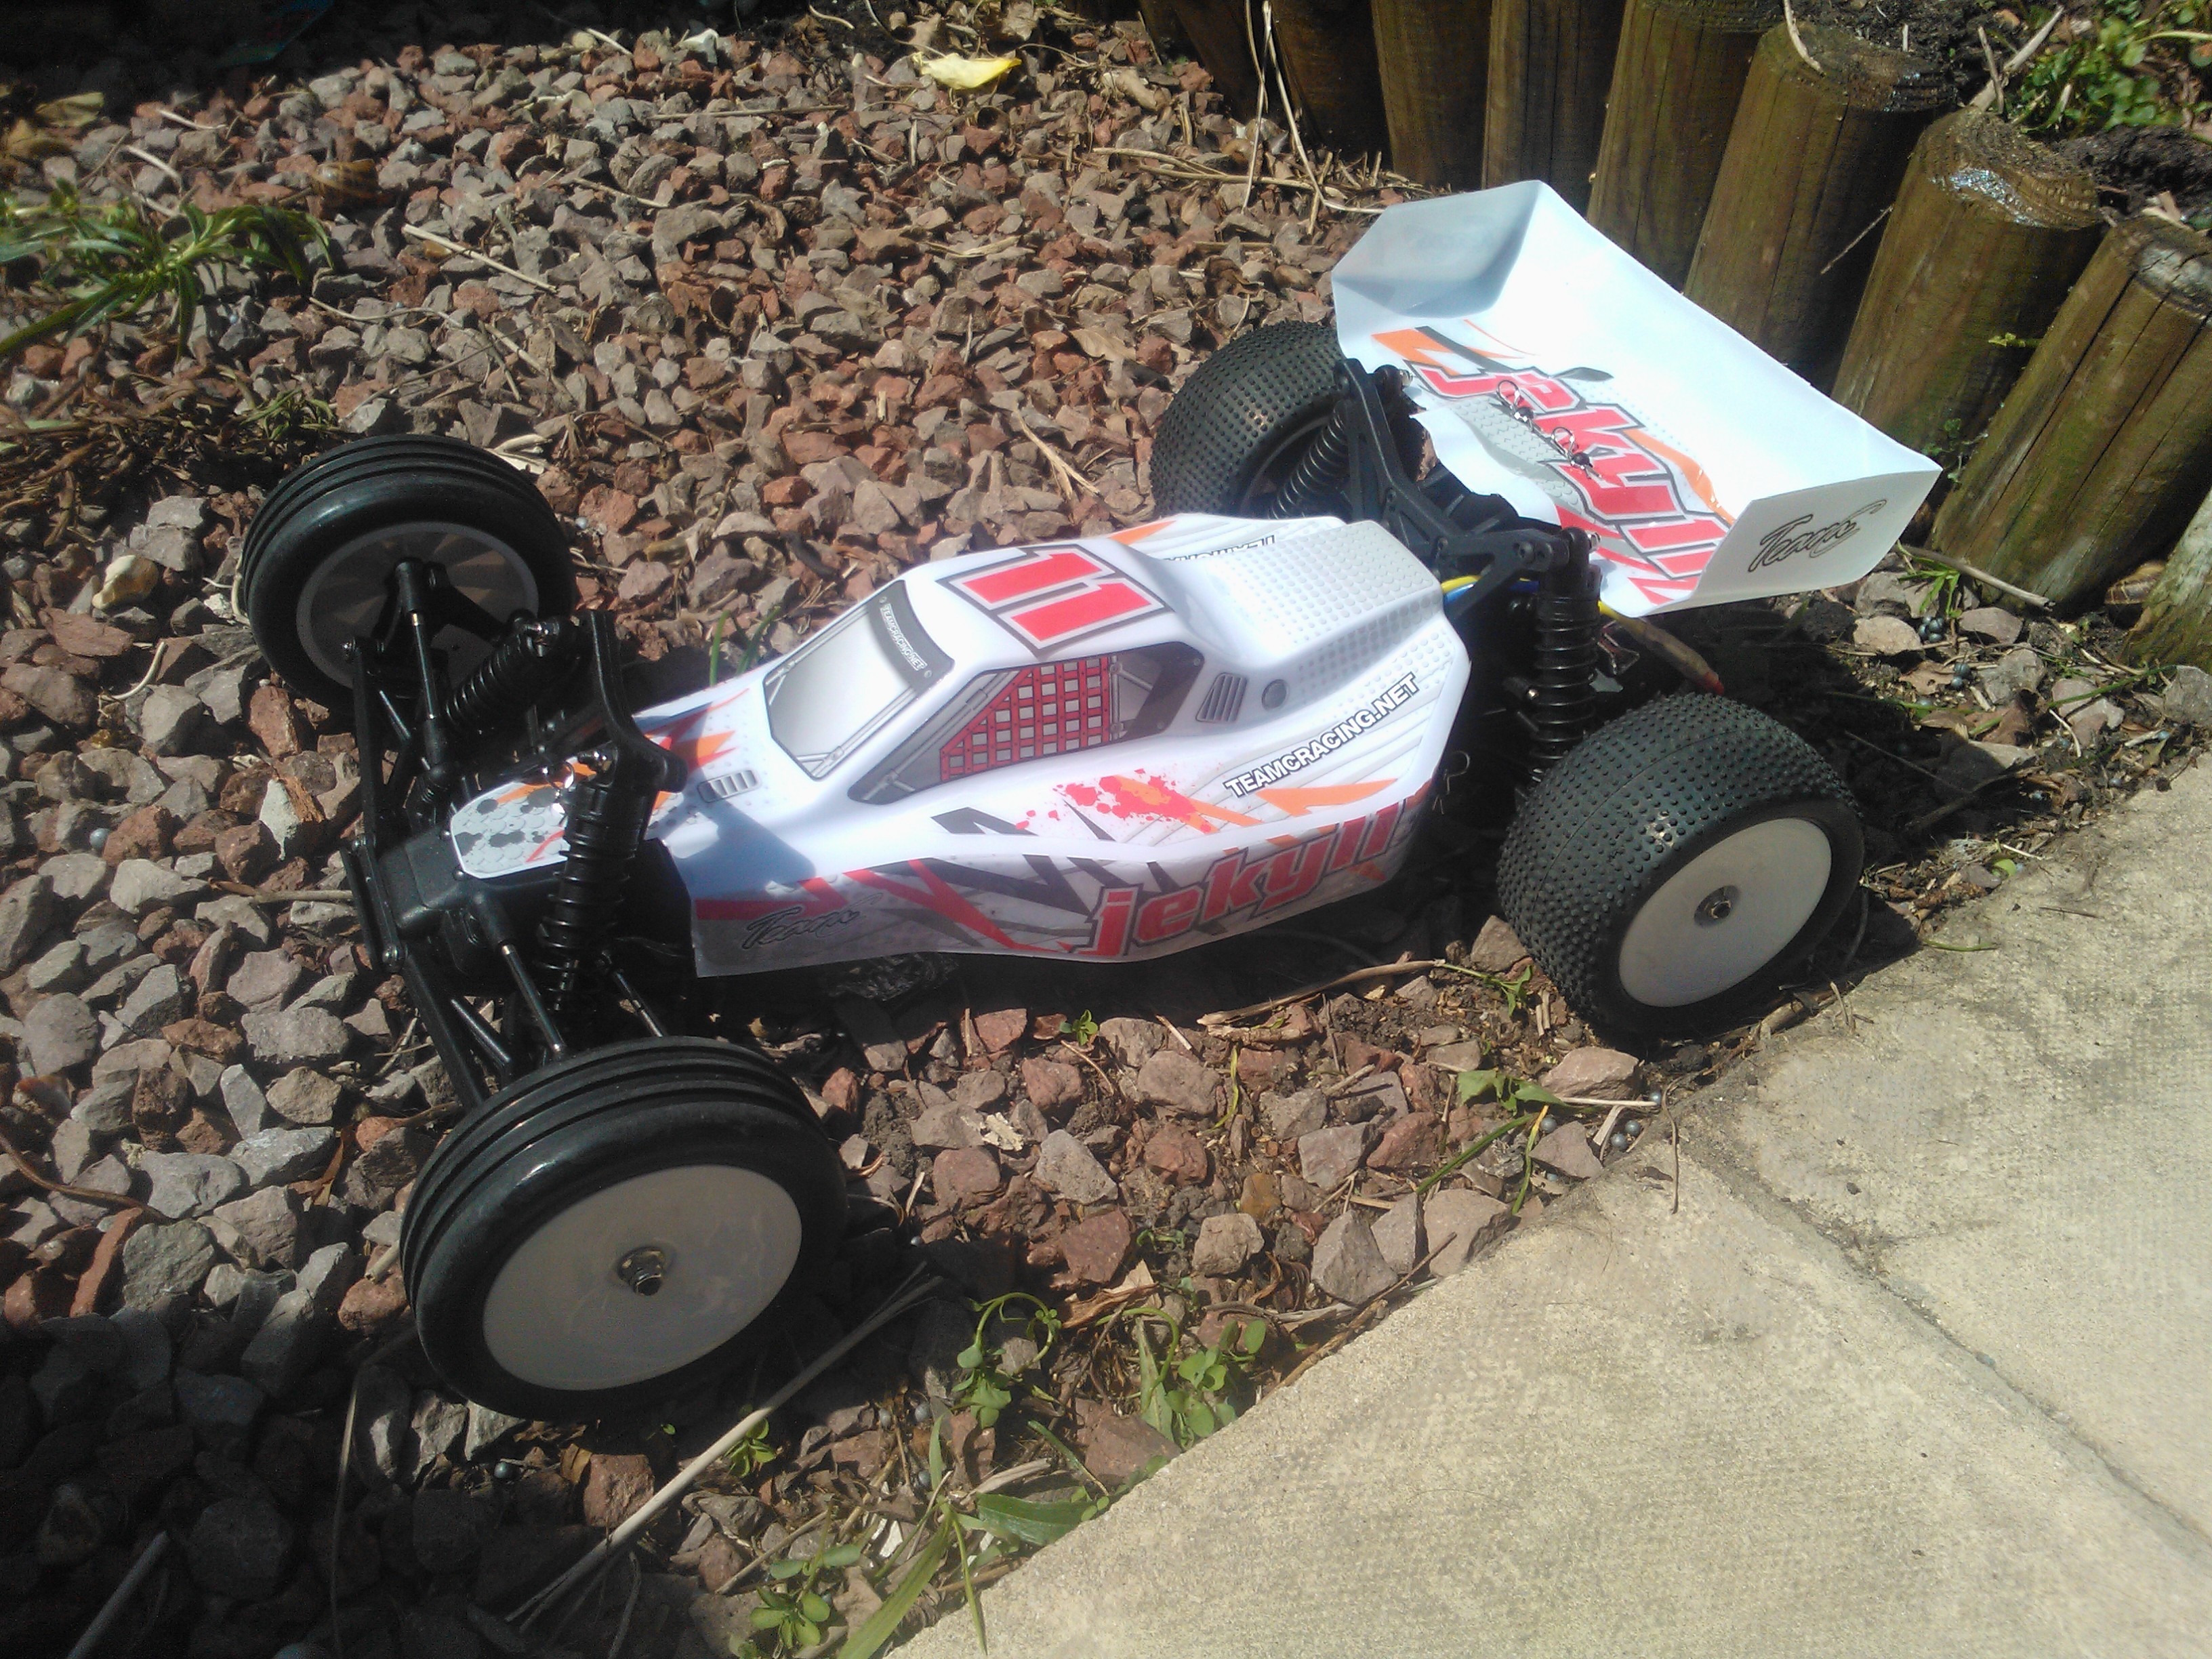
I do intend to replace my battery connectors with deans but the reason I went with a traxxas in this instance is I got this rocket pack battery in a sale. Its a 5100Mah 8.4 V Orion Rocket pack and really makes the thing go.

The bad thing is its too big for the battery compartment so I have to tape it in each time!

In summary this kit is easy to build, robust and well its cheap enough to buy a second one for a complete set of spare parts. I will upload some videos of it in action soon!

Tiger Tank Update: First Set of Tracks Fitted

WP_000340

I finally got around to doing some more of my tiger tank build at the weekend. Last week I received the final parts of the series so I thought it was time to get back into it. In this session I fitted the exhaust stacks to the back of the tank and added the left track. The track is made of 96 metal links held together with pins.

WP_000338

I did encounter some badly cast track links, but these were overcome with a bit of filing and brute force.

WP_000324
The tracks fresh out of the packaging.
WP_000325
Spraying the track links black.
WP_000334
Joining the links.
WP_000335
The complete left track.

Build your own Red Bull 7 (first batch of parts)

My first batch of parts for the Red Bull 7 kit arrived today.

The parts include bits of the front wing, rear wing, a wheel and an oil filled shock to build.

The front wing had some small parts that were pretty annoying to fit but I got there in the end.

You can see the oil filled shock balanced between paint pots in the photo.

This is to let the oil spread around the shock assembly and remove pockets of air.

First batch of RB7 parts