

I had some trouble with the brush-less motor when testing the car where accelerating or reversing would cut out the electronics. I managed to sort this by Continue reading Finishing the Blitzer Beetle
I had some trouble with the brush-less motor when testing the car where accelerating or reversing would cut out the electronics. I managed to sort this by Continue reading Finishing the Blitzer Beetle
Sorry about the ad. It seems it was added because of the music You Tube detected.

I did not intend to do any actual work on the display body as it requires removing the engine head to fit. My plan was to just wait for the display body.
 The long awaited racing body arrived last week and was found in my local green Continue reading Red Bull 7 Preparing the Bodyshell

As I mentioned in my previous post. The air filter is something special on this model. It is in fact hidden within the drivers helmet.
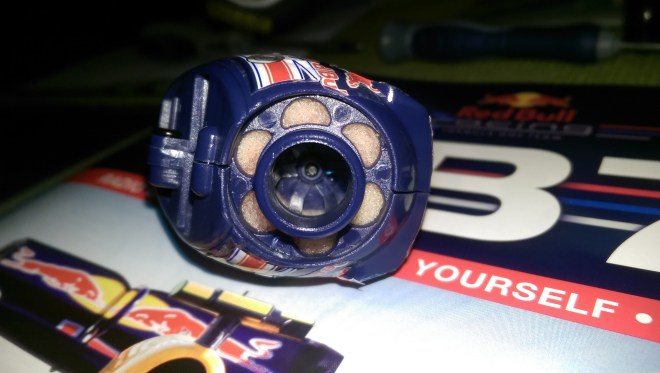
I soaked the filter sponge in filter oil before screwing it into the helmet structure. Decals were then applied to the helmet to give it the detail shown in the photos.
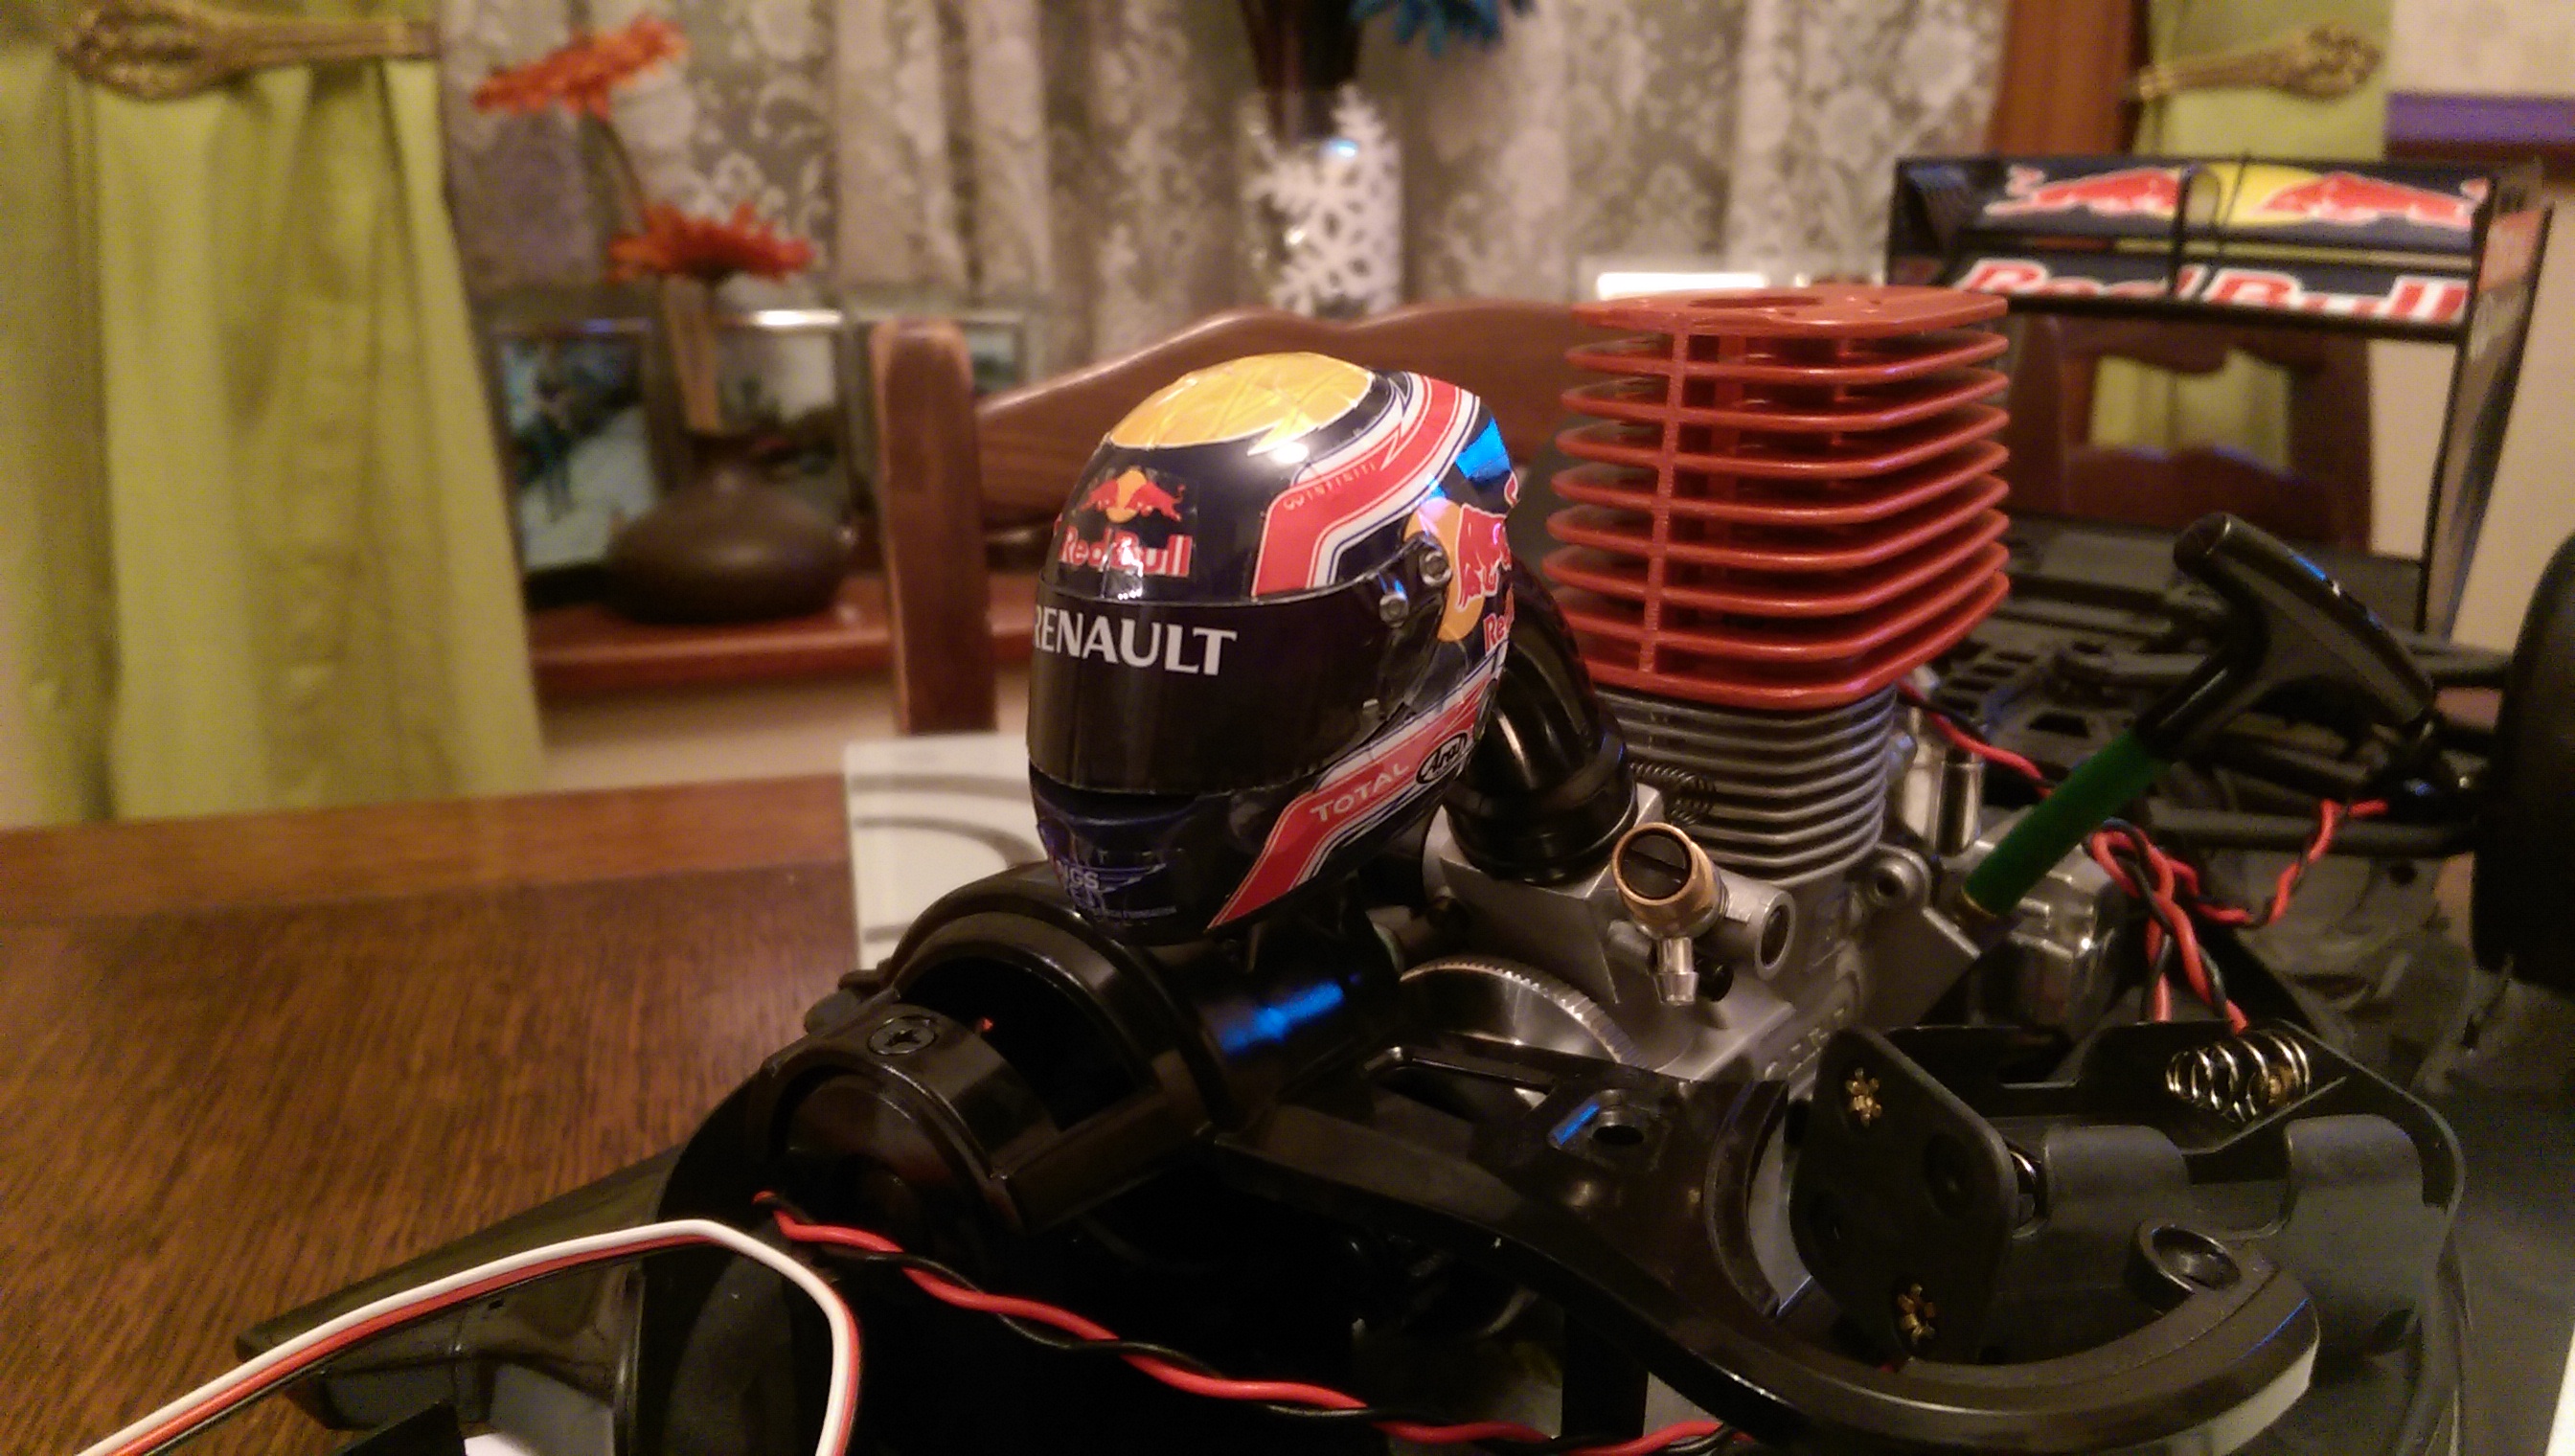
Who would of though Mark Webbers head would become an air filter?
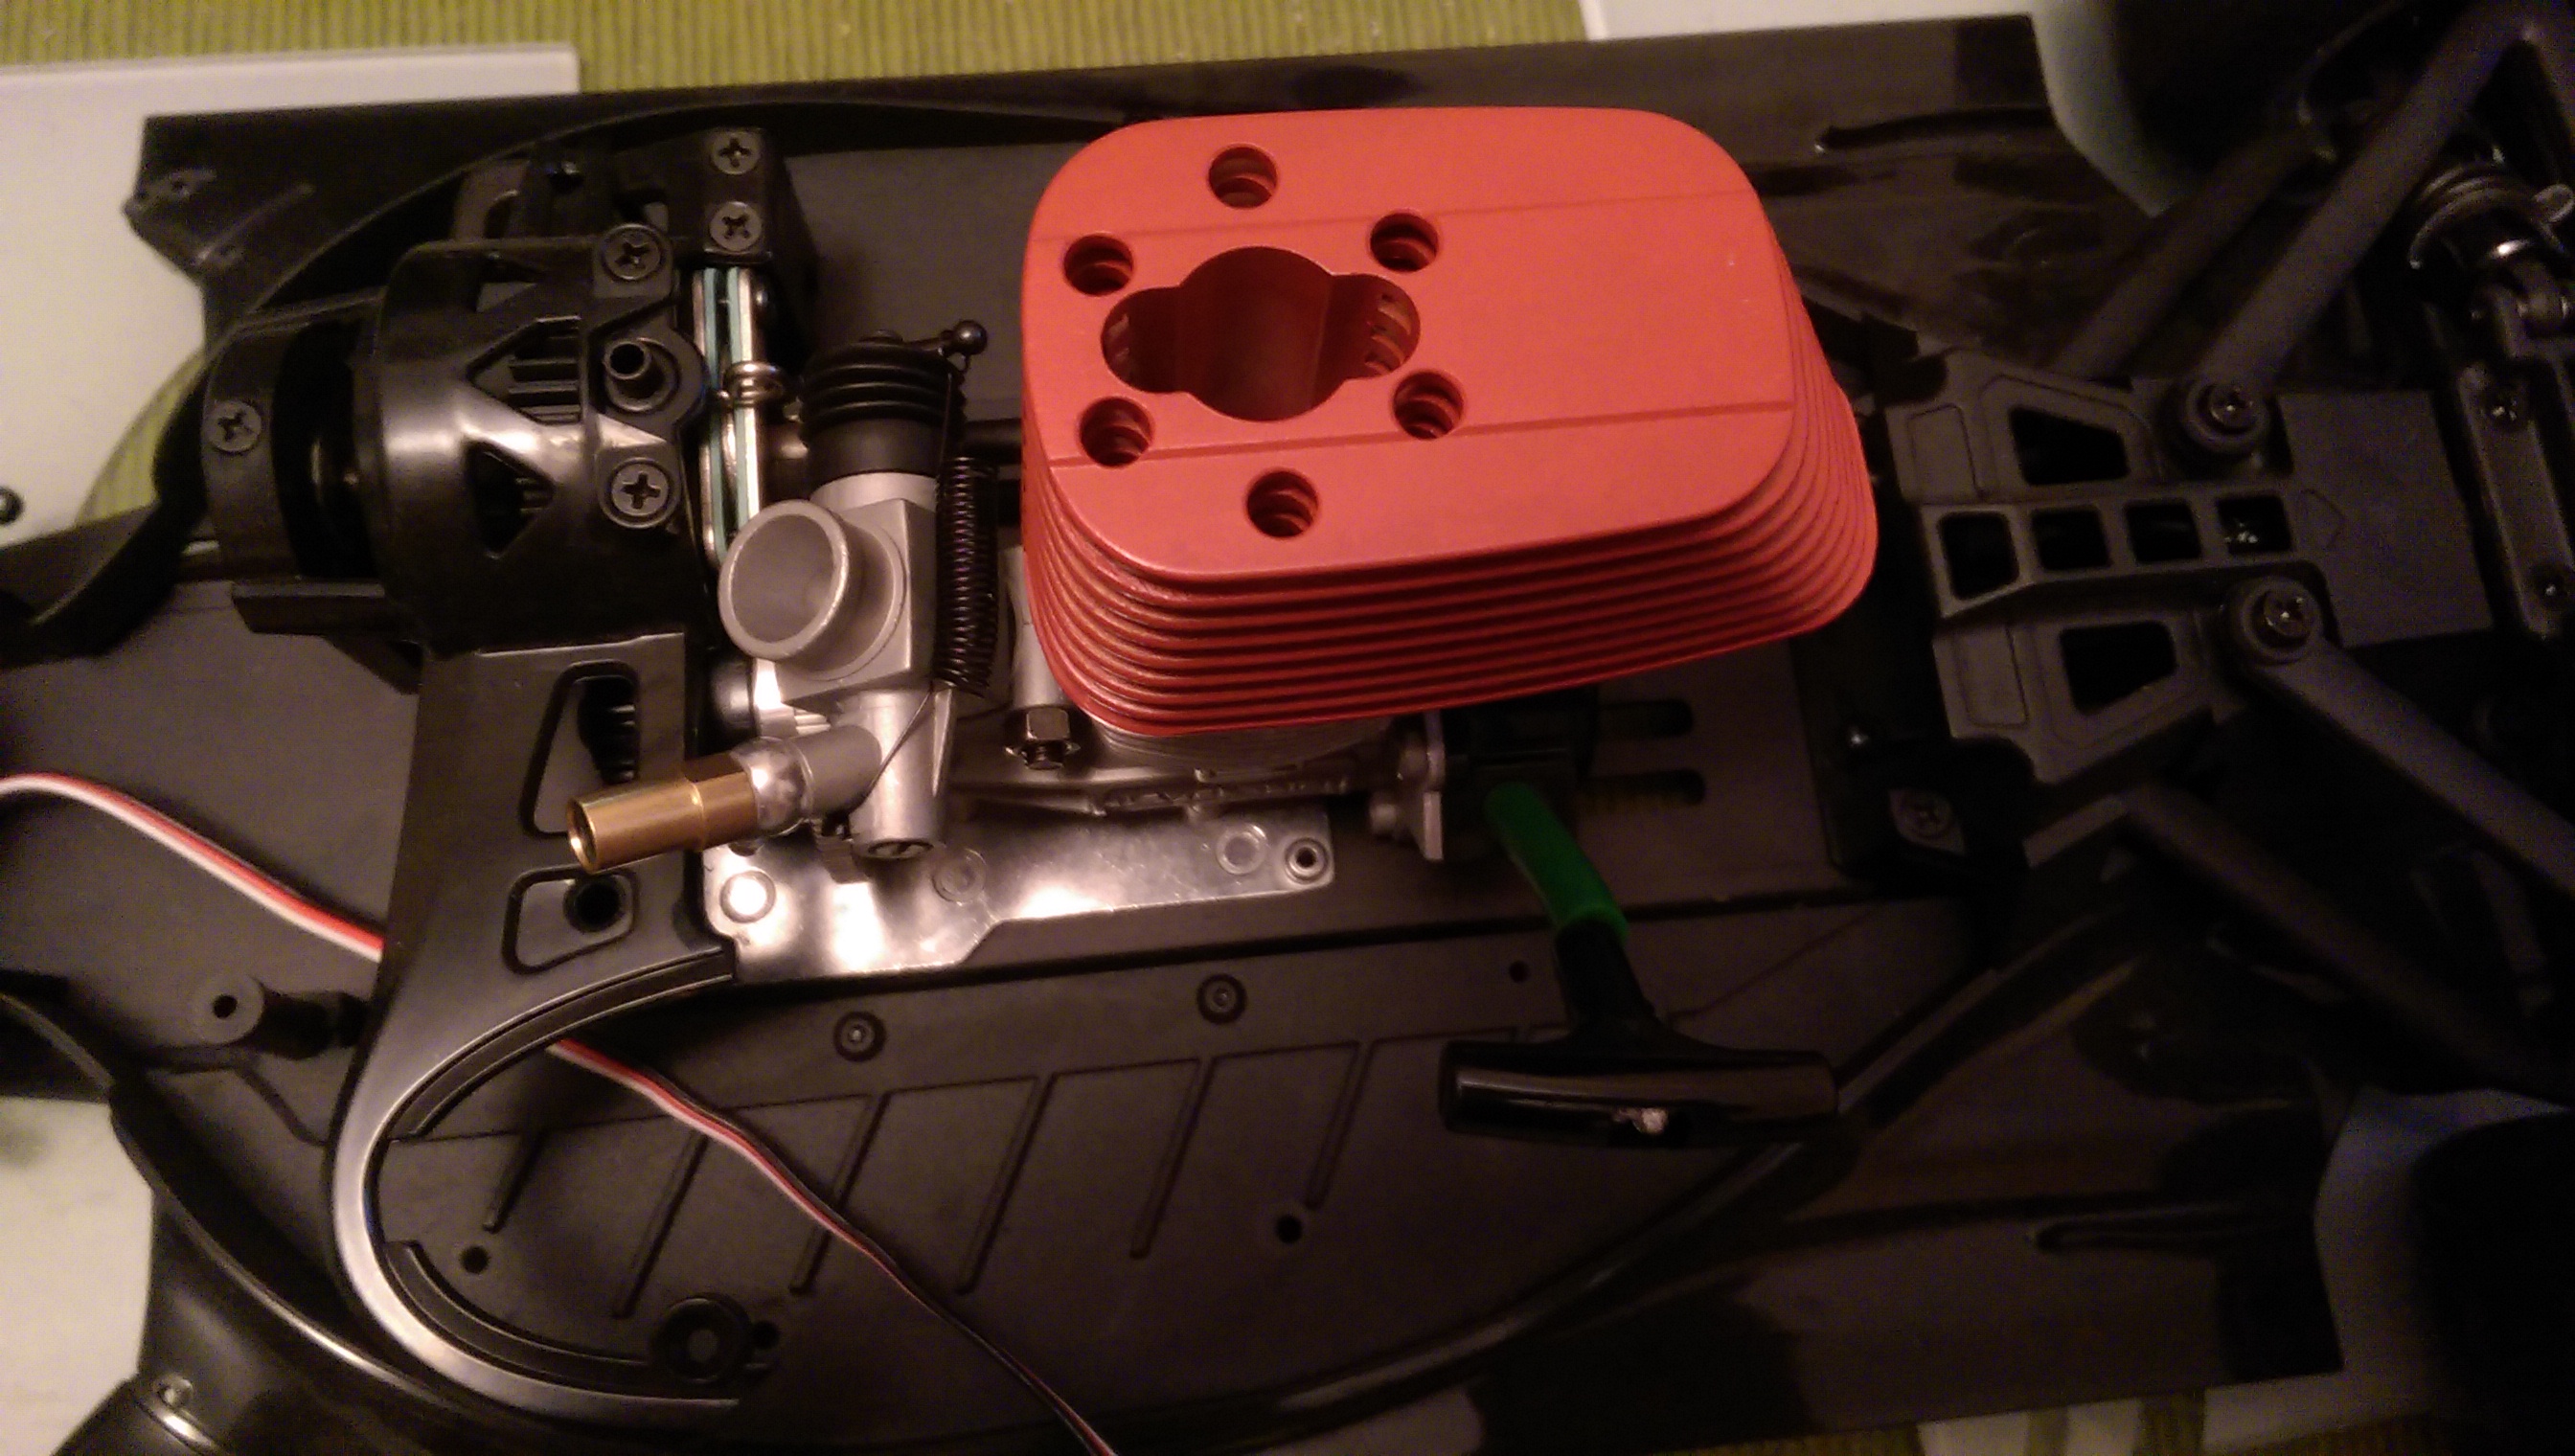
 In this session I have added the exhaust to the gx-21 engine for my RB7. Its immediately noticeable that the exhaust set-up is very different to on a standard nitro car.
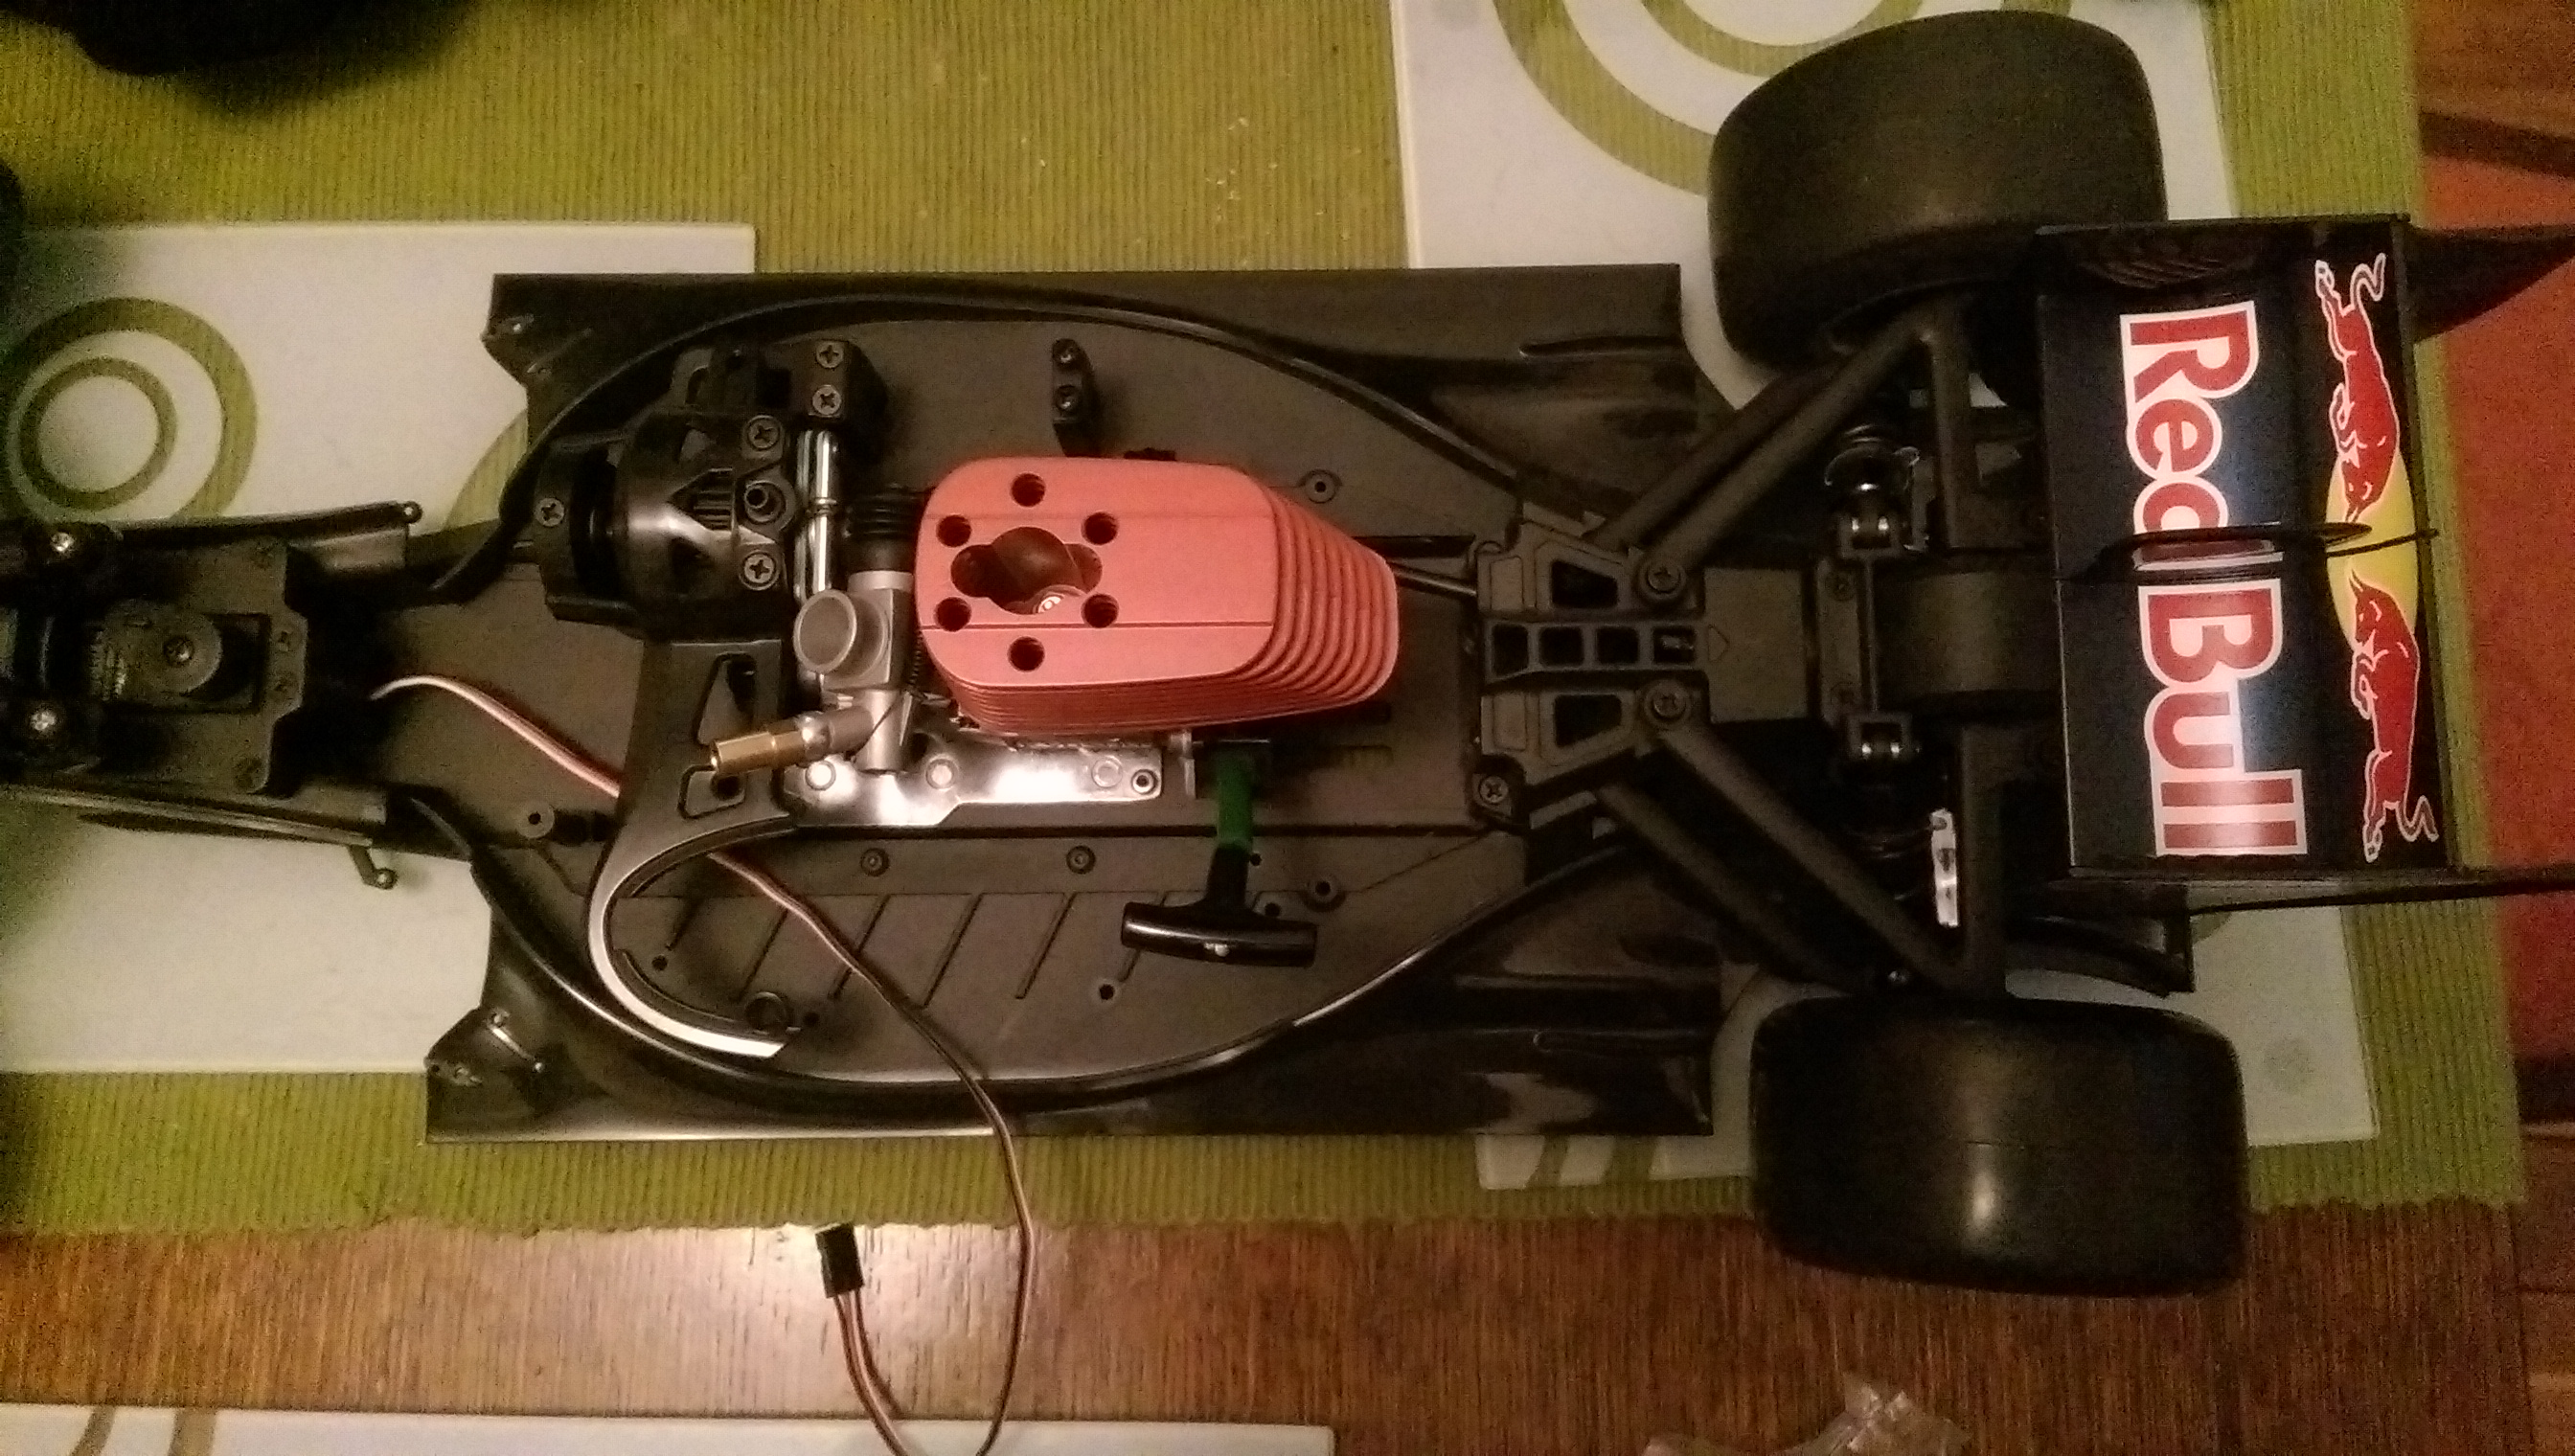
It has a compact exhaust system that goes straight out of the back of the chassis rather then the common side pipe method. This adds to the scale realism because it means it will all be tucked away neatly under the body shell.
 The engine is mounted and gears meshed.
I have also added the receiver battery case and on/off switch at this stage.
Next up will be the air filter which may sound boring but this ones special.
This section of build brings the engine closer to completion.
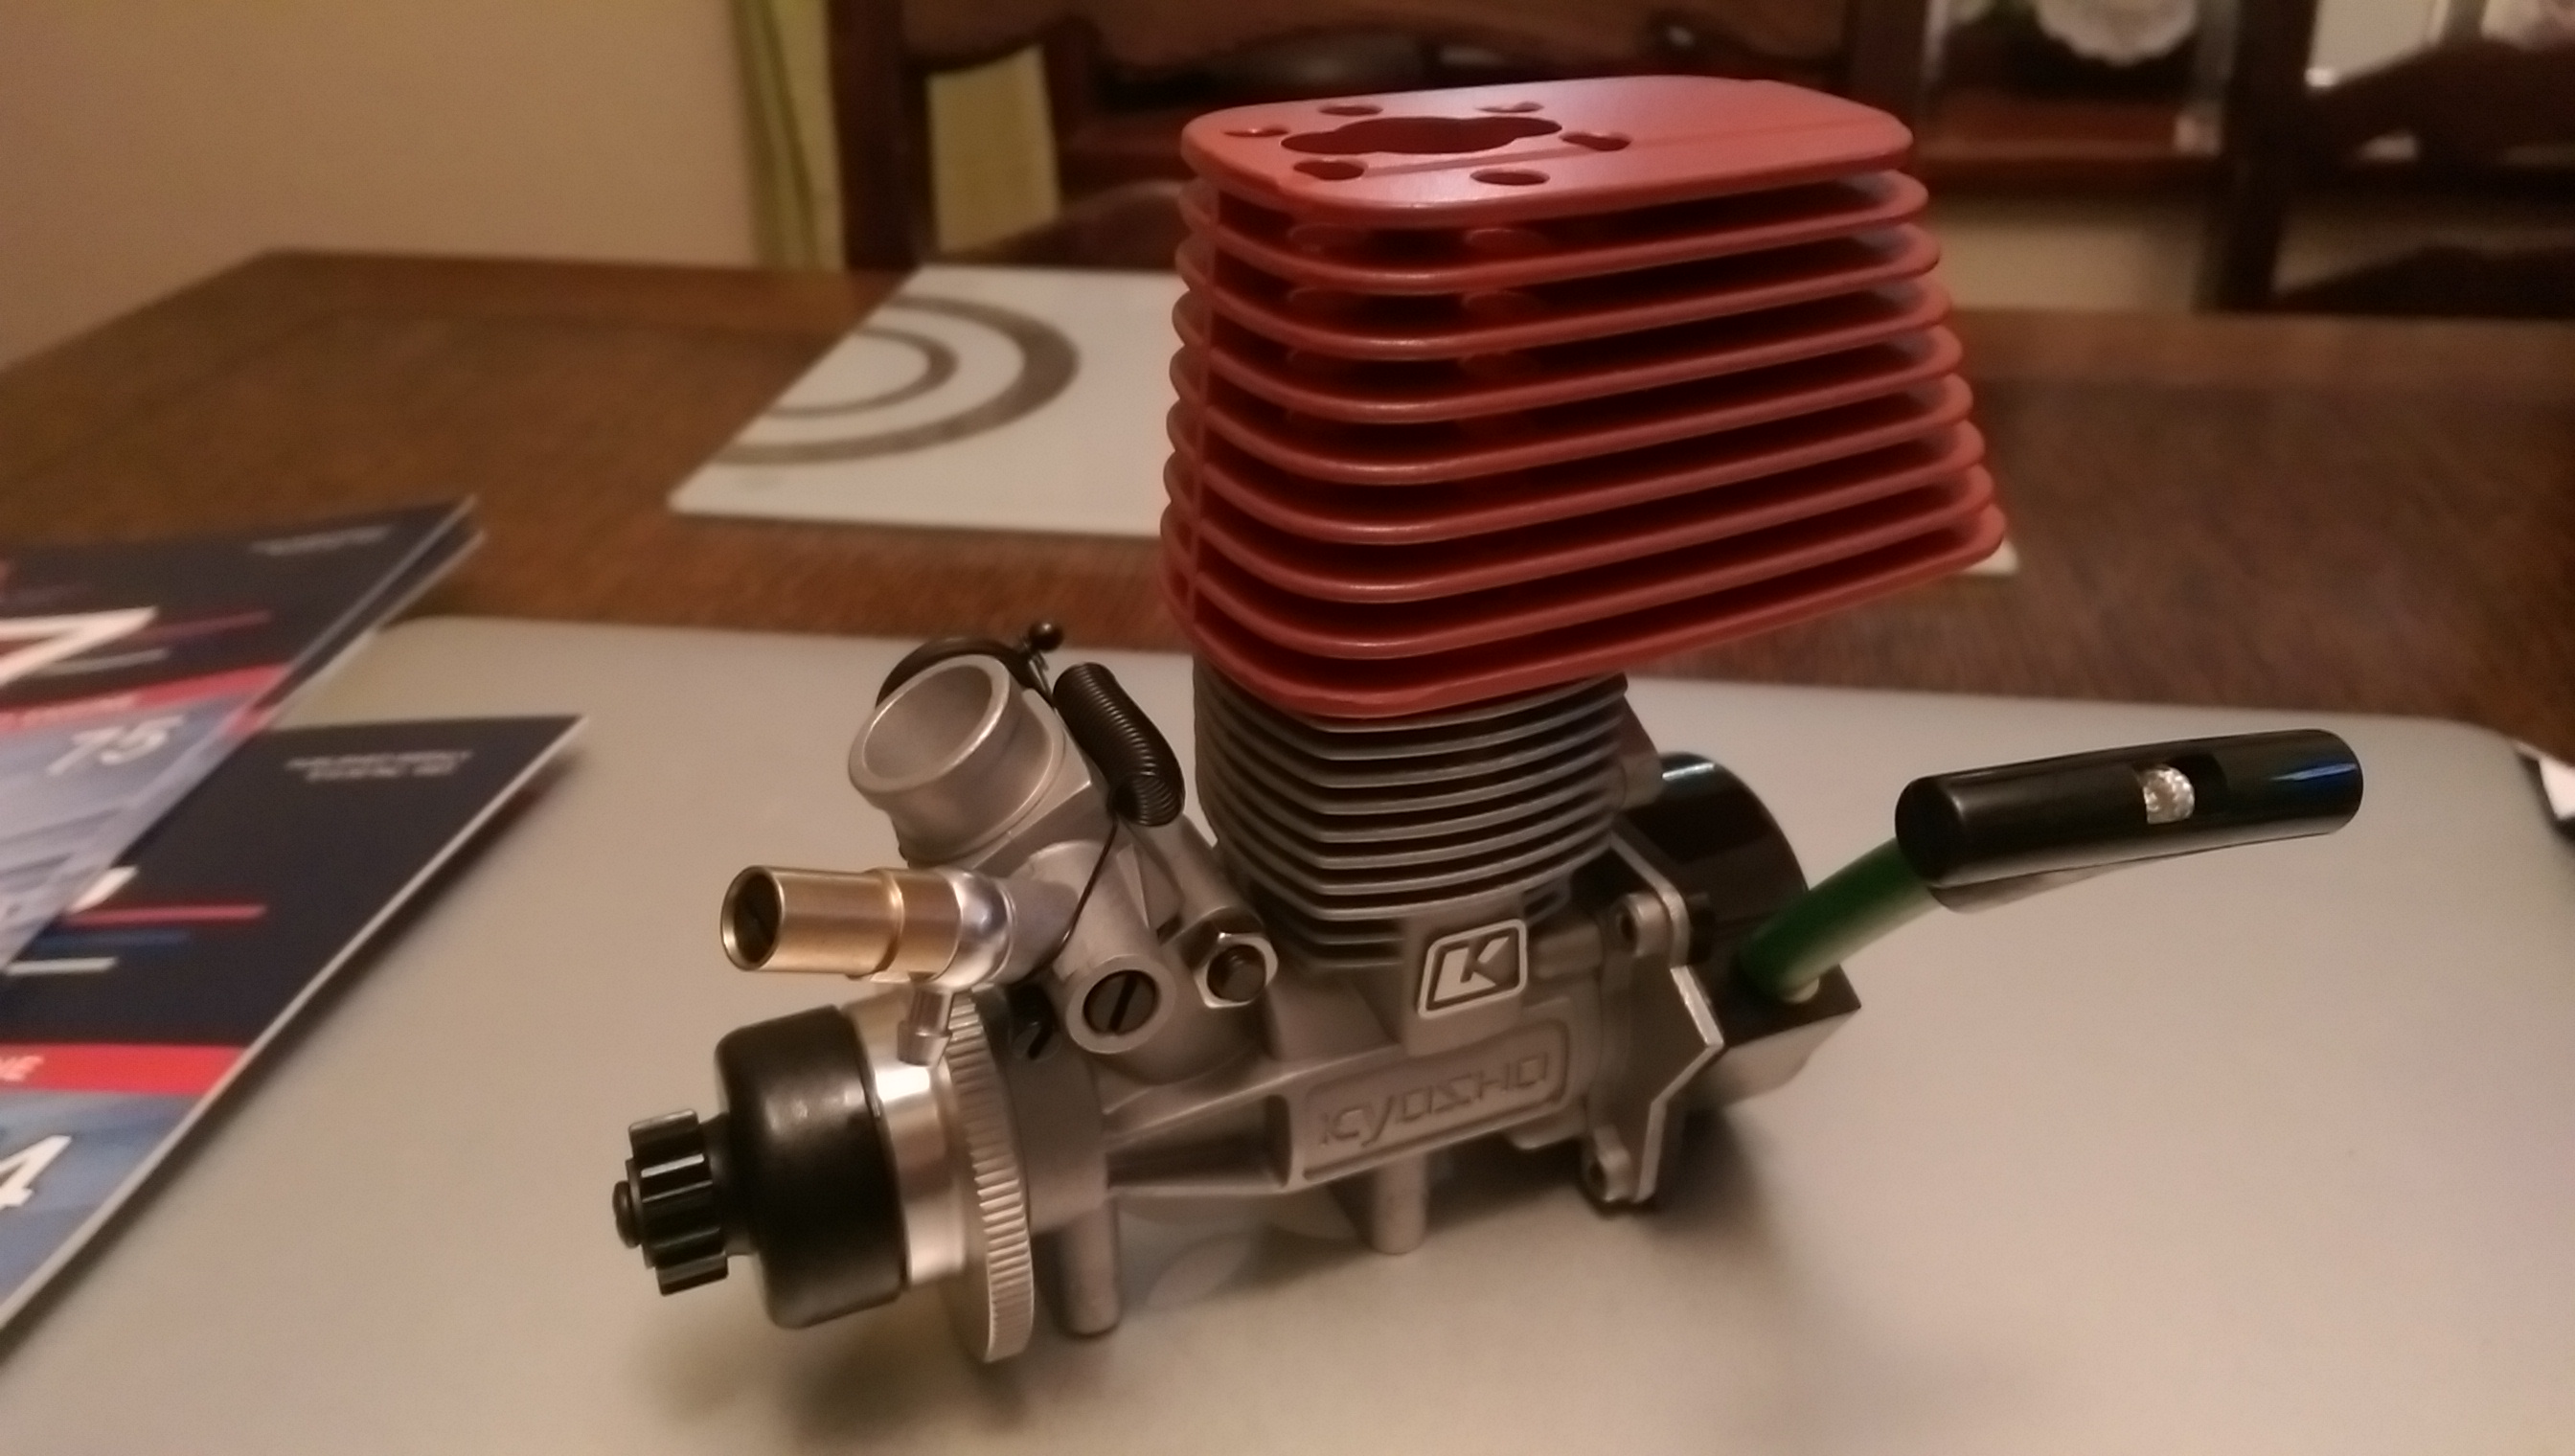
Here I have added the flywheel and clutch to the engine. The engine now has clutch bell with gear enabling it to mesh the the main gear on the chassis.
Below are some photos of what the engine will look like when its attached to the chassis.
In the next collection of parts I will get the exhaust and manifold, enabling me to fit the engine onto the chassis.

I have finished working on the body of the Hummer H1 model. There are a few spots to touch up with paint but aside from that it is complete.
On the front of the vehicle I have added the logos, windscreen wipers and lights above the windscreen.

One of the most noticeable additions is that I have added the tinted window panels.
These really enhance the look of the model. Some of these panels will need to be removed however when running the car in order to provide adequate cooling for the engine.
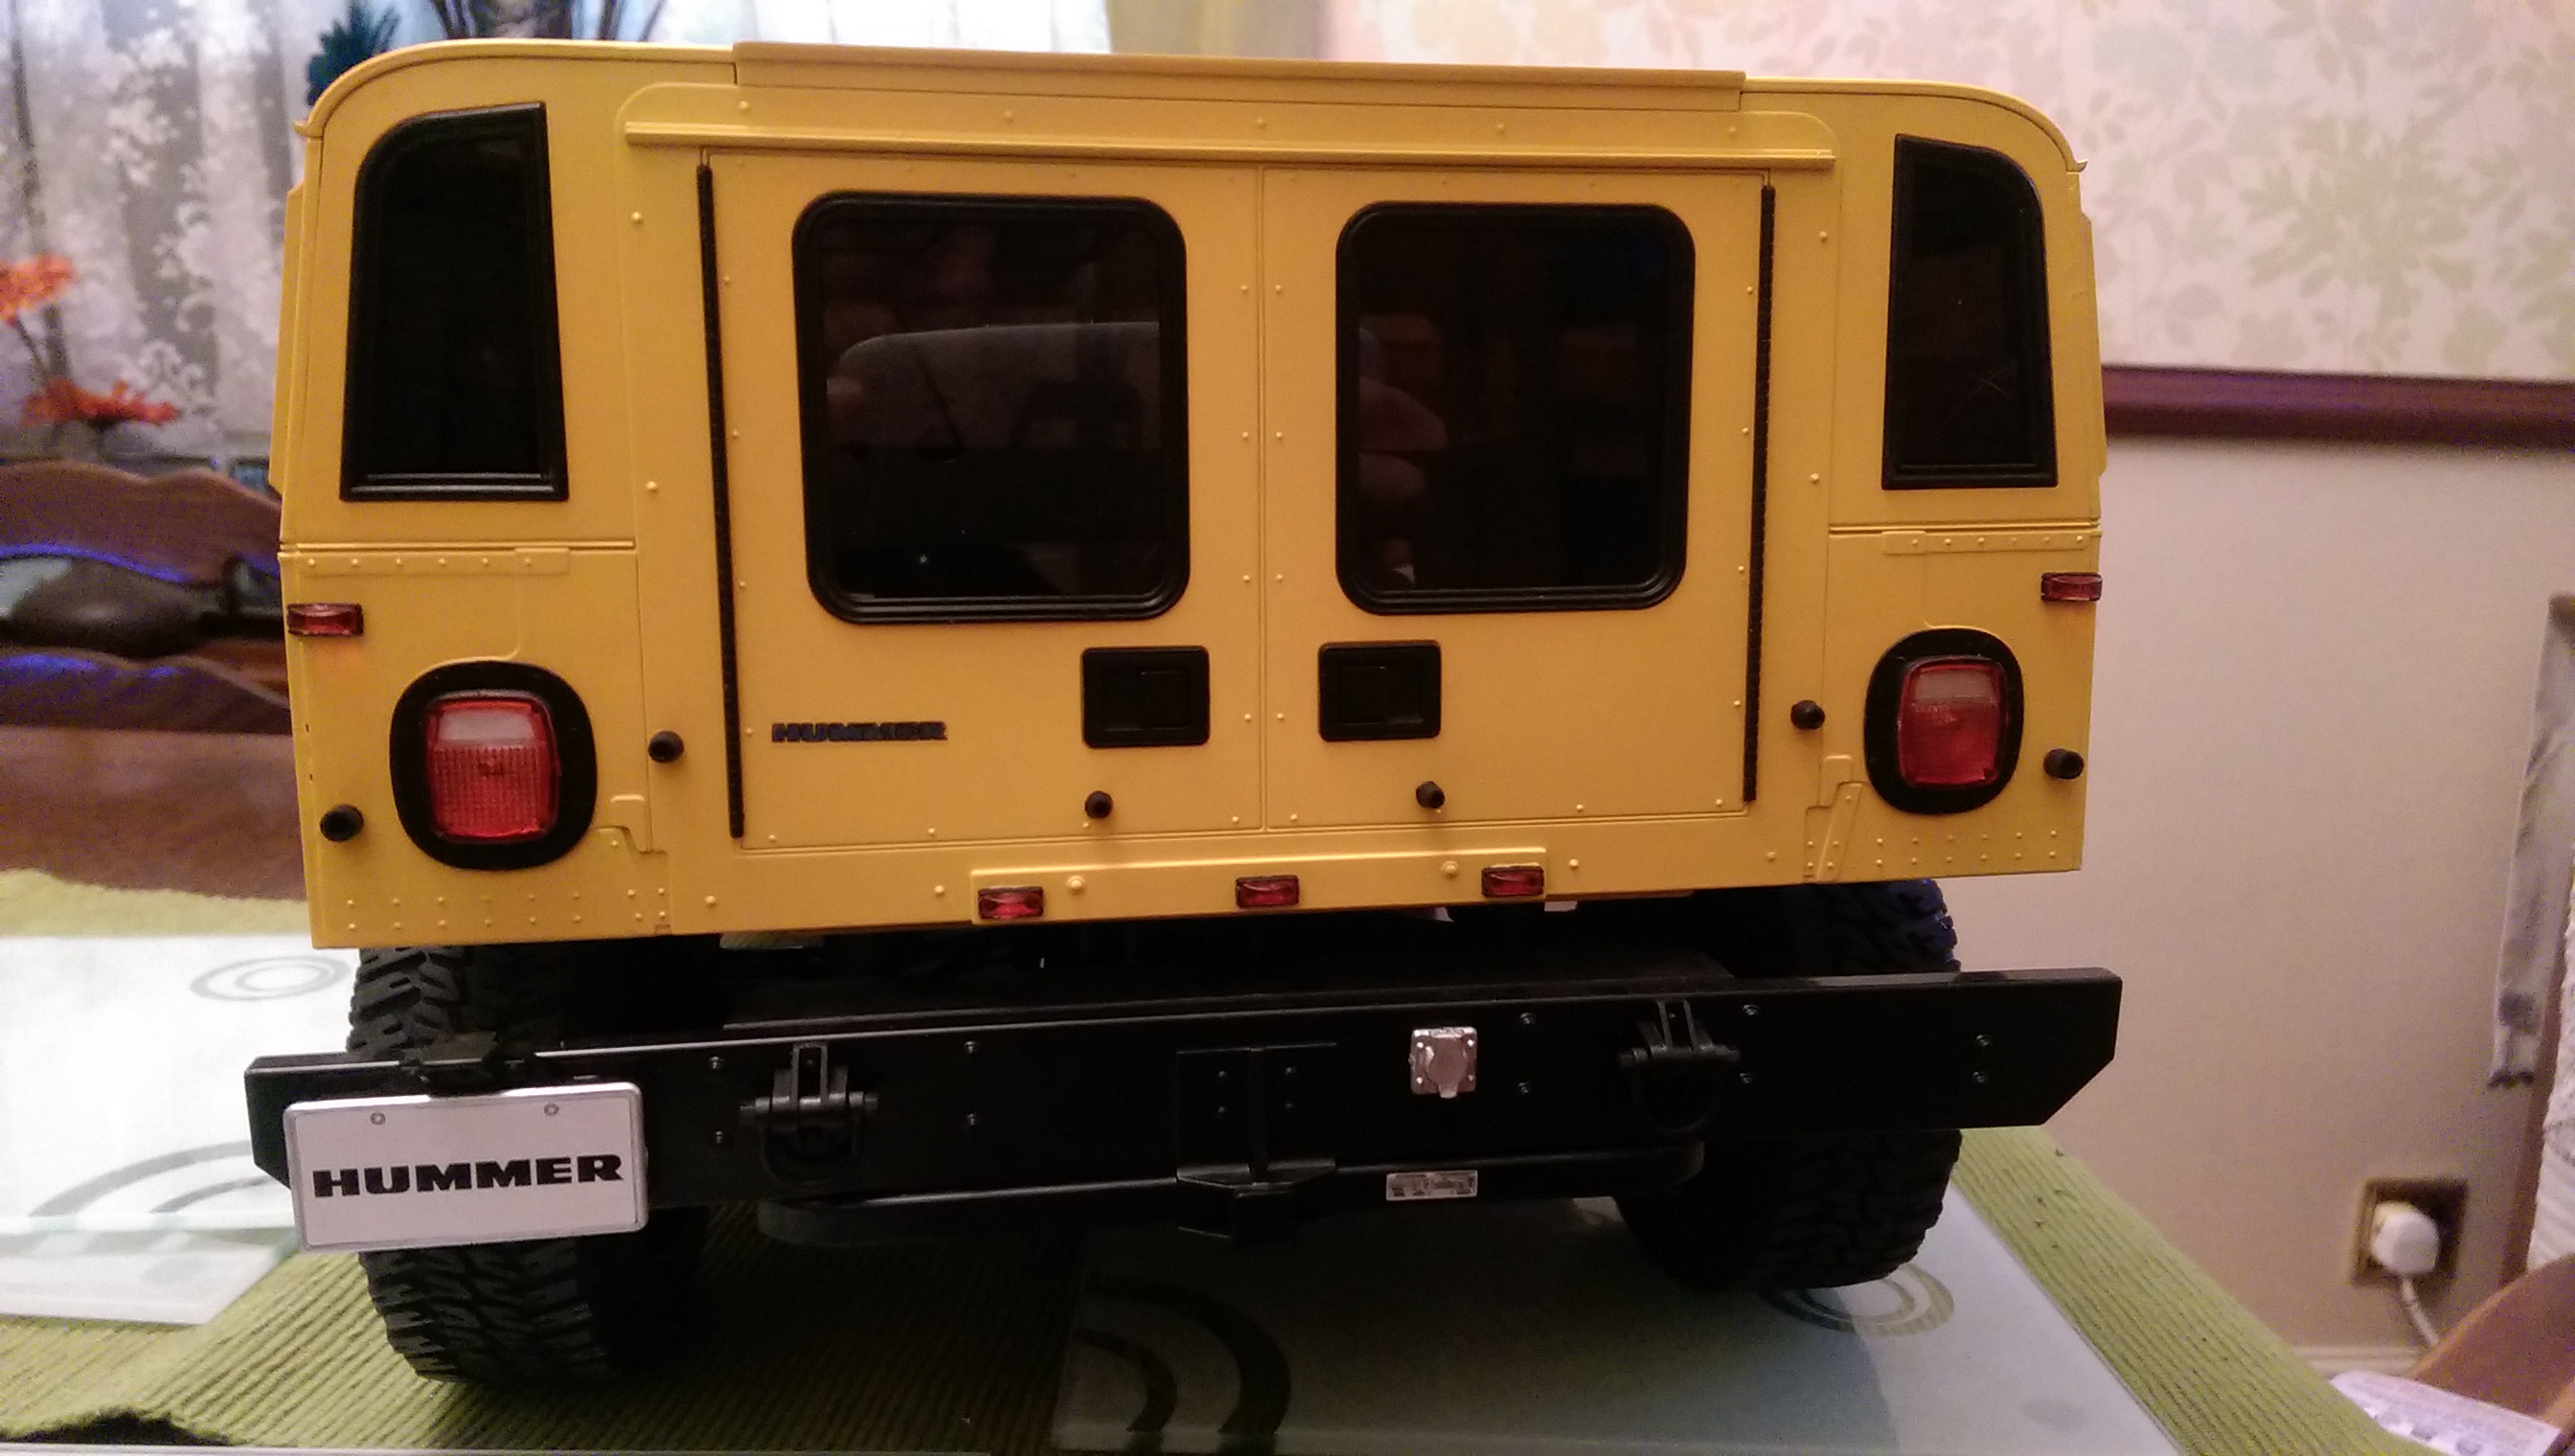
On the rear of the vehicle I have added the indicators, small rear lights, number plate and plug socket.

The aerial, side indicators and Hummer logo have also been attached at this stage.
Adding the lights really enhanced the look of the model and I am very pleased with how they come out using clear red/orange paint.
Now all that is left for this model is the engine, exhaust and radio equipment.
 In this section of the Red Bull build I have almost finished building the engine, its nearly ready to be fitted to the chassis.

The final tyre has also been added to the car. This is great because I finally have all four wheels on the model but annoying because it has now out grown its old living space.
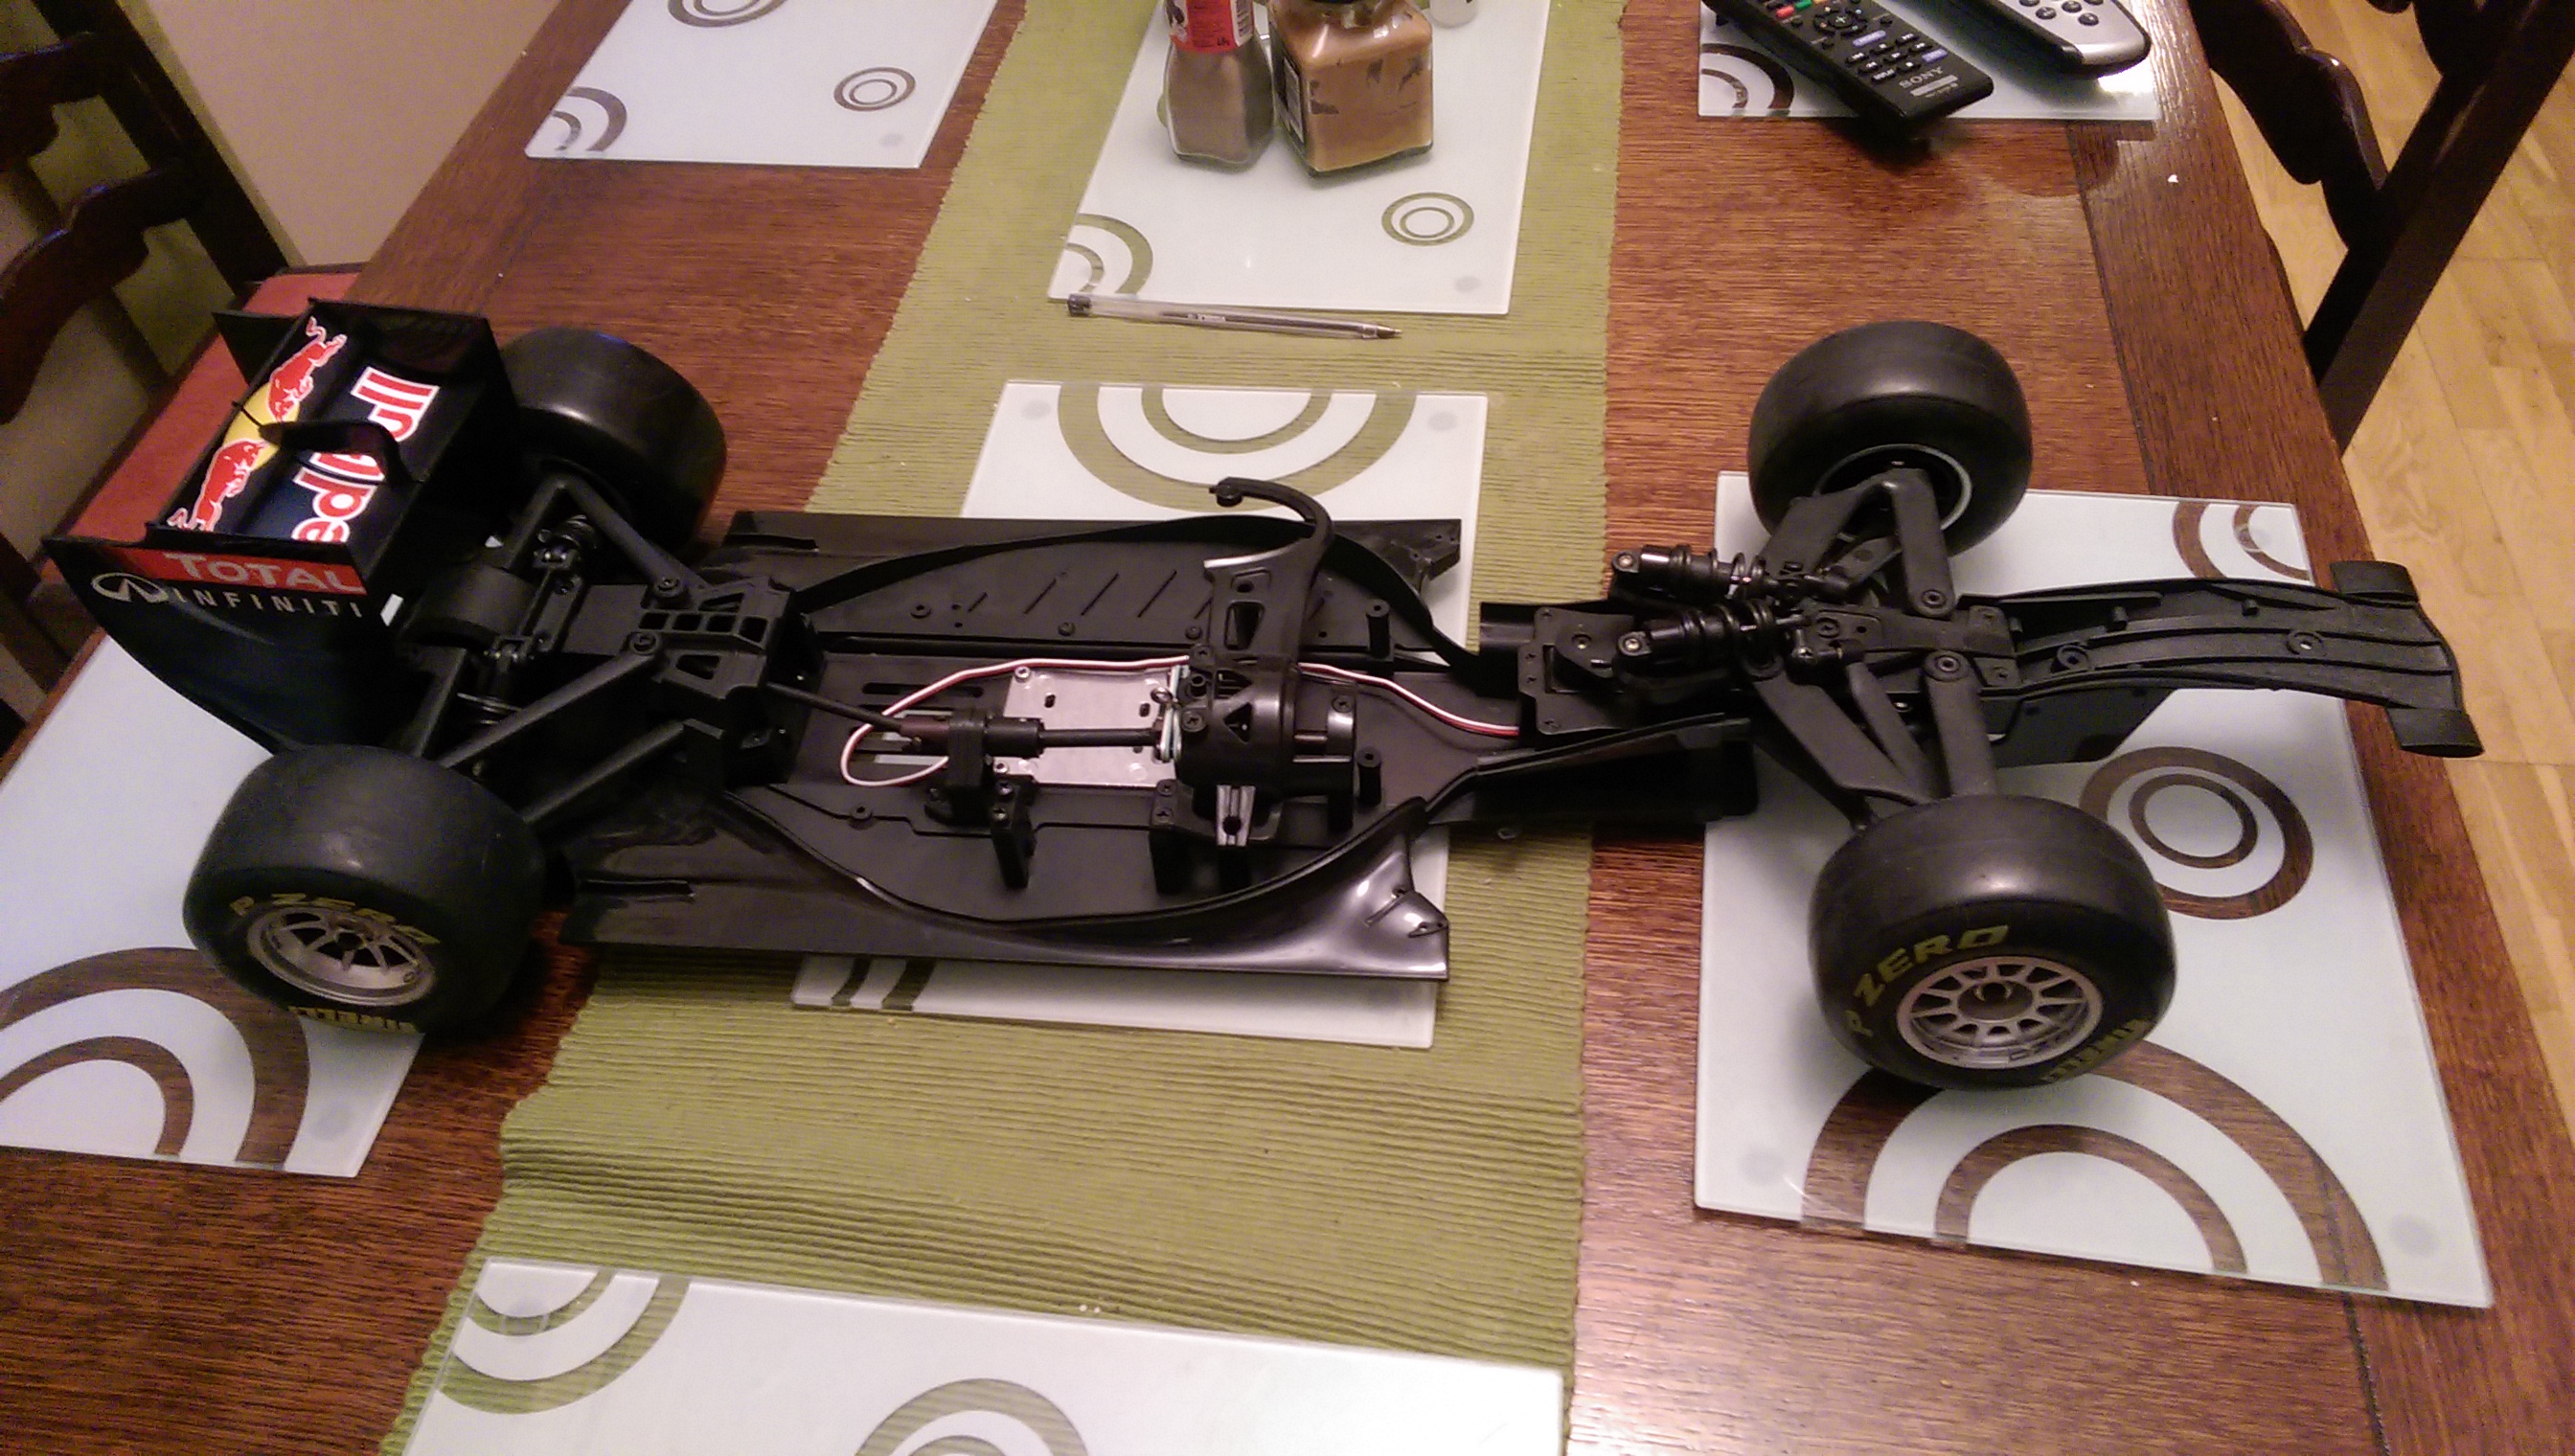
With this 1:7 model and the 1:8 Hummer I am building its getting hard to find space to store these models.


First up in this section is the gearbox.

The brake disc and pads are added to the gearbox.
The pin at the top will be attached to the throttle servo later which will apply the brakes when the throttle is released.
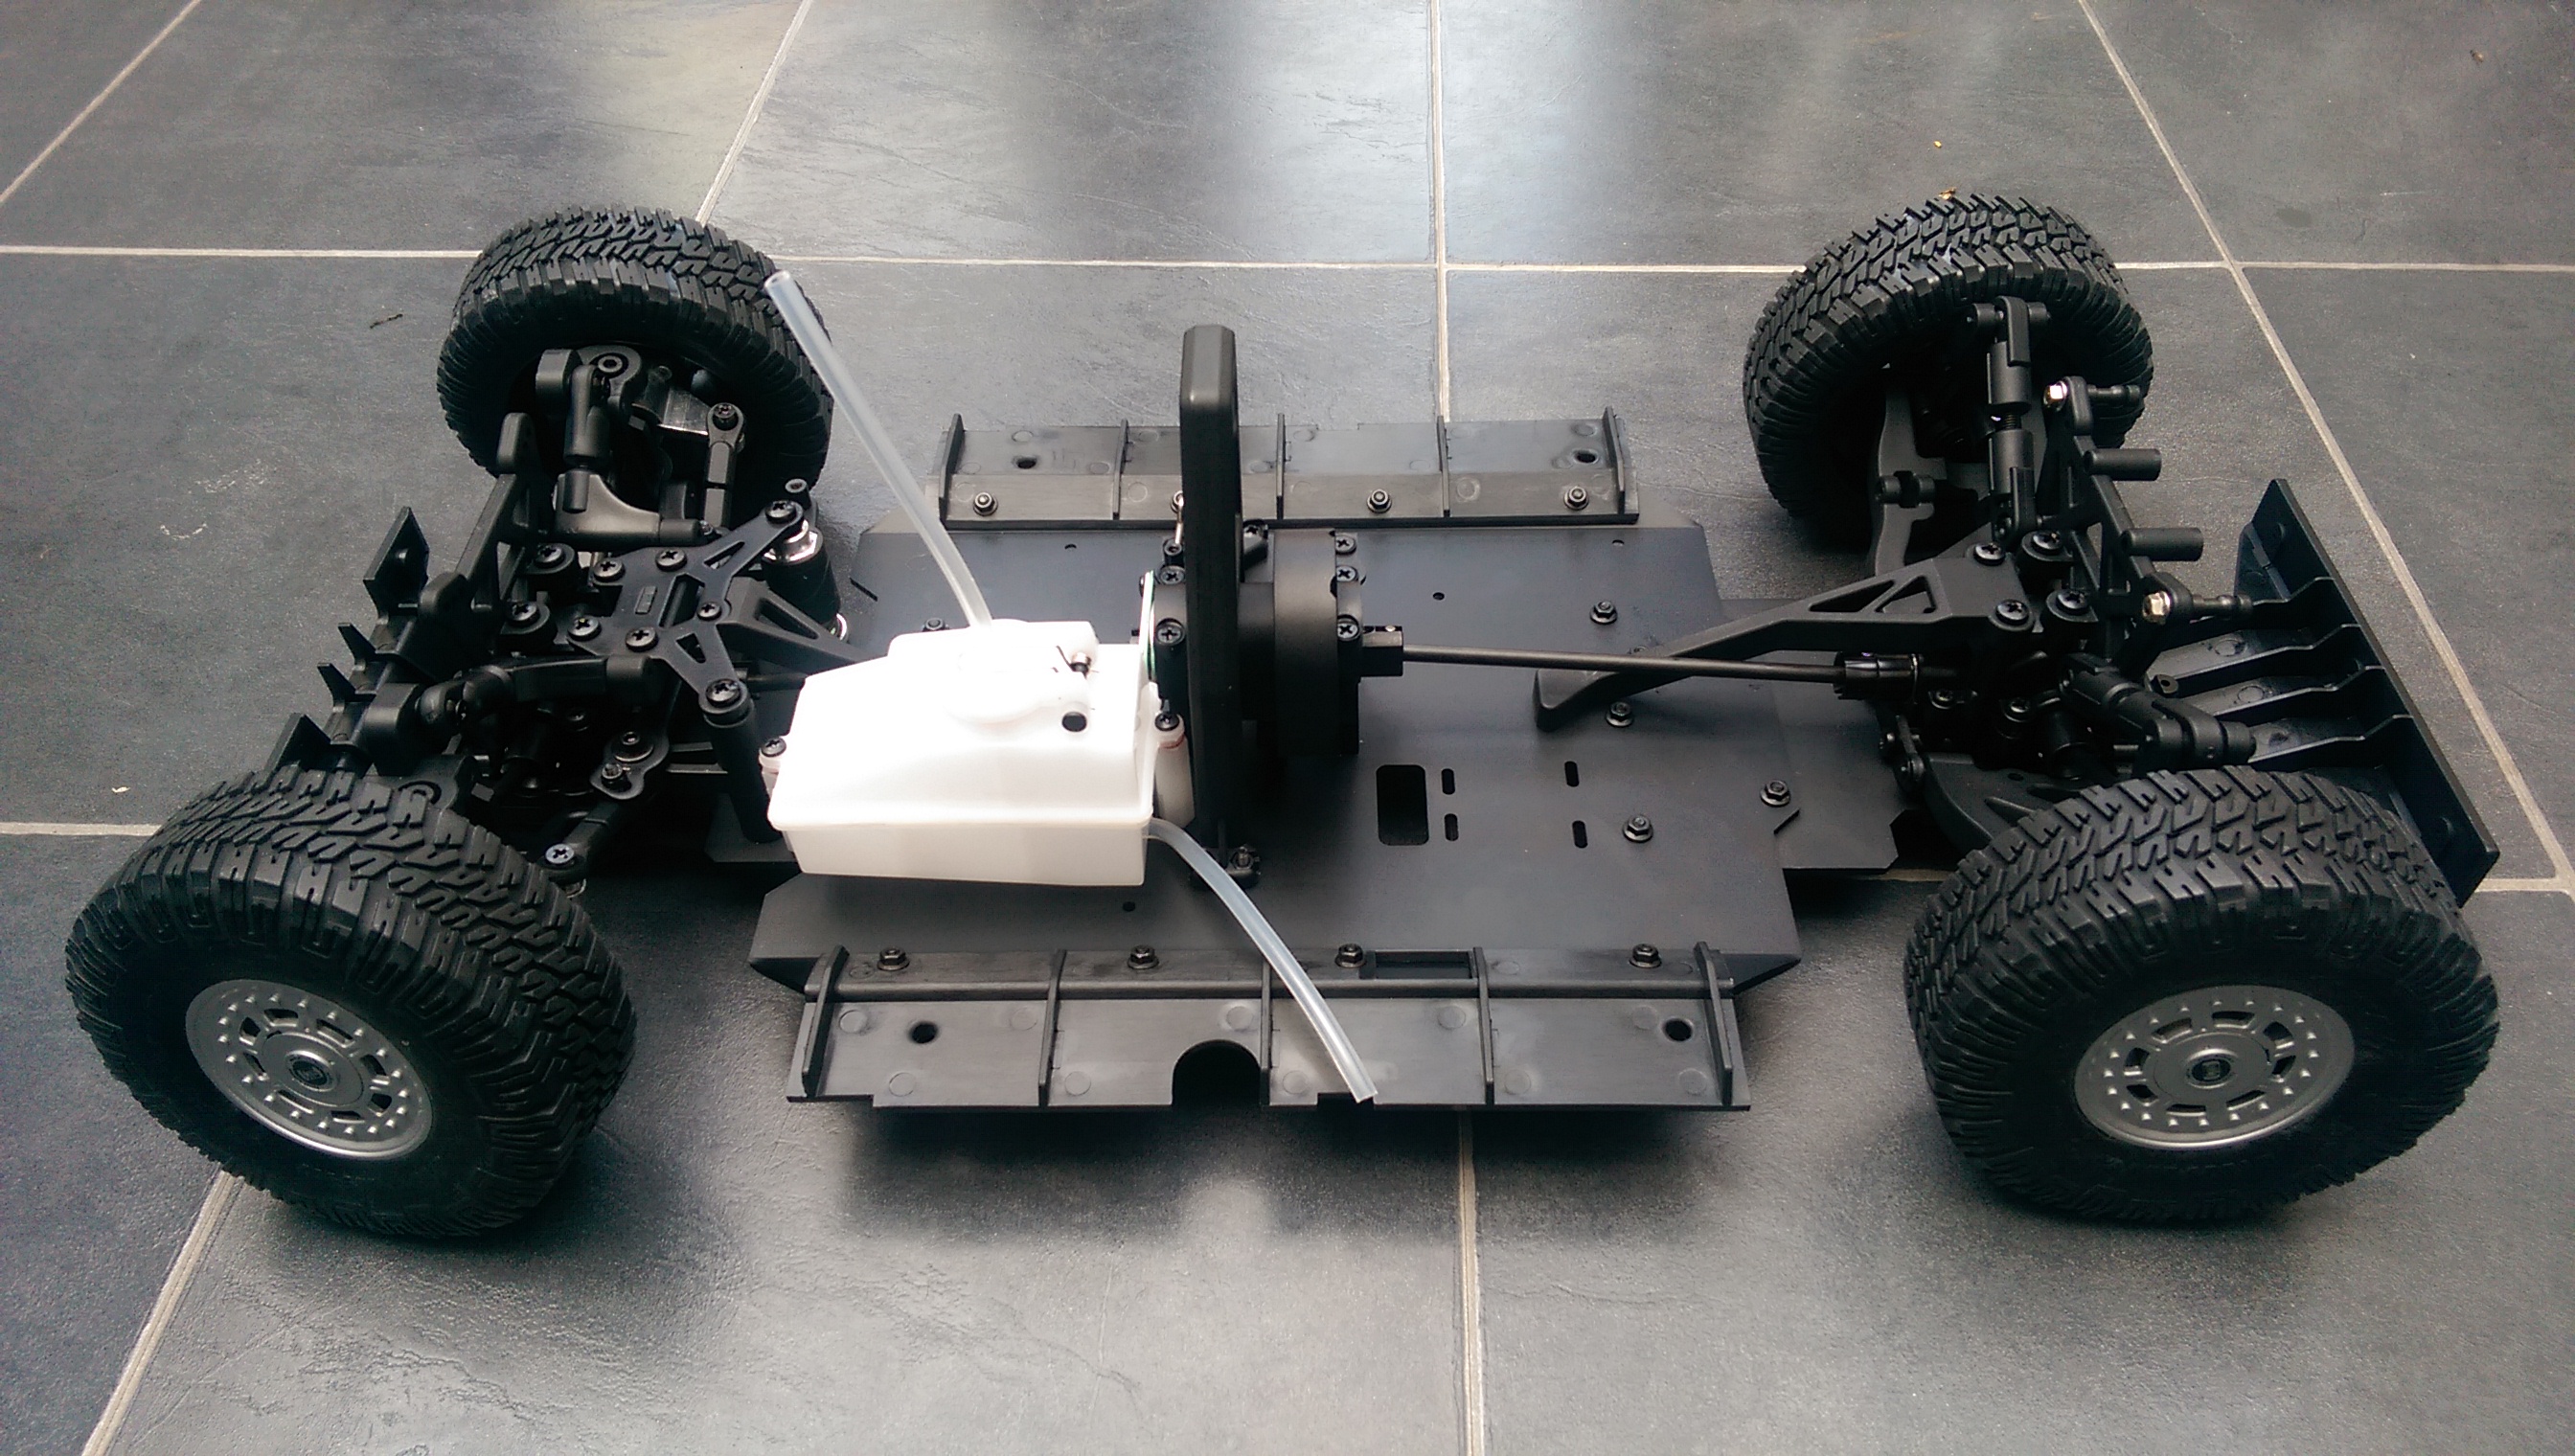
The gearbox is added to the chassis connecting to the the front and rear drives.
I have also added the fuel tank which is simply held in with two screws.
These are not fully screwed in to make sure the fuel tank can rock slightly.
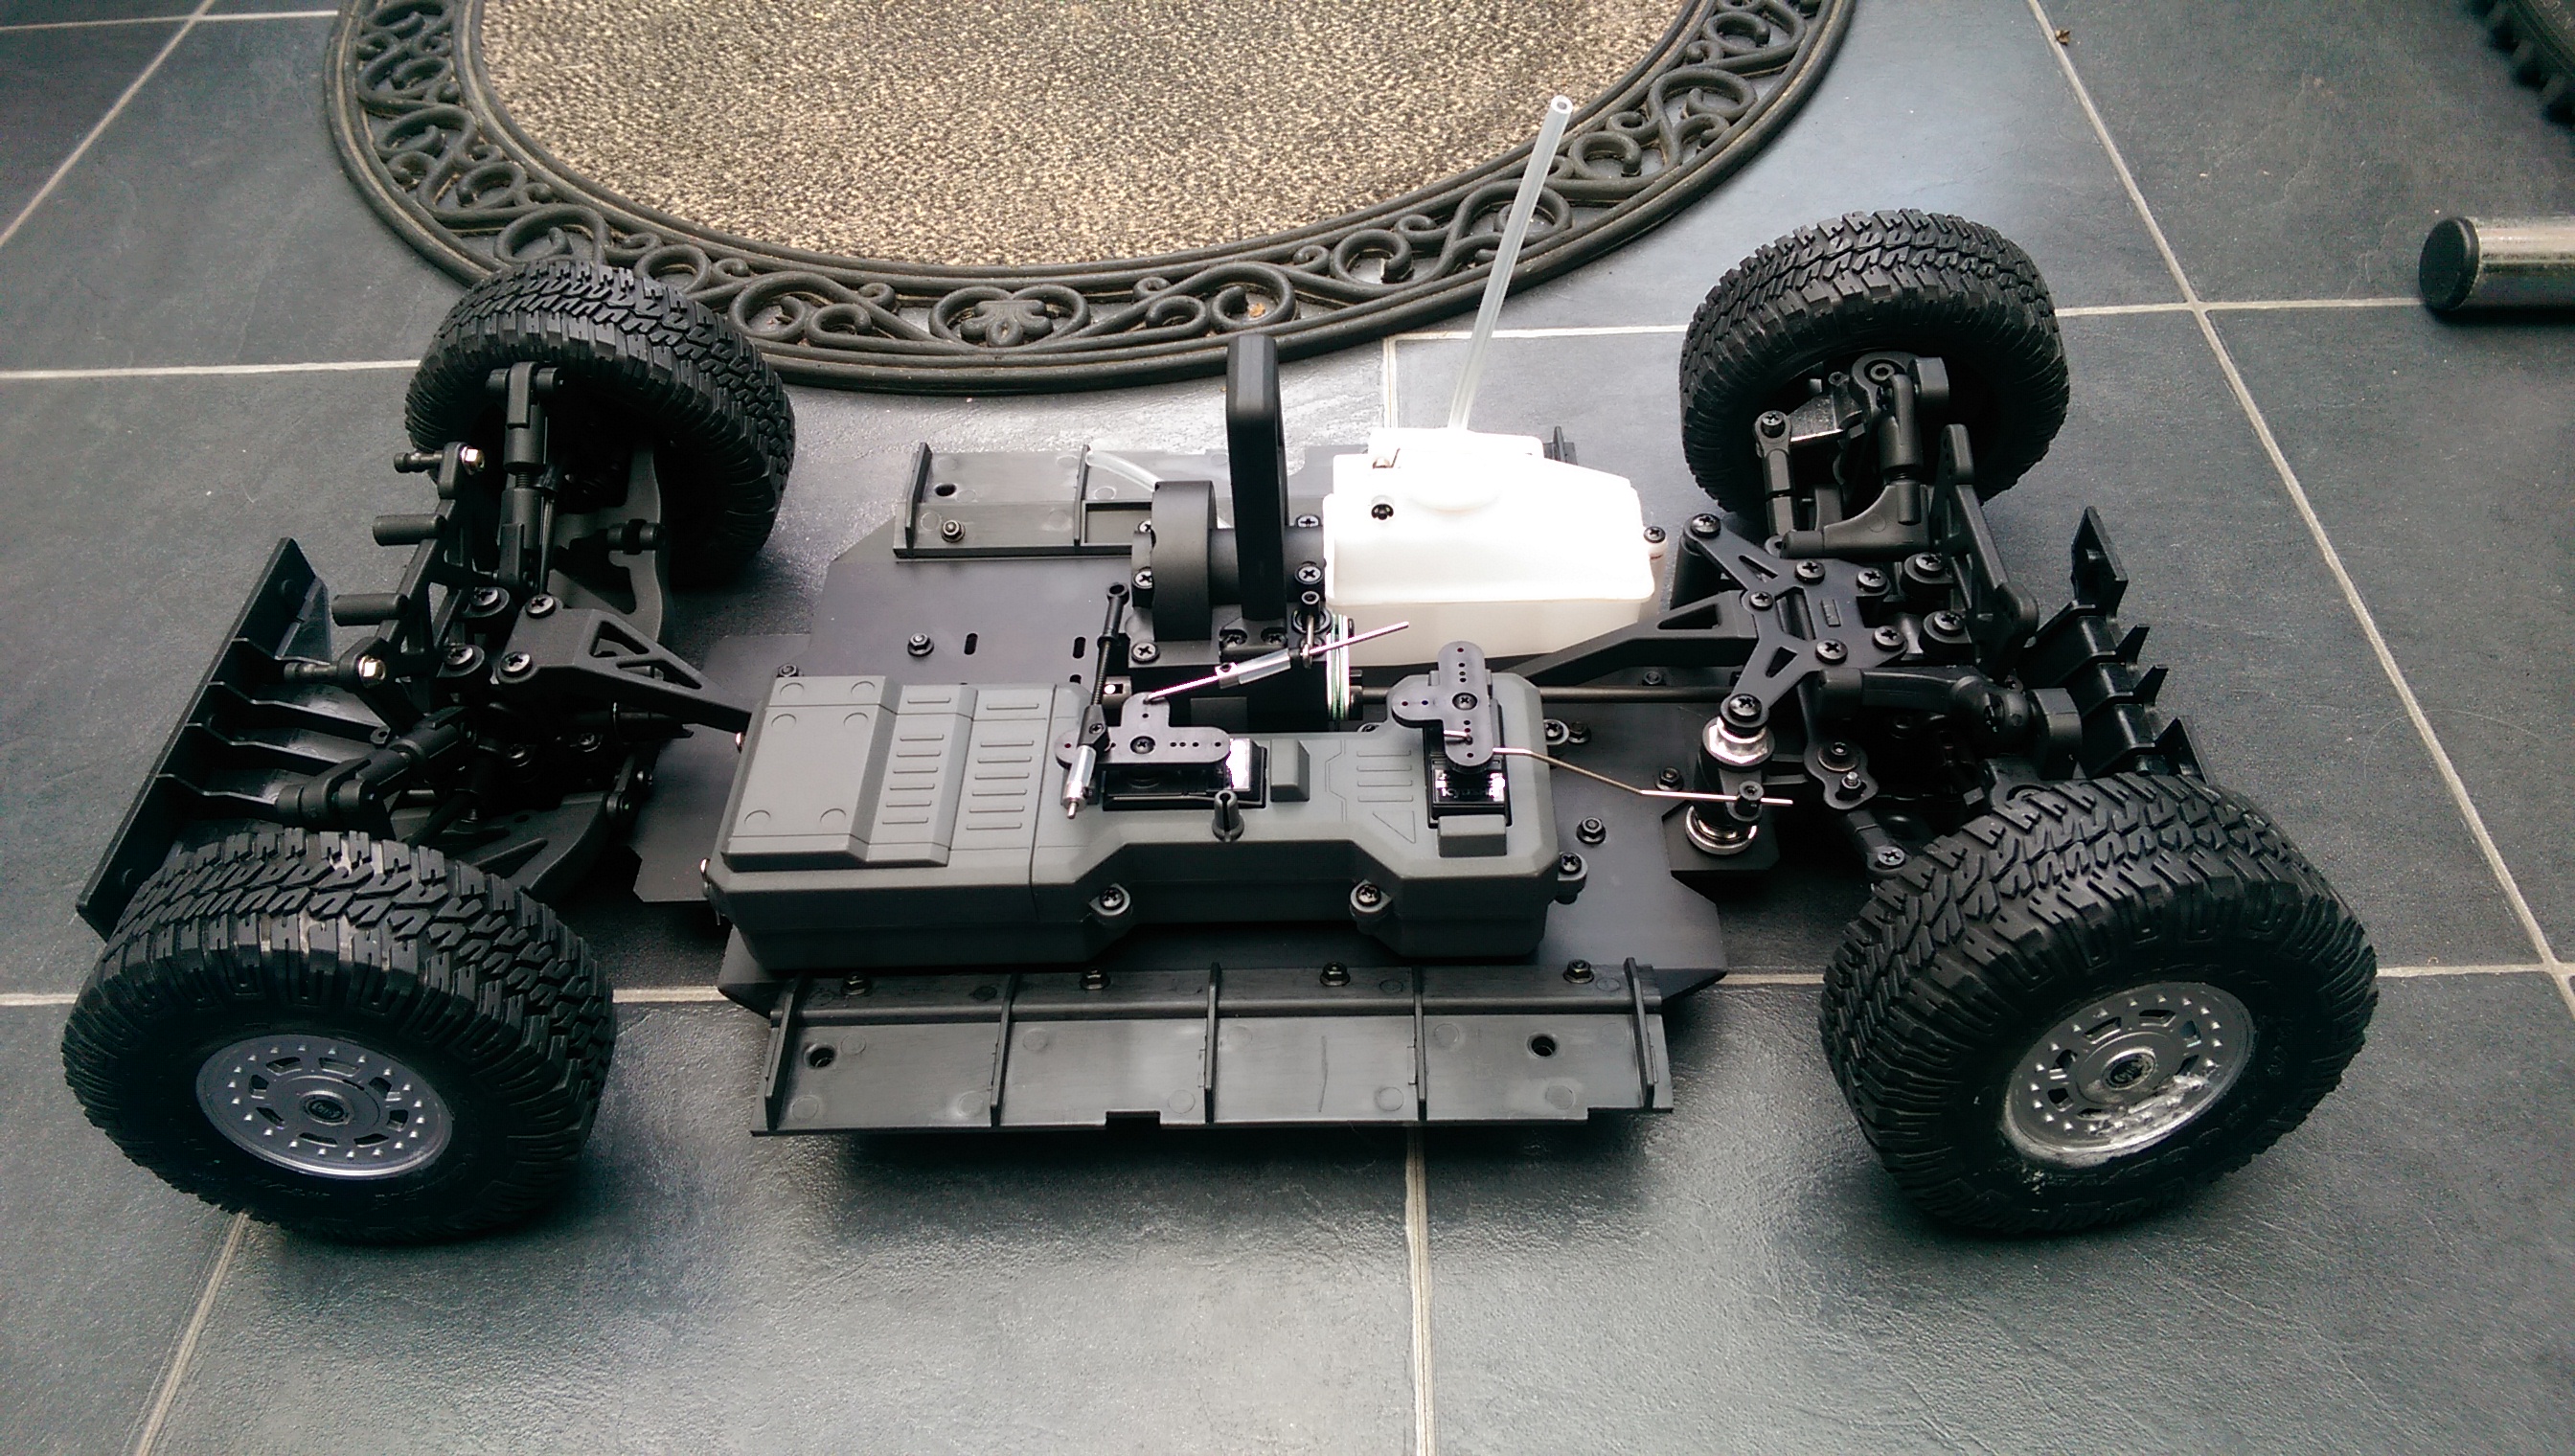
The electronics box is now added. This houses the battery box, steering servo and throttle servo.
The steering servo is connected to the steering rod.

Here you can see how the throttle servo also connects to the brake pin allowing it to both control the flow of fuel into the engine carb (when fitted) and the brakes.

In this post I start to build the engine for my Kyosho Red Bull 7 Formula One car.

The first part of the engine to add to the crankcase is the crankshaft. This is first given a thin layer of after run oil and then slid into the crankcase.

I used HPI after run oil which I already had from maintaining my other models. Continue reading Red Bull 7 Engine Progress

