First parts of engine have arrived for my Kyosho Red Bull 7 build

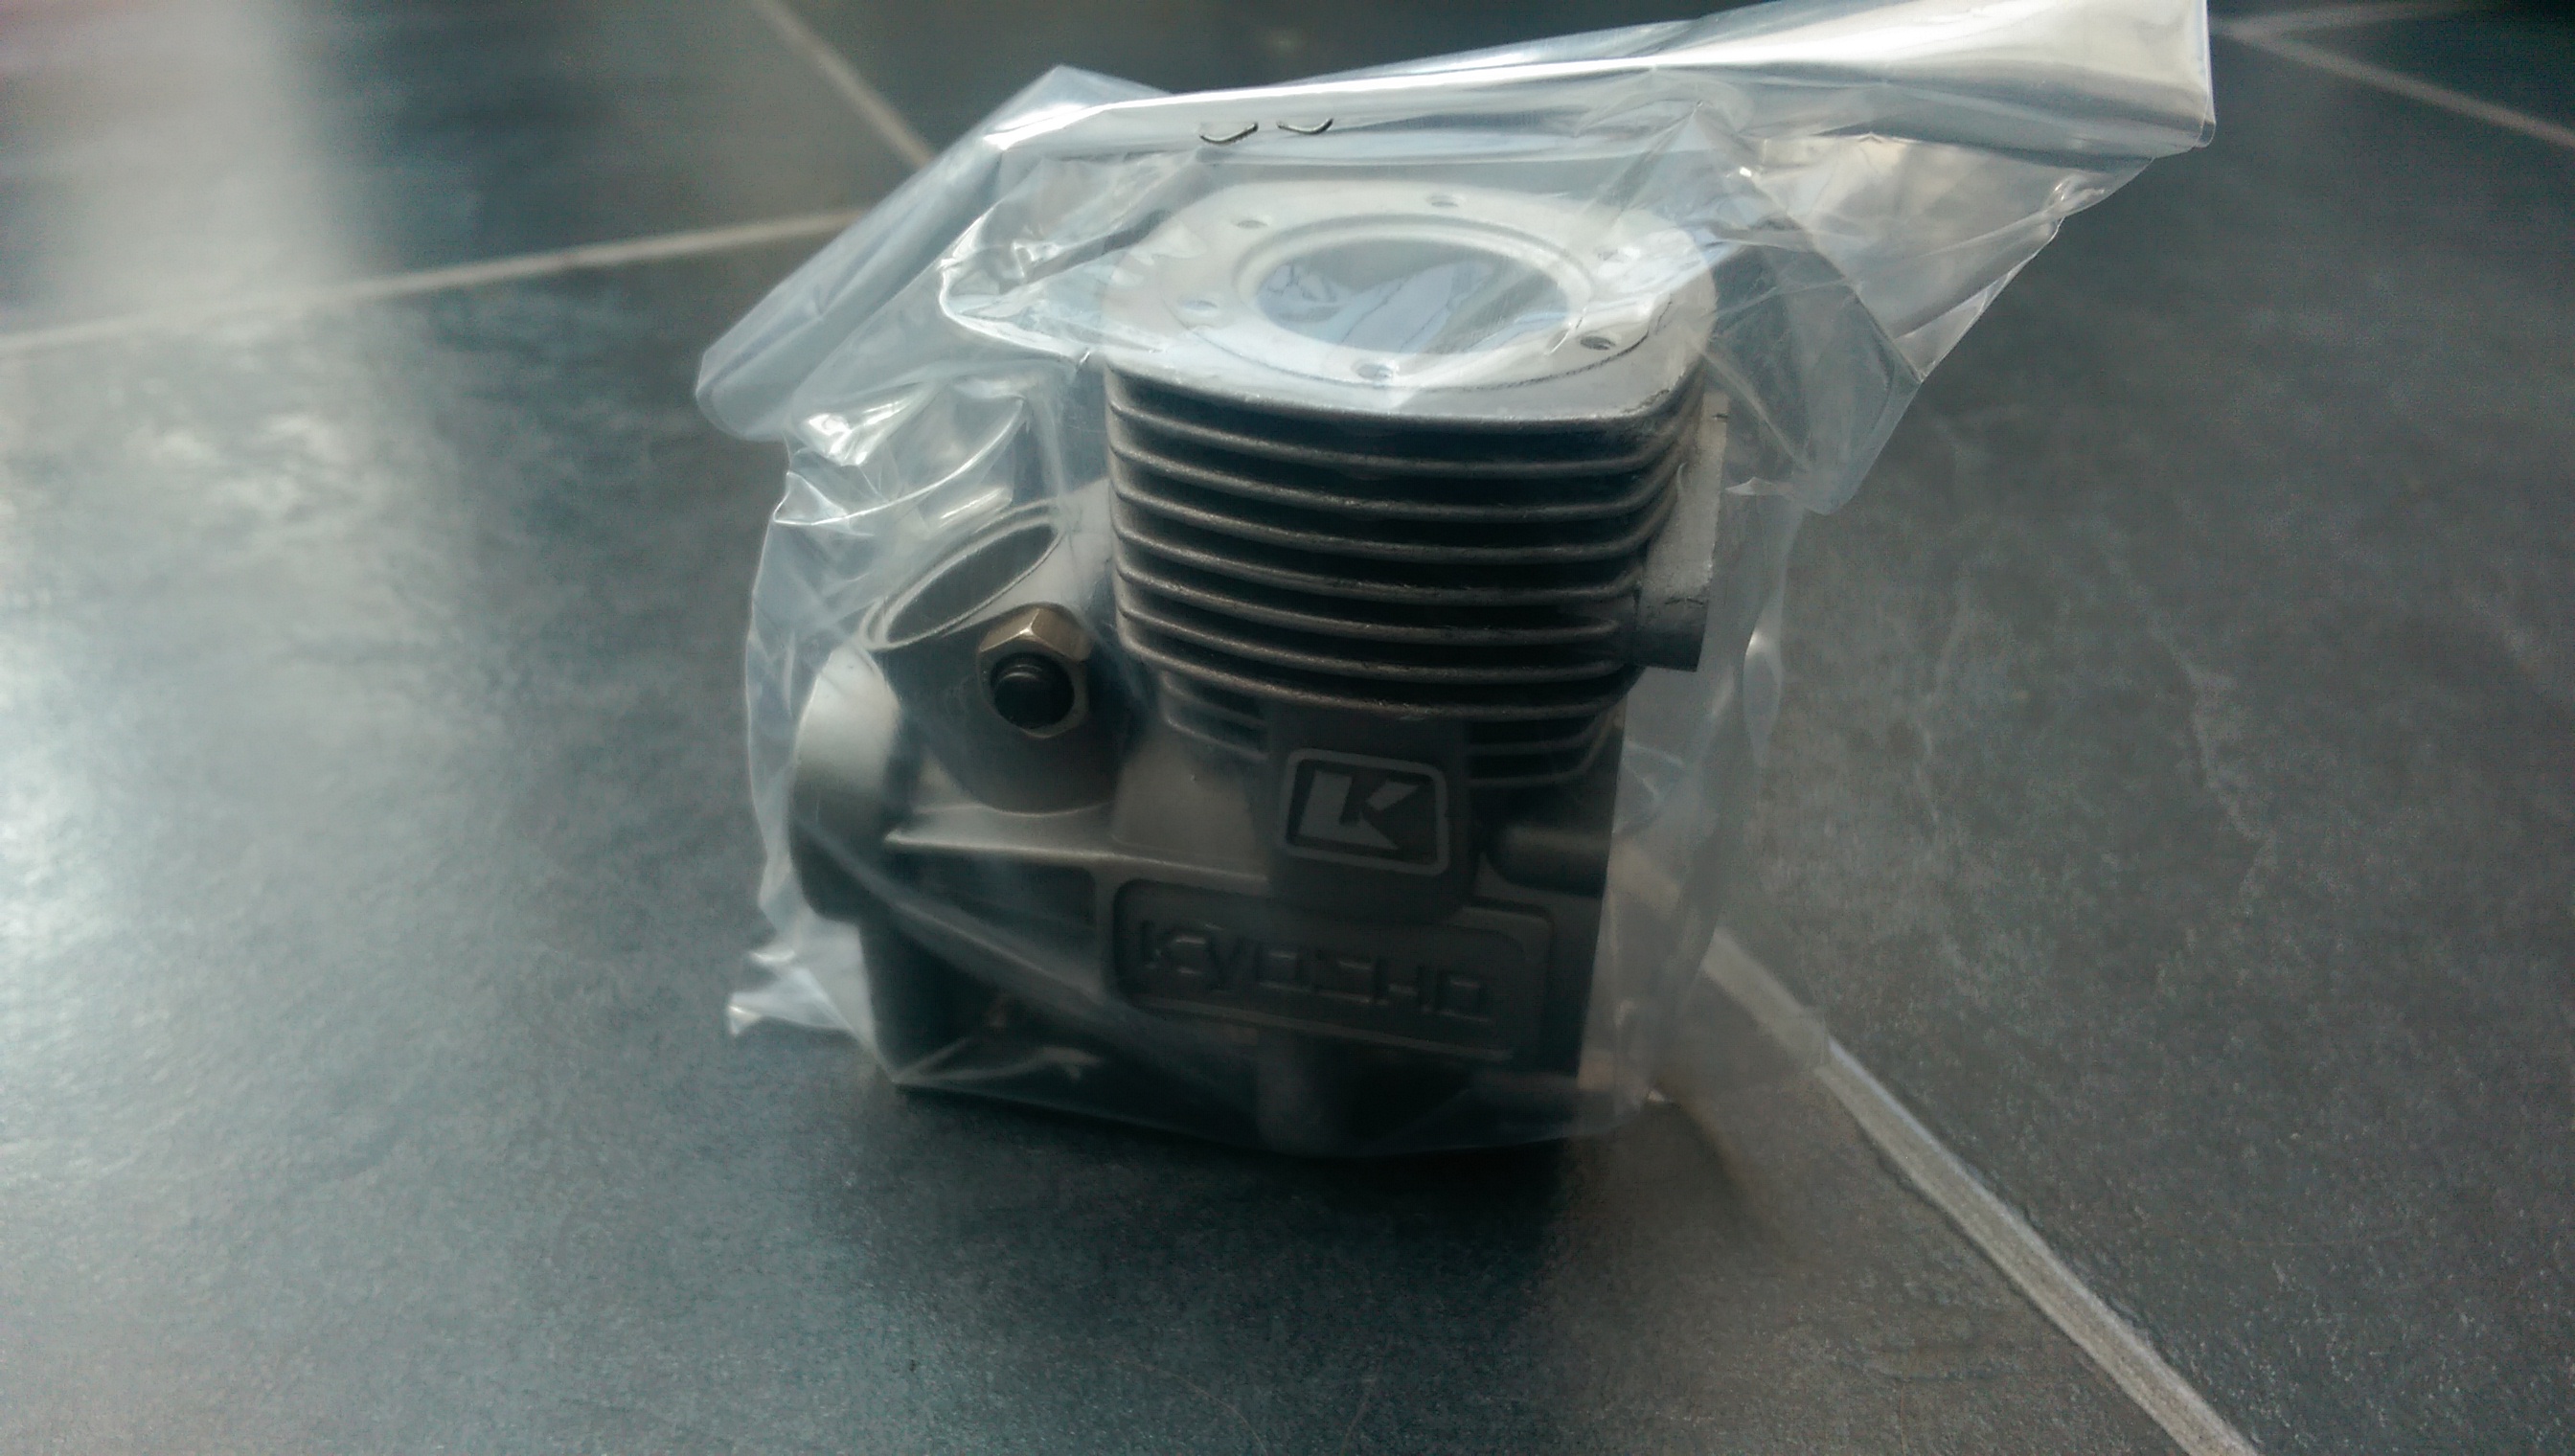
The crankcase is the first part of the GX21 Nitro engine which will power my Red Bull 7 model. The GX21 is a 2 stroke engine capable of producing about 1.8bhp.

IMAG0099

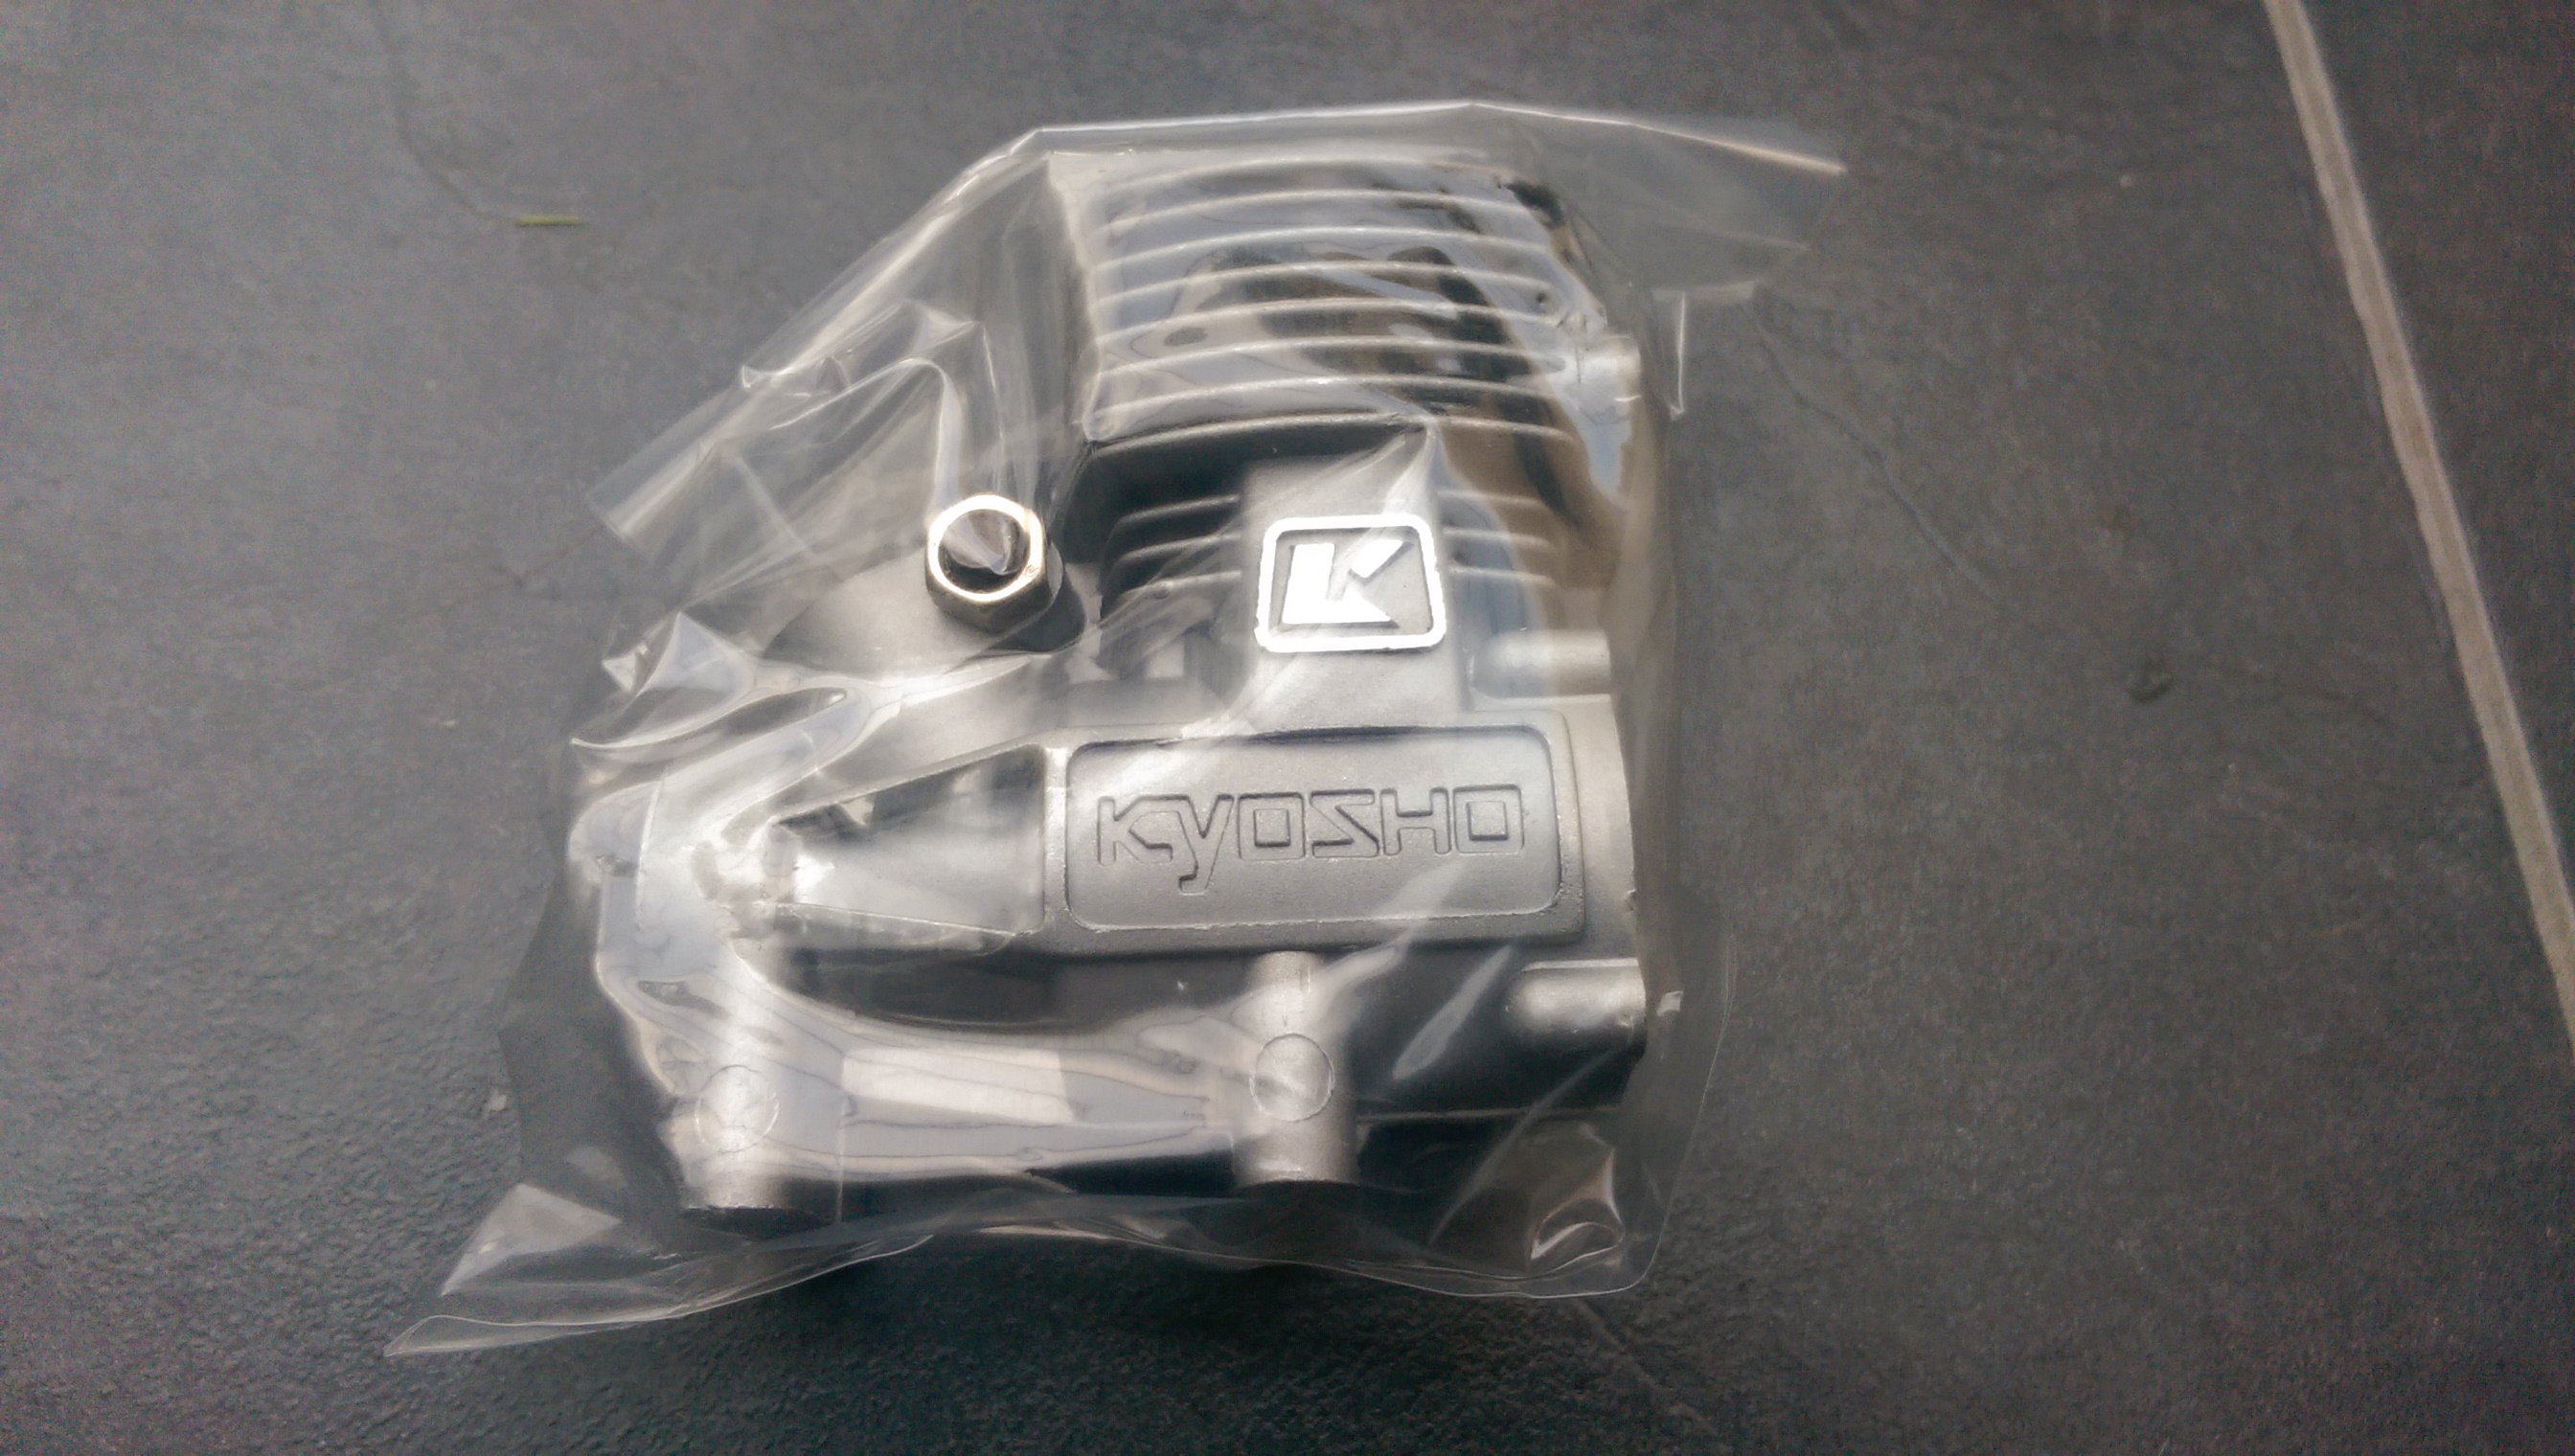
The crankcase currently contains the carburetor attaching screw and two ball bearings.

IMAG0102

With the next batch of parts I get the crankshaft piston, cylinder head and rear engine plate.

IMAG0103

Hummer H1 Body

I finally got started on my 1:8 Kyosho Hummer H1 Subscription.

IMG_20140505_174039482

At the moment I have ignored that actual components of the car itself and worked on the body.

IMG_20140316_143547518

Making the side frames

IMG_20140316_152000047

Pegs are useful for holding the part in place whilst the plastic cement sets.


IMG_20140316_160432110

The frame is now ready for the panels to be attached.

IMG_20140320_213401866

Panels attached and ready for painting.

IMG_20140323_152559515

I started by spraying some mist coats

IMG_20140323_154743841


I decided to paint the Hummer the classic yellow they are often seen in.

IMG_20140505_174052280

Side view


Fitted 3Racing oil filled shocks to my tt01

You may have seen a long time ago I made a post with a load of blue aluminium upgrades for my tt01 car. Well I completely forgot about the oil filled shocks shown in that post and have just got round to building them and installing them.

WP_000286

The process for building the 3Racing shocks is pretty standard to any others I have built and the parts were of good quality.

IMG_20140420_182857729

Even the spring was easy to fit which can be a right pain going by the ones I built for the Red Bull car.

IMG_20140420_182917749

These only took a few minutes to build. I think I spent longer waiting for the bubbles in the oil to disappear than anything else. They replace the standard friction dampers you get in most Tamiya kits.

IMG_20140420_182846310

New Work Rims and Drift Tyres for tt01 / Silvia coppermix

Recently I have been doing some work on my tt01 to finish upgrading and repair it.

Here I have brought some work rims and fitted HPI super drift tyres to them to give the wheels a more customised look than the Tamiya ones that came with the model.

IMG_20140413_164554380

Fitting the tyres to rims is easier said than done. You can heat up the tyres in a saucepan to make them soft enough to snap right on but I have not been brave enough to attempt that yet.

IMG_20140413_164613800

I use a screw driver to work my way round the wheel fitting it into the tyre a bit at a time.IMG_20140420_183742629_HDR

The wheels come with a sticker sheet but at the moment I think they look better as they are without the stickers.

You can see the real wheels here

Some More Adventurous Quadcopter Flying (H107CHD)

Another flight with my H107CHD quadcopter.

This time it was sunny with a slight breeze.

I have continued to get used to flying this quadcopter with faster flying more turns and low altitude flight.

Tamiya Volkswagon Camper Monster Truck

I picked up this kit last week in the modelzone sale but only just received the additional parts needed to complete the model.

It was about half the going price online and eBay.

The box shows it painted white and red but I decided to go for white and orange instead.

IMG_5502

The free bonus parts included are ball race bearings. Its pretty handy seeing as the first thing I usually do is replace Tamiya’s crappy plastic/bronze bushings with bearings.

IMG_5504

Aside from the paint, I also needed to order a servo for the steering and a radio receiver. As usual I went for a Spektrum receiver in the hope of unifying all my radio gear under one compatible type.

Twin Hammers new body and accessories

IMG_5446

I wanted to make my Twin Hammers more unique so I started by replacing the standard plastic body with a set of aluminium body panels.

WP_000519

I decided to paint the panels in a basic desert camo scheme of sand and earth.

WP_000521

Some decals were applied to the side panels to add a bit of detail.

IMG_5447

I also replaced the vehicle race number plates on the back of the vehicle with recovery boards. These are also aluminium and were painted desert yellow.

WP_000553

To complete the new look I ordered a pack of rock crawler accessories from eBay and strapped some gear to the roof and recovery boards with bungee chords .

IMG_5448

More Monster Truck Fun!

My repair to my monster trucks manifold was not good enough and it simply became detached again. This time I used permanent threadlock to seal the nuts to the manifold holding it in place. The only way you are supposed to be able to get threadlock off is with a heat gun meaning the engine vibrations will not loosen it.


I took the truck out for a good run along the beach which was a great test of its off road capabilities. Unfortunately I cracked an exhaust coupling on my second tank of fuel!