Chevy Impala Police Car Complete

I finally finished a model for the first time in a while. There is still some tidying up I could do but considering my back log of half built kits its done for now.

I decided to build a police car after playing Need for Speed Rivals and its not something I would usually build. In fact this is probably the first road car I have ever finished.

I am pleased with the results and hopefully this will inspire me to tackle some of the more challenging kits on the pile.

IMAG0731

I purchased two police officers from eBay to fit into the kit. These required cutting down and even then I only just managed to squeeze them in.

IMAG0737

They add a lot to the model and Continue reading Chevy Impala Police Car Complete

Chevy Impala Police Car Part 3

I have started applying to the car body.

This is the part I have been looking forward too most as it turns a plain body shell into something much more detailed.

Chevy Impala Police Car Part 2

IMAG0710
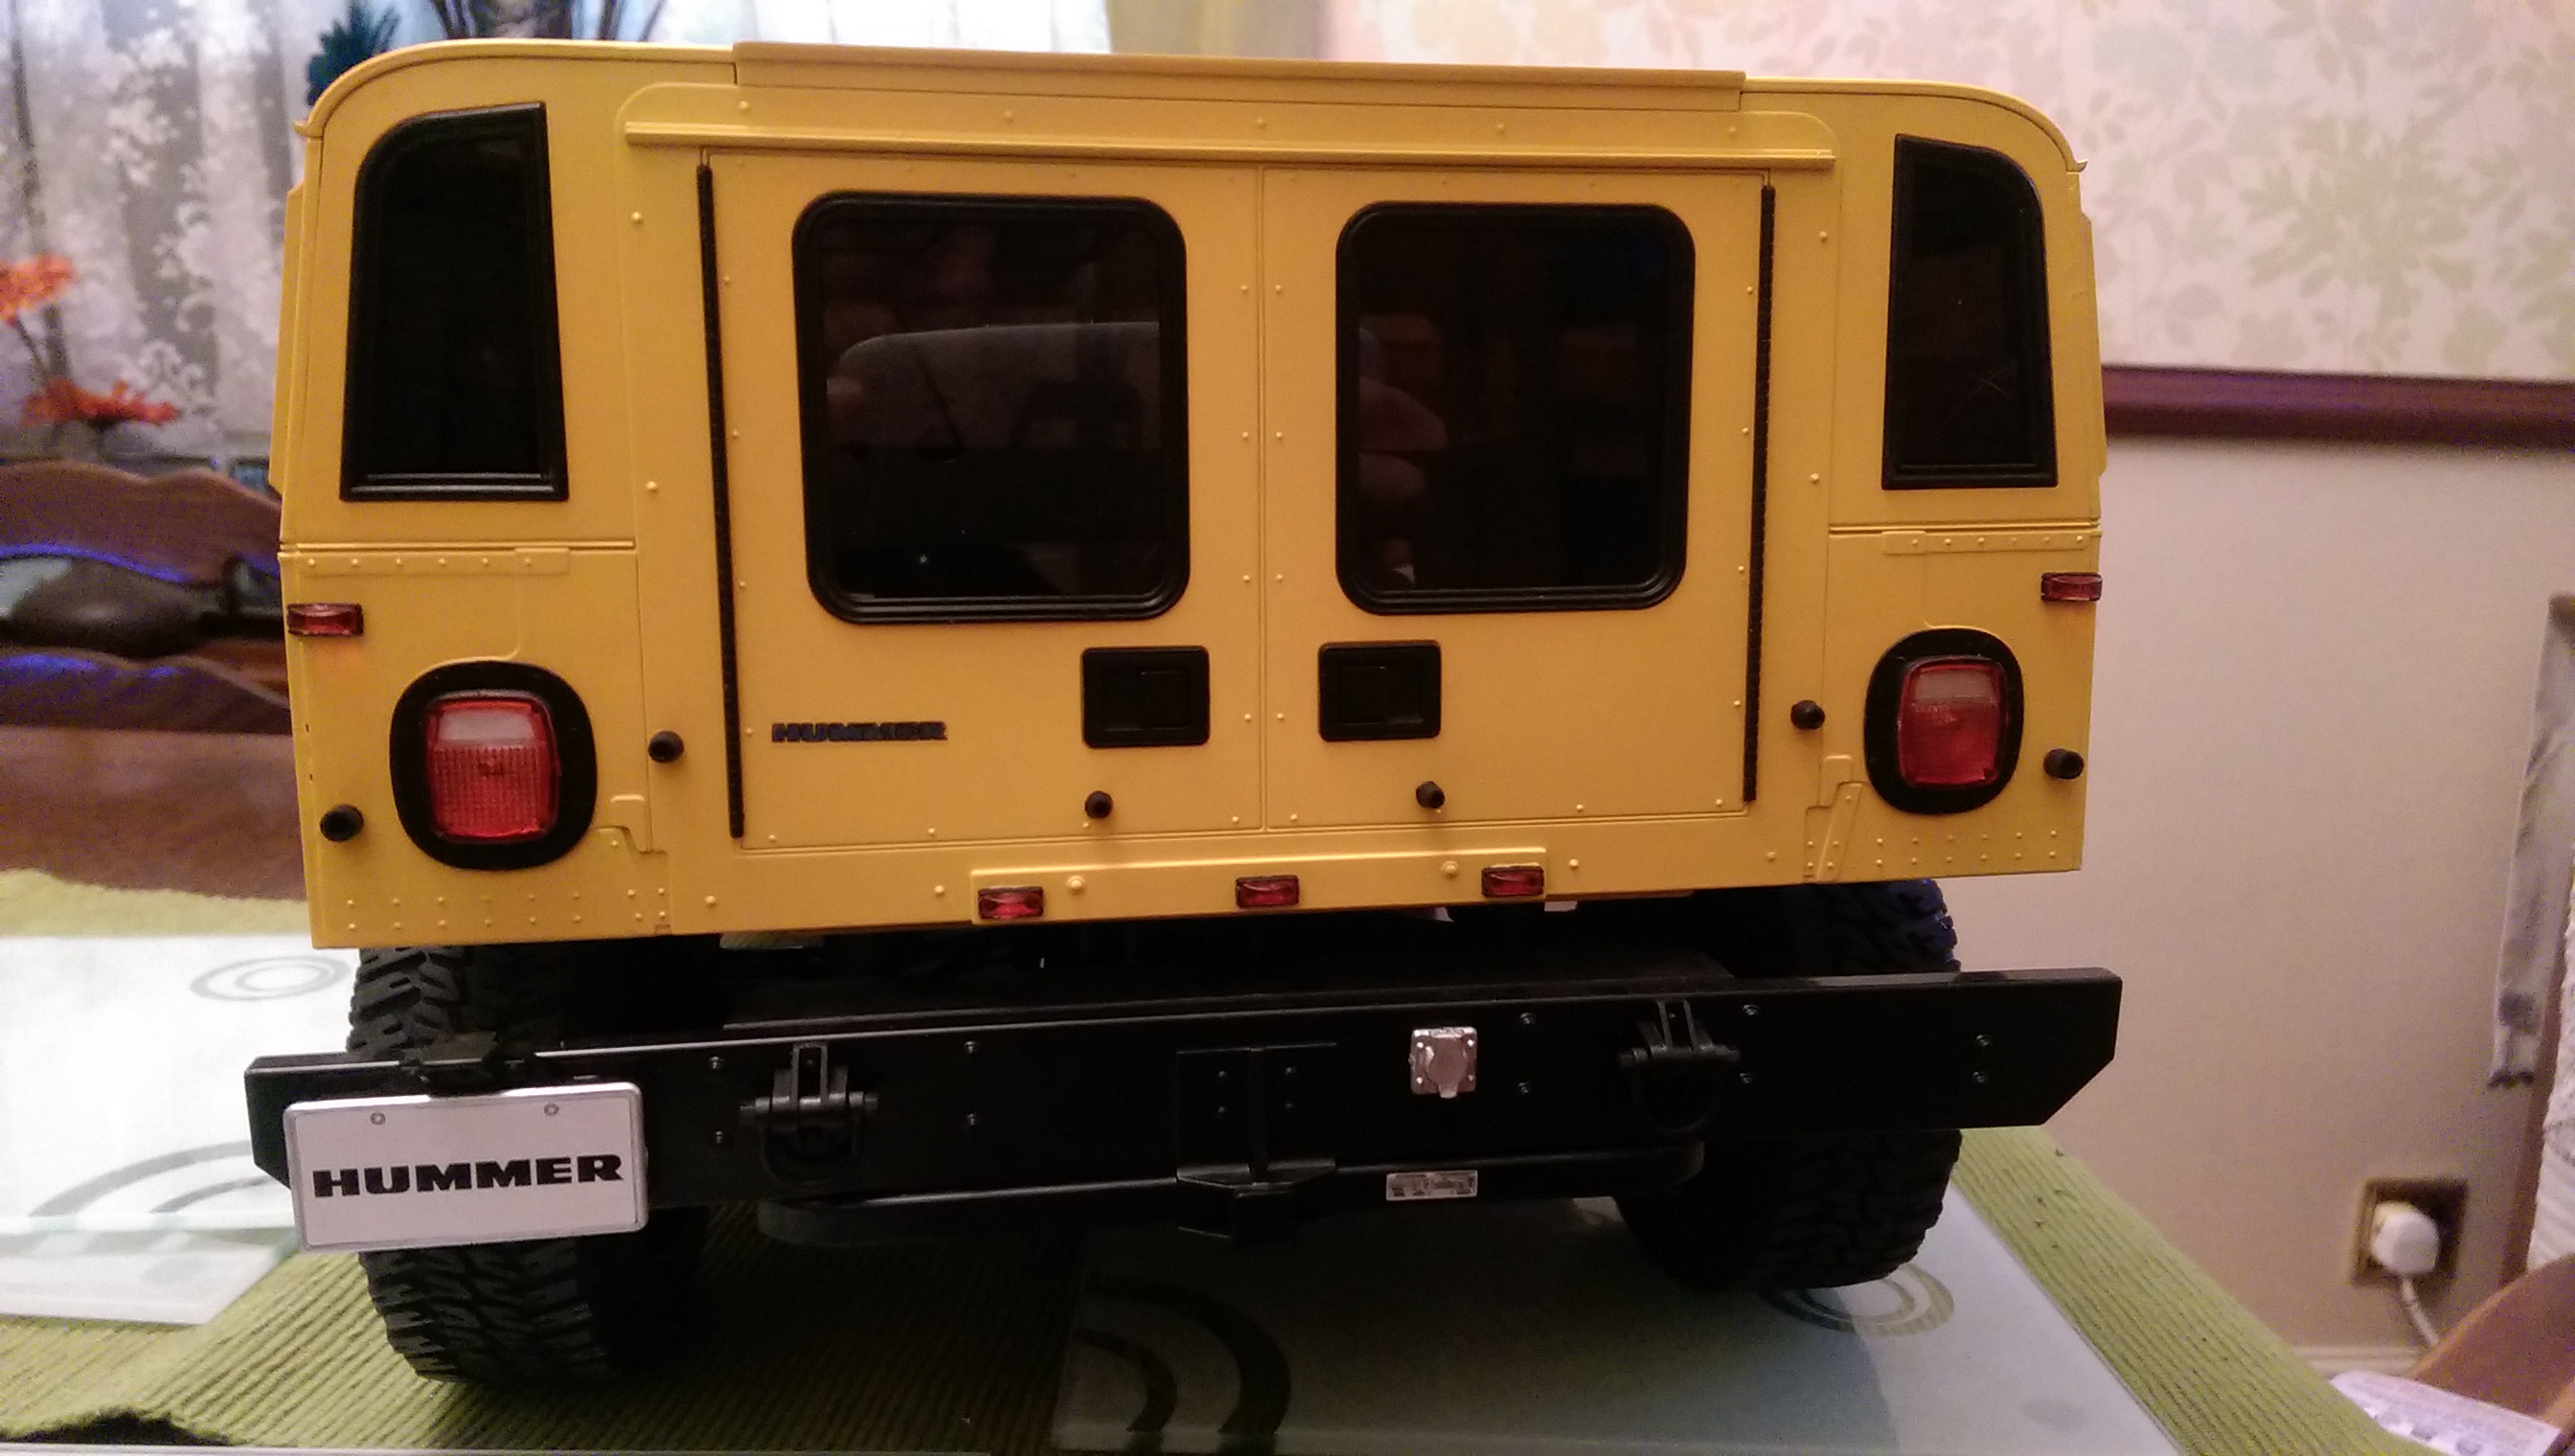
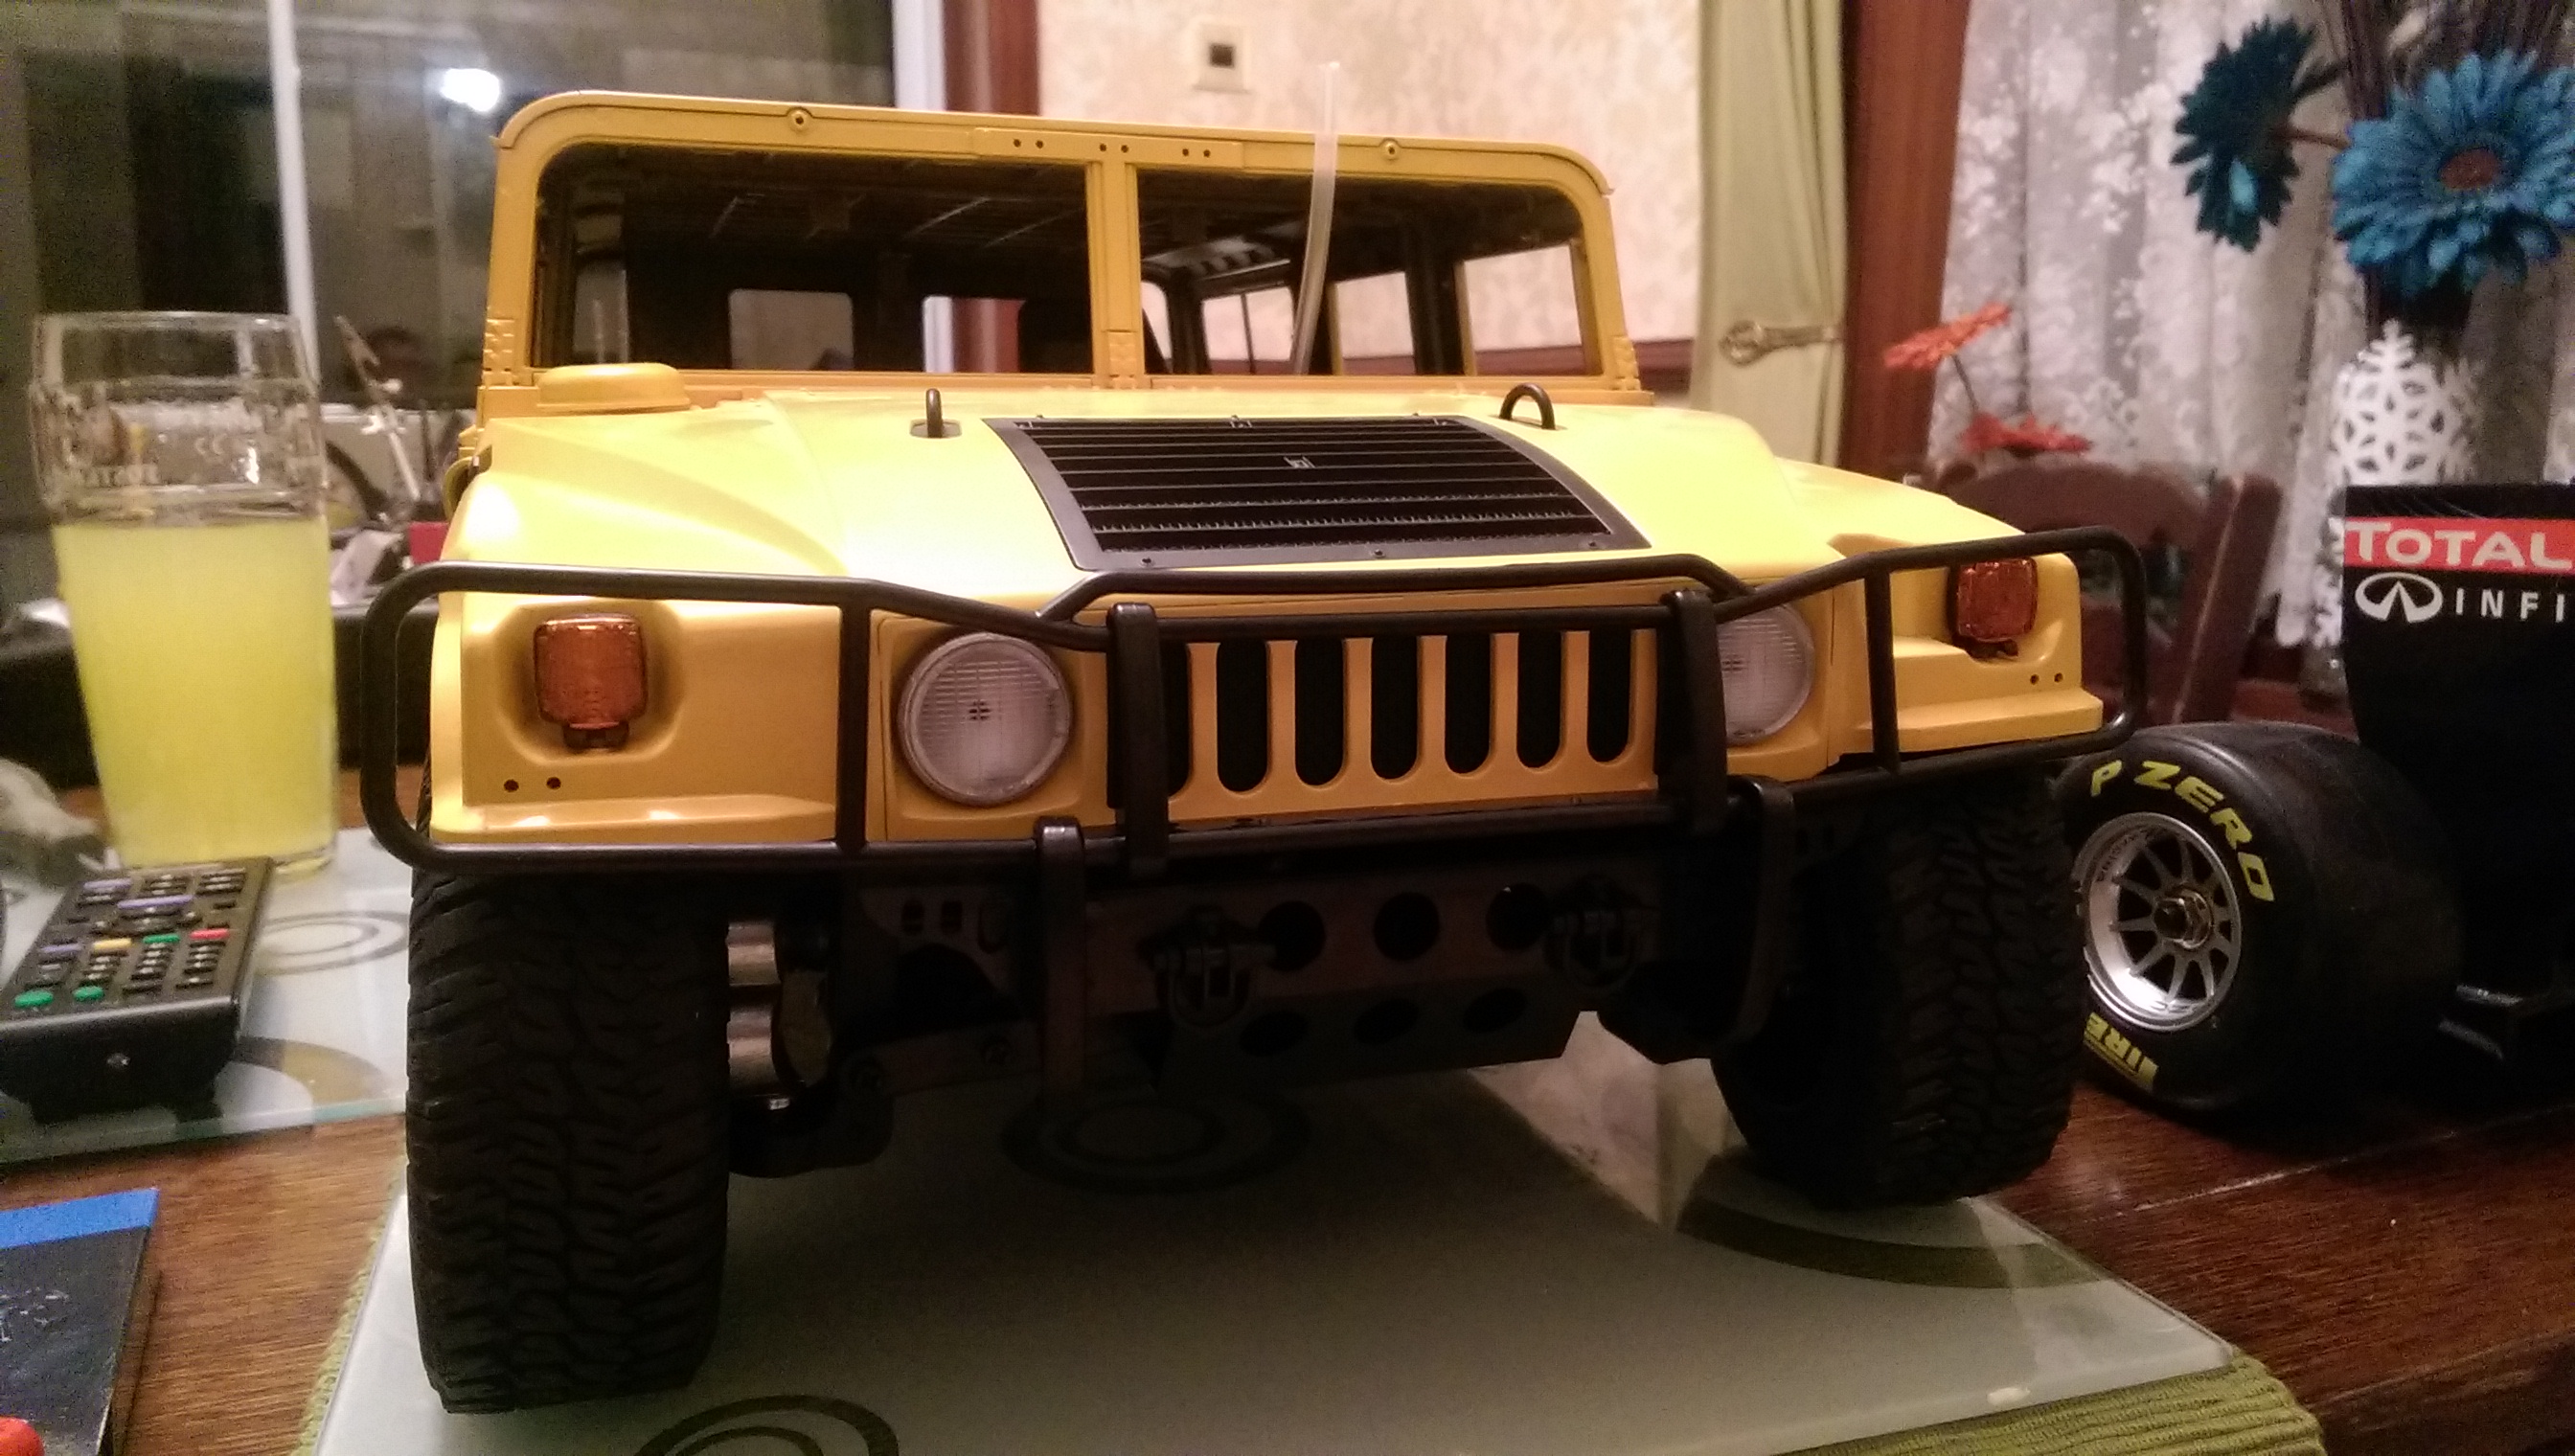
This has been an interesting model to paint, requiring lots of careful hand painting around the window frames and other areas. I still have a bit of tidying to do but its getting there.

One thing I found useful with this kit is a lot of it snaps into place meaning you can test fit parts easier before making them permanently attached. I am not sure if this it common Continue reading Chevy Impala Police Car Part 2

Revell 1:25 scale Chevy Impala Police Car Part 1

This is something a little different I have been working on over the holiday.

I got the desire to build a police car from playing Needs for Speed rivals on my PC.

I managed to find a kit in the distinctive black and white livery used on American police cars in the game.

The Revell 1:25 scale Chevy Impala Police Car

IMAG0689

I nearly chickened out Continue reading Revell 1:25 scale Chevy Impala Police Car Part 1

Italeri World of Tanks Ferdinand

ferdprimer1Work has started on the World of Tanks Ferdinand kit.

I started by working on the main chassis and getting the hull together. The suspension took a little while to make as it is each of the 6 parts are comprised of several small parts. After adding these I filed and built the gun.

I gave the gun a coat of dunkelgelb to ensure that the whole of the ball of the gun is painted in the base coat. This will prevent unpainted spots appearing when the gun is moved.

Before fitting the gun into the turret I primed the hull so that I didn’t need to mask the gun up.

ferdprimer2I intend to paint a camouflages scheme on the tank destroyer using dunkelgelb as the base coat with green and brown areas.

World of Tanks Ferdinand Kit

ferdbox2

I am a keen player of World of Tanks, so when I discovered that there were WOT kits available I decided to investigate.

At first I thought these would just be re-branded releases of standard Italeri kits but you do get some nice WOT tanks extras.

The main bonus is the inclusion of a code which will get you a special event premium tank in the game itself. Special events vehicles can not brought and are hard to get hold of. The vehicle that come with the Ferdinand is the 105 leFH18B2 Self propelled gun (shown below).

13199038368748404736_screenshots_2014-09-08_00001

As this is a premium vehicle it gets more credits, experience and crew experience than standard tanks you can get in game. It is the first of two SPG’s in the game. I have used thi vehicle several times in the game and am having great fun with it. It was actually the deciding factor in my purchase.

ferdinside

The kit also comes with a semi colour instruction book where the example camouflage scenes are in colour. These match some of the schemes you can purchase for German armour in game. There is also a decal sheet of some of the insignias from the game, this comes with both allied and axis decals despite the fact that it is a German tank destroyer.

Lastly you get a mini guide showing you the weak points of the world of tanks armour available in kit form.

(There is also a bottle of glue provided)

Red Bull RB7 Progress

This section of build brings the engine closer to completion.

rb7engineclutch

Here I have added the flywheel and clutch to the engine. The engine now has clutch bell with gear enabling it to mesh the the main gear on the chassis.

Below are some photos of what the engine will look like when its attached to the chassis.

rb7enginetopfar rb7enginetop

In the next collection of parts I will get the exhaust and manifold, enabling me to fit the engine onto the chassis.

Hummer H1 Body Complete

IMAG0486

I have finished working on the body of the Hummer H1 model. There are a few spots to touch up with paint but aside from that it is complete.

On the front of the vehicle I have added the logos, windscreen wipers and lights above the windscreen.

IMAG0497

One of the most noticeable additions is that I have added the tinted window panels.

These really enhance the look of the model. Some of these panels will need to be removed however when running the car in order to provide adequate cooling for the engine.

IMAG0496

On the rear of the vehicle I have added the indicators, small rear lights, number plate and plug socket.

IMAG0491

The aerial, side indicators and Hummer logo have also been attached at this stage.

Adding the lights really enhanced the look of the model and I am very pleased with how they come out using clear red/orange paint.

Now all that is left for this model is the engine, exhaust and radio equipment.


Hummer H1 Build Progress

IMAG0468

The body is almost complete on my Hummer H1.

As the body will be complete in with the next delivery of parts I will keep this short and take some decent photos with of the finished model.

IMAG0471

In this session I have added some of the small details to the body such as the fuel caps and tow hooks.

IMAG0474

I have also painted the light buckets / lenses and added these to the body. There are also side lights and small lights to add to the front and back of the vehicle that are painted but have not yet been added.

Red Bull 7 Progress

IMAG0458In this section of the Red Bull  build I have almost finished building the engine, its nearly ready to be fitted to the chassis.

IMAG0466

The final tyre has also been added to the car. This is great because I finally have all four wheels on the model but annoying because it has now out grown its old living space.

IMAG0464

With this 1:7 model and the 1:8 Hummer I am building its getting hard to find space to store these models.

IMAG0462