Red Bull 7 Engine Progress

IMAG0338

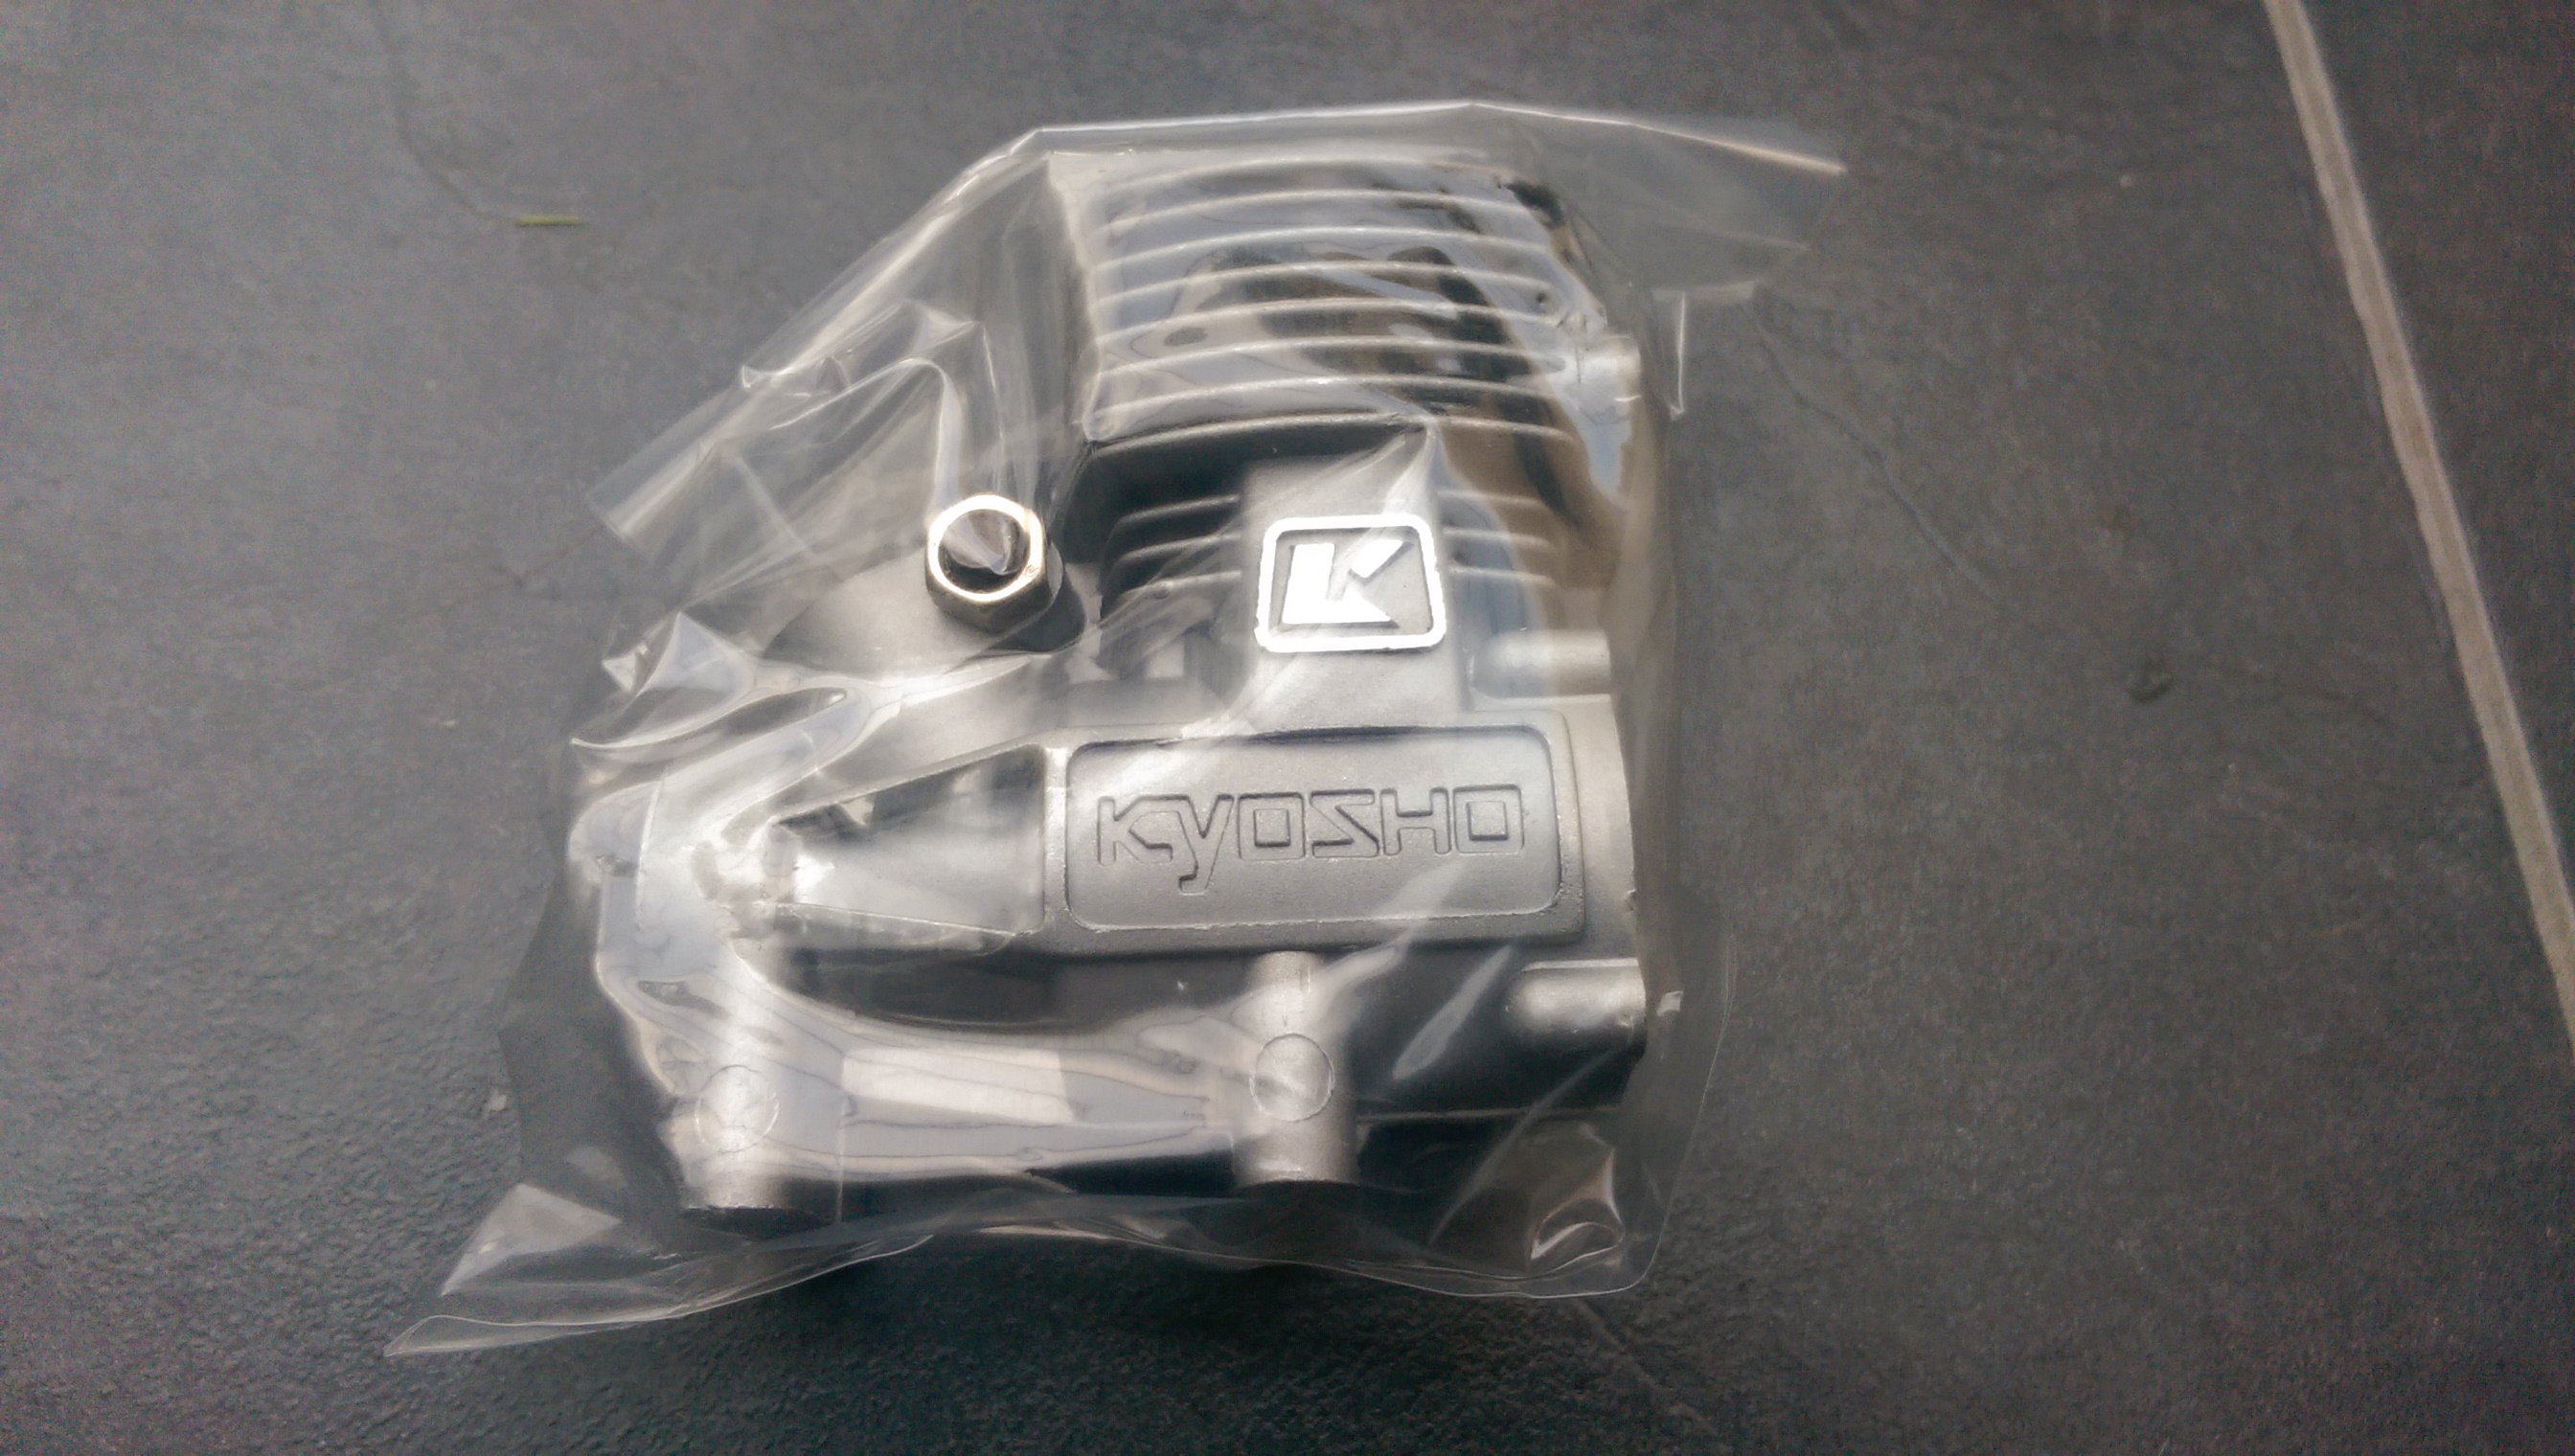
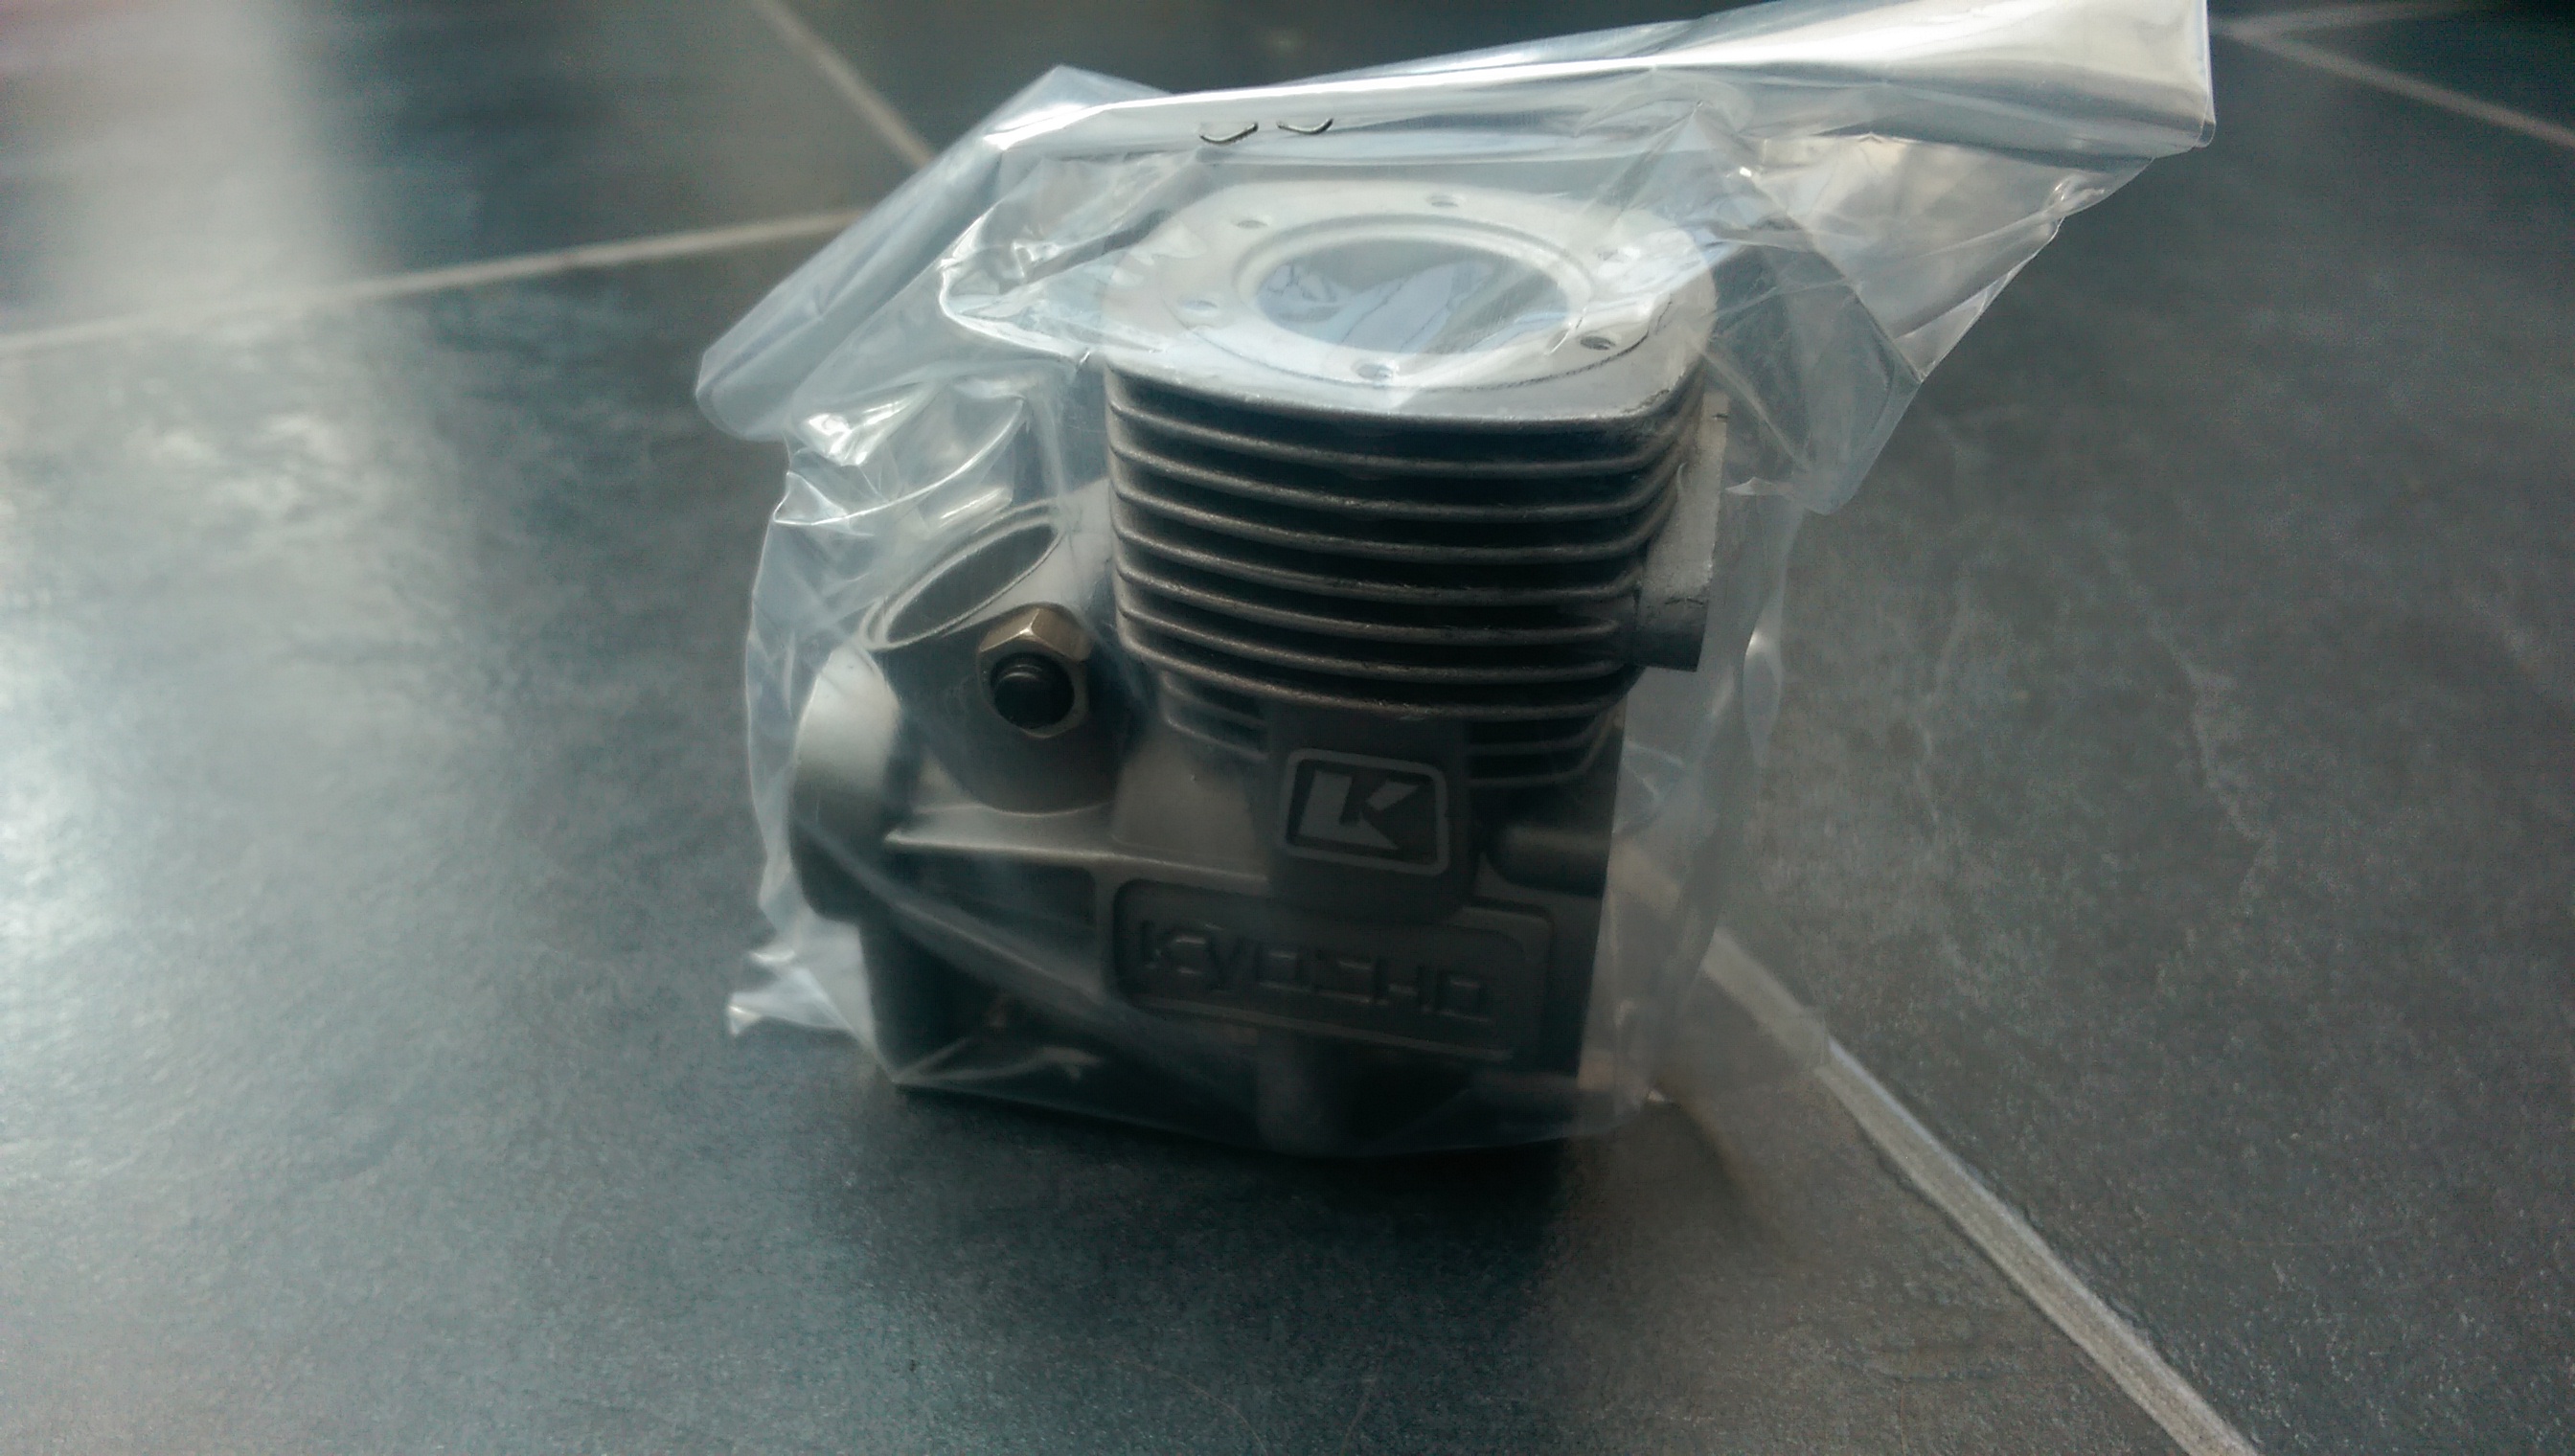
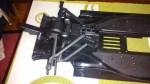
In this post I start to build the engine for my Kyosho Red Bull 7 Formula One car.

IMAG0311

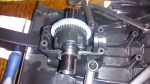
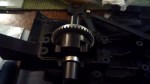
The first part of the engine to add to the crankcase is the crankshaft. This is first given a thin layer of after run oil and then slid into the crankcase.

IMAG0316

I used HPI after run oil which I already had from maintaining my other models. Continue reading Red Bull 7 Engine Progress

First parts of engine have arrived for my Kyosho Red Bull 7 build

The crankcase is the first part of the GX21 Nitro engine which will power my Red Bull 7 model. The GX21 is a 2 stroke engine capable of producing about 1.8bhp.

IMAG0099

The crankcase currently contains the carburetor attaching screw and two ball bearings.

IMAG0102

With the next batch of parts I get the crankshaft piston, cylinder head and rear engine plate.

IMAG0103

Hummer H1 Body

I finally got started on my 1:8 Kyosho Hummer H1 Subscription.

IMG_20140505_174039482

At the moment I have ignored that actual components of the car itself and worked on the body.

IMG_20140316_143547518

Making the side frames

IMG_20140316_152000047

Pegs are useful for holding the part in place whilst the plastic cement sets.


IMG_20140316_160432110

The frame is now ready for the panels to be attached.

IMG_20140320_213401866

Panels attached and ready for painting.

IMG_20140323_152559515

I started by spraying some mist coats

IMG_20140323_154743841


I decided to paint the Hummer the classic yellow they are often seen in.

IMG_20140505_174052280

Side view


New pull start on Hyper 7 Black Edition

I just got round to bringing my Hyper 7 back into action. The pull starter stopped working a couple of months back so I have fitted a new one.

IMG_20140125_143114065

I checked the condition of the old start when I removed it as sometimes you can repair them but in this case it had snapped.

IMG_20140125_143054768

Usually pull starters can be a bit of a pain to replace because it either means removing a lot of parts to get to it or removing the engine itself. I managed to cheat a bit and just remove the rear diff and wheels.

IMG_20140125_144920538

I had a bit of trouble testing my car after as it didn’t want to start in the cold but the hair dryer trick solved the problem.

IMG_20140125_144911369


I recorded a short video while driving with one hand of the buggy back in action.

Red Bull 7 Progress (up to Issue 44)

I have caught up with my RB7 subscription and built everything up to issue 44.

I decided to put aside recent issues until I had enough to finish and cover the differential instead of having to leave half finished bits on the side.

In this session I built and fitted the rear differential, differential housing and the rear suspension arms.

Greasing the differential gears

Got Sebastion Vettels head through the post today. Yes its the second Red Bull 7 Delivery!

Got Sebastion Vettels head through the post today. Yes its the second Red Bull 7 Delivery!

The second 4 parts of the series include the main chassis, the front chassis, the front lower wish bones and the first Tyre.

Strangely they have also sent Vettel’s head which I can only assume they have included as an option if you do not like Mark Webber. As far as I know British and Australian subscribers get a Mark Webber edition where as Germany are further into a Vettel themed model.

You can see the First wheel and tyre glued together in the Photo along with a battery to give an idea of scale.

Build your own Red Bull 7 (first batch of parts)

My first batch of parts for the Red Bull 7 kit arrived today.

The parts include bits of the front wing, rear wing, a wheel and an oil filled shock to build.

The front wing had some small parts that were pretty annoying to fit but I got there in the end.

You can see the oil filled shock balanced between paint pots in the photo.

This is to let the oil spread around the shock assembly and remove pockets of air.

First batch of RB7 parts

Adding lights to your RC Car


A short video I made showing a simple lighting circuit that is running off of an external power supply.

The LED’s shown in the video would not light up using the led controller I installed so I had to run them off of a 9V battery instead.