
When I visited the European Space Center earlier this year I picked this cool bubblegram of the planets in our solar system. I decided to make a base for it so I could light it up with some LED’s.

I decided to get with RGB LED’s so that I could have the colour change over time. Making a circuit for one of these was easy enough. I used 3 x 220 ohm resistors for each of the three anodes on each LED.
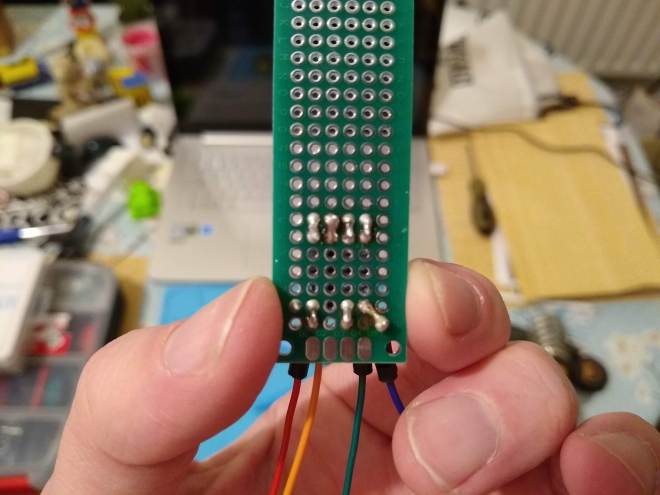
I soldered the resistors to the LED and added cables for the anodes and cathode.

An Uno board was used to test the LED. pins 9-11 (PWM pins) were used to control the colours and brightness. By altering the PWM width for each colour the brightness of each colour and thus colour mixing can be controlled.

Next I set about designing the 3D model of my stand. I created a block the size of the bubblegrams I have and added a rim round the outside to hold it in place. I hollowed out the middle to make room for the electronics and cut a hold in the side for the power plug.
The stand is available on Thingiverse https://www.thingiverse.com/thing:3633780

There is no way an Uno board would fit in the stand so I picked up a Nano to use instead.
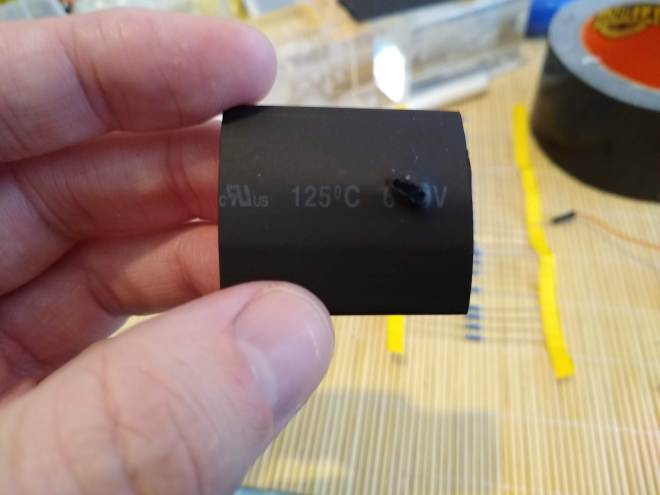
Before squeezing the electronics into the case I decided to wrap the RGB boards I had made in shrink wrap to prevent them shorting out if press against the other boards. A hole was cut for the LED to poke through.
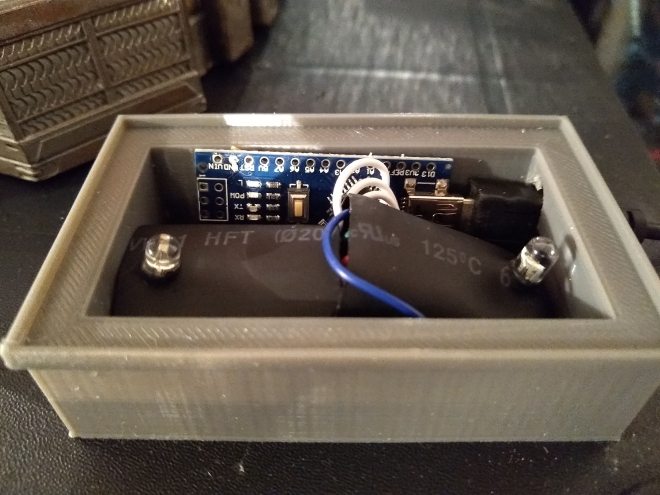
The electronics were crammed into the stand. They literally just fit!


The LEDS were programmed to cycle through different colours in a loop.
The scripts I have written to do this to are available on my GitHub page. https://github.com/shane-powell/led-lighting

