
Now I have a more space to work I decided to build a hovercraft kit I have had lying around for a few months.
This is the X500 kit made by Palaform and electronics aside it is a cheap kit thanks it it being made out of correx.

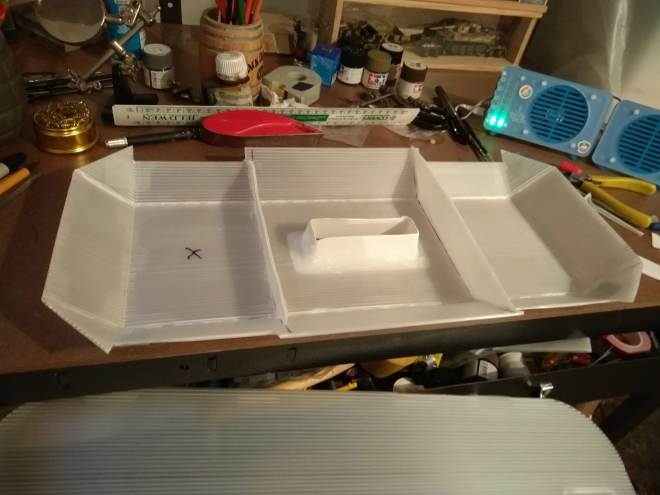
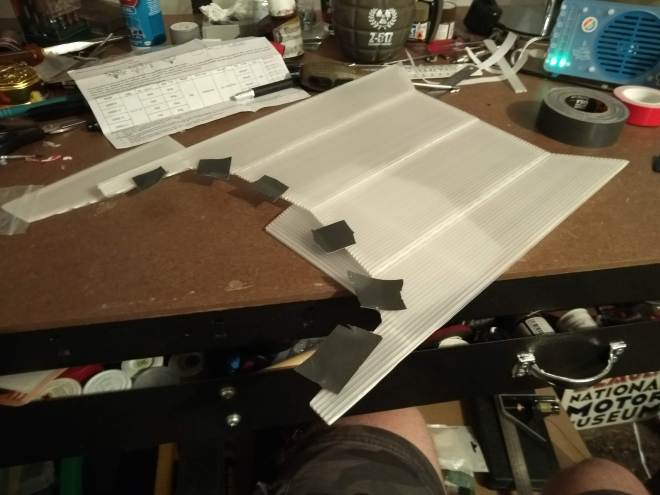
The hull arrives in pre cut sheets and theses are folder / glued together in order to build the structure.
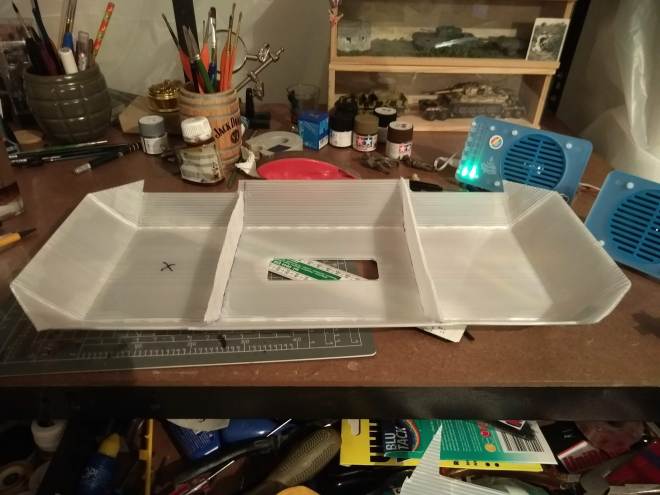
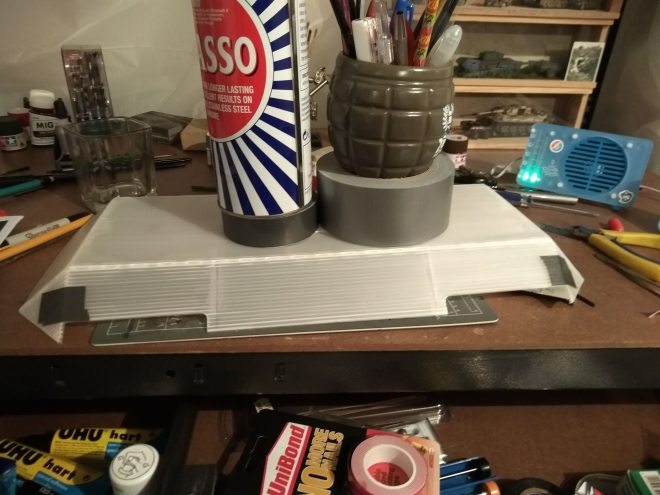
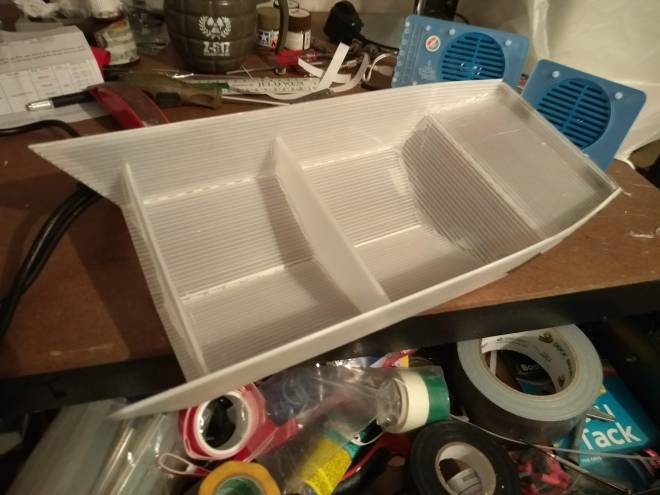
Putting the hull together requires a glue gun, something I have not used before. So I picked up a hobby one for around a fiver and was very impressed with how well it works. I will be using it a lot from now on as its a quick and easy way to glue things together. Here the hull is folded into shape and held together with duct tape whilst it is glued. The front of the hull is marked to avoid confusion later on.
The air outlet is then siliconed to the hull. This is held in place with some weights.
Next the hull is flipped over and the air outlet is siliconed from the inside.

The hull is then flipped over once more and glued to the deck.
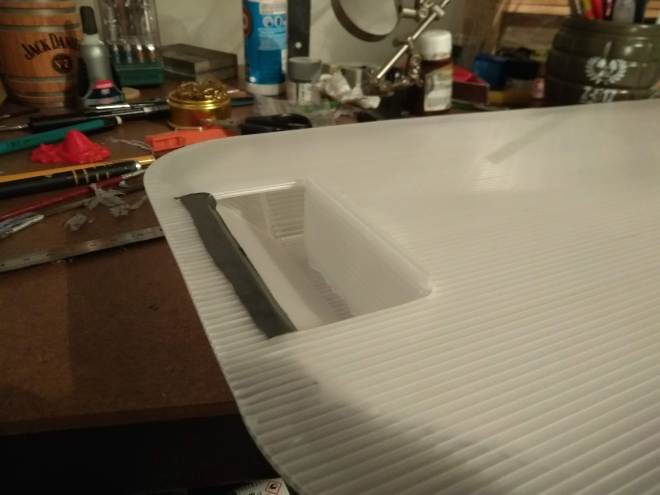
A strip of duct tape is added to the air inlet at the back of the deck in order to prevent air escaping through the correx.

Tape is then added under the deck and around the edge of the lower hull in order to attach the skirt.
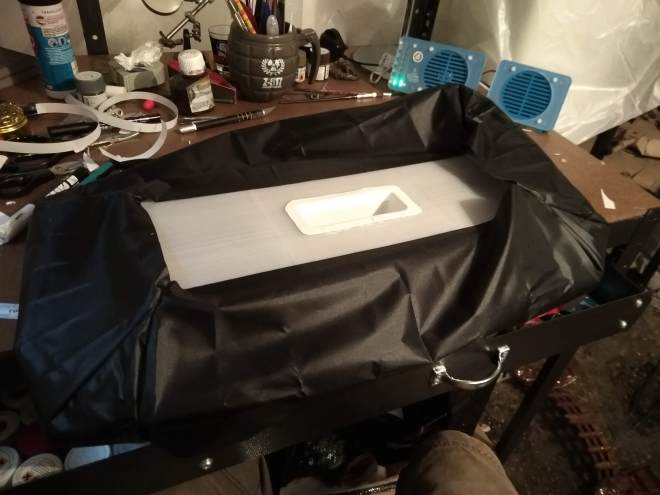
The smaller end of the skirt is attached to the lower hull.
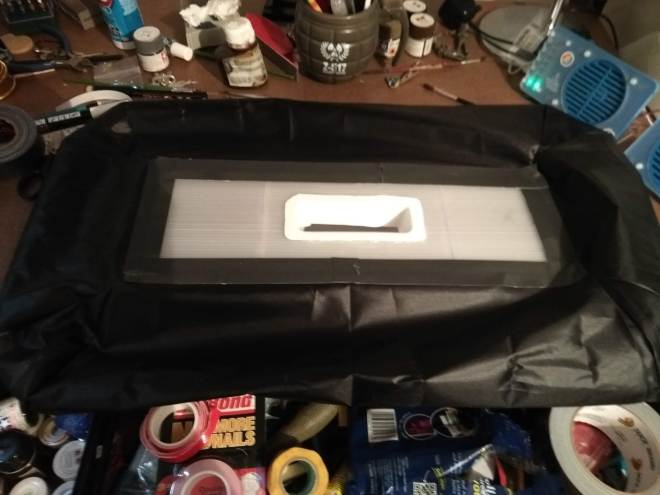
Duct tape is then used to hold the skirt firmly in place.

The upper end of the skirt is then attached to the under side of the deck.
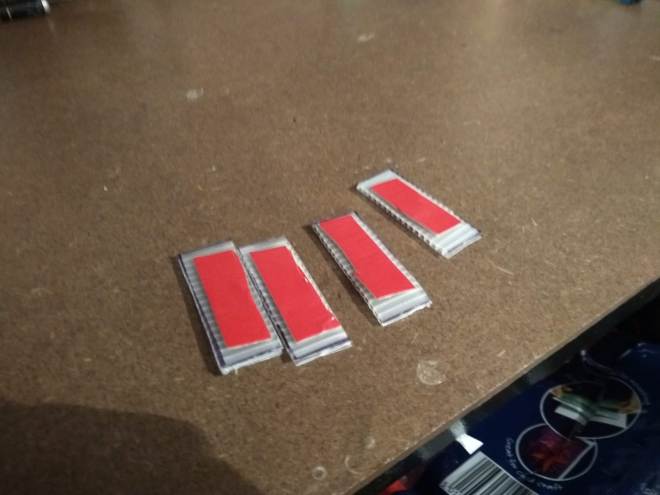
Four skids are made of out spare correx and added to the bottom of the hull.

Next the air inlet / duct support is cut out and cleaned up. A hole is cut for the rudder server and two holes are drilled for the rudder pins. The semi circular air inlet is also cut out. This was done using a modelling knife, curved scissors and a reamer.
The air duct is attached to the inlet using double sided foam tape. holes are drilled to attach the motor to the sir duct.
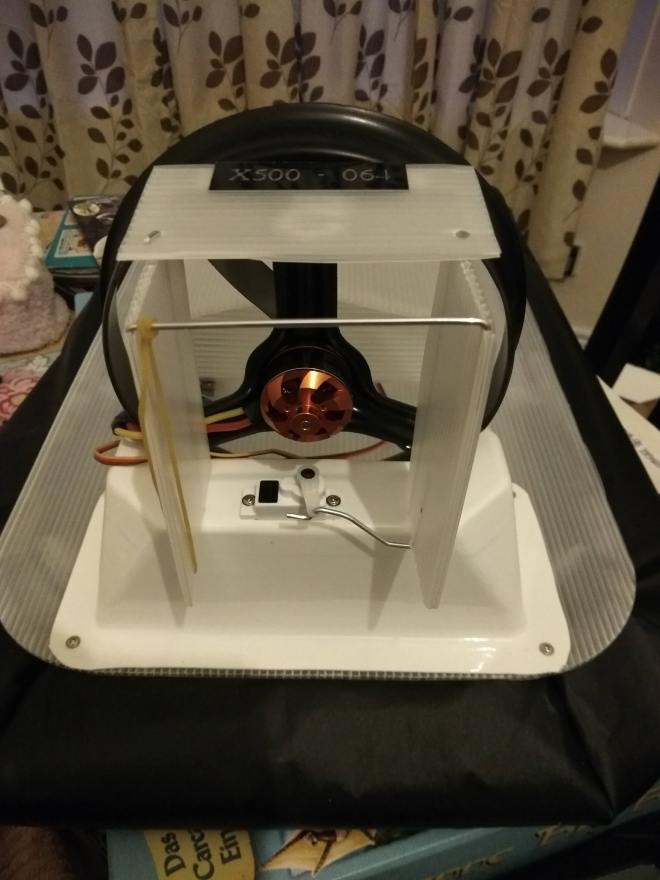
The rudders are attached and hooked up to the servo. The motor is screwed into the air duct in such a way that is motors run down the back of one of the duct supports.

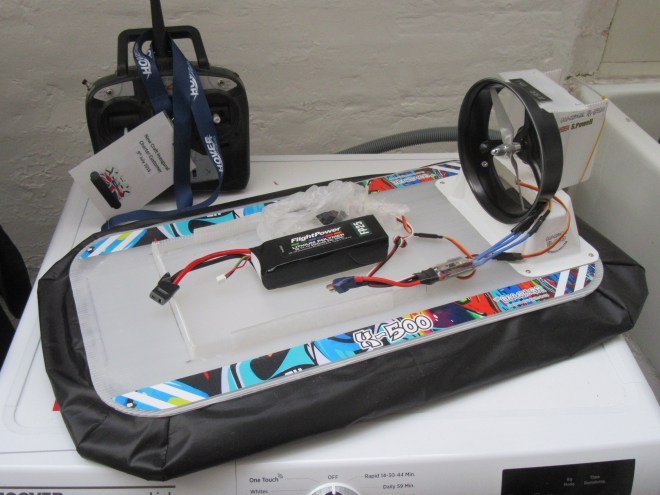
The hovercraft is mostly complete. The electronics can now be fitted and tested.
Here is a little video of the craft hovering for the first time.
Next up is cabin. This not only makes the craft look better but houses the electronics too. Tape is added to each edge of the cabin to be glued.

The cabin shape is formed and held in place with the tape.
The cabin is then glued together using a glue gun.
Next a wall of correx is built on the deck from spare material. Hook and loop tape is then attached to this and the inside of the cabin so that the cabin can be attached to the deck.


The finished craft with stickers attached.

Very well built Shane. Looks a nice craft once finished and quite a tough little Model too. I still run the original prototype model and let everyone have a go with it as well. It’s had a few crashes but still goes well. Jag Ramjee