
I recently built a new 3D printer having wanted a bigger build bed and to go back to open printing. I went for the Ender 3 Pro which has turned out to be a great machine for the price.
I have always wanted to print and build an Open RC car but did not have a big enough print bed to print the parts. Now I do however so I thought it would make a good test for my new printer. All of this model apart from the Tyres will be printed in PLA. The Tyres will be printed in TPU so that they are flexible.

The first thing I did was to try printing the chassis. I printed this with a bit more infill than the rest of the parts to make it stronger. The chassis parts and the rear axle holders were printed at 35% infill.
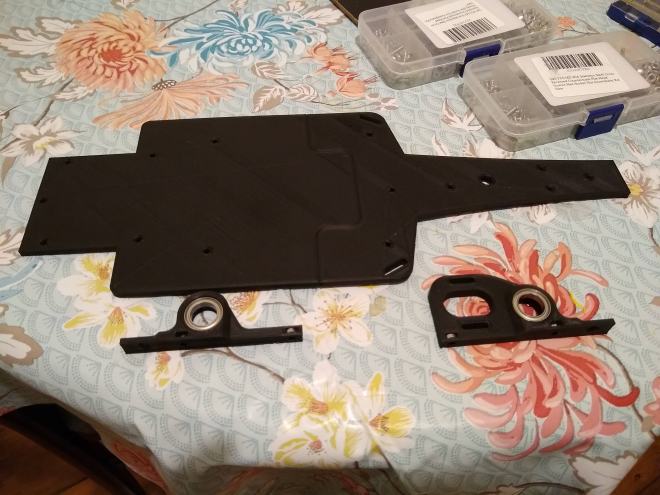
I ordered the required bearings for the model from https://www.rcbearings.co.uk/. At this point I fitted the larger bearings into the rear axle holders. They fit very well into the holes printed for them.

Next up I printed the spur gear which come out great. It seems solid enough and hopefully it will deal with the punishment ok.

Next up the drive shaft is printed and all the parts printed so far are attached to the chassis.
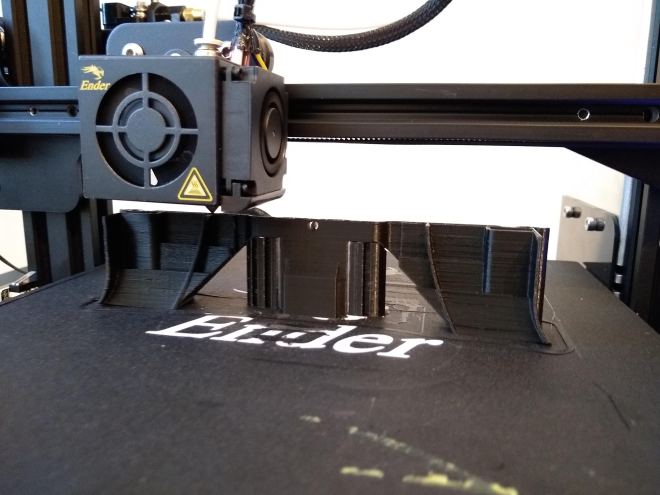
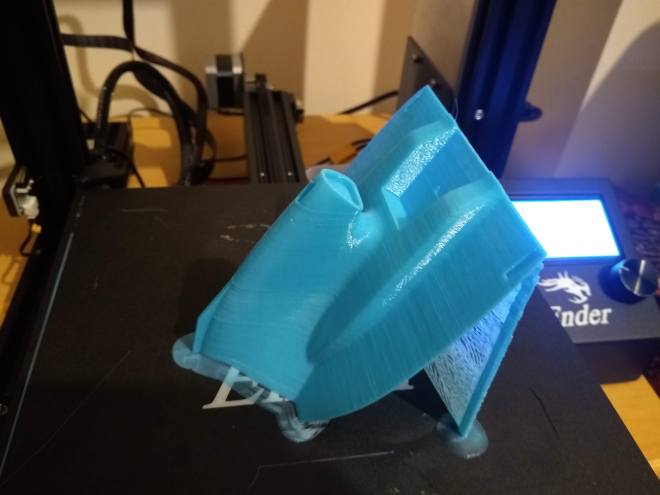
Next go get printed were the front and rear wings.

The front wing looks amazingly detailed with all the aero layers.
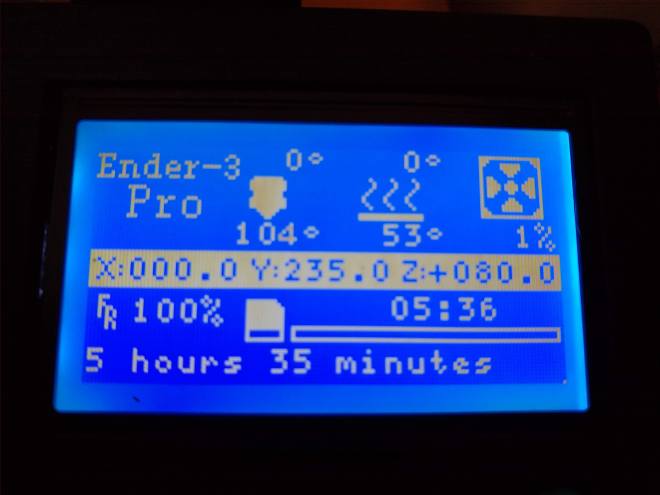
It was also one of the parts that took the longest to print at 5 hours 35 minutes.

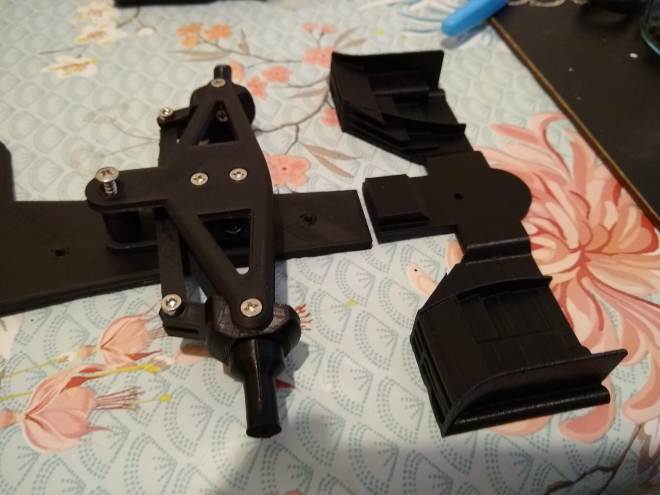
Next up the rear wing was printed at attached to the chassis making the whole thing start to take shape. The pinion gear has also been printed and attached to the motor after the motor is screwed into the motor mount. I used the usual piece of paper in between the gears trick to get the distance right.
With those parts done I moved onto the front steering and wheel hubs. At this point I stuck all of the little pieces to print into one job and printed it in one go. This was mostly a good idea but because some parts needed supports I had them turned on. This meant that the upper part of the servo saver did not print with its screw hole. You can see me in the photo I above playing with a taping screw but in the end I just printed the part again.

As with any RC kit you need to play about with the tightness of the screws to make sure the steering moves freely. Once this was done it was time to print my final black part the back of the body. I thought this would look better in black than printing the whole thing in blue.

After that I printed my first two blue parts and I am really pleased with how the blue looks. Things are just test fitted at this point as I still need to add the servo and print the rest of the body before connecting it all together.
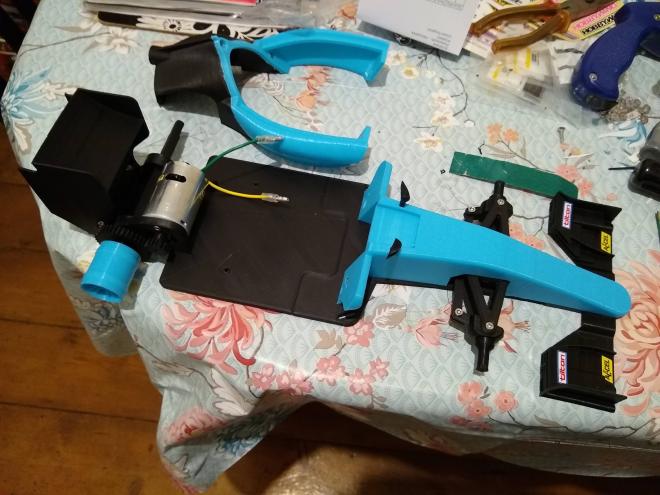
Here I have finished printing the front of the chassis and connected it together. The hole for the nut that connects the front wing to the nose was giving me trouble so I super glued those parts together. I also printed the first wheel rim at this point.

With the body attached I started to play with how to fit the electronics inside. I thought I was going to have trouble fitting the battery but it fits in nicely.
The last part of the body also serves as the lid for the electronics compartment. This took a whole evening to print but looks good. Was fun to watch it print with minimal support as well.

The lid is test fitted onto the car and a second wheel rim is printed. Two more rims to print and it will be onto printing the wheels.
Finally the electronics are tested. The steering and motor / gears all work well. After printing the rest of the rims and Tyres I will create a new post containing a test run. The Tyres will be printed in TPU and these will take a while as TPU needs to be printed slowe.

Hi
Which engine do you use? Thanks for posting