
This months Mag Pi magazine was a bit special. It included a kit provided by Google to create a voice assistant using Google’s cloud platform. The kit provides everything you need aside from the Pi, SD card and power supply. You also need to attach the Pi to a screen in order to set up some of the software.
Over the weekend I decided to build the kit and see what it could do.

The core component included in the kit is the Voice hat. Looking at the hat you can see it is capable of much more than what the kit uses it for. I get the feeling this board will serve as the basis for further AIY projects.
The first part of the build is to add the hat to your Pi. I did not intend to use any standoffs as I will probably replace the Pi3 with a zero at some point but I added one in the end as the hat was sitting a bit flimsy.
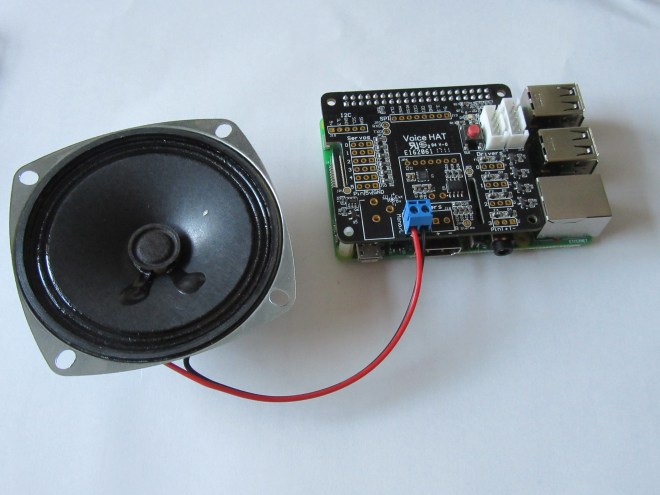
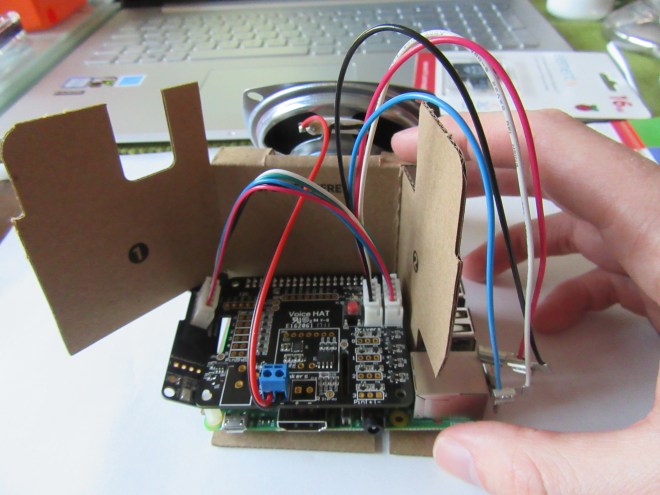
Next the speaker is attached to the board.
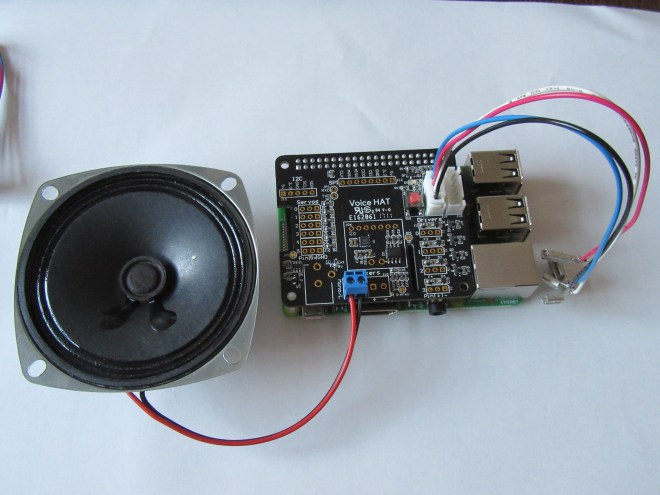
The button wire is plugged into the hat.

The microphone wire is plugged into the microphone board.
The other end of the microphone wire is then plugged into the hat.
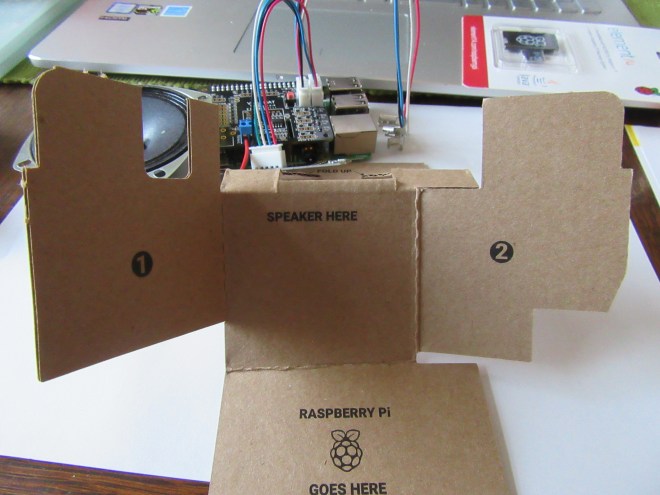
The kit comes with a cardboard box which is comprised of two pieces. I have a 3D printed box to try but decided to go with the vanilla build at this point.
Now the fun begins. First the Pi is put into place and the cardboard folded around it.

As expected it did not want to sit right at first and took some persuasion.

The components were slide down into the cardboard box.
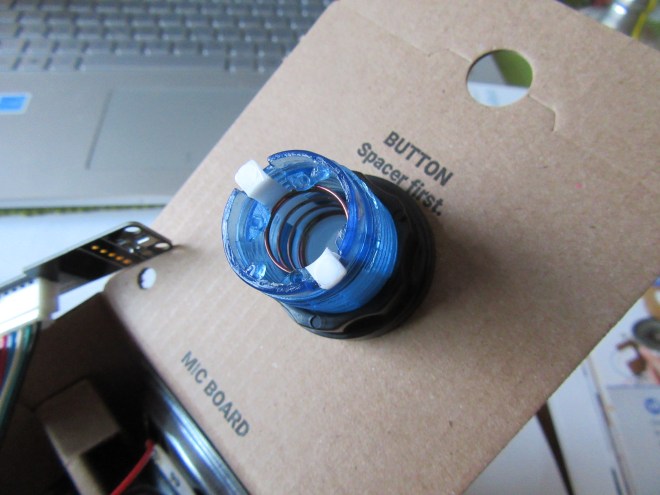
With everything sitting in the box the arcade button is added to the lid. The colour you get appears to be random. I have seen blue, red and green so far.
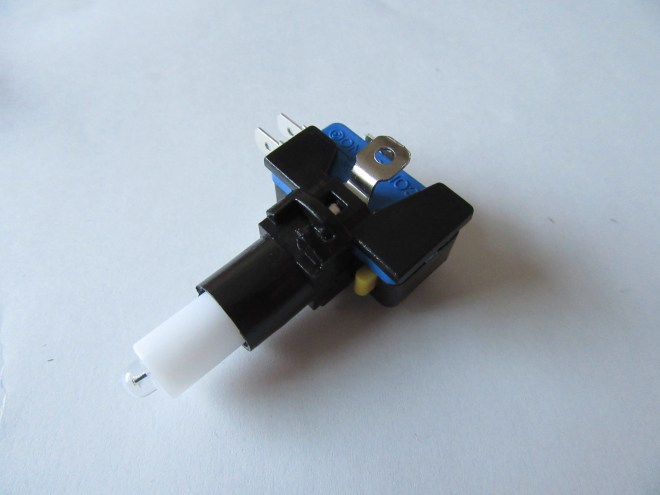
The led and micro-switch are added to the button housing.

These are locked into place within the button ensuring that the button clicks the switch.
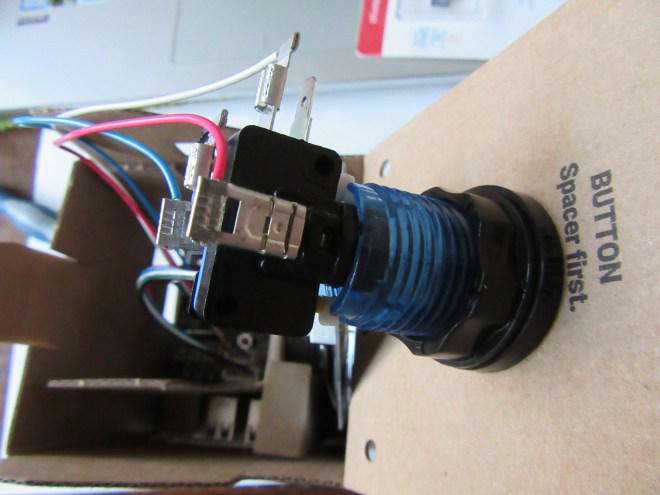
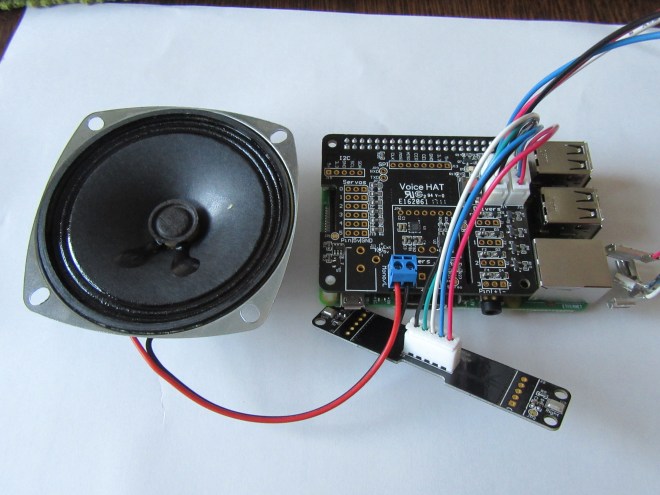
The button is then wired up to the hat.

The finished kit.
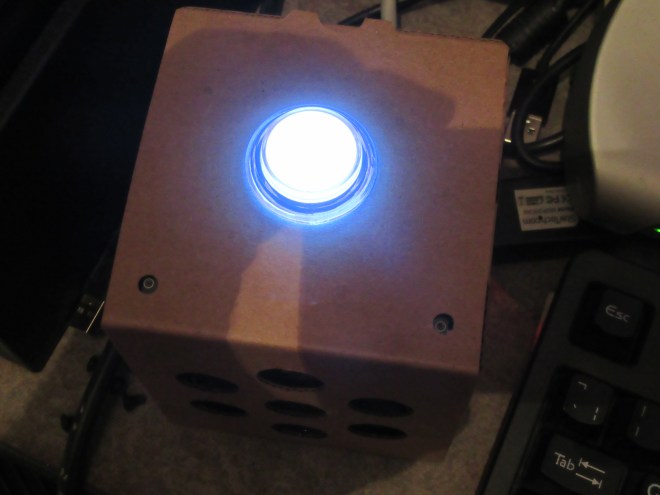
The led on the button acts as a status indicator and pulses when idle.

Upon finishing the first thing to do is write the project image to an SD card. The image is a custom version of Raspbian with parts of the software ready to go. To get it working you have to sign up for a google cloud platform account and setup a voice assistant project. This allows you to generate a json file used to provide the software with access to the voice assistant service.
Lastly here is a video of my kit in action. To test its voice detection qualities I gave it a complicated Monty Python question which it handle pretty well I think. The response time was also very fast.
You can find the complete guide on the project by following the link below.
It sounds like this is just the first of a series of project from Google so it is exciting to see what they will come up with next.
